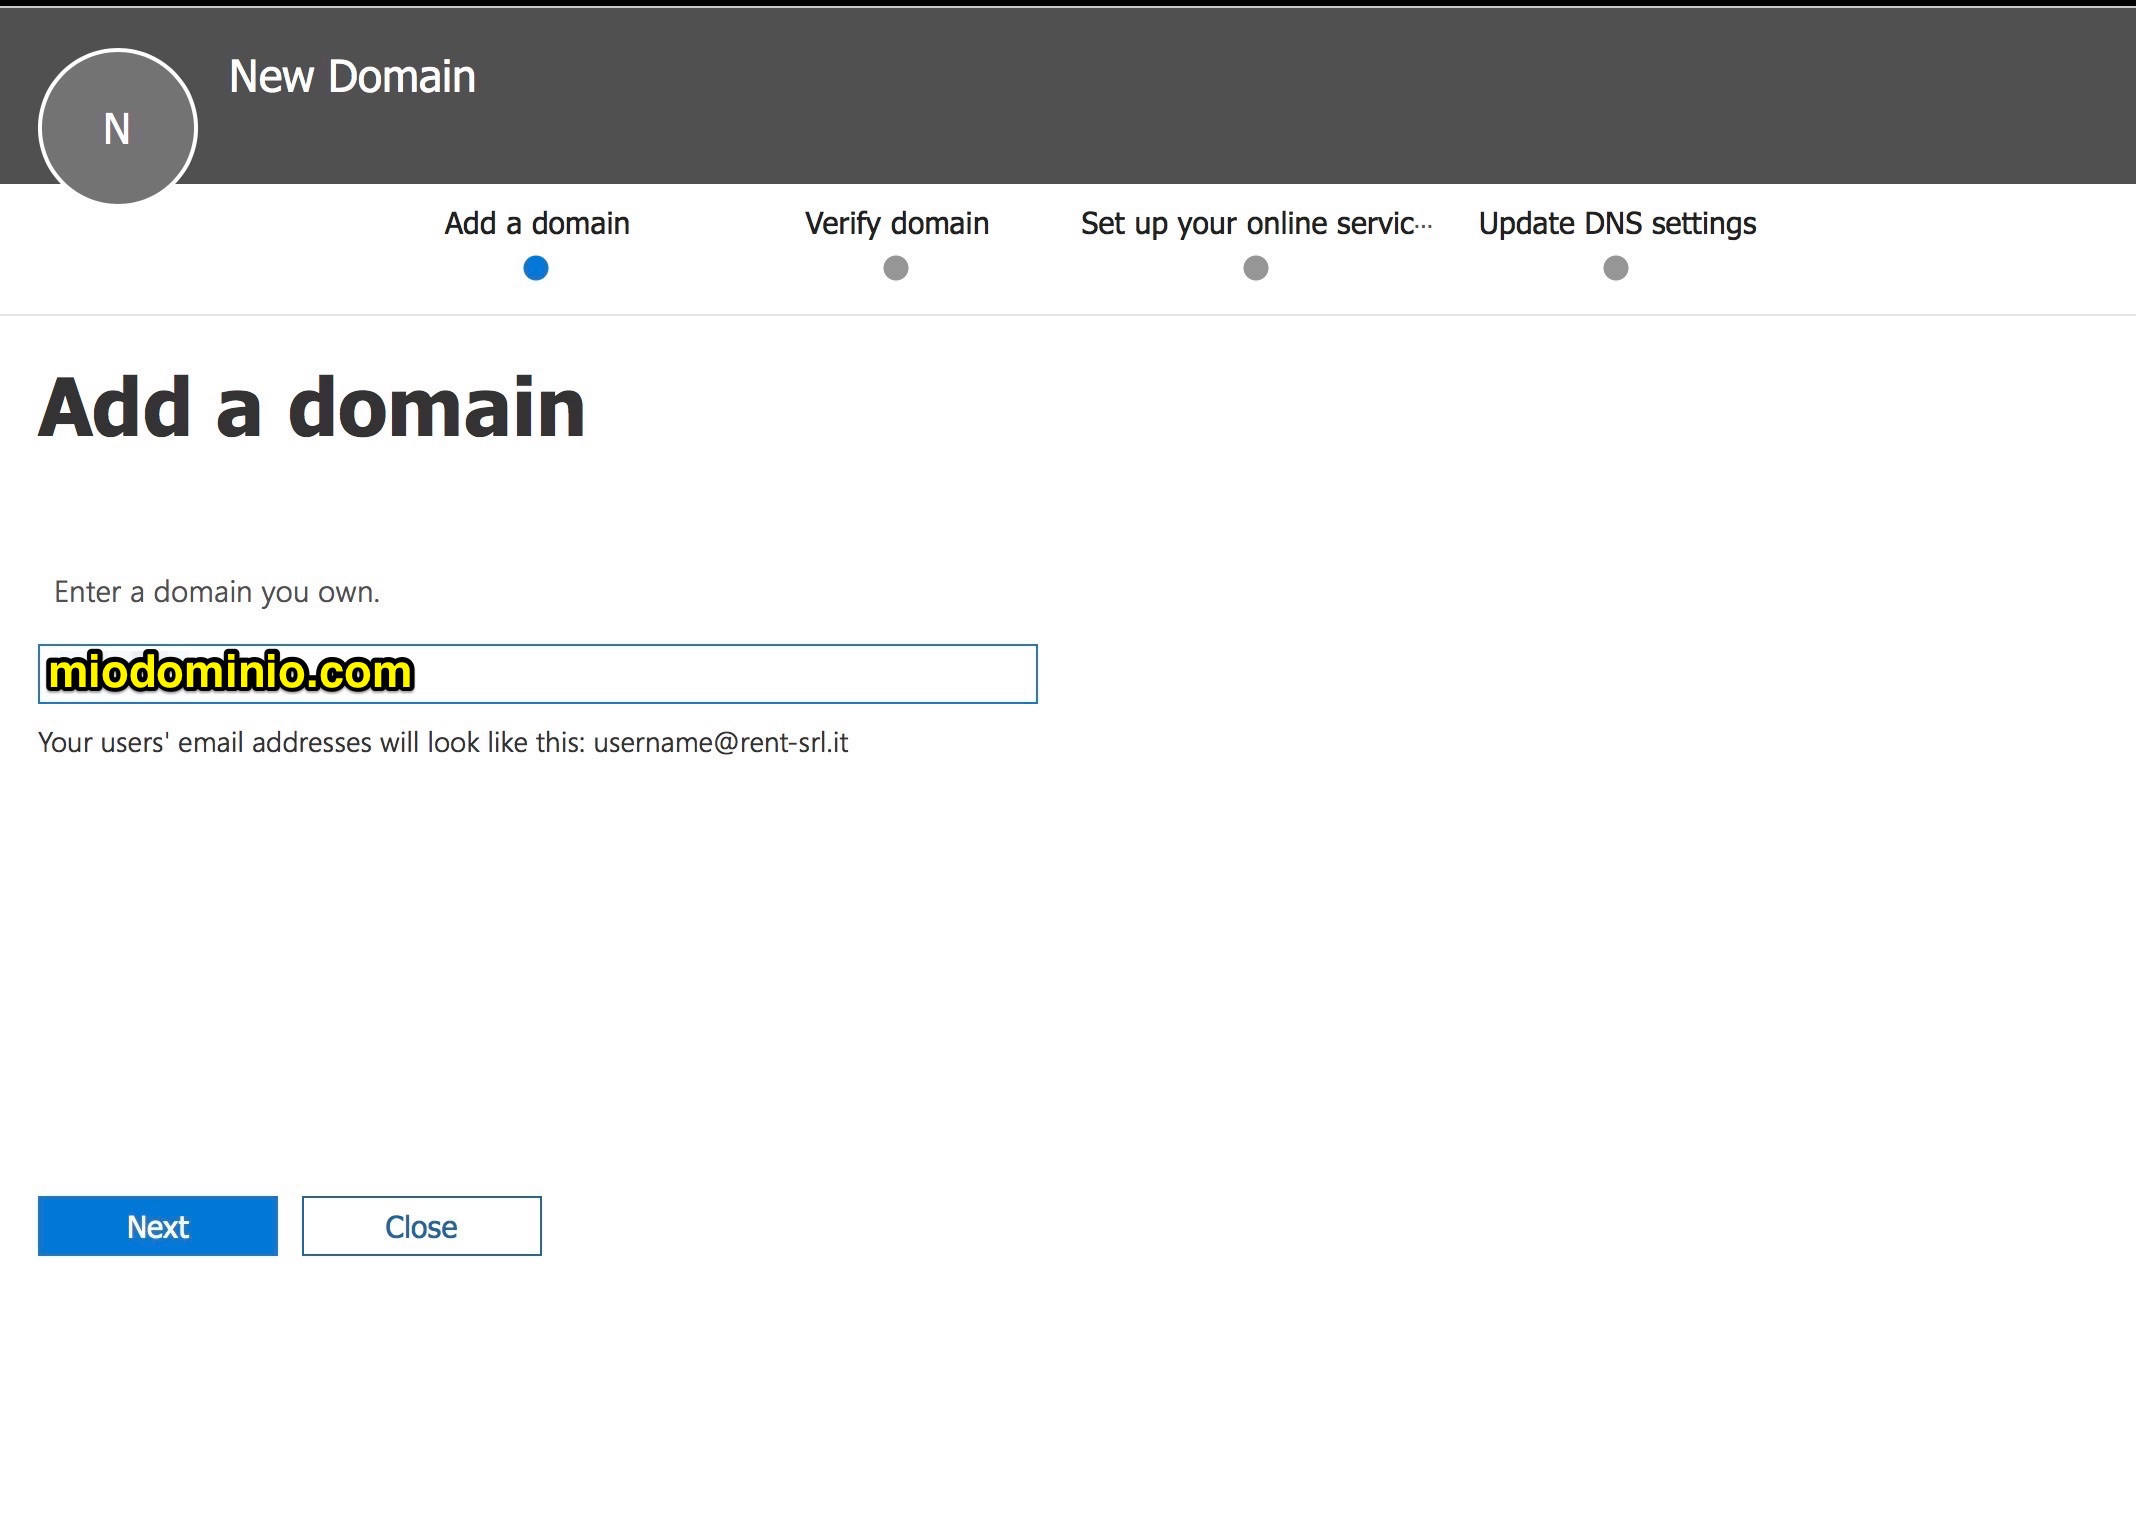
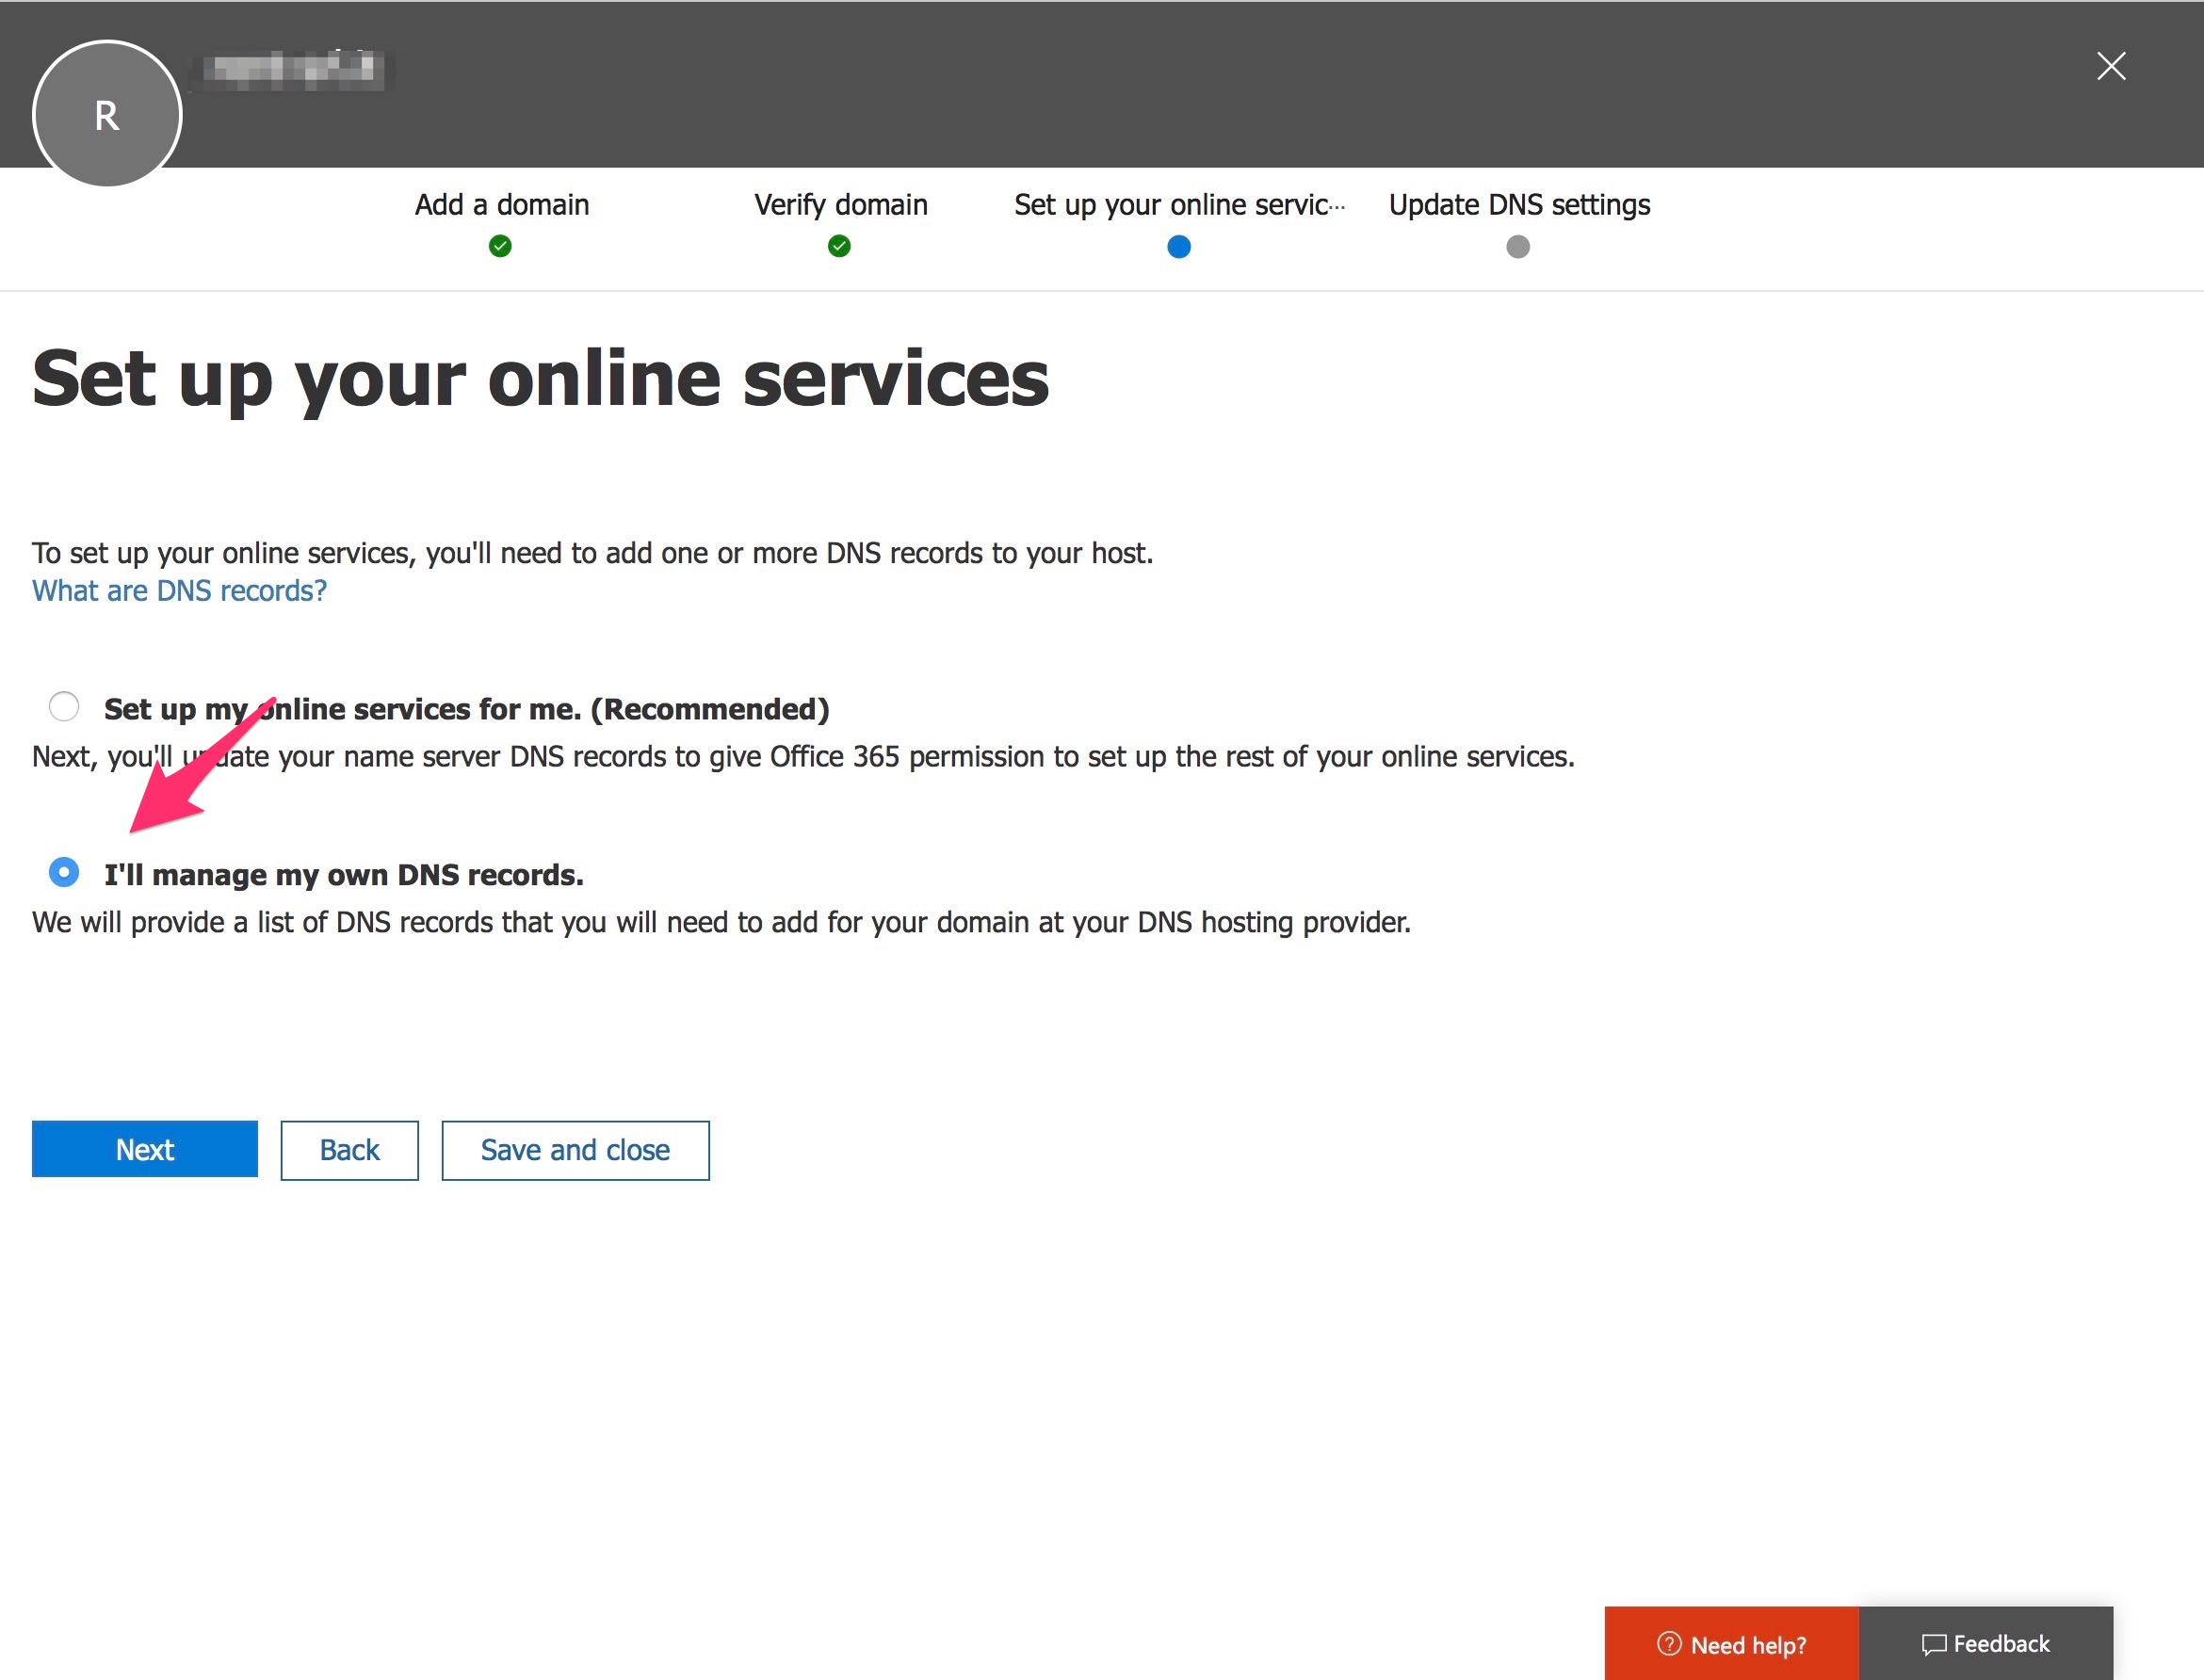
The first thing is validate your public DNS on Microsoft’s tenant.
Insert you DNS domain
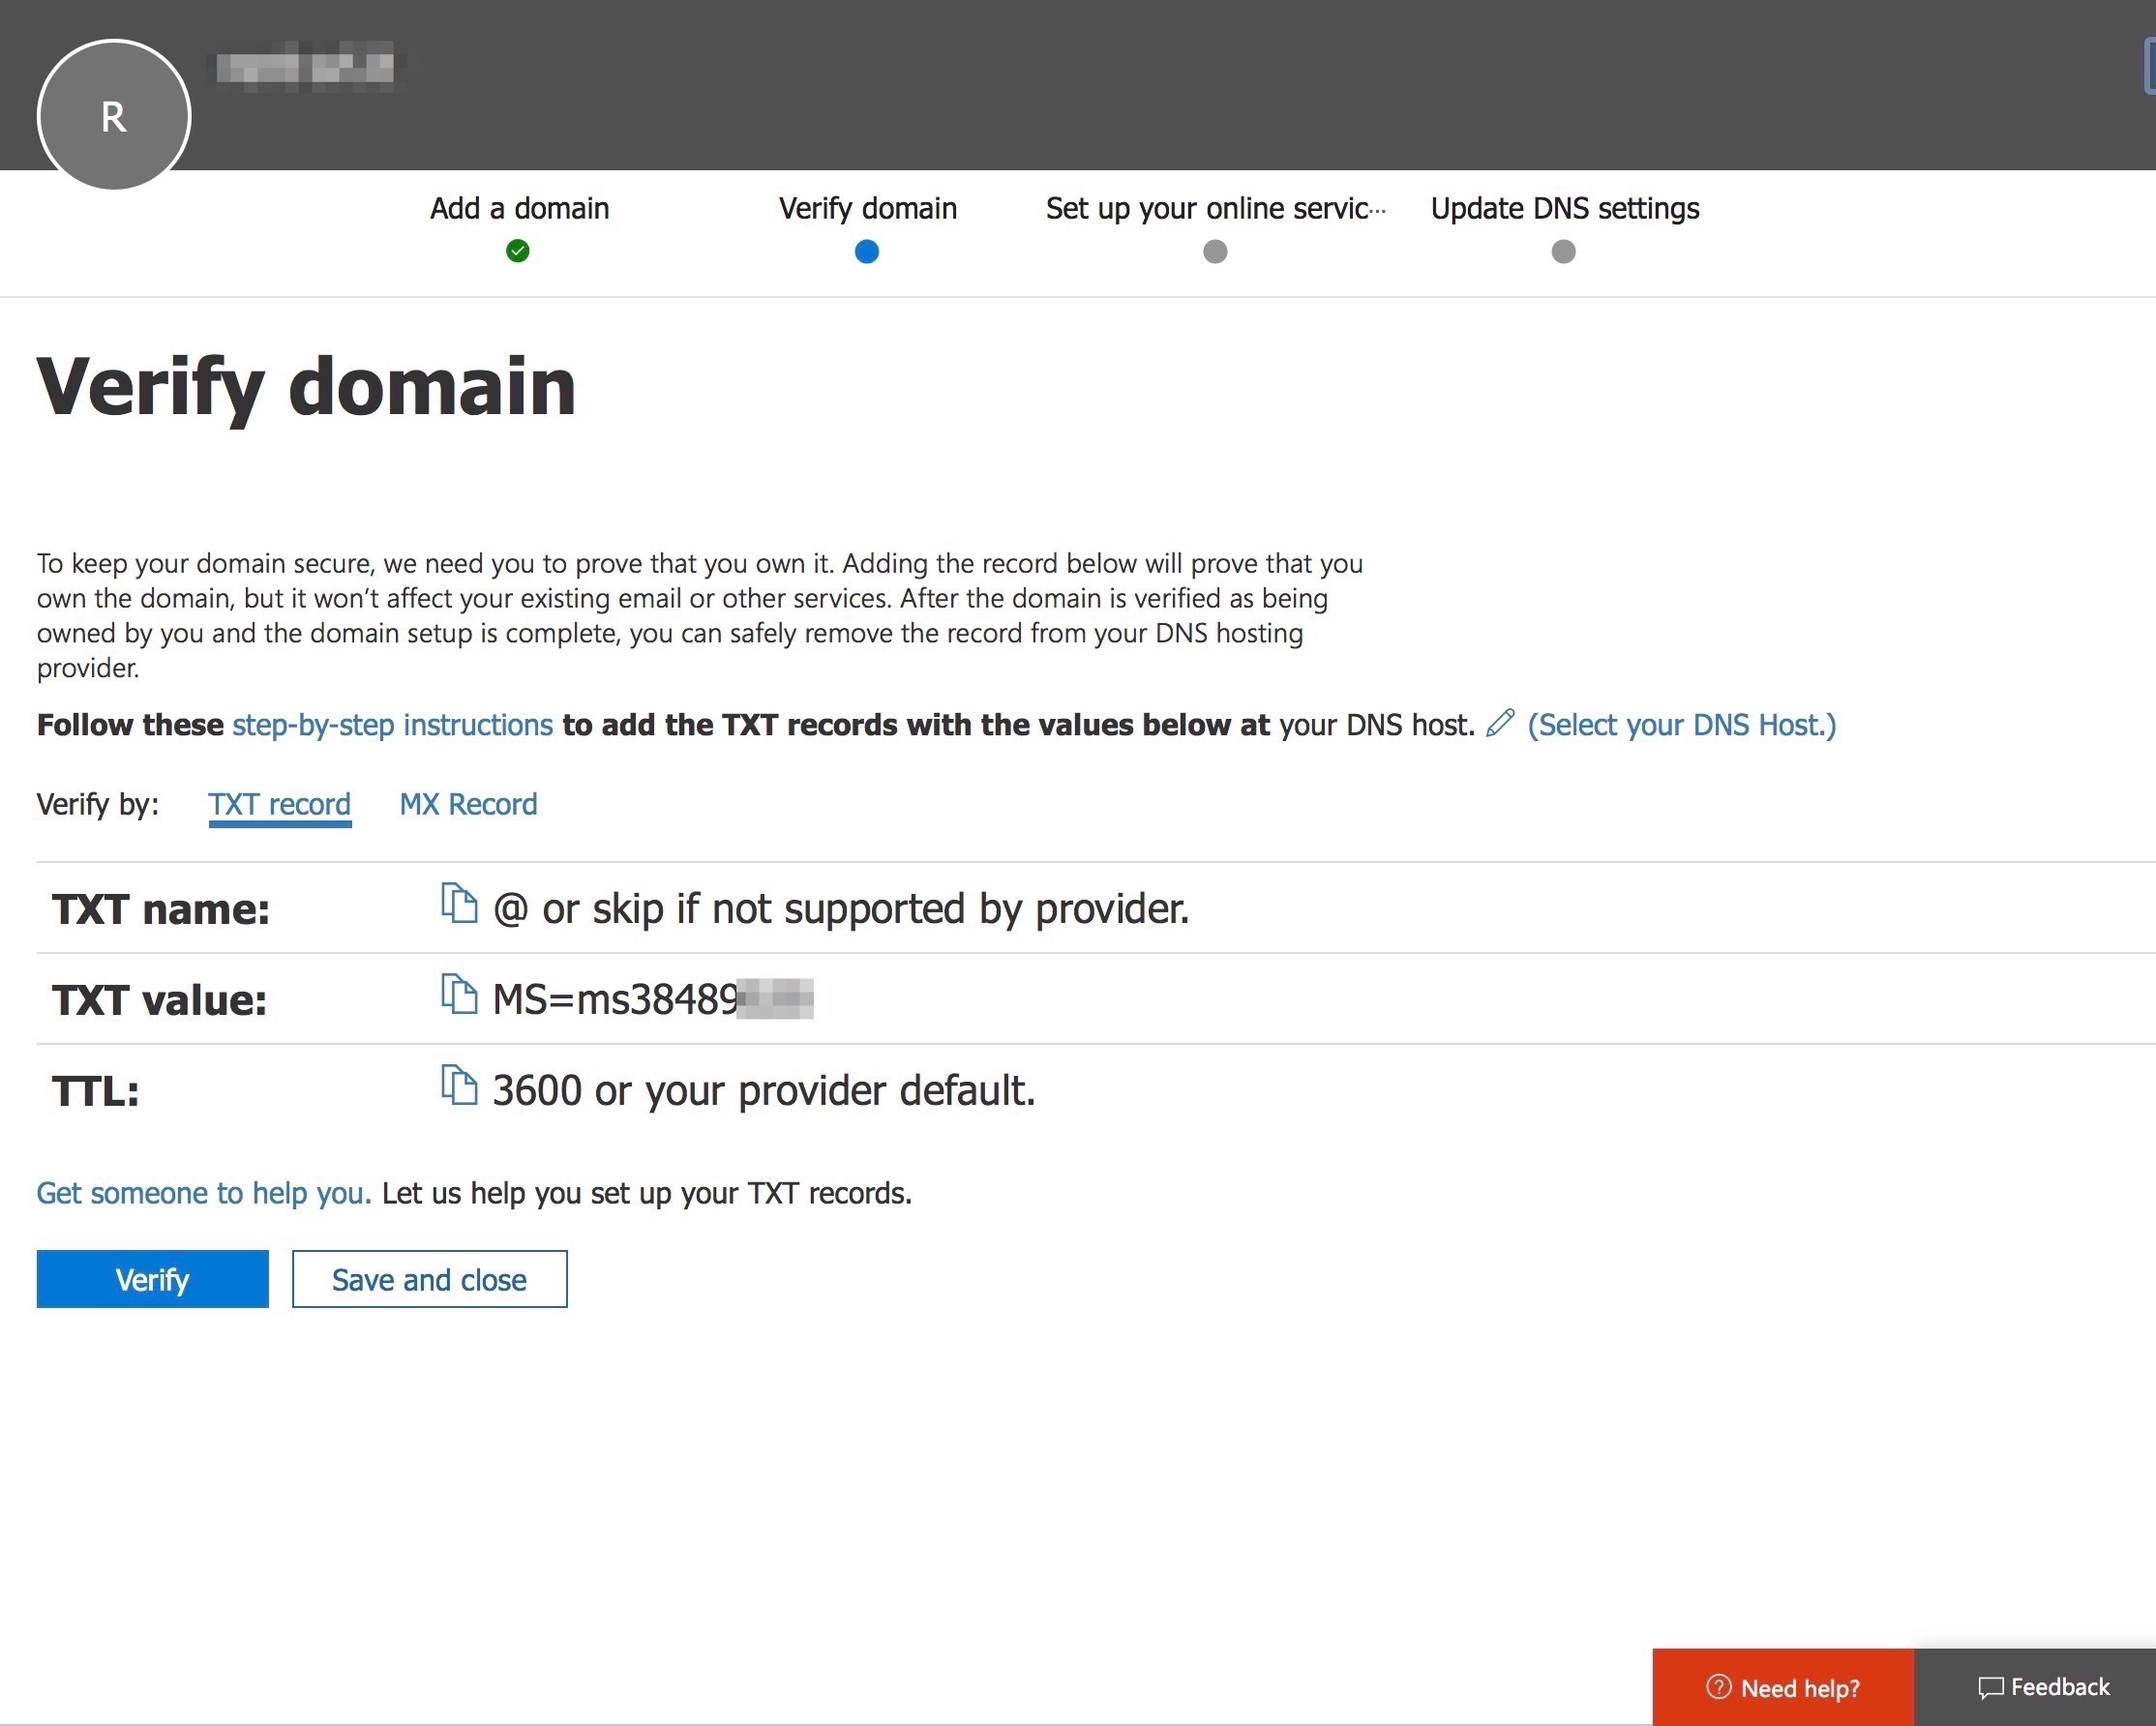
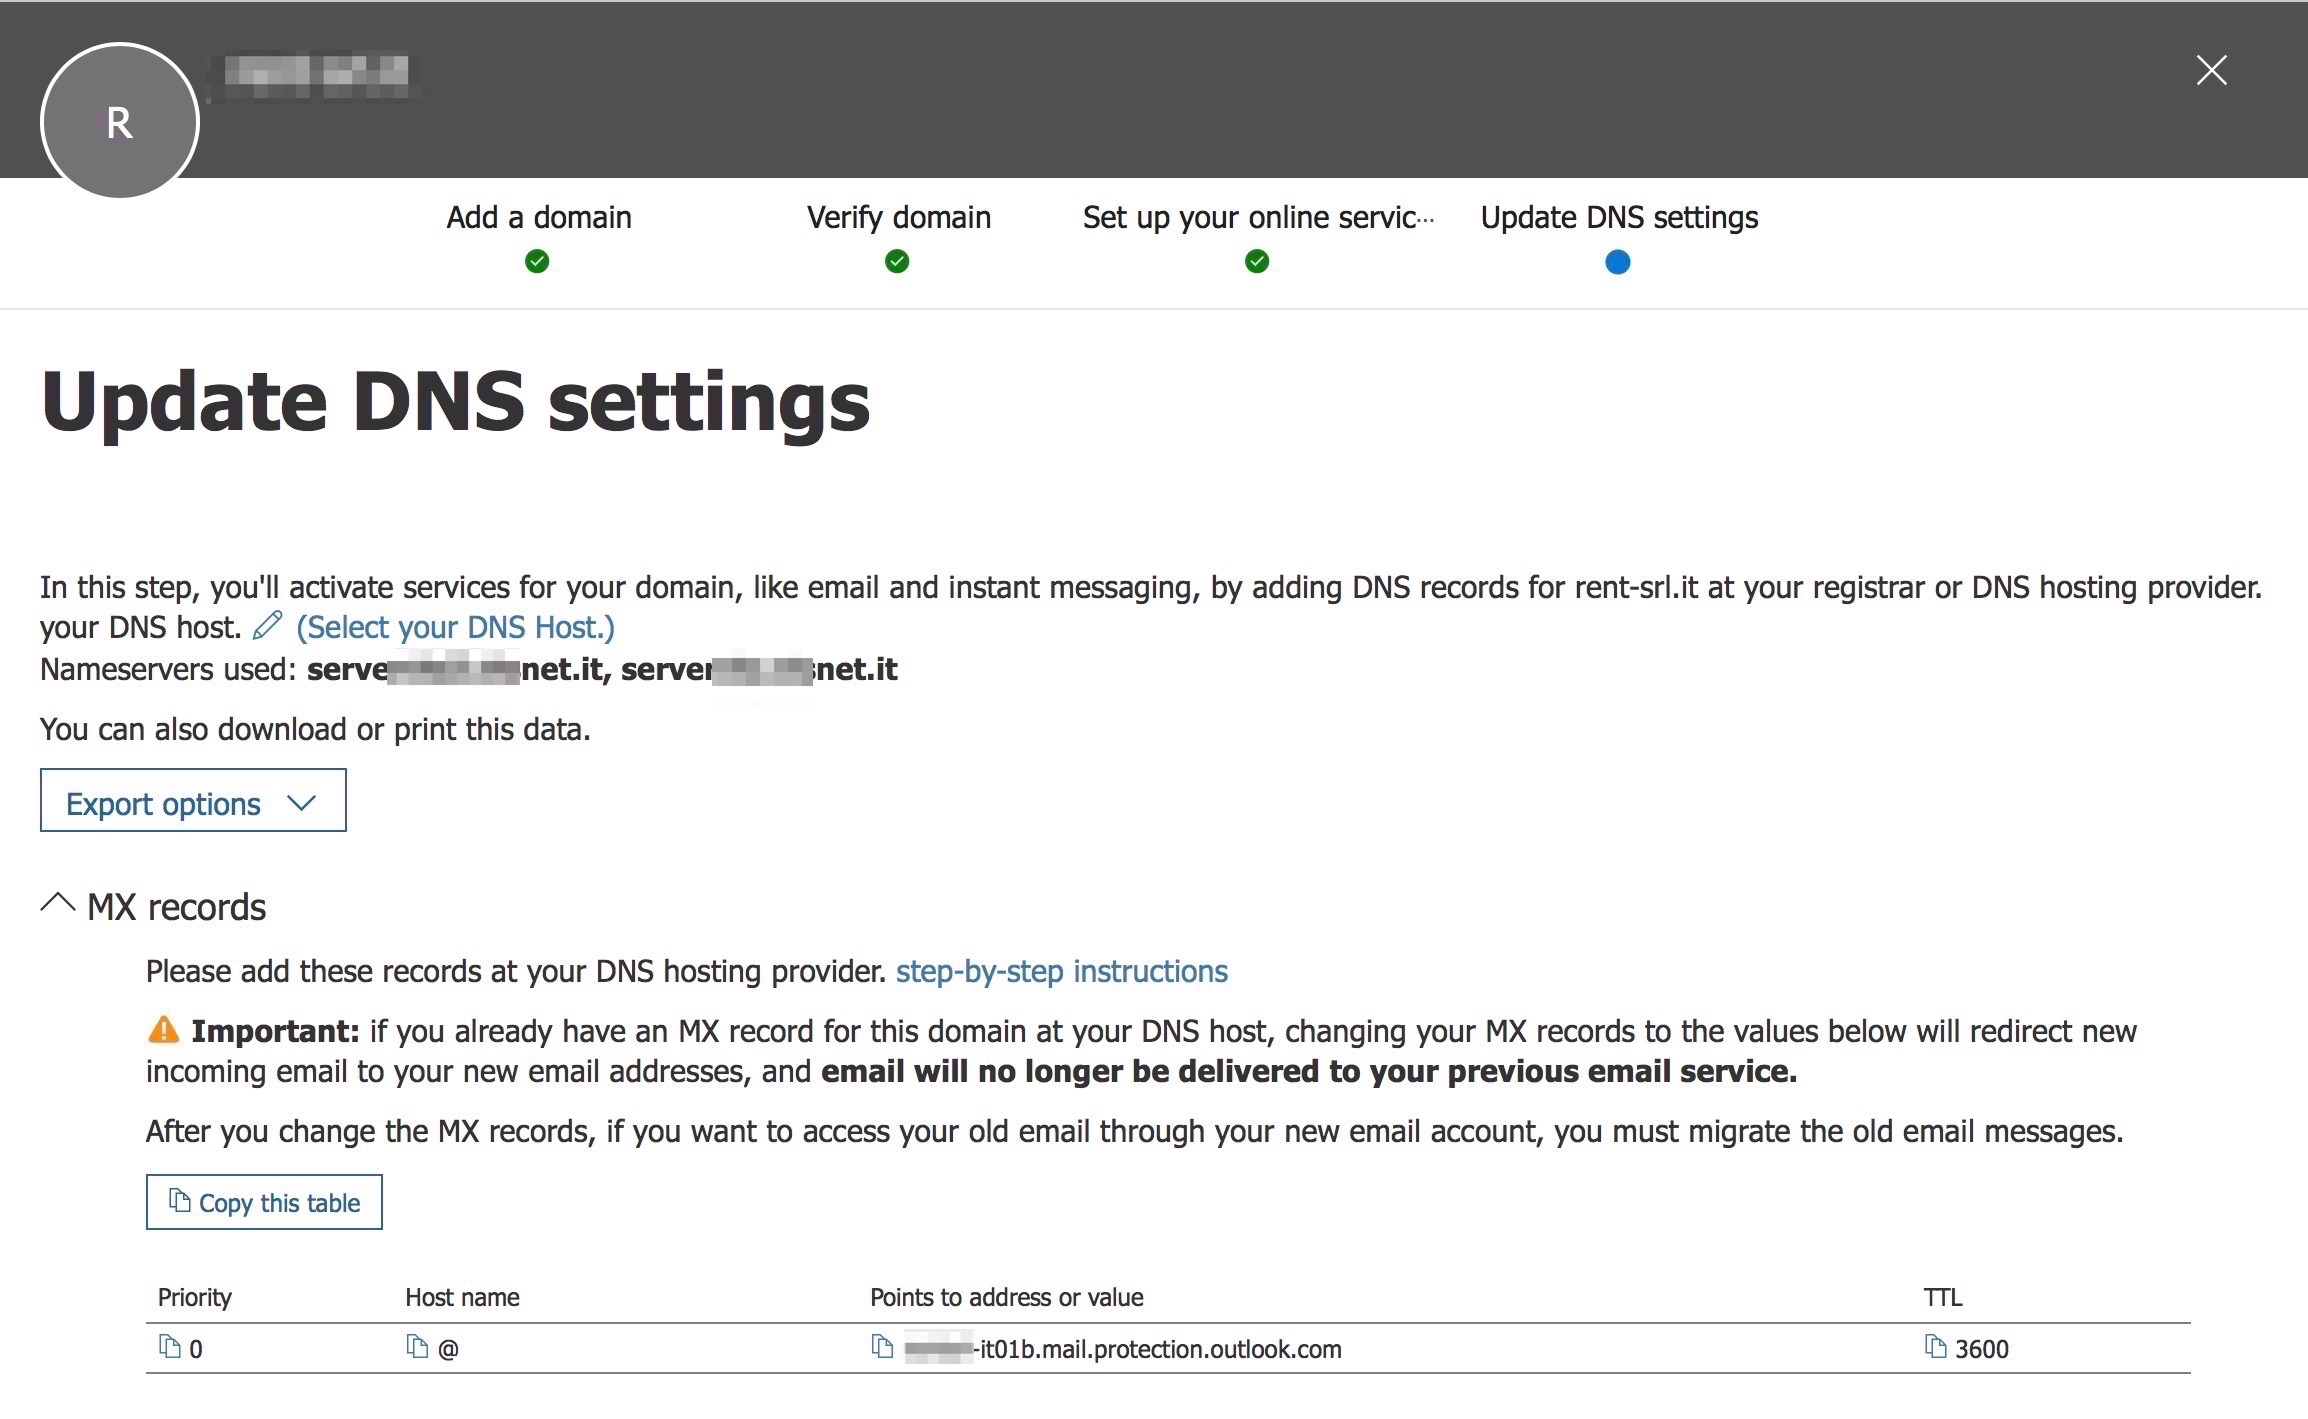
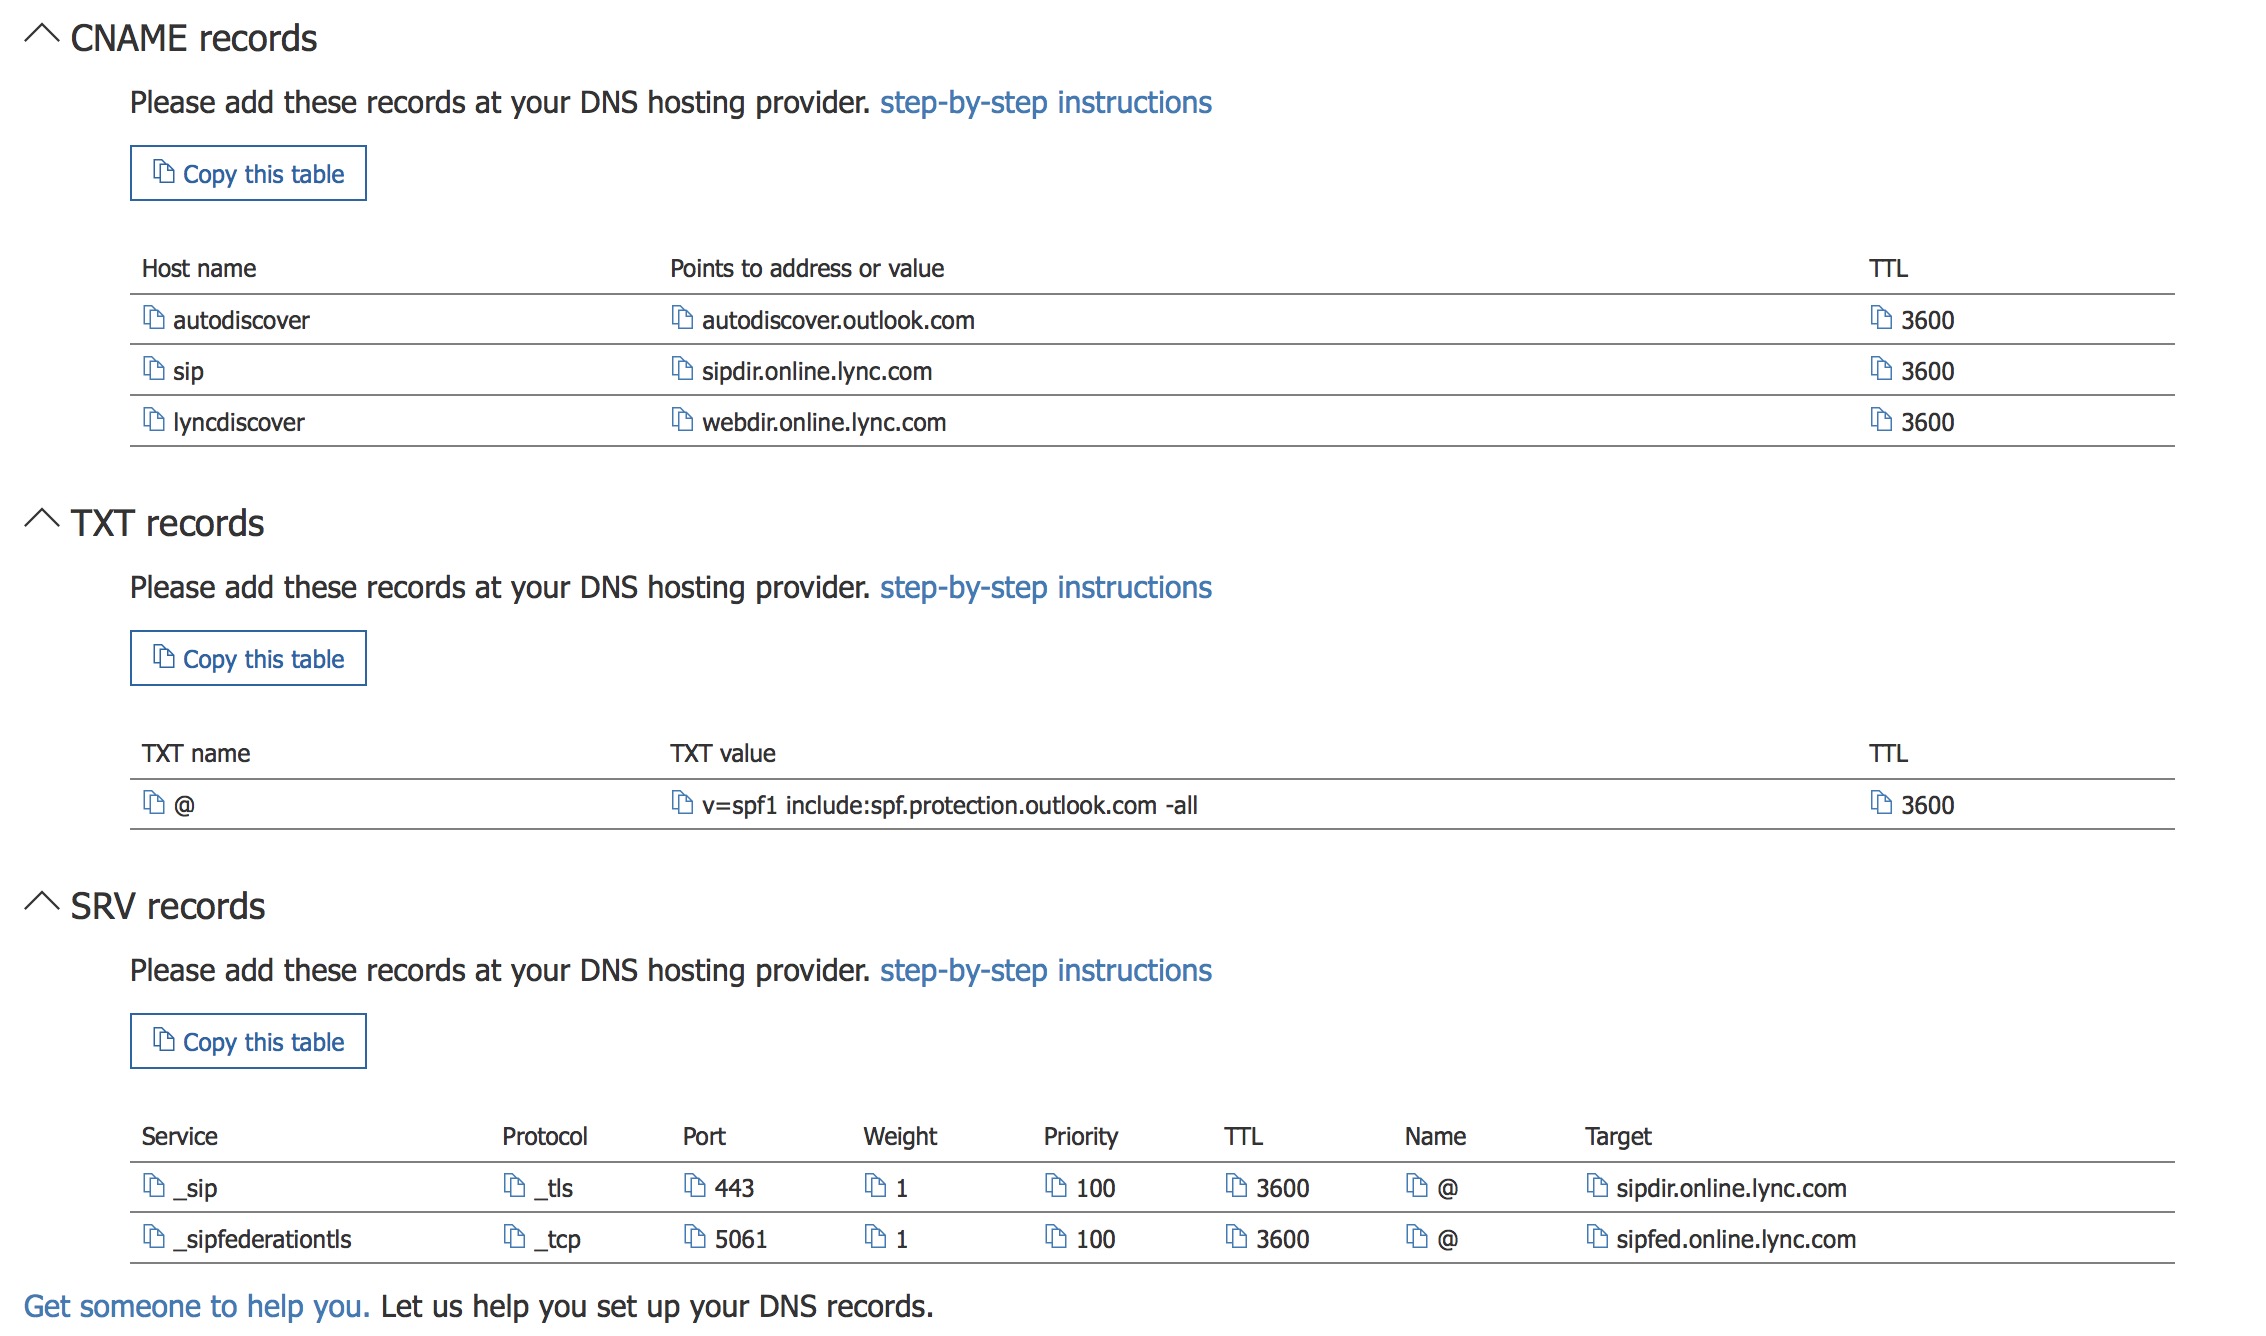
The tenant tells us which records we’ll need to add to our public DNS
Do it .

When you have done these changes on your public DNS, We export the pst from the old system (See this guide: https://marcoschiavon.net/2018/06/07/how-to-export-a-pst-from-an-exchange-2010-with-powershell/ )
Keep in mind to enable you tenant with all possible commands and, to do it, you need to DeHydrate it.(See this guide: https://marcoschiavon.net/2018/05/17/office-365-il-comando-utilizzato-non-%EF%BF%BD%EF%BF%BD-permesso-a-causa-della-disidratazione-del-tenant-due-to-dehydratation-the-command-you-tried-to-run-isnt-currently-allowed-in-your-organizati/ )
and add the Import-Export role to the user that are you using ( See this guide: https://marcoschiavon.net/2018/05/31/how-to-export-a-pst-from-your-office-365-tenant-the-gui-way/ )
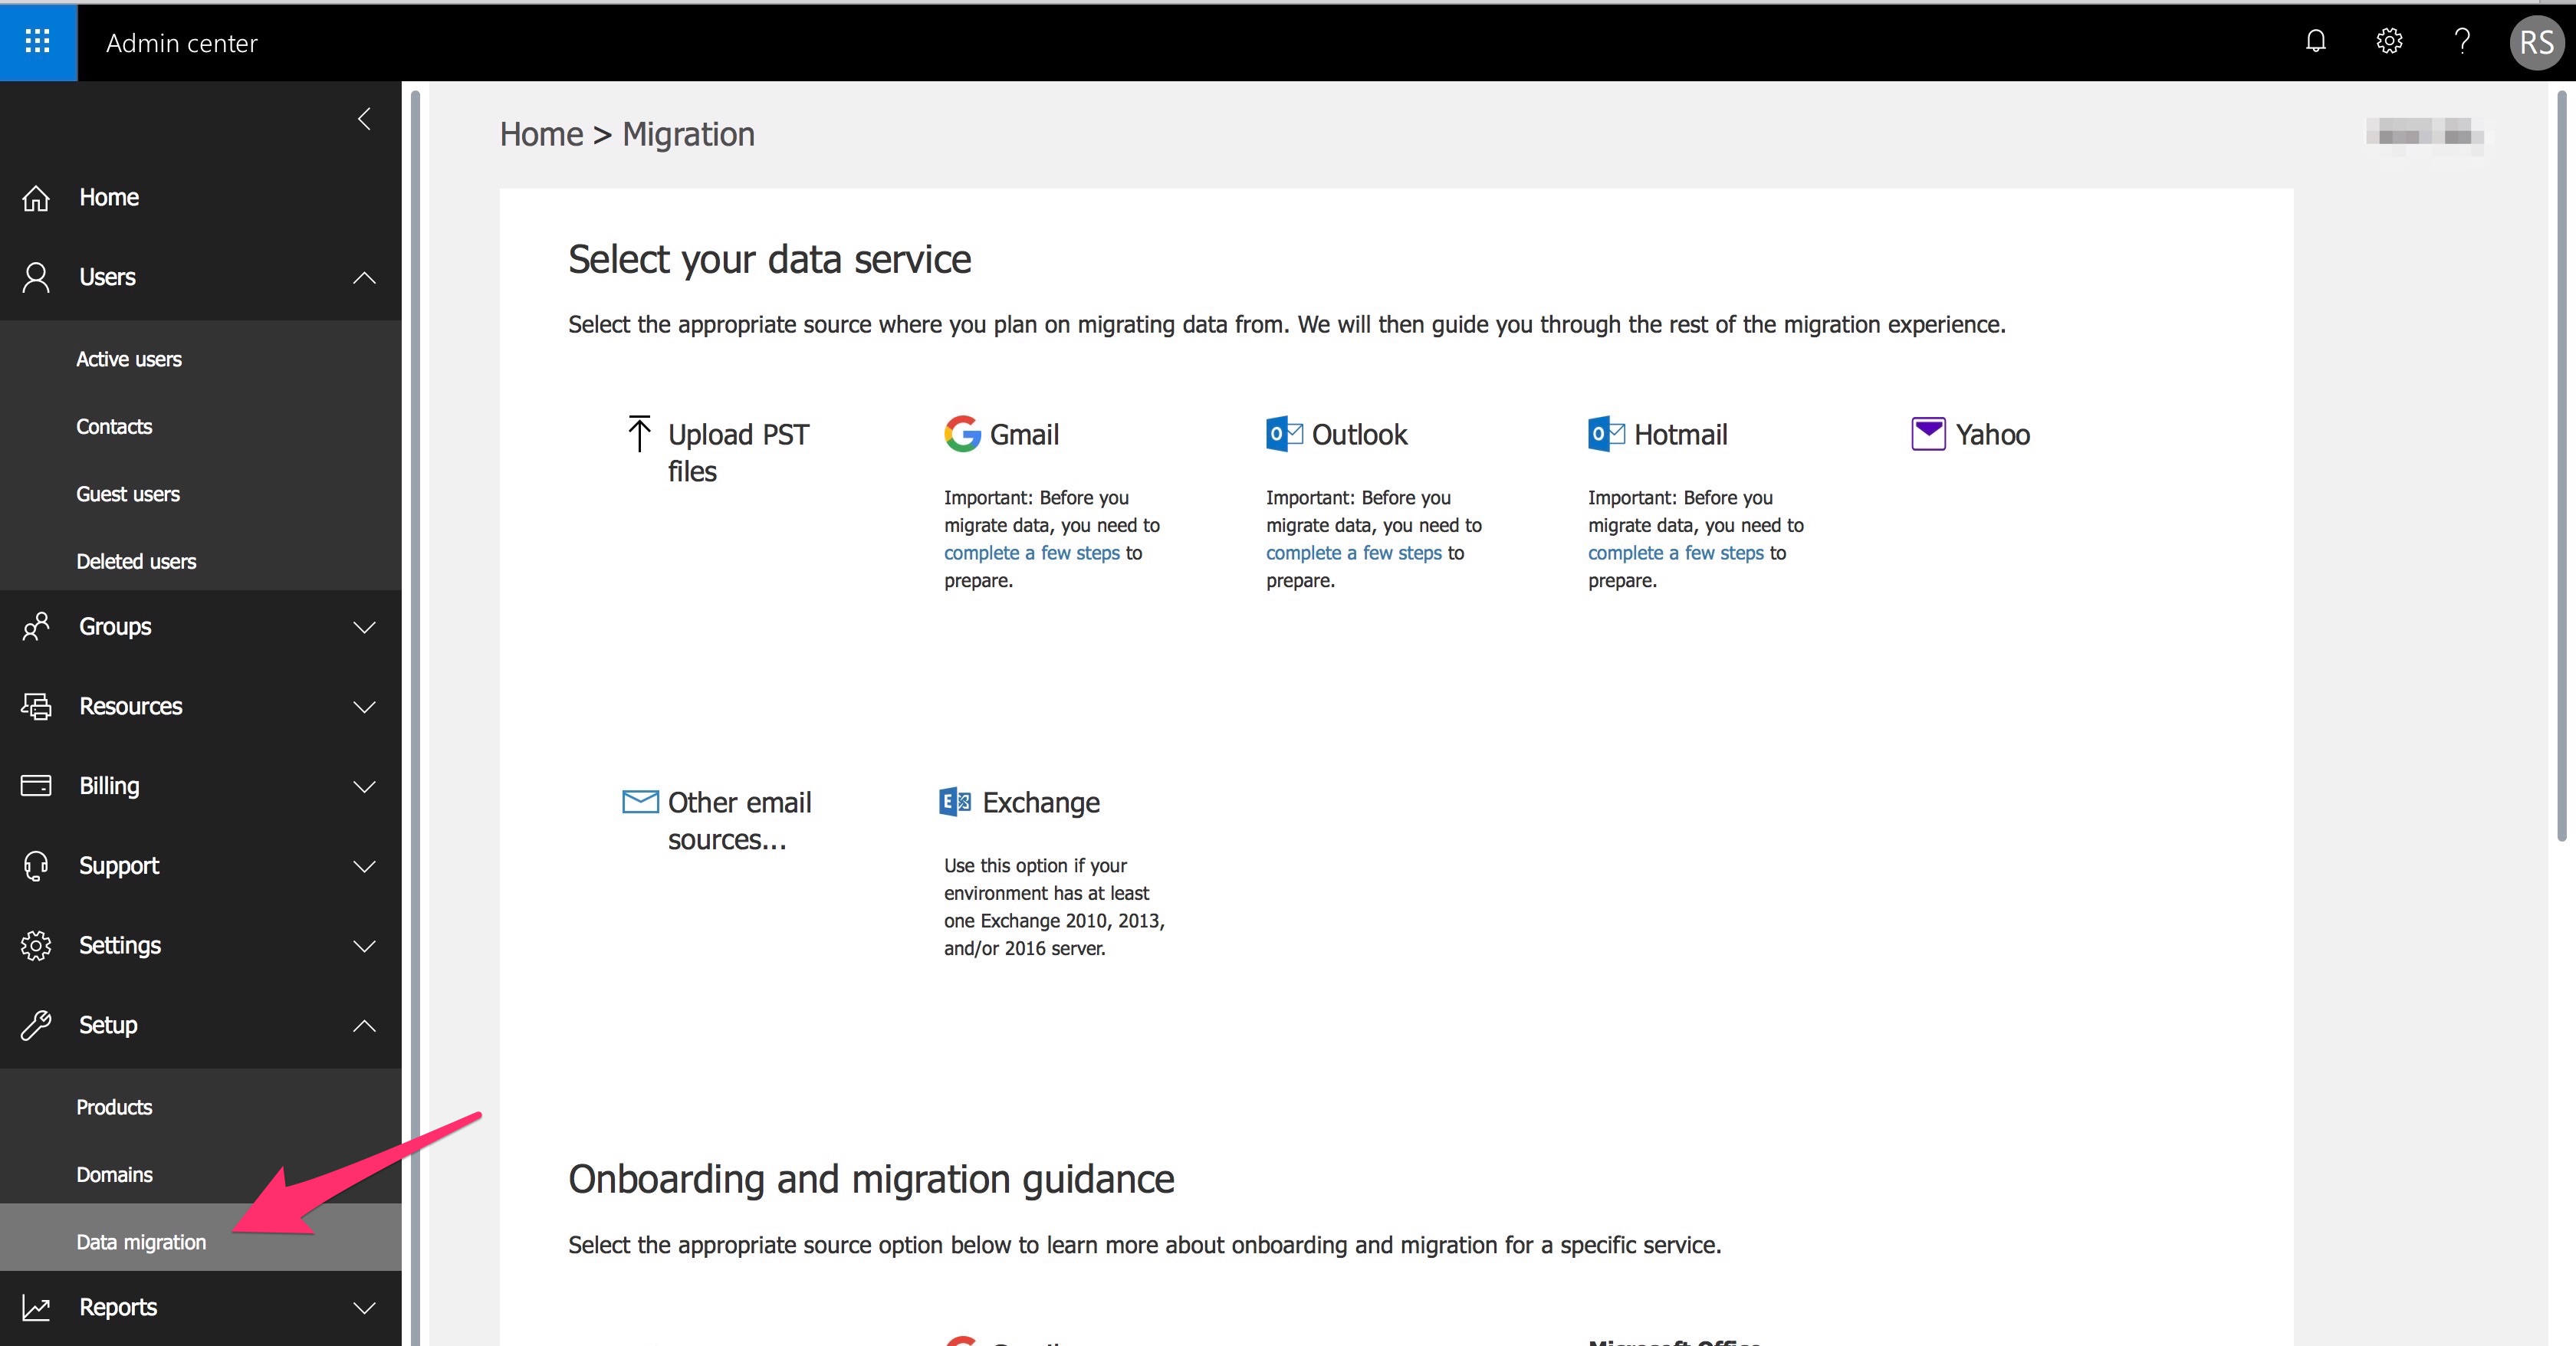
Now when ready, go to Data migrationand select “Upload PST files” :

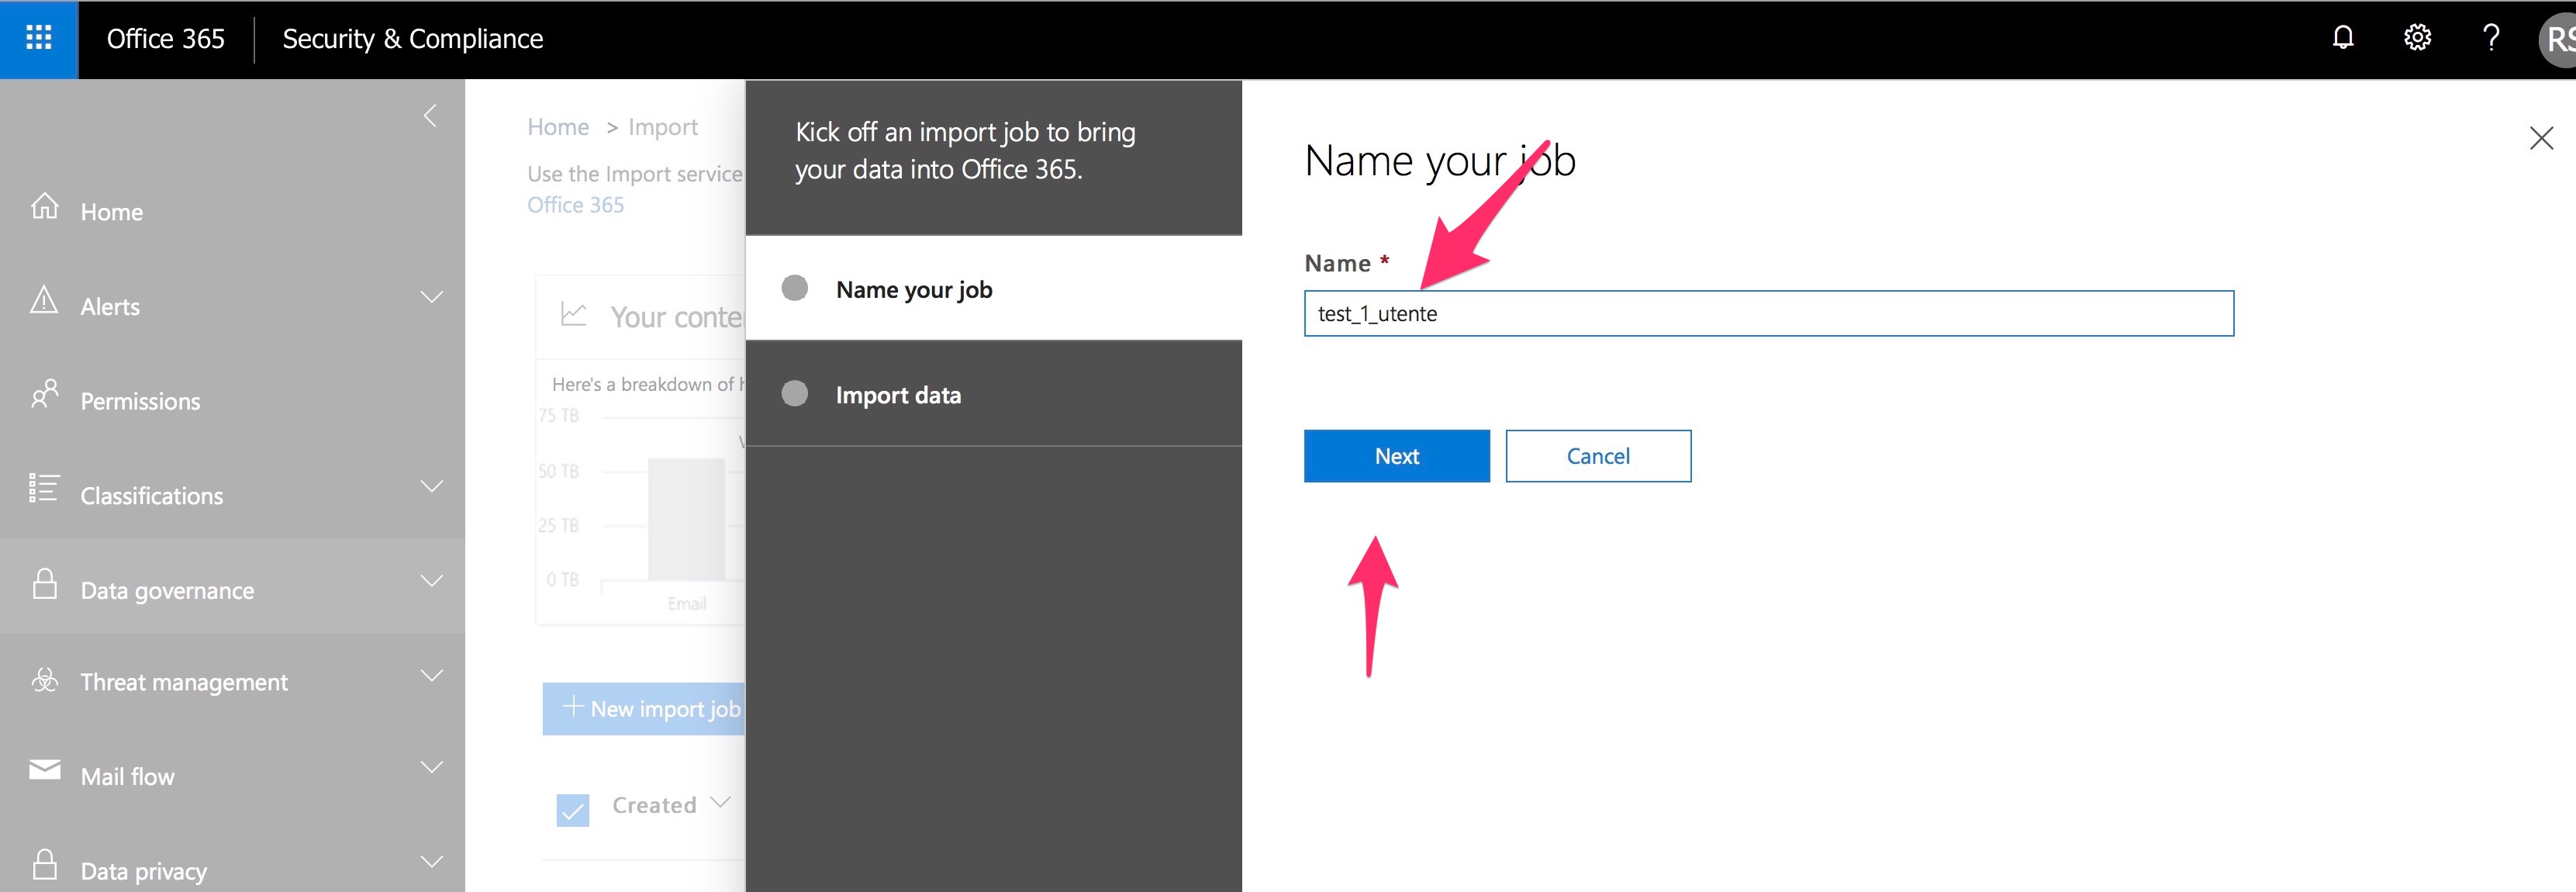
Give a name to the Job
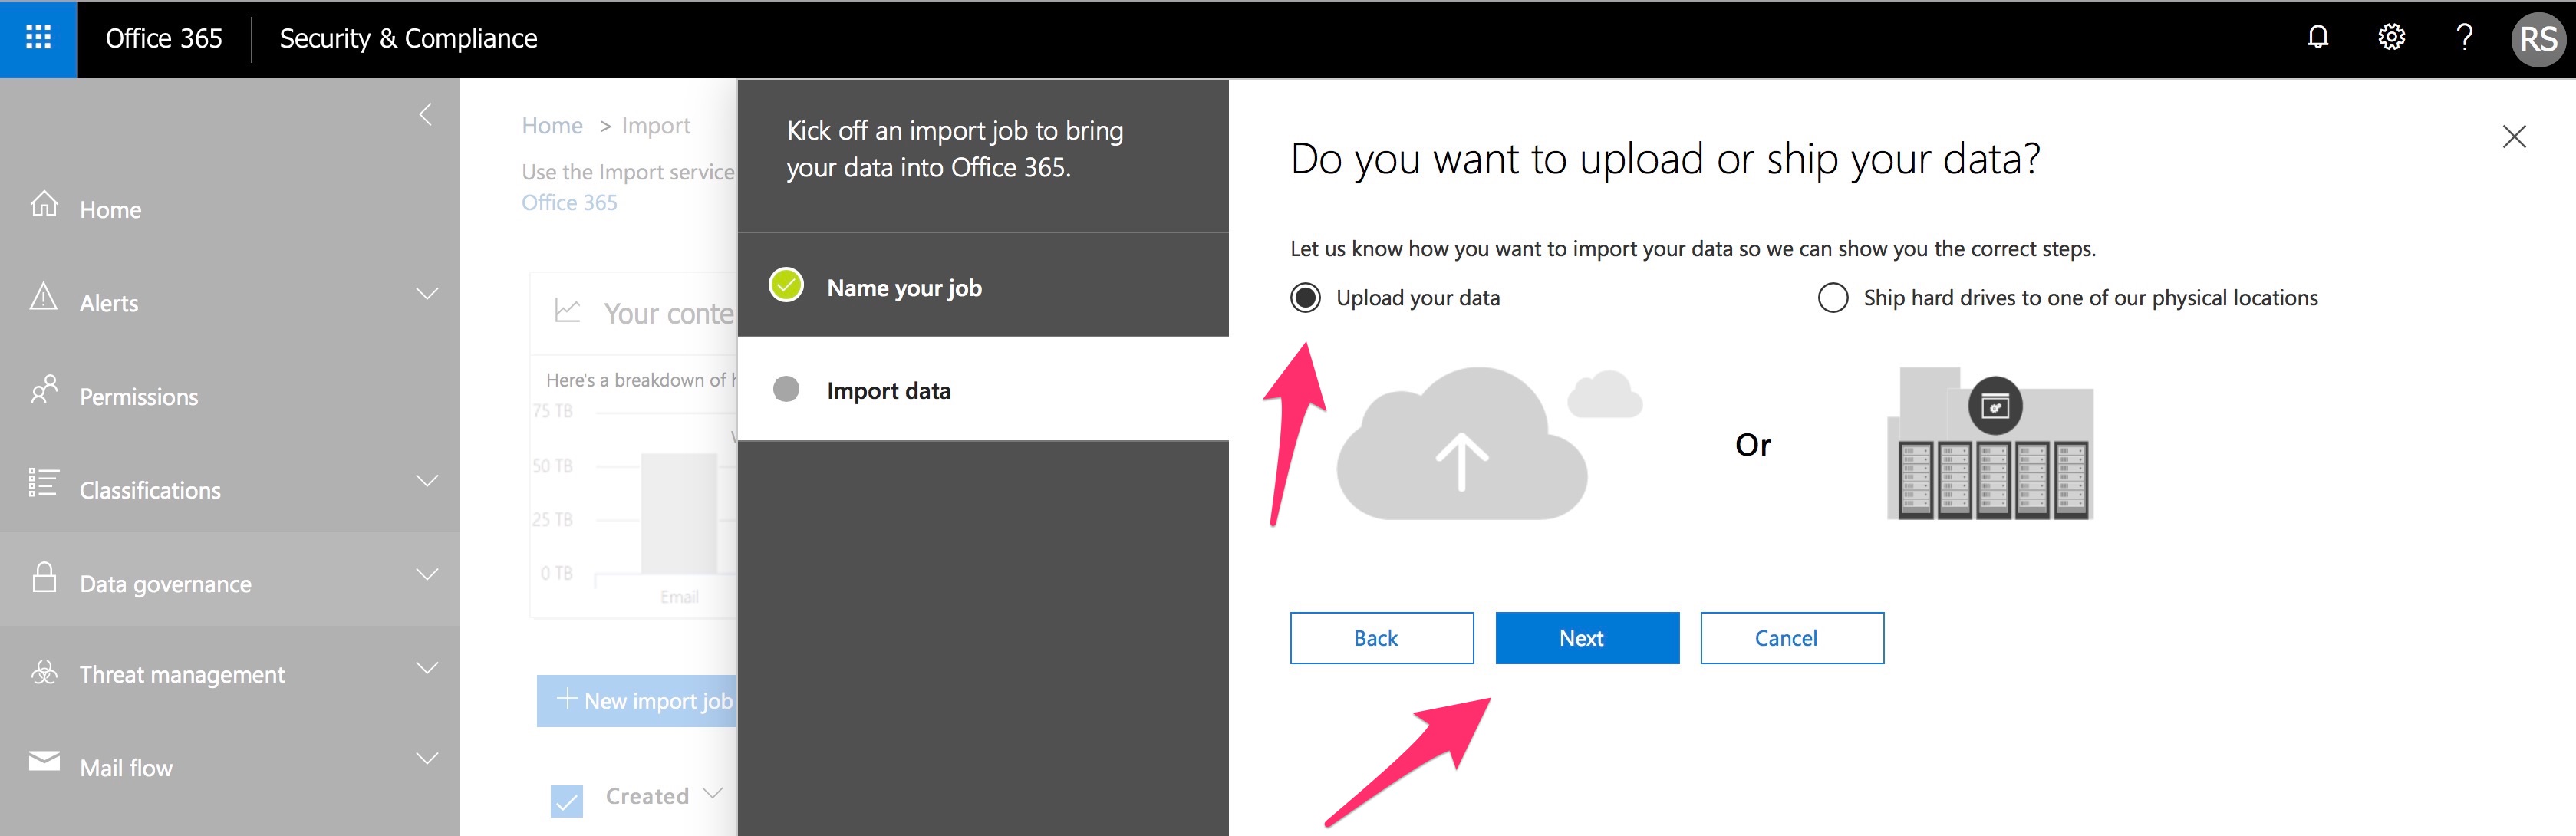
Select “upload your data”
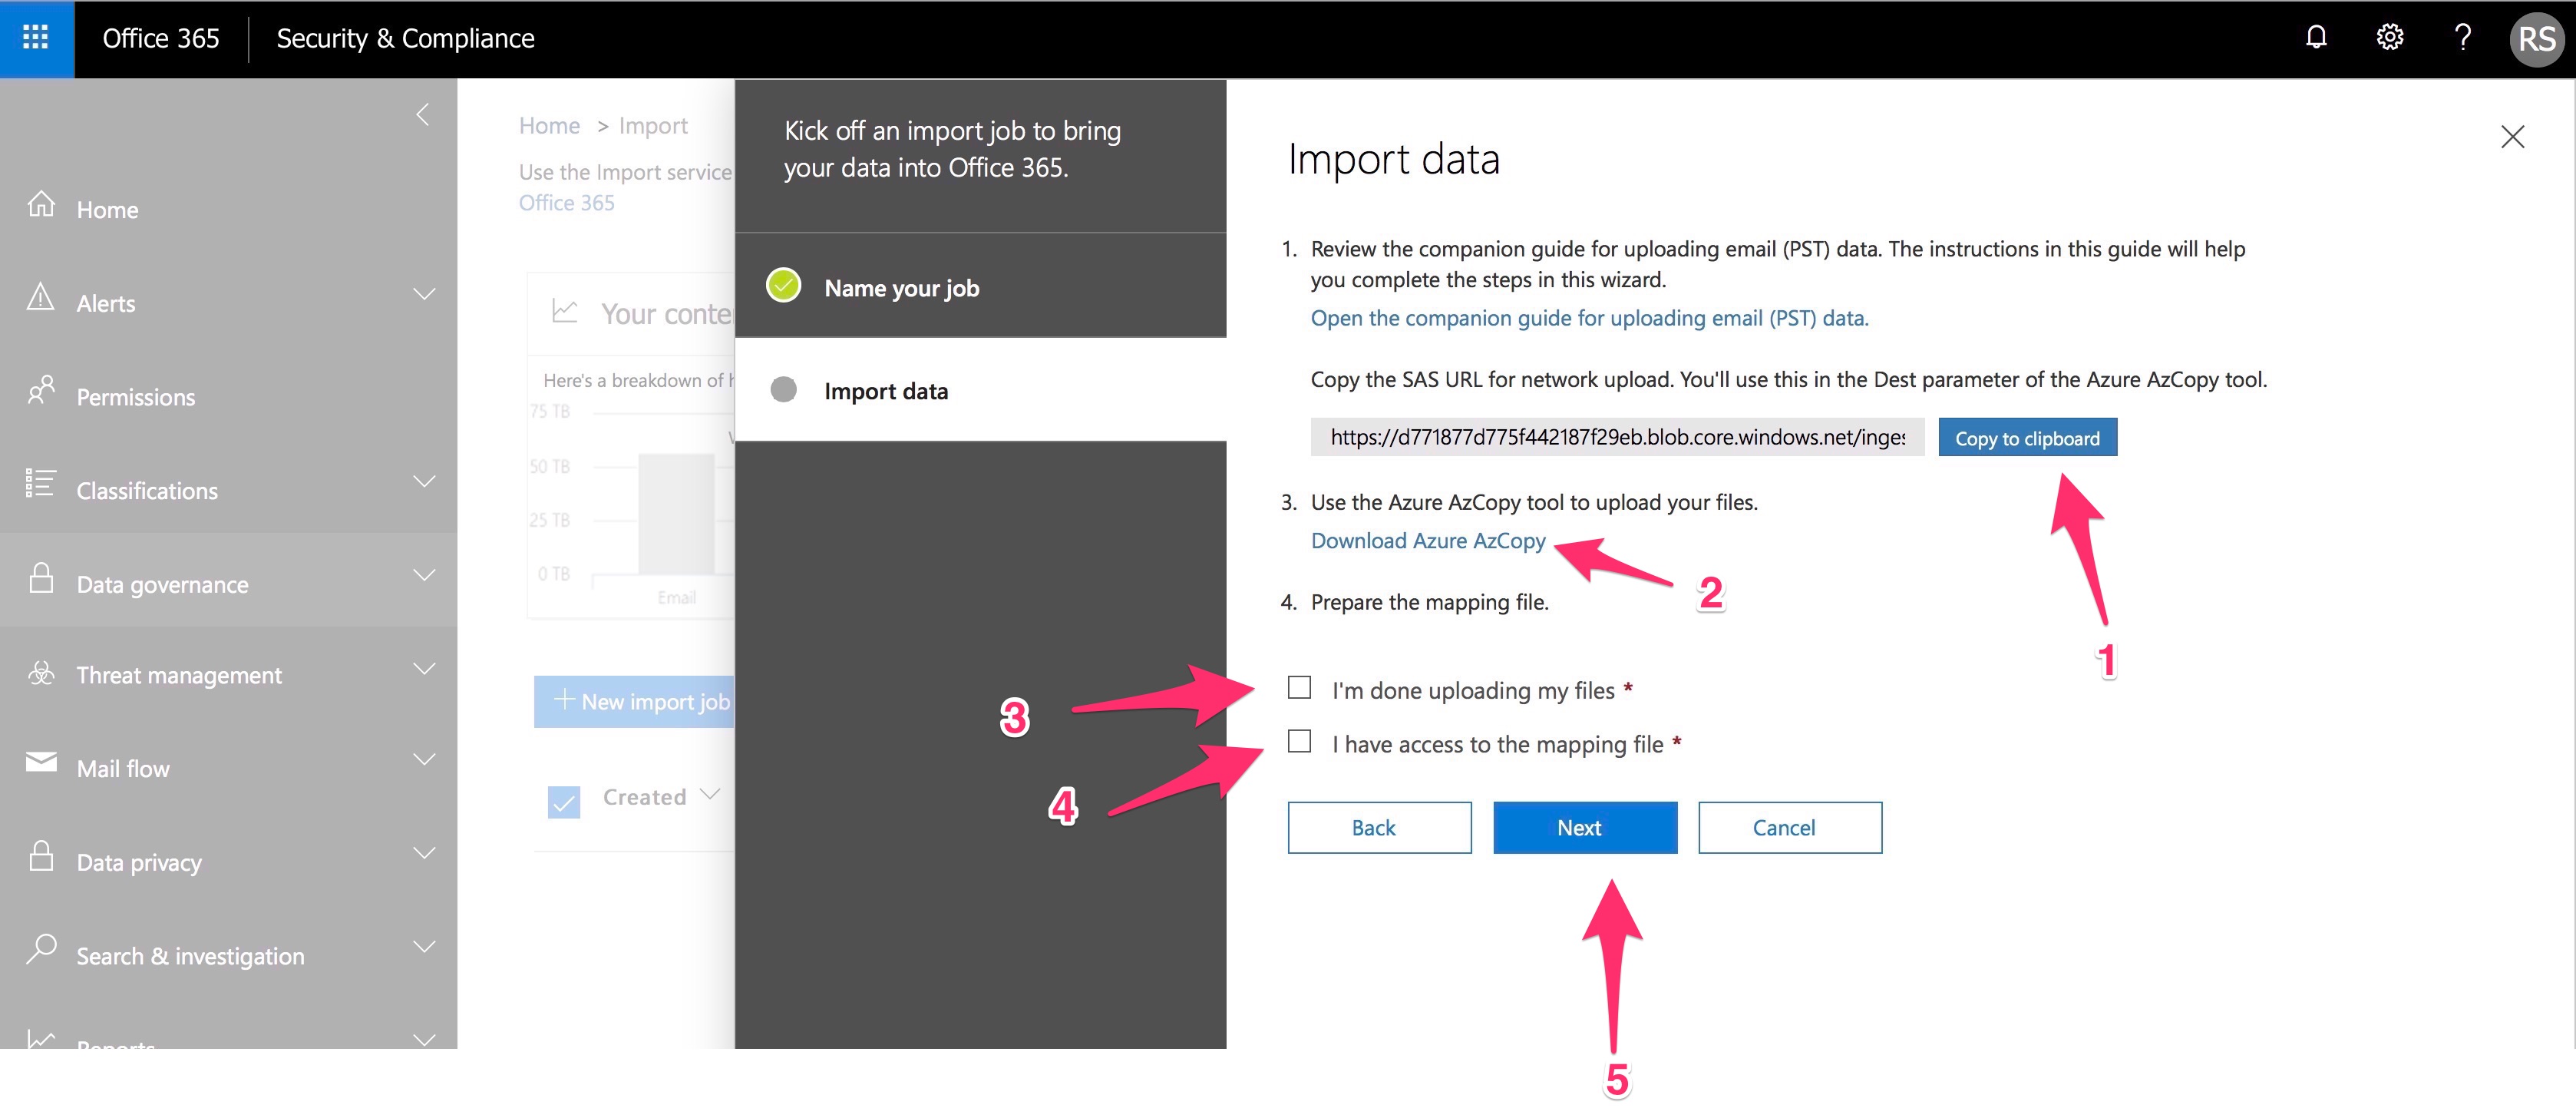
Now select “Show network upload SAS URL.” , Copy it, and prepare you with the Azure AzCopy tool (NB: AzCopy is platform dipendent.)
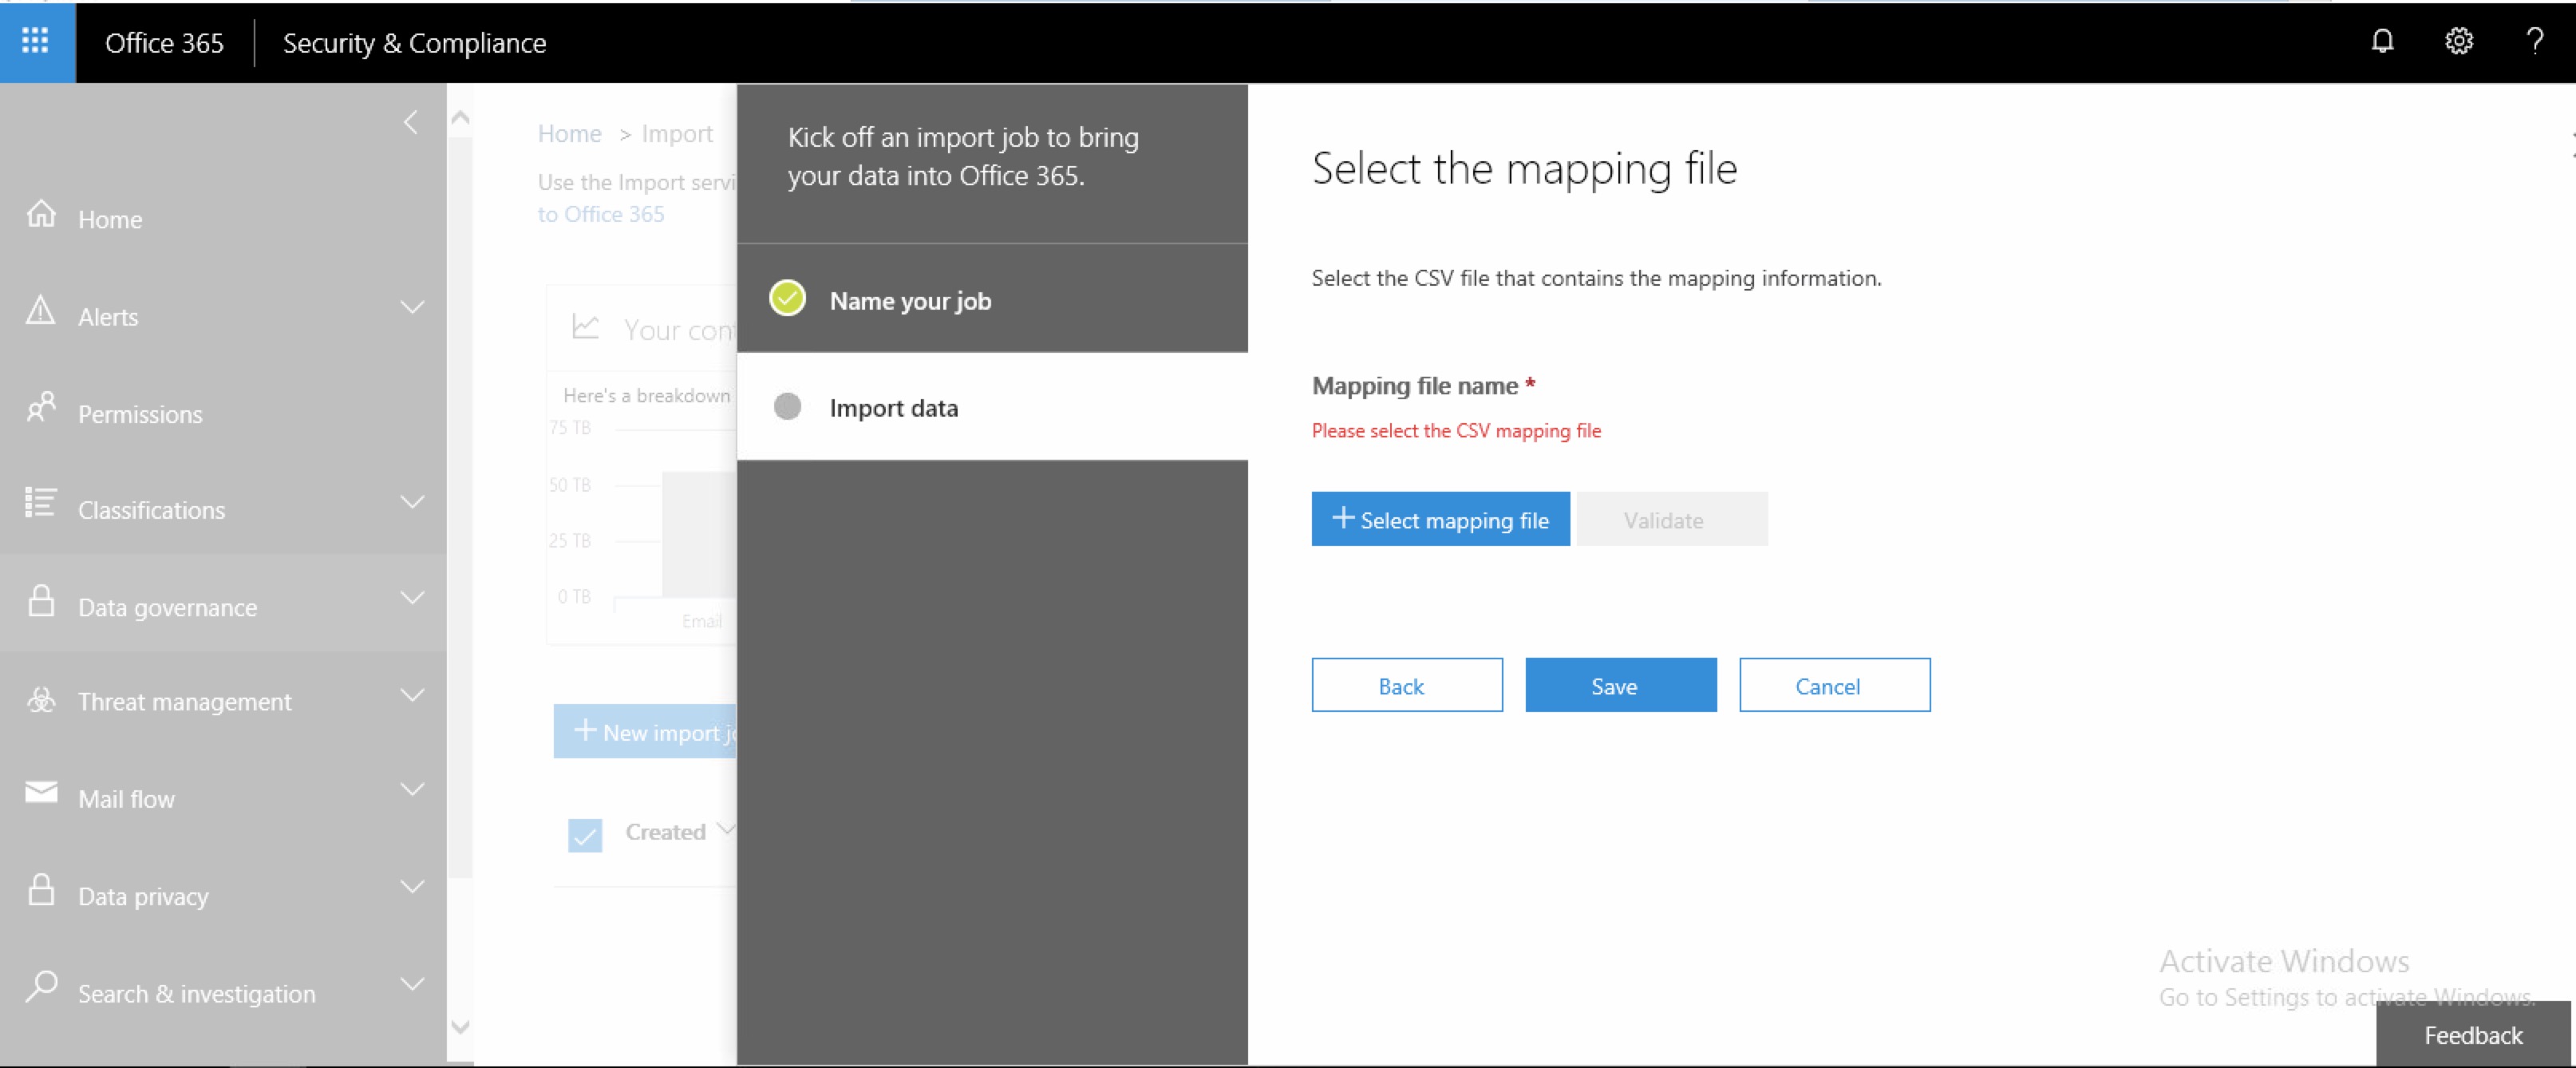
Upload your import CSV (see this guide to prepare it: https://marcoschiavon.net/2018/05/28/come-preparare-il-csv-di-import-pst-per-il-365/ )
that’s it!