|
1 |
<a href="https://marcoschiavon.net/exchange-2016-hybrid-deployment---part-one/">Exchange 2016 Hybrid deployment - Part one</a><br><a href="https://marcoschiavon.net/exchange-2016-hybrid-deployment---part-two/">Exchange 2016 Hybrid deployment - Part two</a><br><a href="https://marcoschiavon.net/exchange-2016-hybrid-deployment---part-three/">Exchange 2016 Hybrid deployment - Part three</a> |
Now we are ready to Hybrid our Exchange server 2016.
Before proceed, take in mind to modify the fallowing IE settings, otherwise the Exchange Hybrid Deployment will not start. :
Under Tools > Internet Options > Security > Internet (Zone) > Custom level
.Net Framework-reliant components > Run components signed with Authenticode (Enable)
Downloads > File Download (Enable)
Security > Active Scripting (Enable)
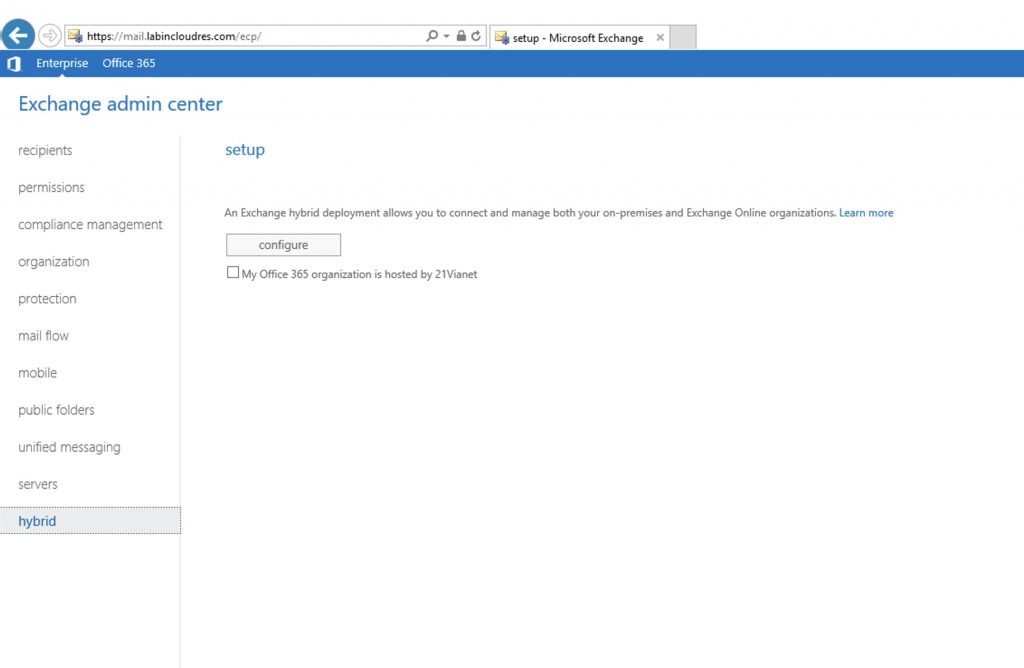
Open the Exchange 2016 GUI and go to “hybrid” and select “configure“
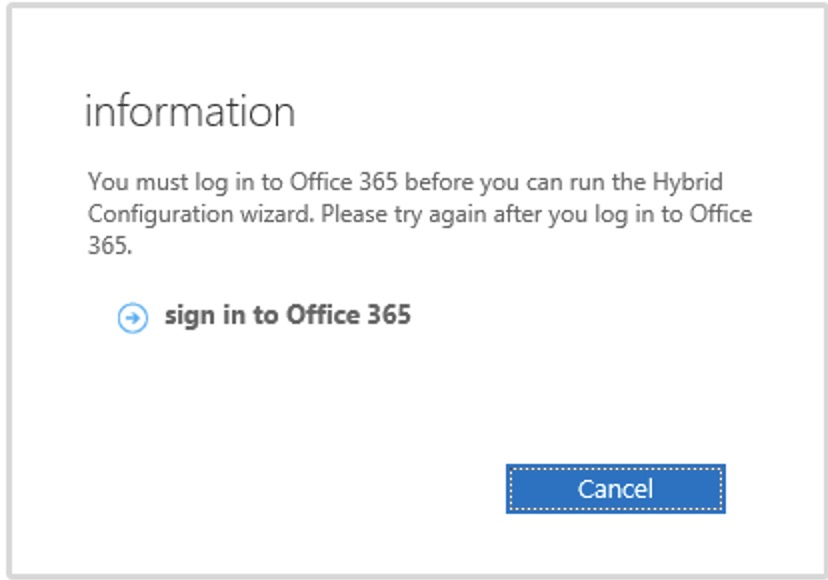
Sign in to 365
After signed on , click again “configure” and the application starts…
NB, if not, go control panel => default programs => and set the fallowing to be launched by IE.

Install…
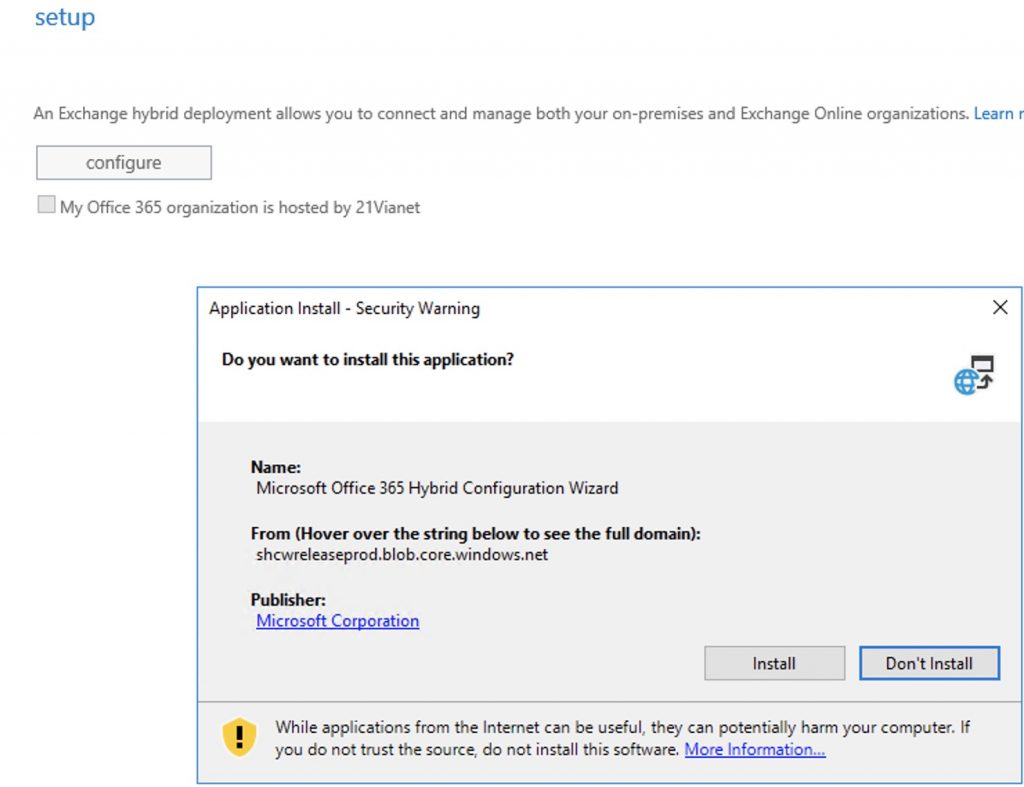
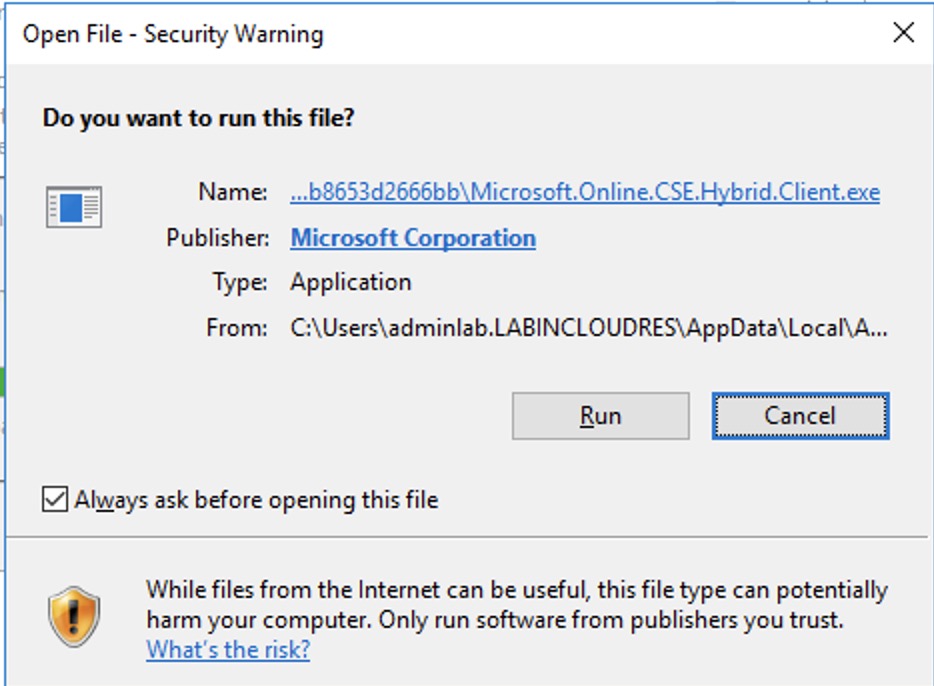
Run
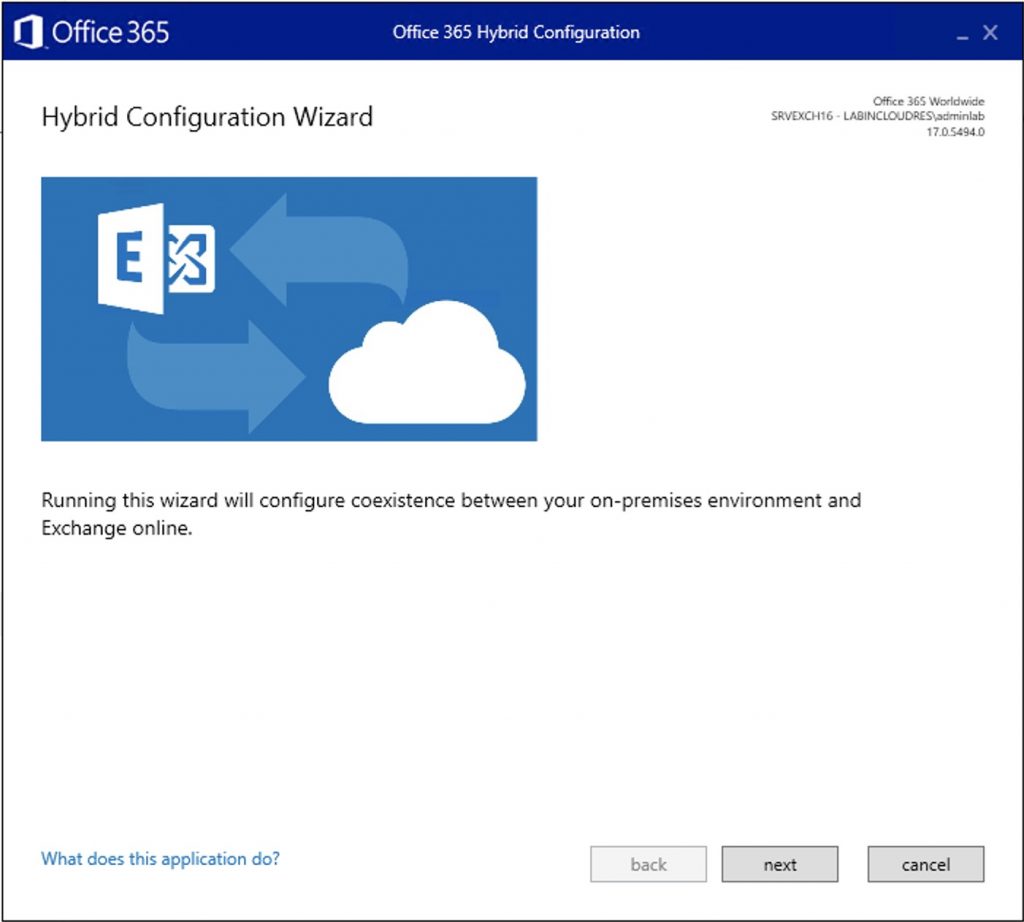
Select, NEXT…
NB: if you need to debug the HCW , the logs are on AppData\Roaming\Microsoft\Exchange Hybrid Configuration
The Hybrid configuration tool now is started.. let’s go!
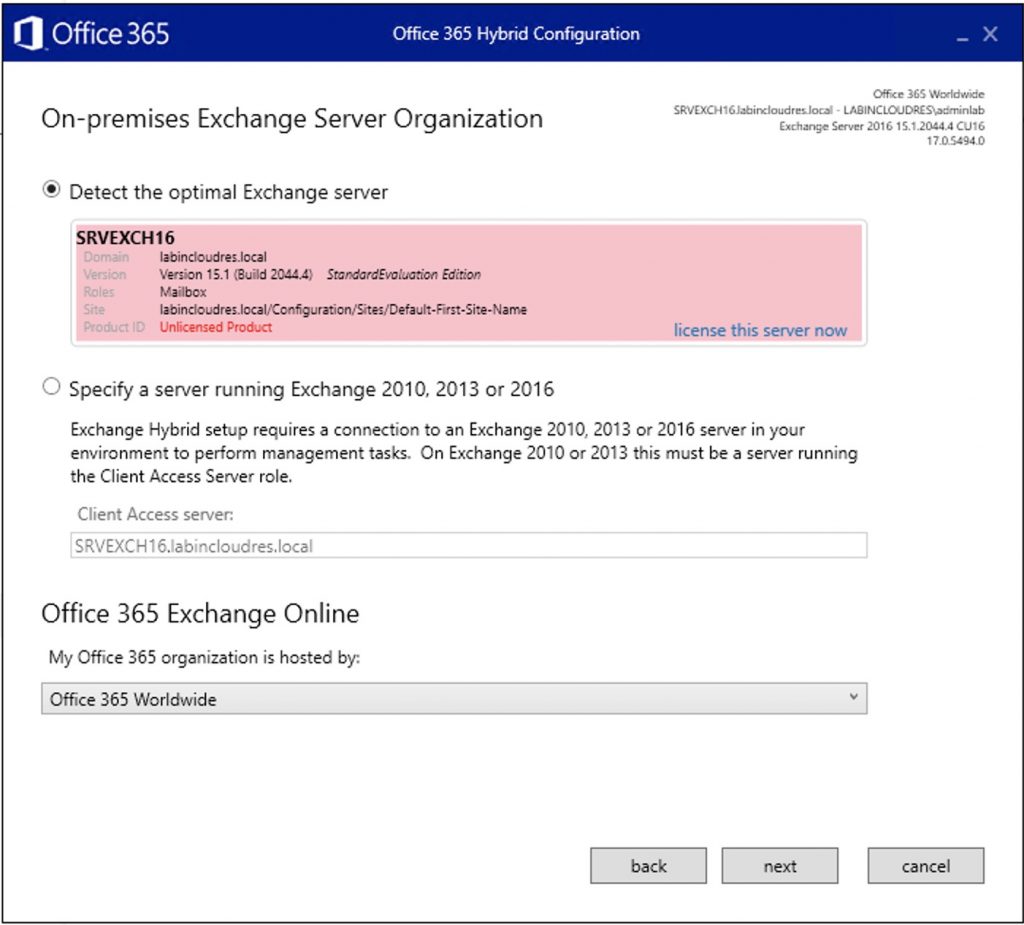
Select your cert.
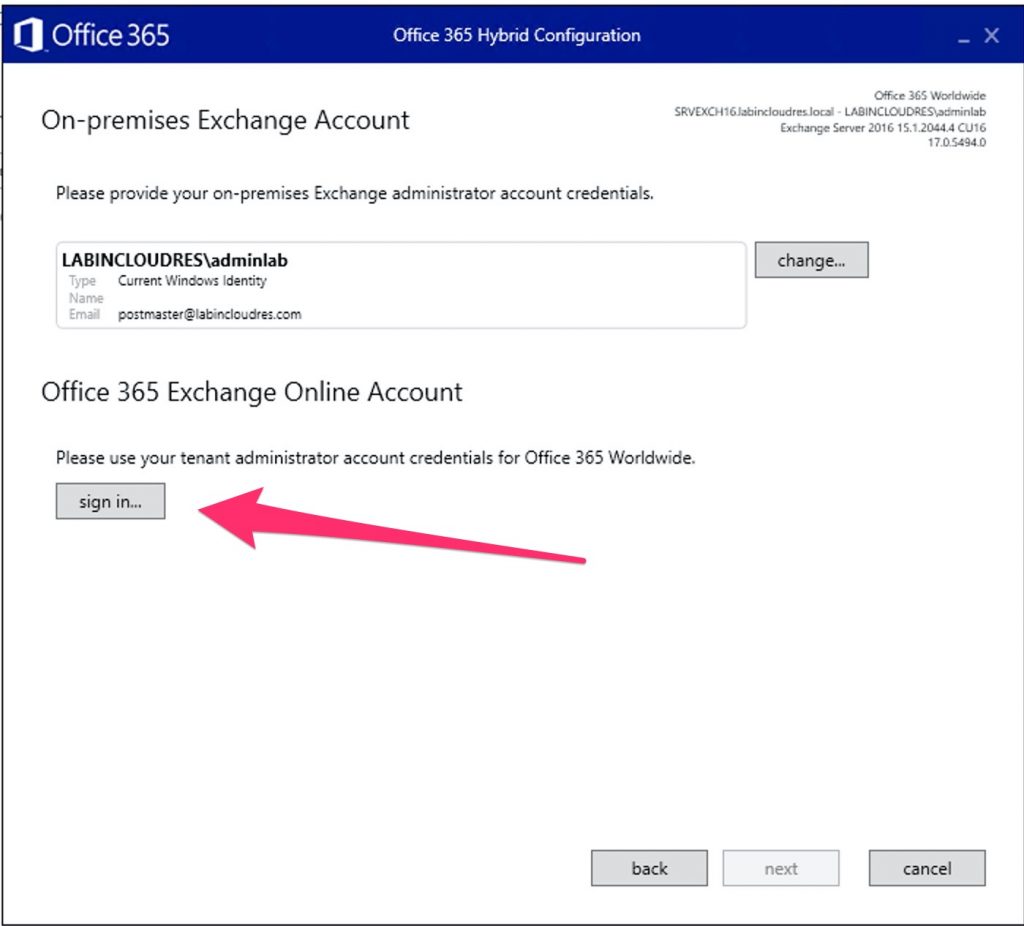
Sing in to 365 again..
next…
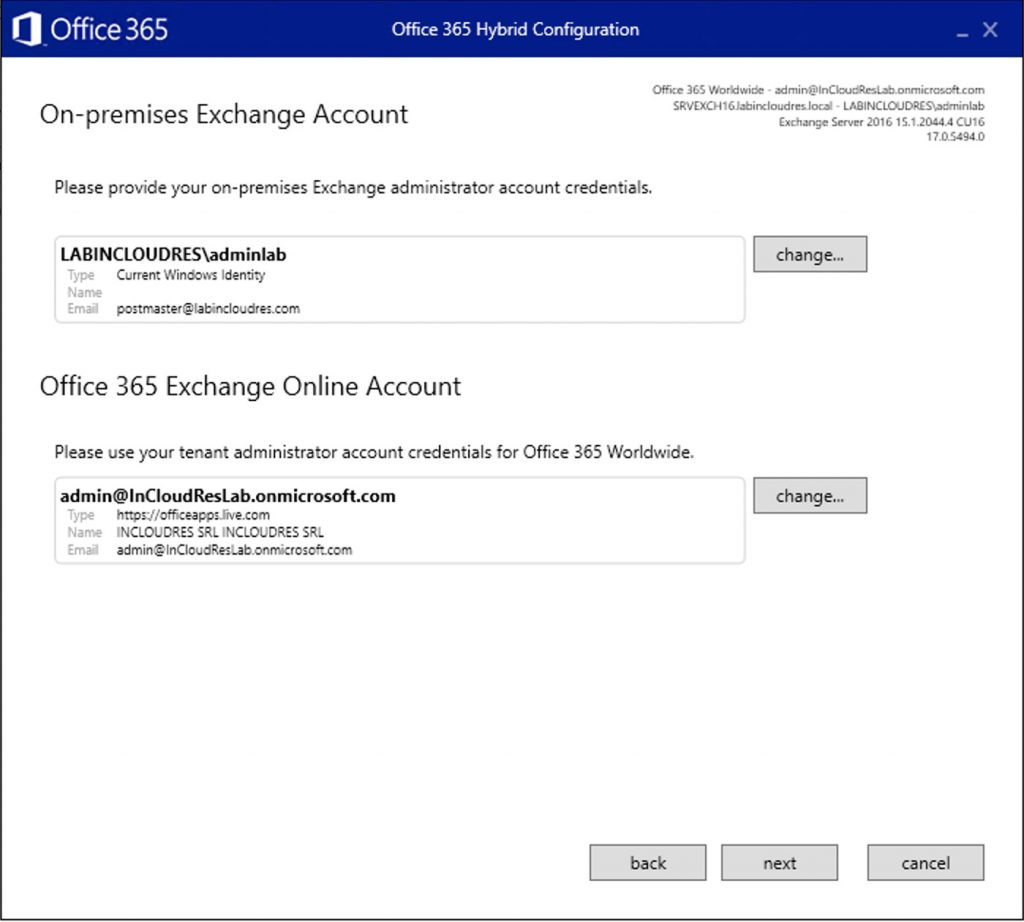
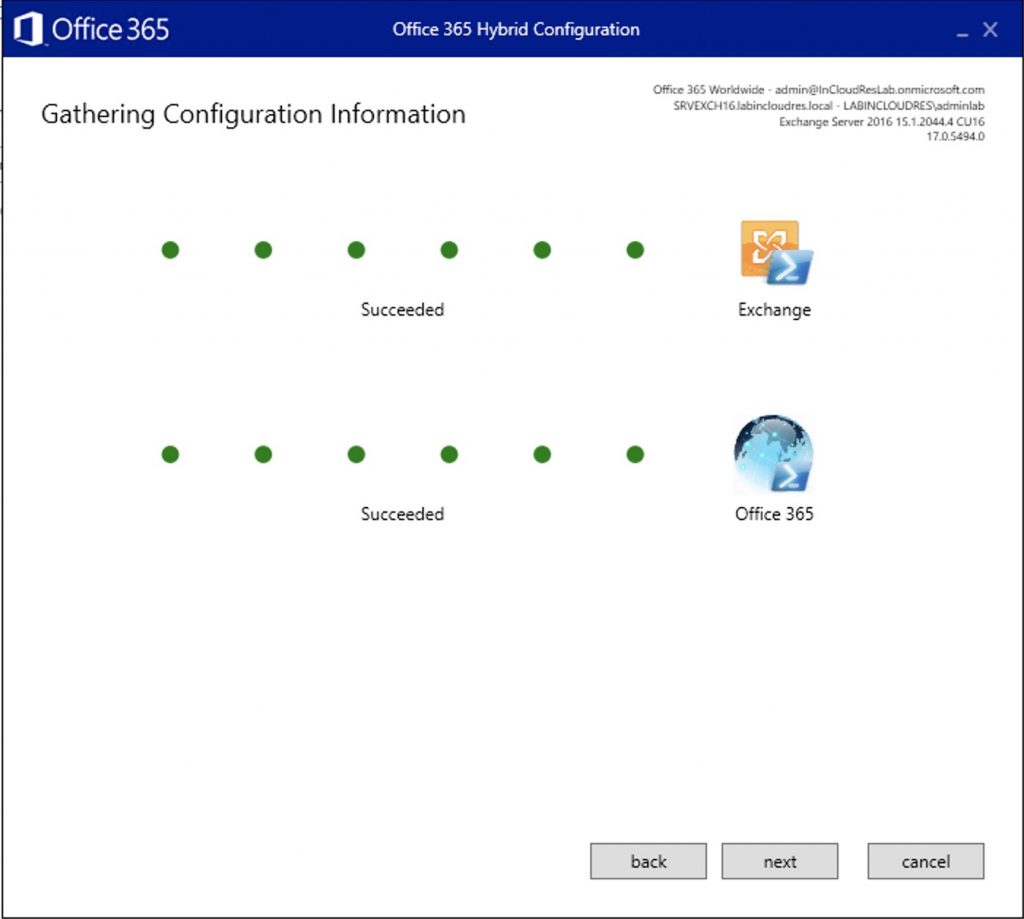
Well, go on..
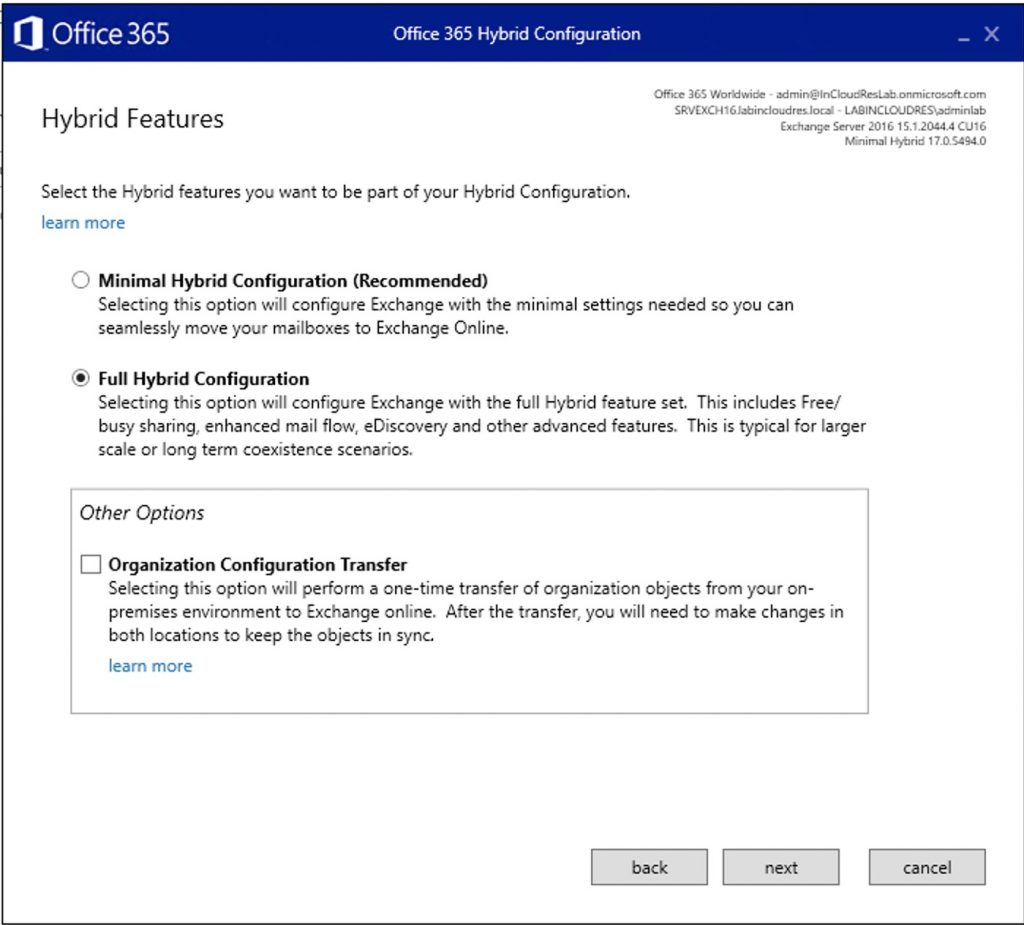
Select Full-hybrid ( we will use this.. but you can read this doc)
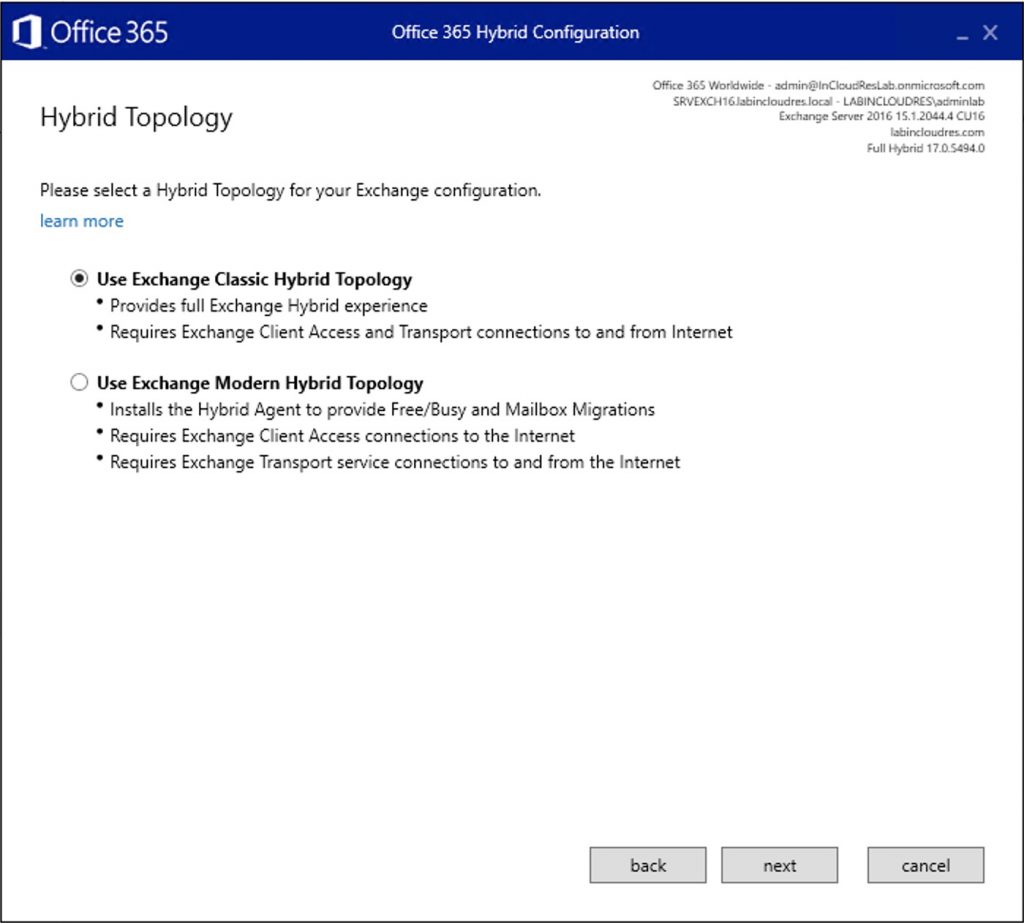
Select classic ( we will use Classic, but the other option is different becouse will implement the Hybrid Agent .. read this doc)
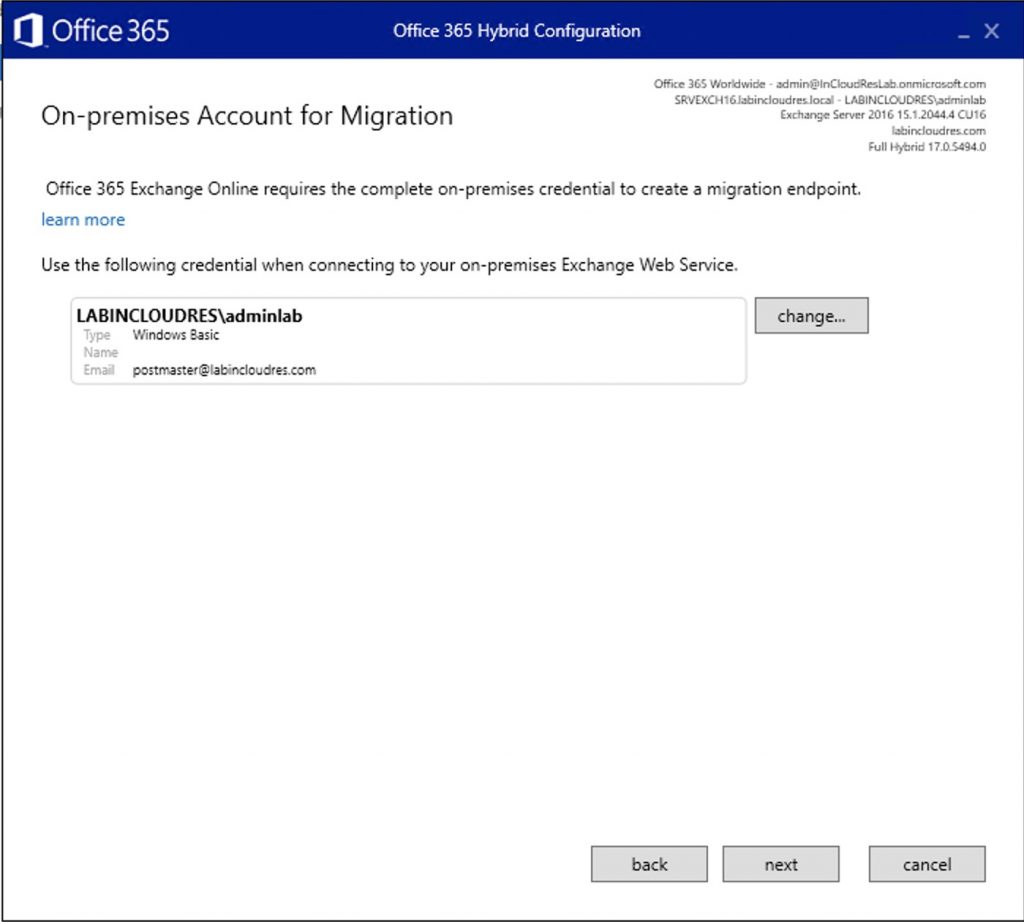
Enter credentials
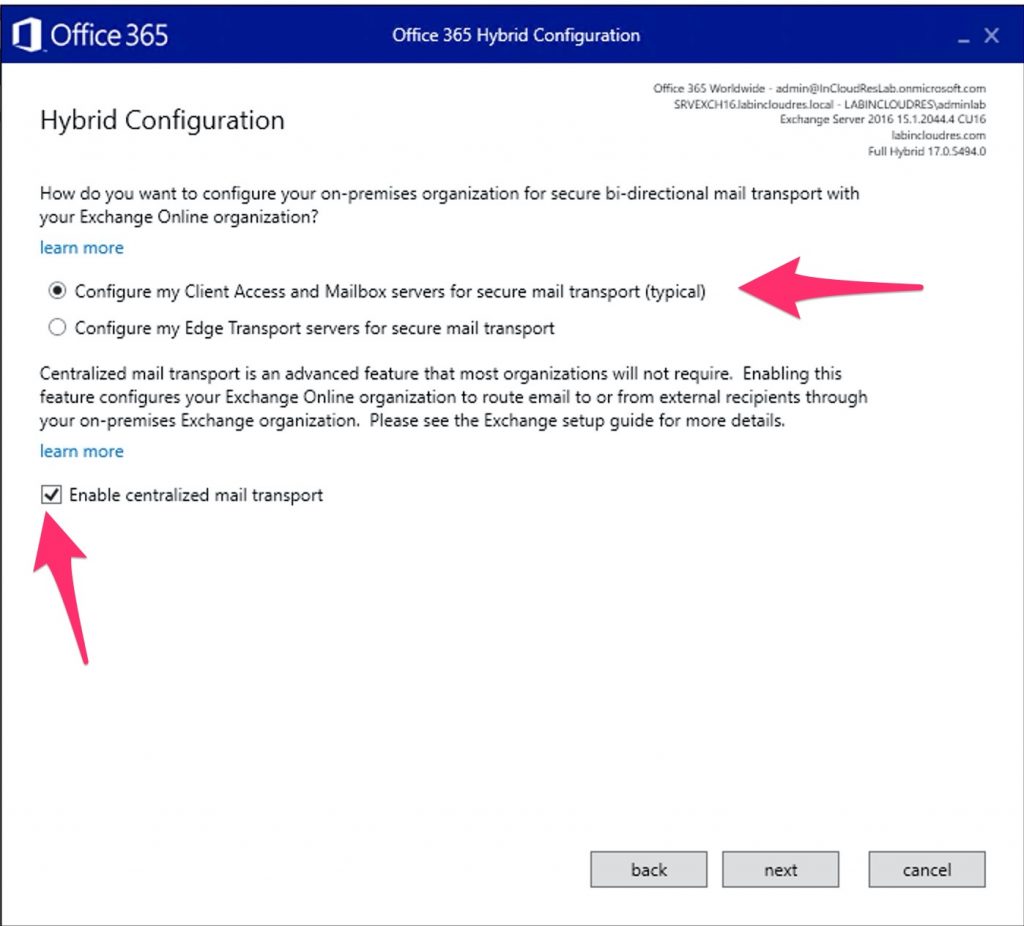
Select the first one and the “centralized mail transport”
In our Environment we will use the centralized mail transport (Route incoming Internet messages through your on-premises organization) because we need to manage the inbound flow troughs our security device.
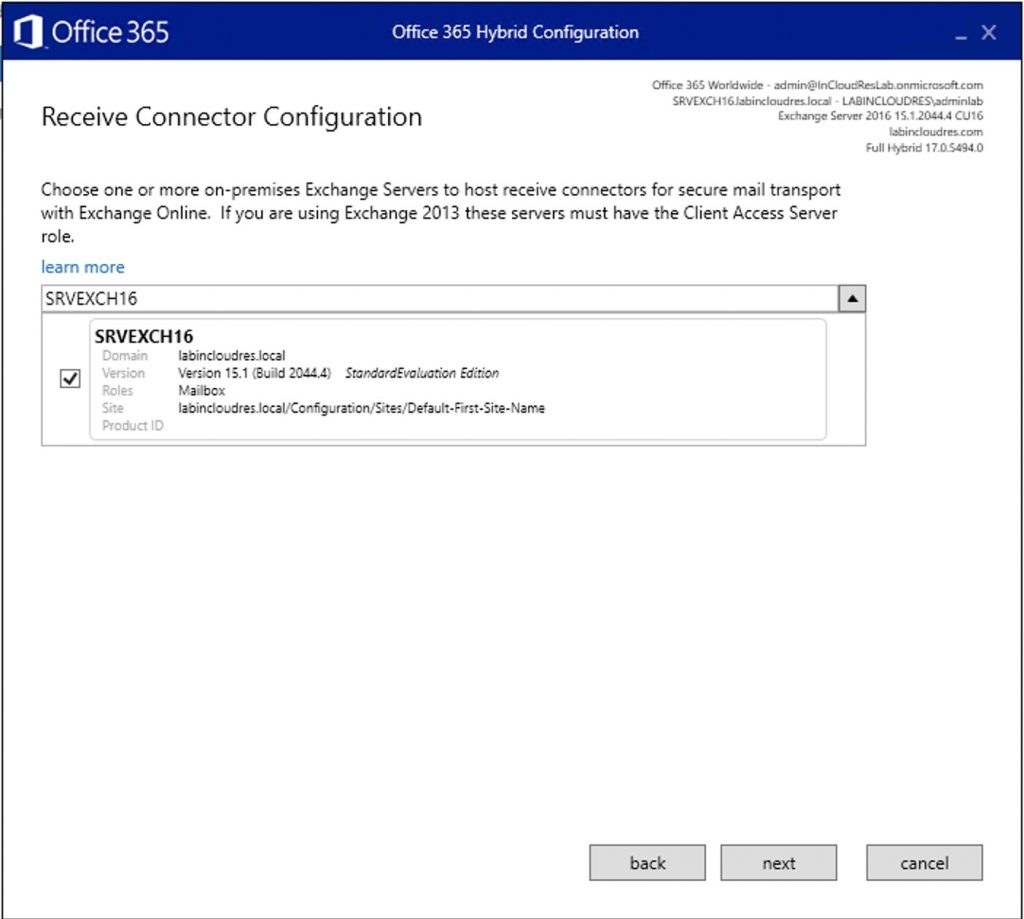
Select your Exchange for the receive connector
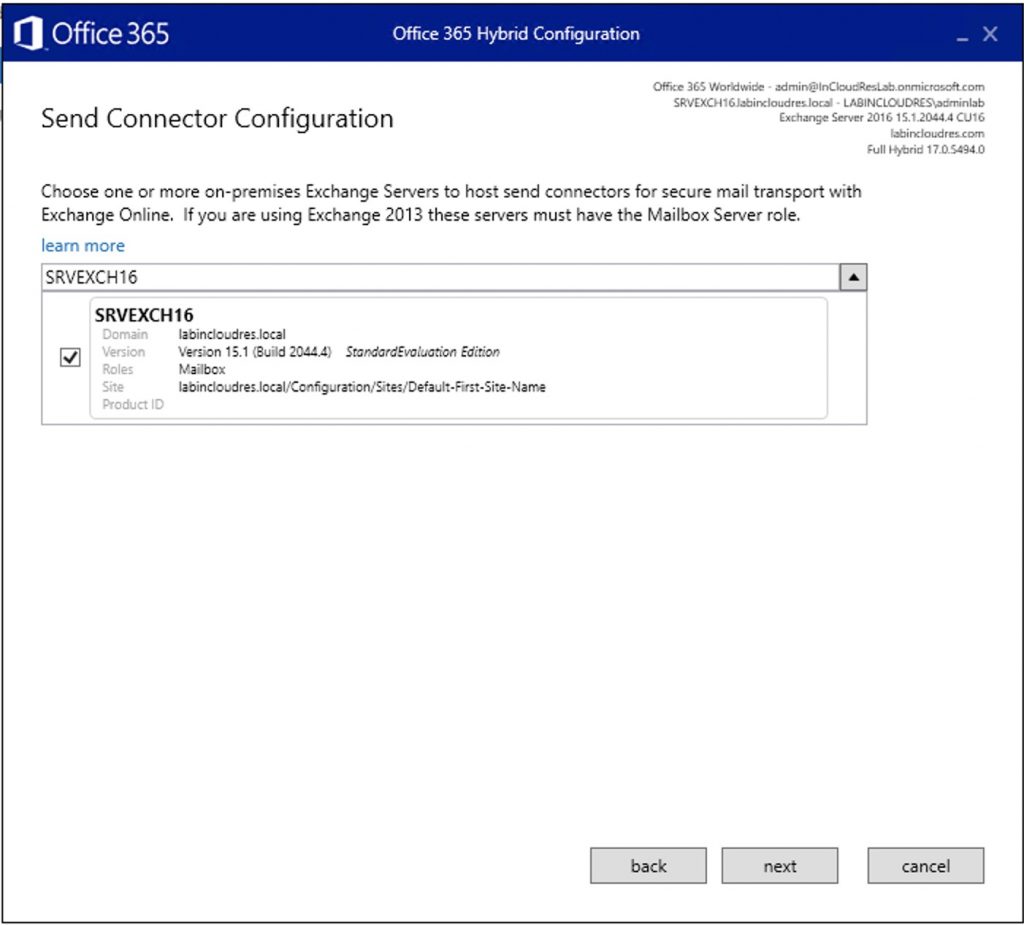
Select your Exchange for the send connector
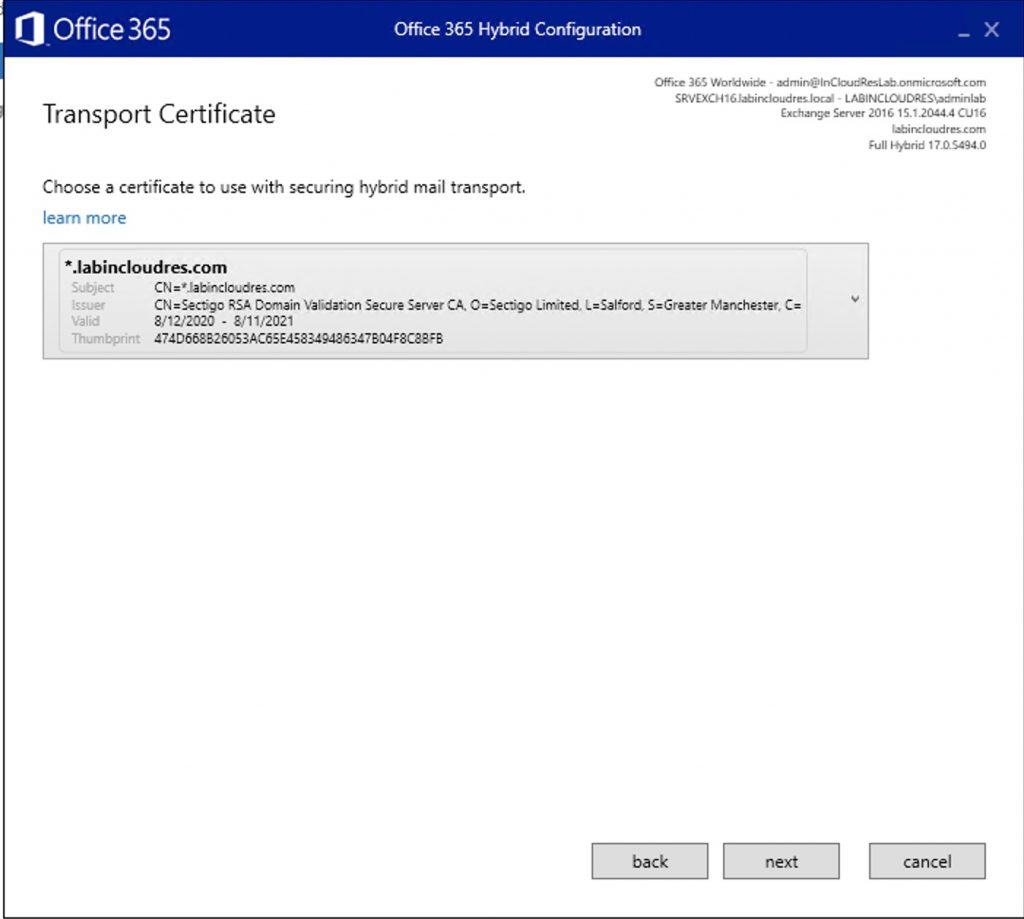
Select the cert to secure communications
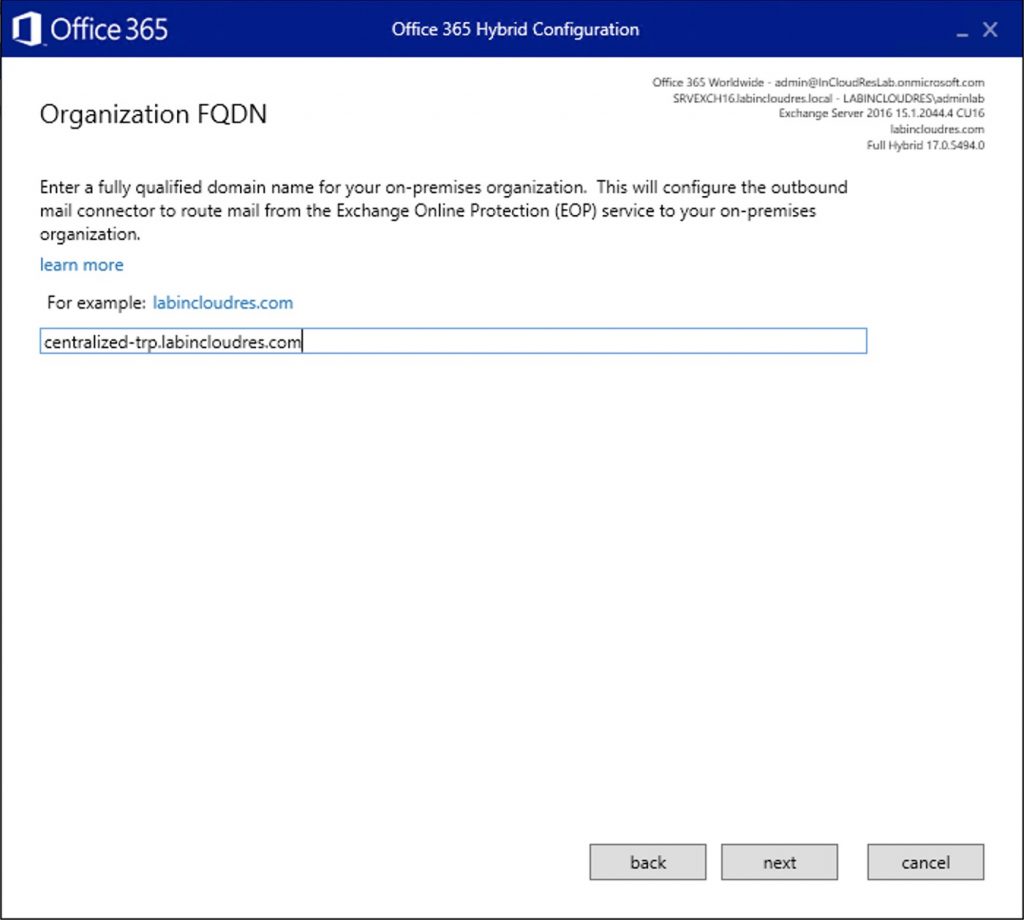
Now we need to input the FQDN that point to the smtp ports dedicated to for the centralized mail transport. ( take in mind that this could be different public IP of your MX record that point to your Exchange)
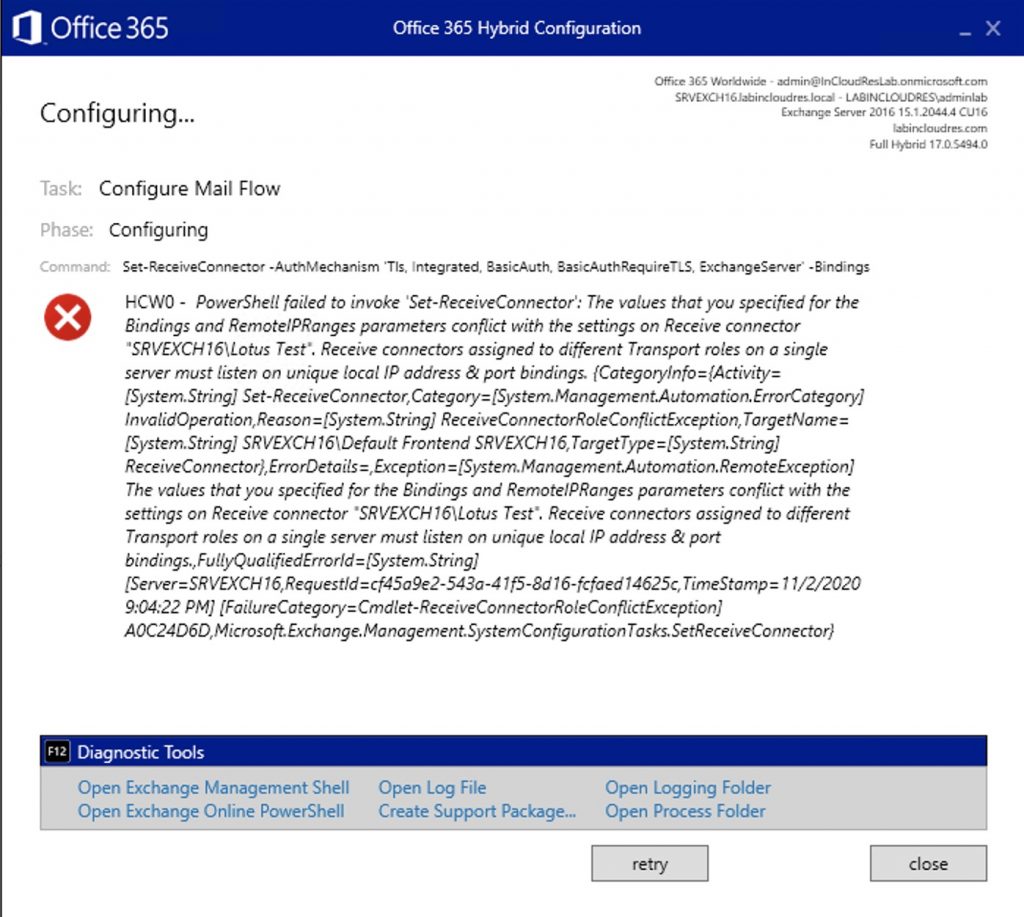
In the case you receive the error below during the Hybrid deployment you need to convert yours hub transport receive connectors, that is holding the port 25, to a fronted transport receive connectors.
this is the command:
Set-ReceiveConnector -Identity ‘your receive connector’ -TransportRole FrontendTransport see also this guide
Now we are going to test the migration from our on prem.
Do this.. open the PSchell and issue this command:
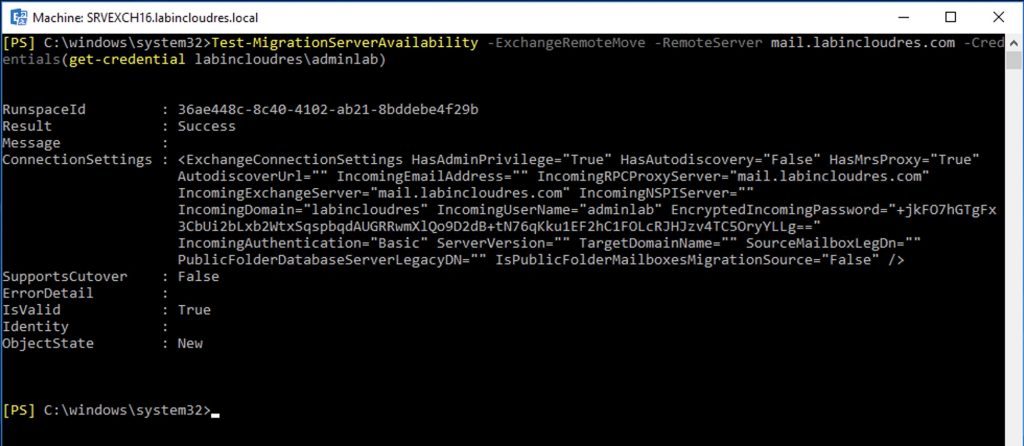
Test-MigrationServerAvailability -ExchangeRemoteMove –RemoteServer mail.labincloudres.com -Credentials(get-credential labincloudres\adminlab)
In our case, we have an issue…
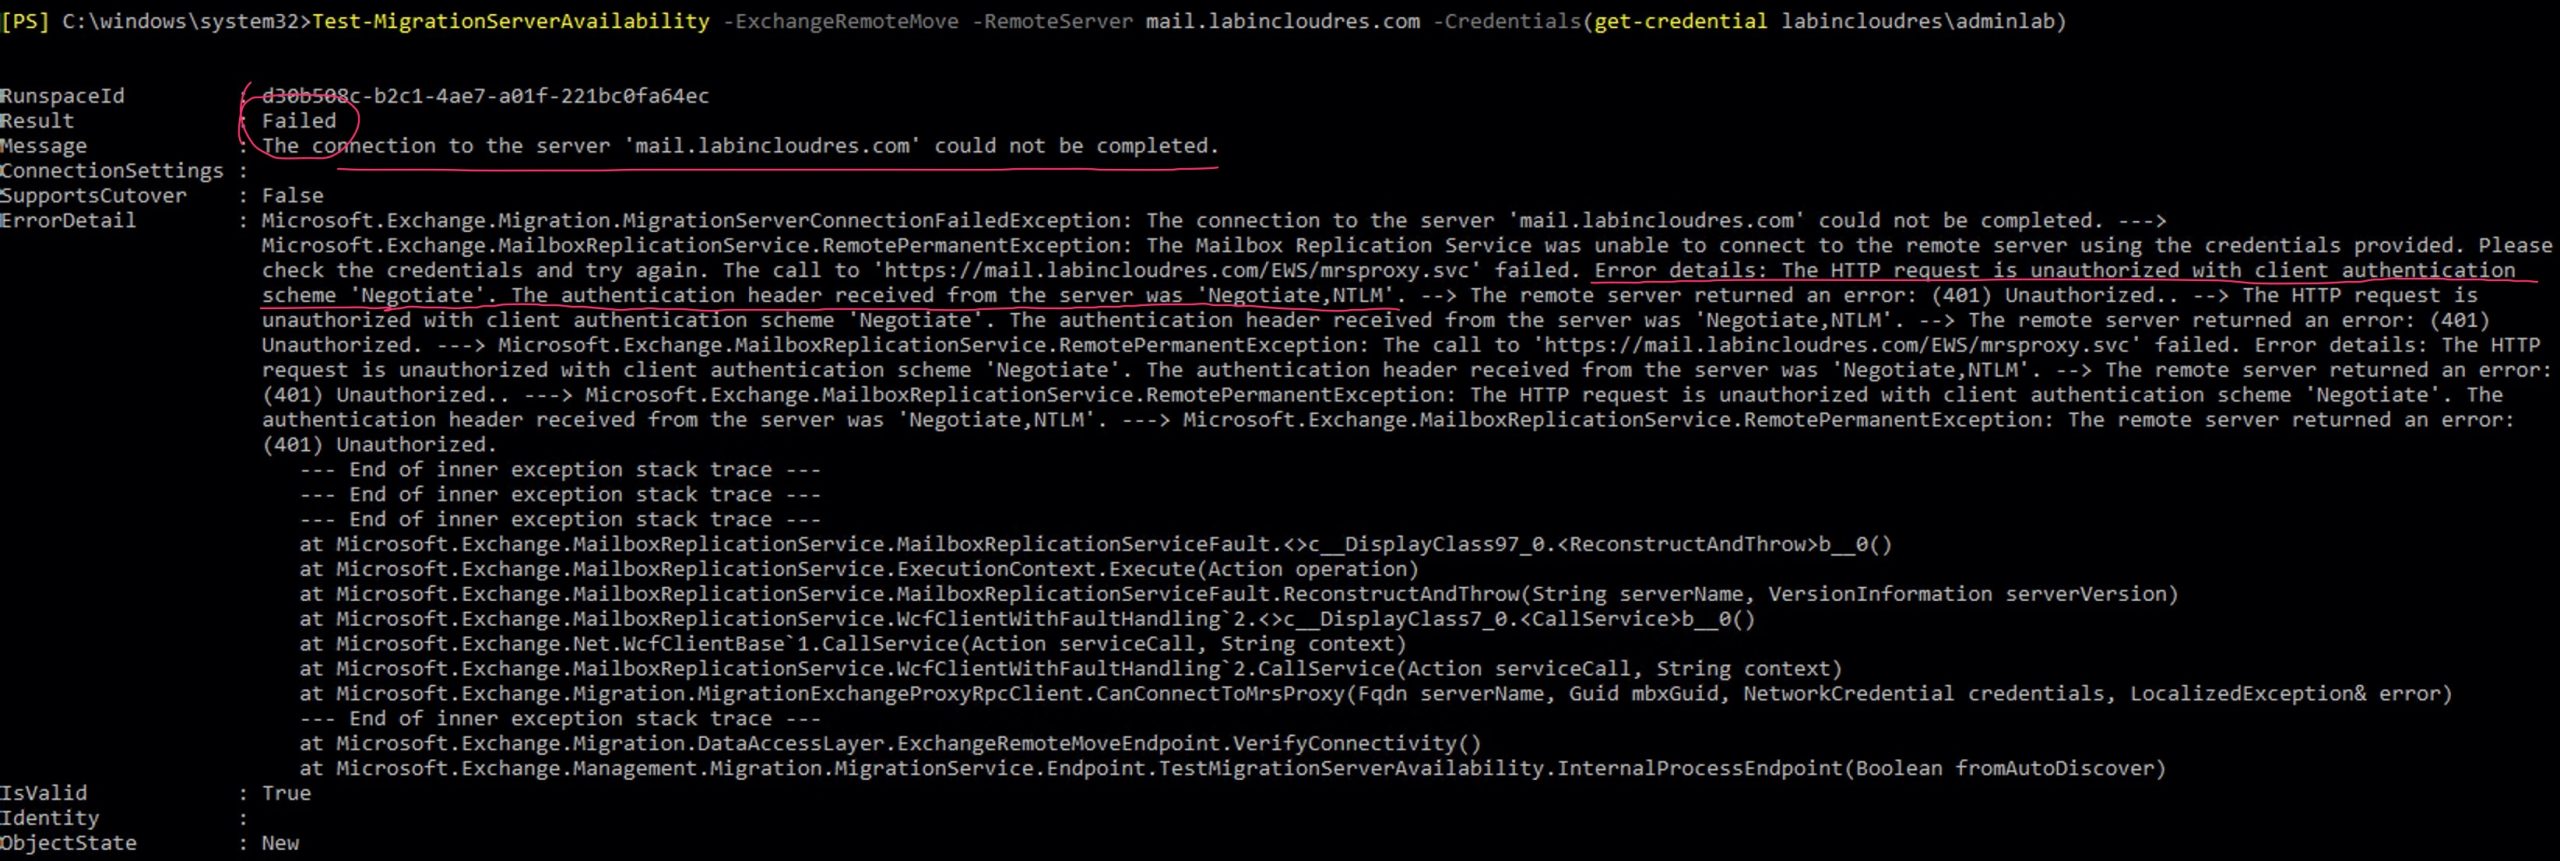
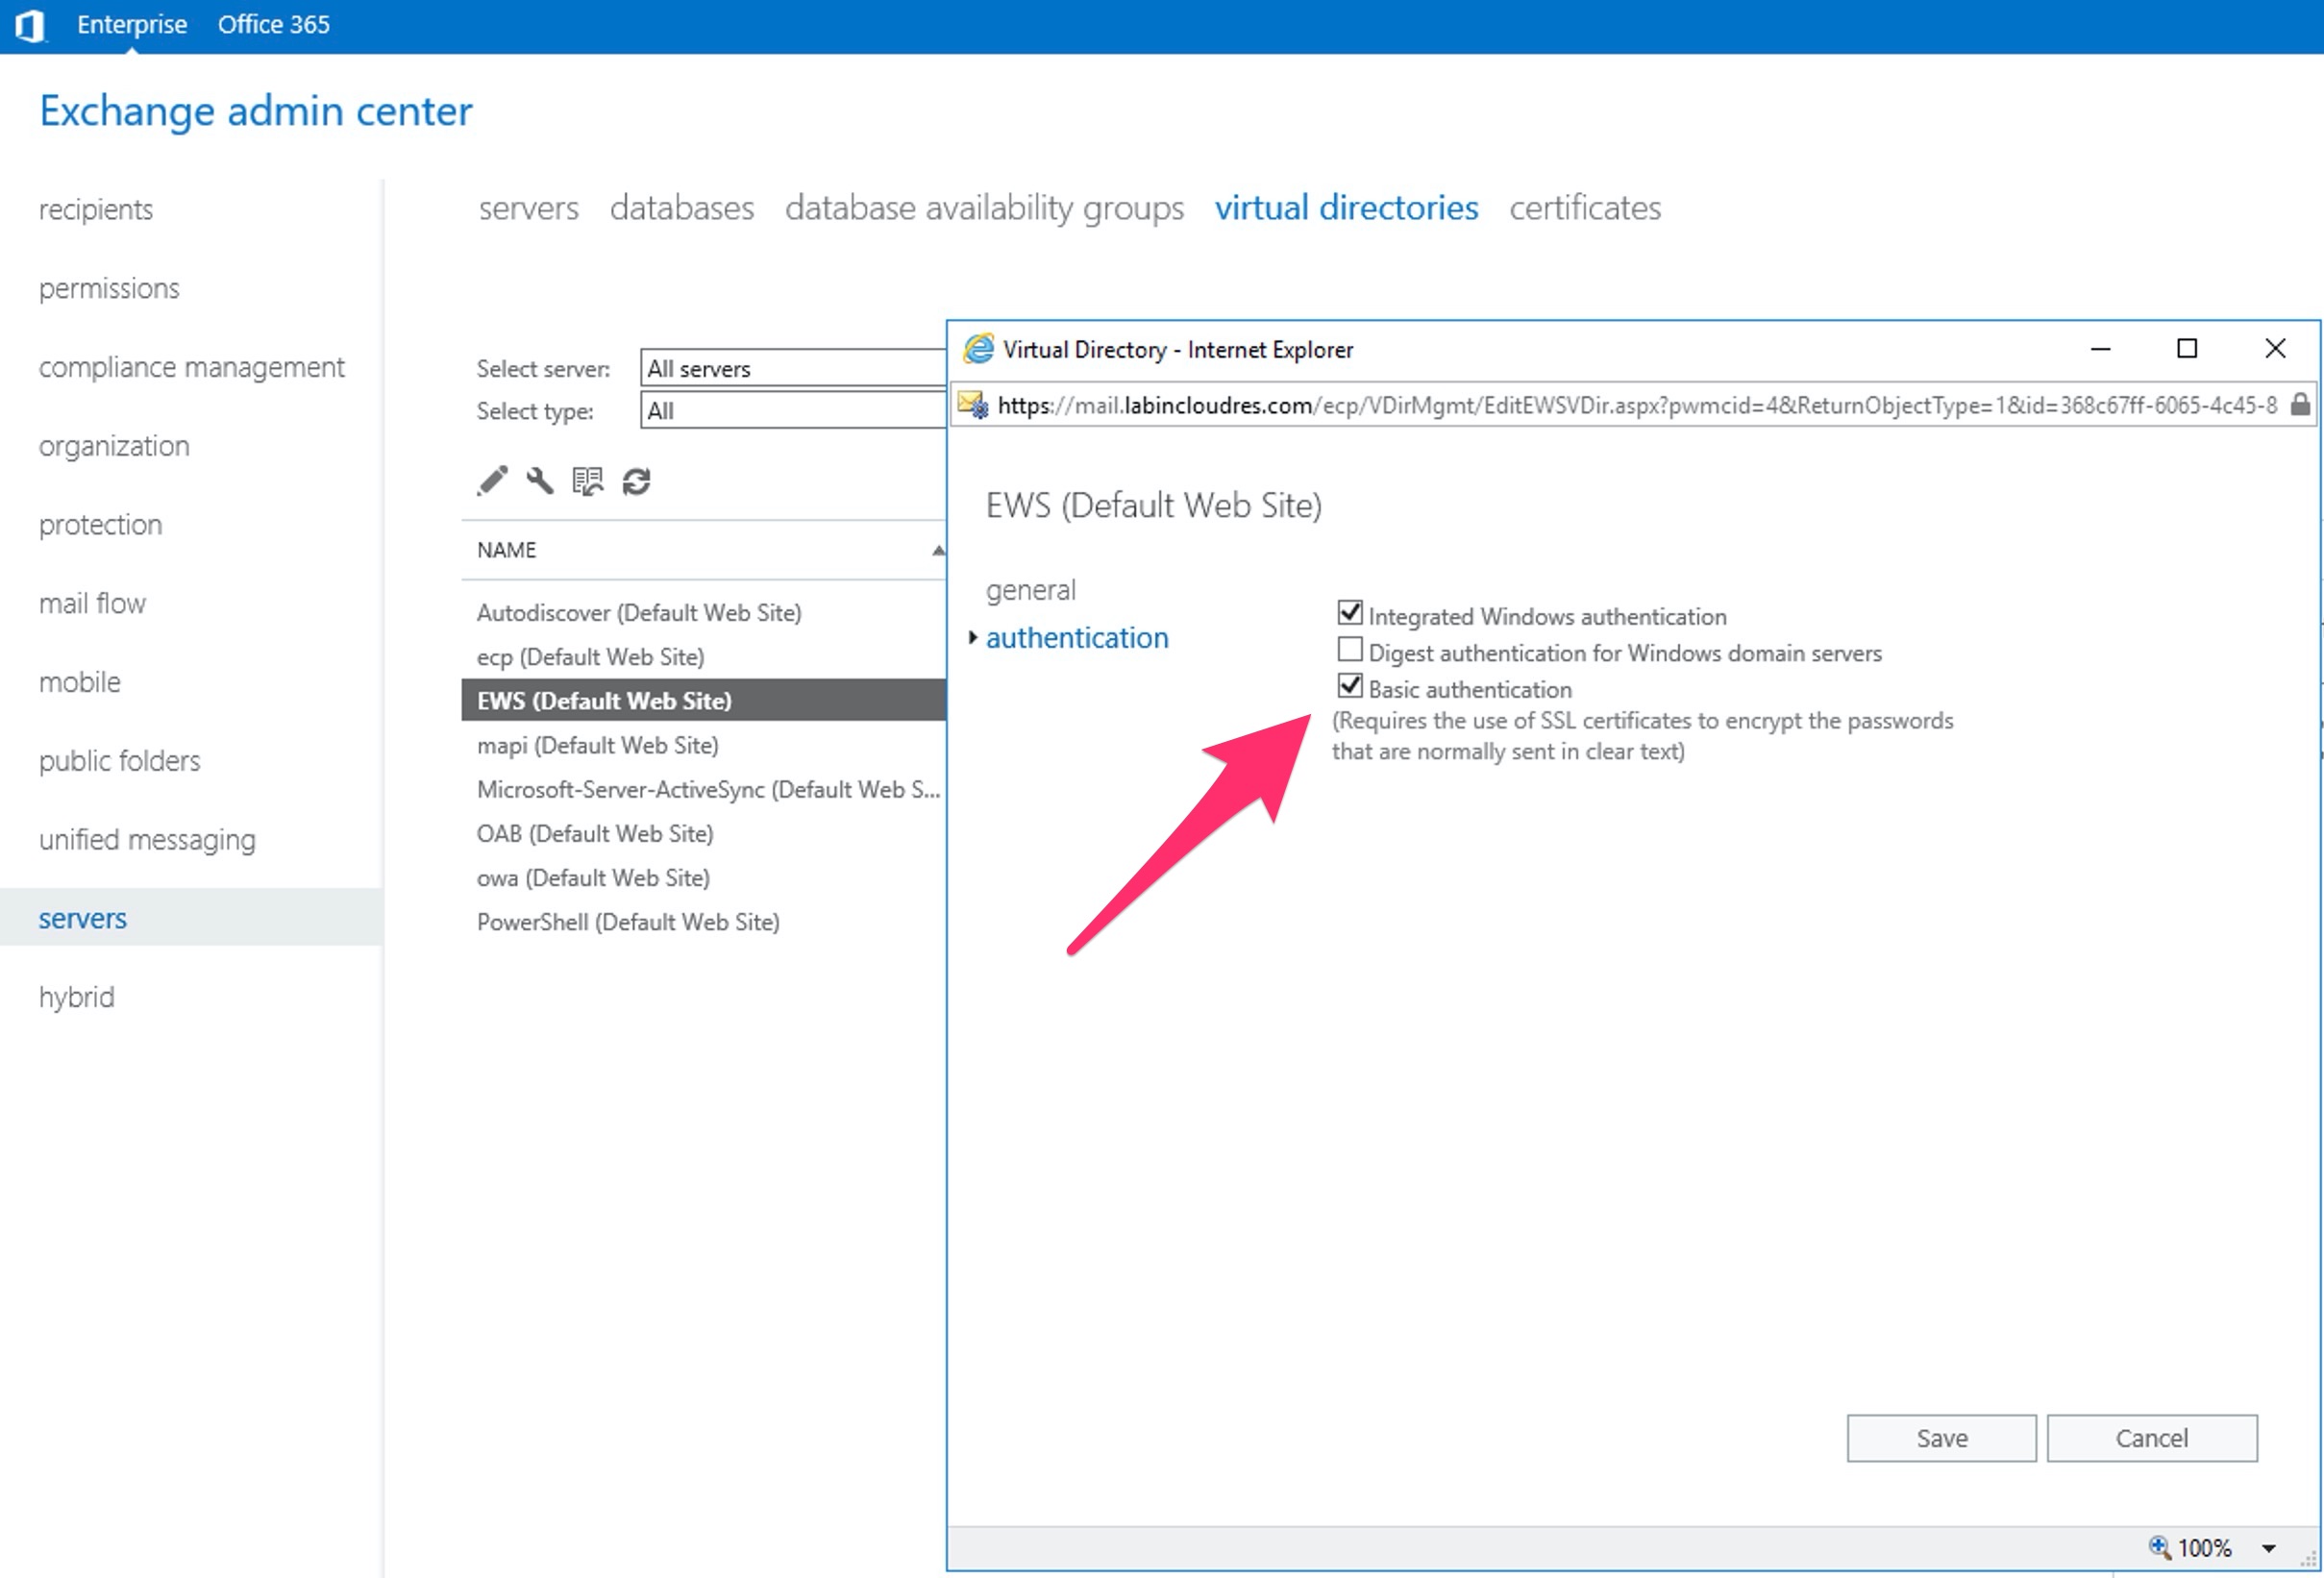
To resolve this issue, we need to add the authentication “basic” to che EWS …
Try again , Success!
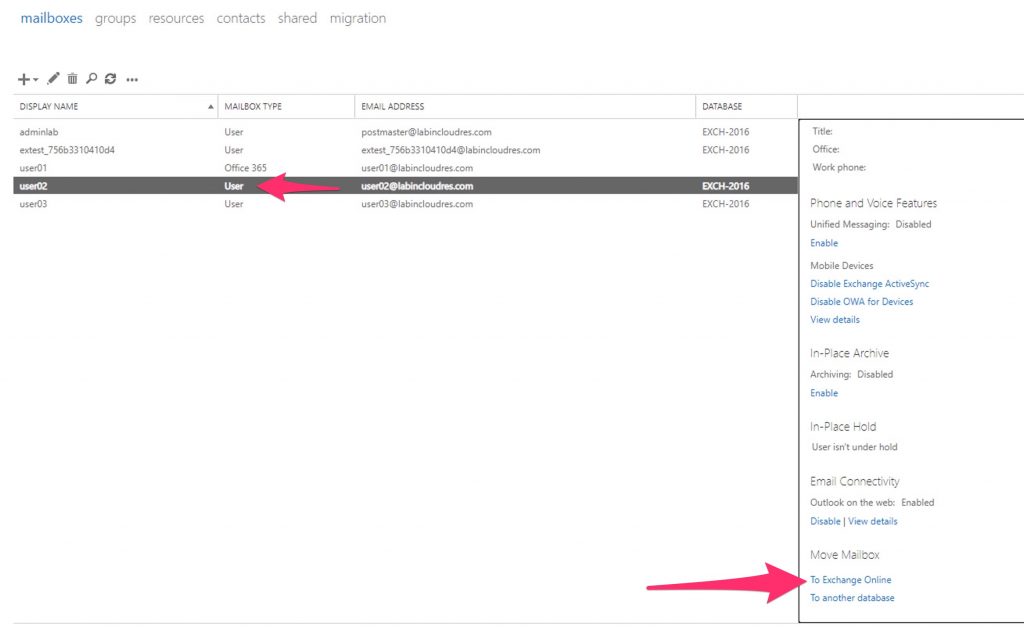
Now we have finish and we can migrate our mailboxes to the 365.!
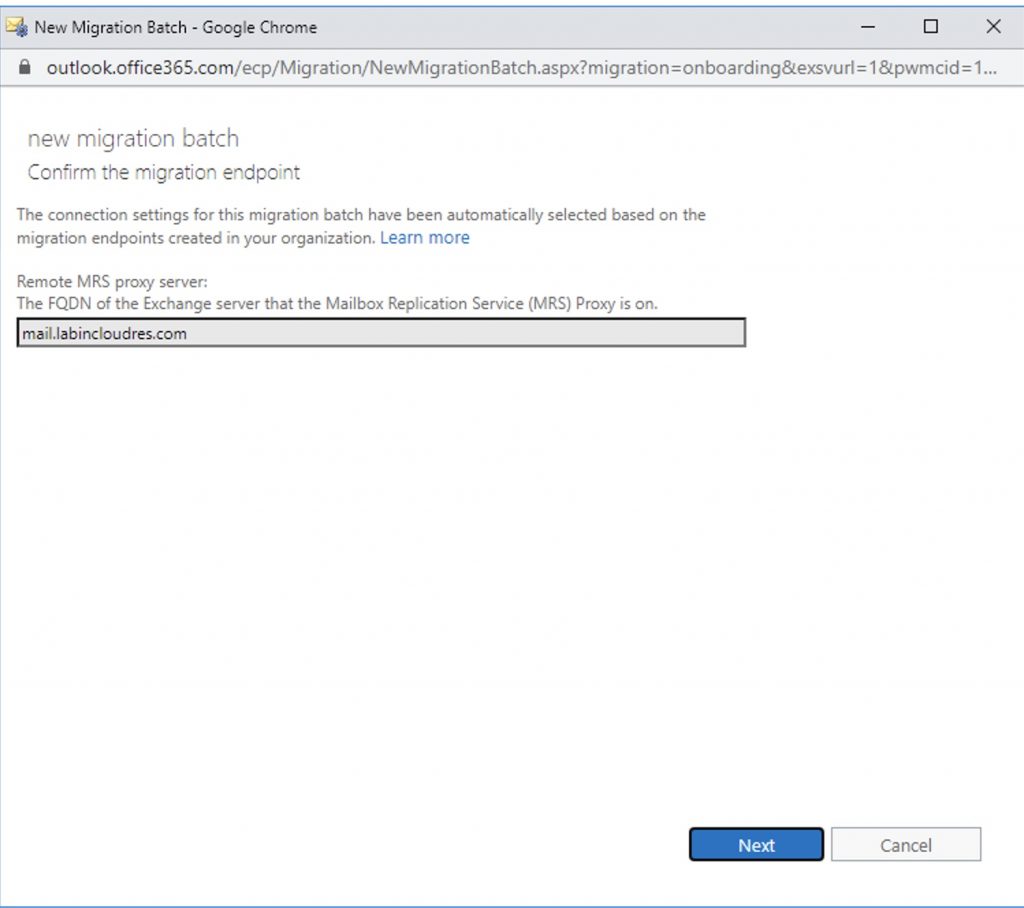
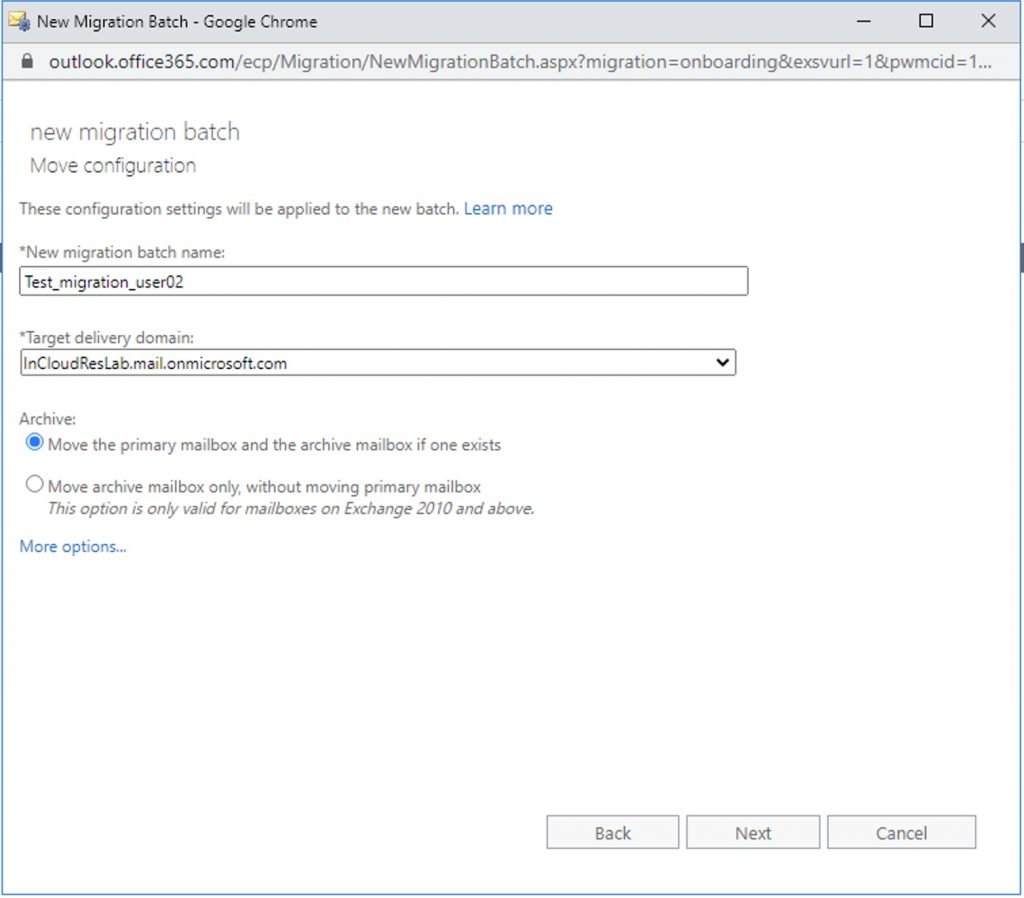
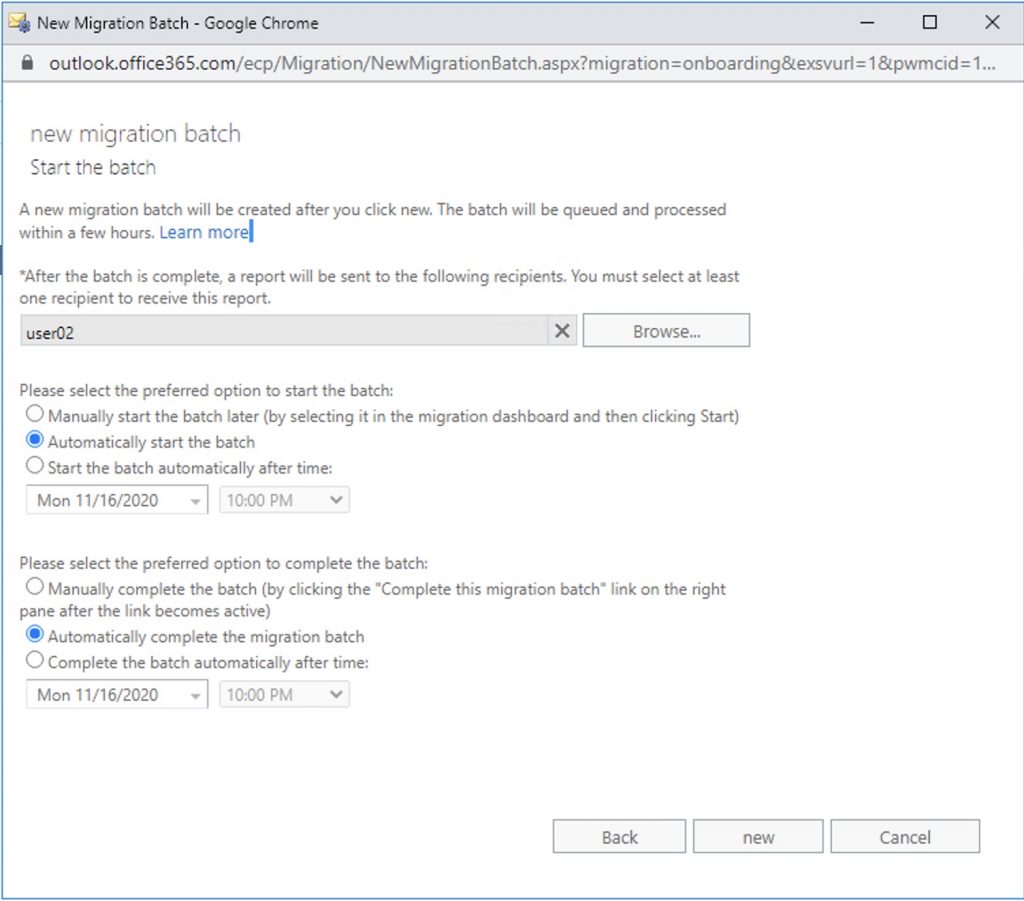
That’s it

Done!

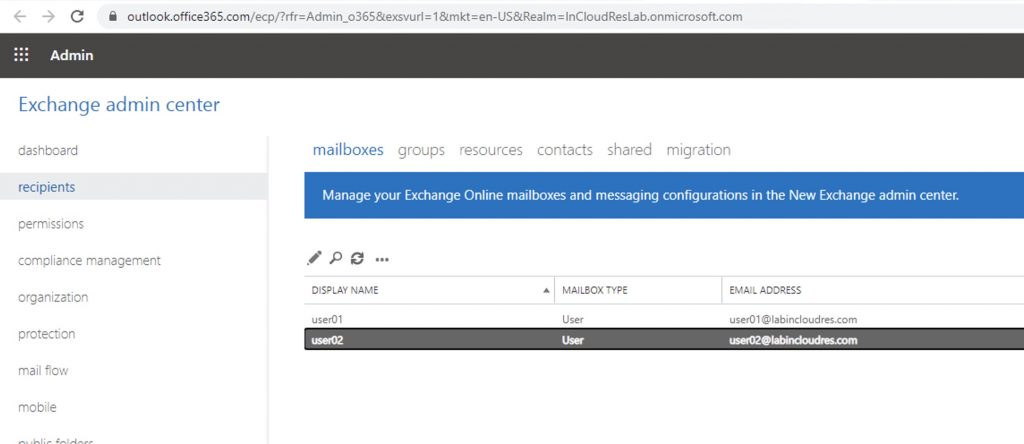
That’s it.
