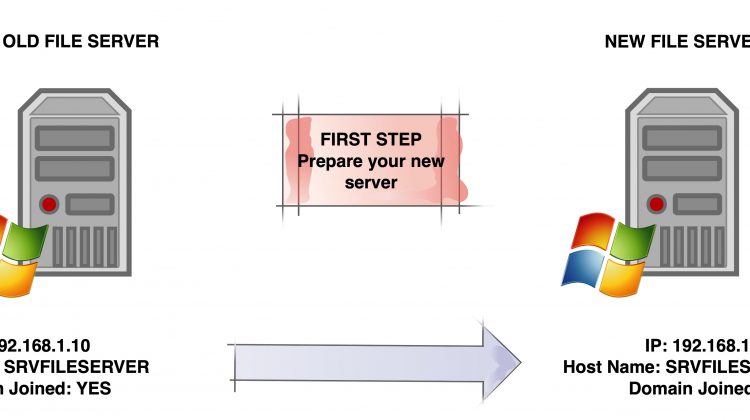
First, prepare your destination.
For preparing the new File Server, I mean
A) Install the new file server (Ex. Windows 2019)
B) Give it a temporary name and an IP
C) Join it to the domain
In addition to this, it will be necessary to prepare a dedicated disk that has the same capacity or greater than the source file server.
For example, if the source file server has an E: disk with a capacity of 2 Tb, then the destination server must have an E: disk that is at least 2 TB
Second, the first files alignment.
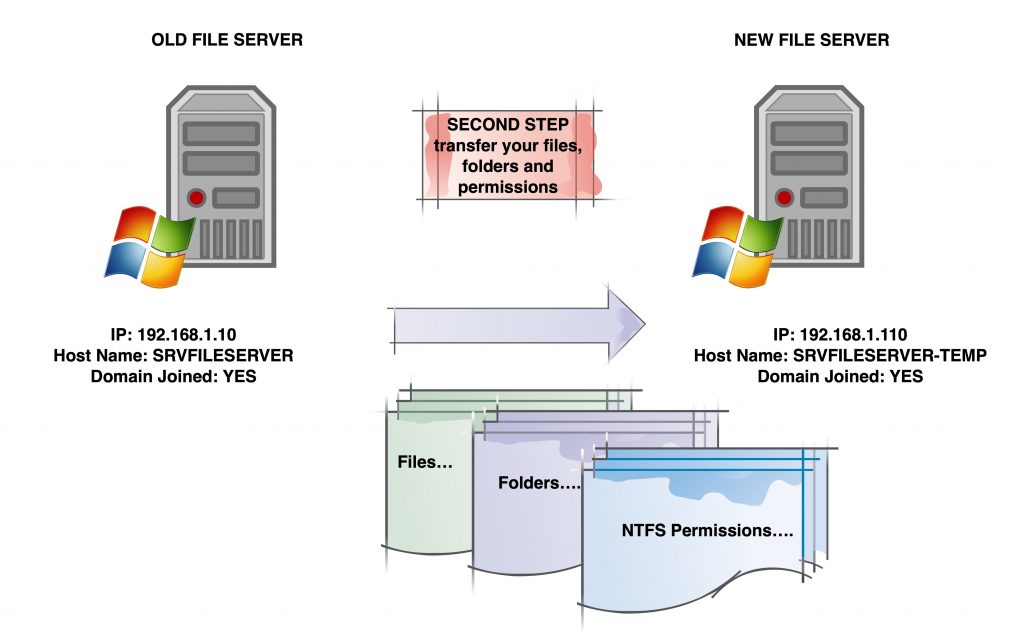
To do this, personally, I connect the source from the DESTINATION server mapping the source E$ disk with a specific disk letter (EX. from CMD, net use K: \\sourceserver\E$ ) :
At this point I launch a copy script with ROBOCOPY keeping it in “loop”. This allows me to perform the first copy and to keep the two file servers aligned waiting for the D-DAY in which the “switch” between the “old” and the “new” system will be performed.
|
1 2 3 4 5 6 7 8 9 10 11 12 13 14 15 16 17 18 19 20 21 22 23 24 25 26 27 28 29 30 31 32 33 34 35 36 37 38 39 40 41 42 43 44 45 46 47 48 49 50 51 52 53 54 55 |
function screen-separator { Write-Host "" Write-Host "" Write-Host "" Write-Host "" Write-Host "" Write-Host "" Write-Host "" Write-Host "" Write-Host "#################################################" Write-Host "##################### END of CYCLE #########" Write-Host "#################################################" Write-Host "" Write-Host "" Write-Host "" Write-Host "" Write-Host "" Write-Host "" Write-Host "" Write-Host "" } screen-separator # ------------- Infinite LOOP <strong>#K: is our source server </strong> <strong>#E: is our destination server</strong> while($true) { $sourcepath = 'K:' $destinationpath = 'E:' robocopy $sourcepath $destinationpath /MIR /E /ZB /COPYALL /R:5 /W:5 /TEE /NP /MT /FP /SEC #call function.... <strong>screen-separator</strong> # } # /MIR MIRror a directory tree # /E Copy Subfolders, including Empty Subfolders # /ZB Use restartable mode; if access denied use Backup mode. # /COPYALL # /R: Number of Retries on failed copies - default is 1 million. # /W: Wait time between retries - default is 30 seconds. # /LOG: output log # /TEE Output to console window, as well as the log file. # /NP No Progress - don’t display % copied # /MT Multithreaded copying with /MT:n will improve performance until the network and file system latency become the limiting factor # /FP Include Full Pathname of files in the output. # /SEC Copy files with SECurity (equivalent to /COPY:DATS) # /ETA Show Estimated Time of Arrival of copied files. |
Third, the transfer of shares and related permissions.
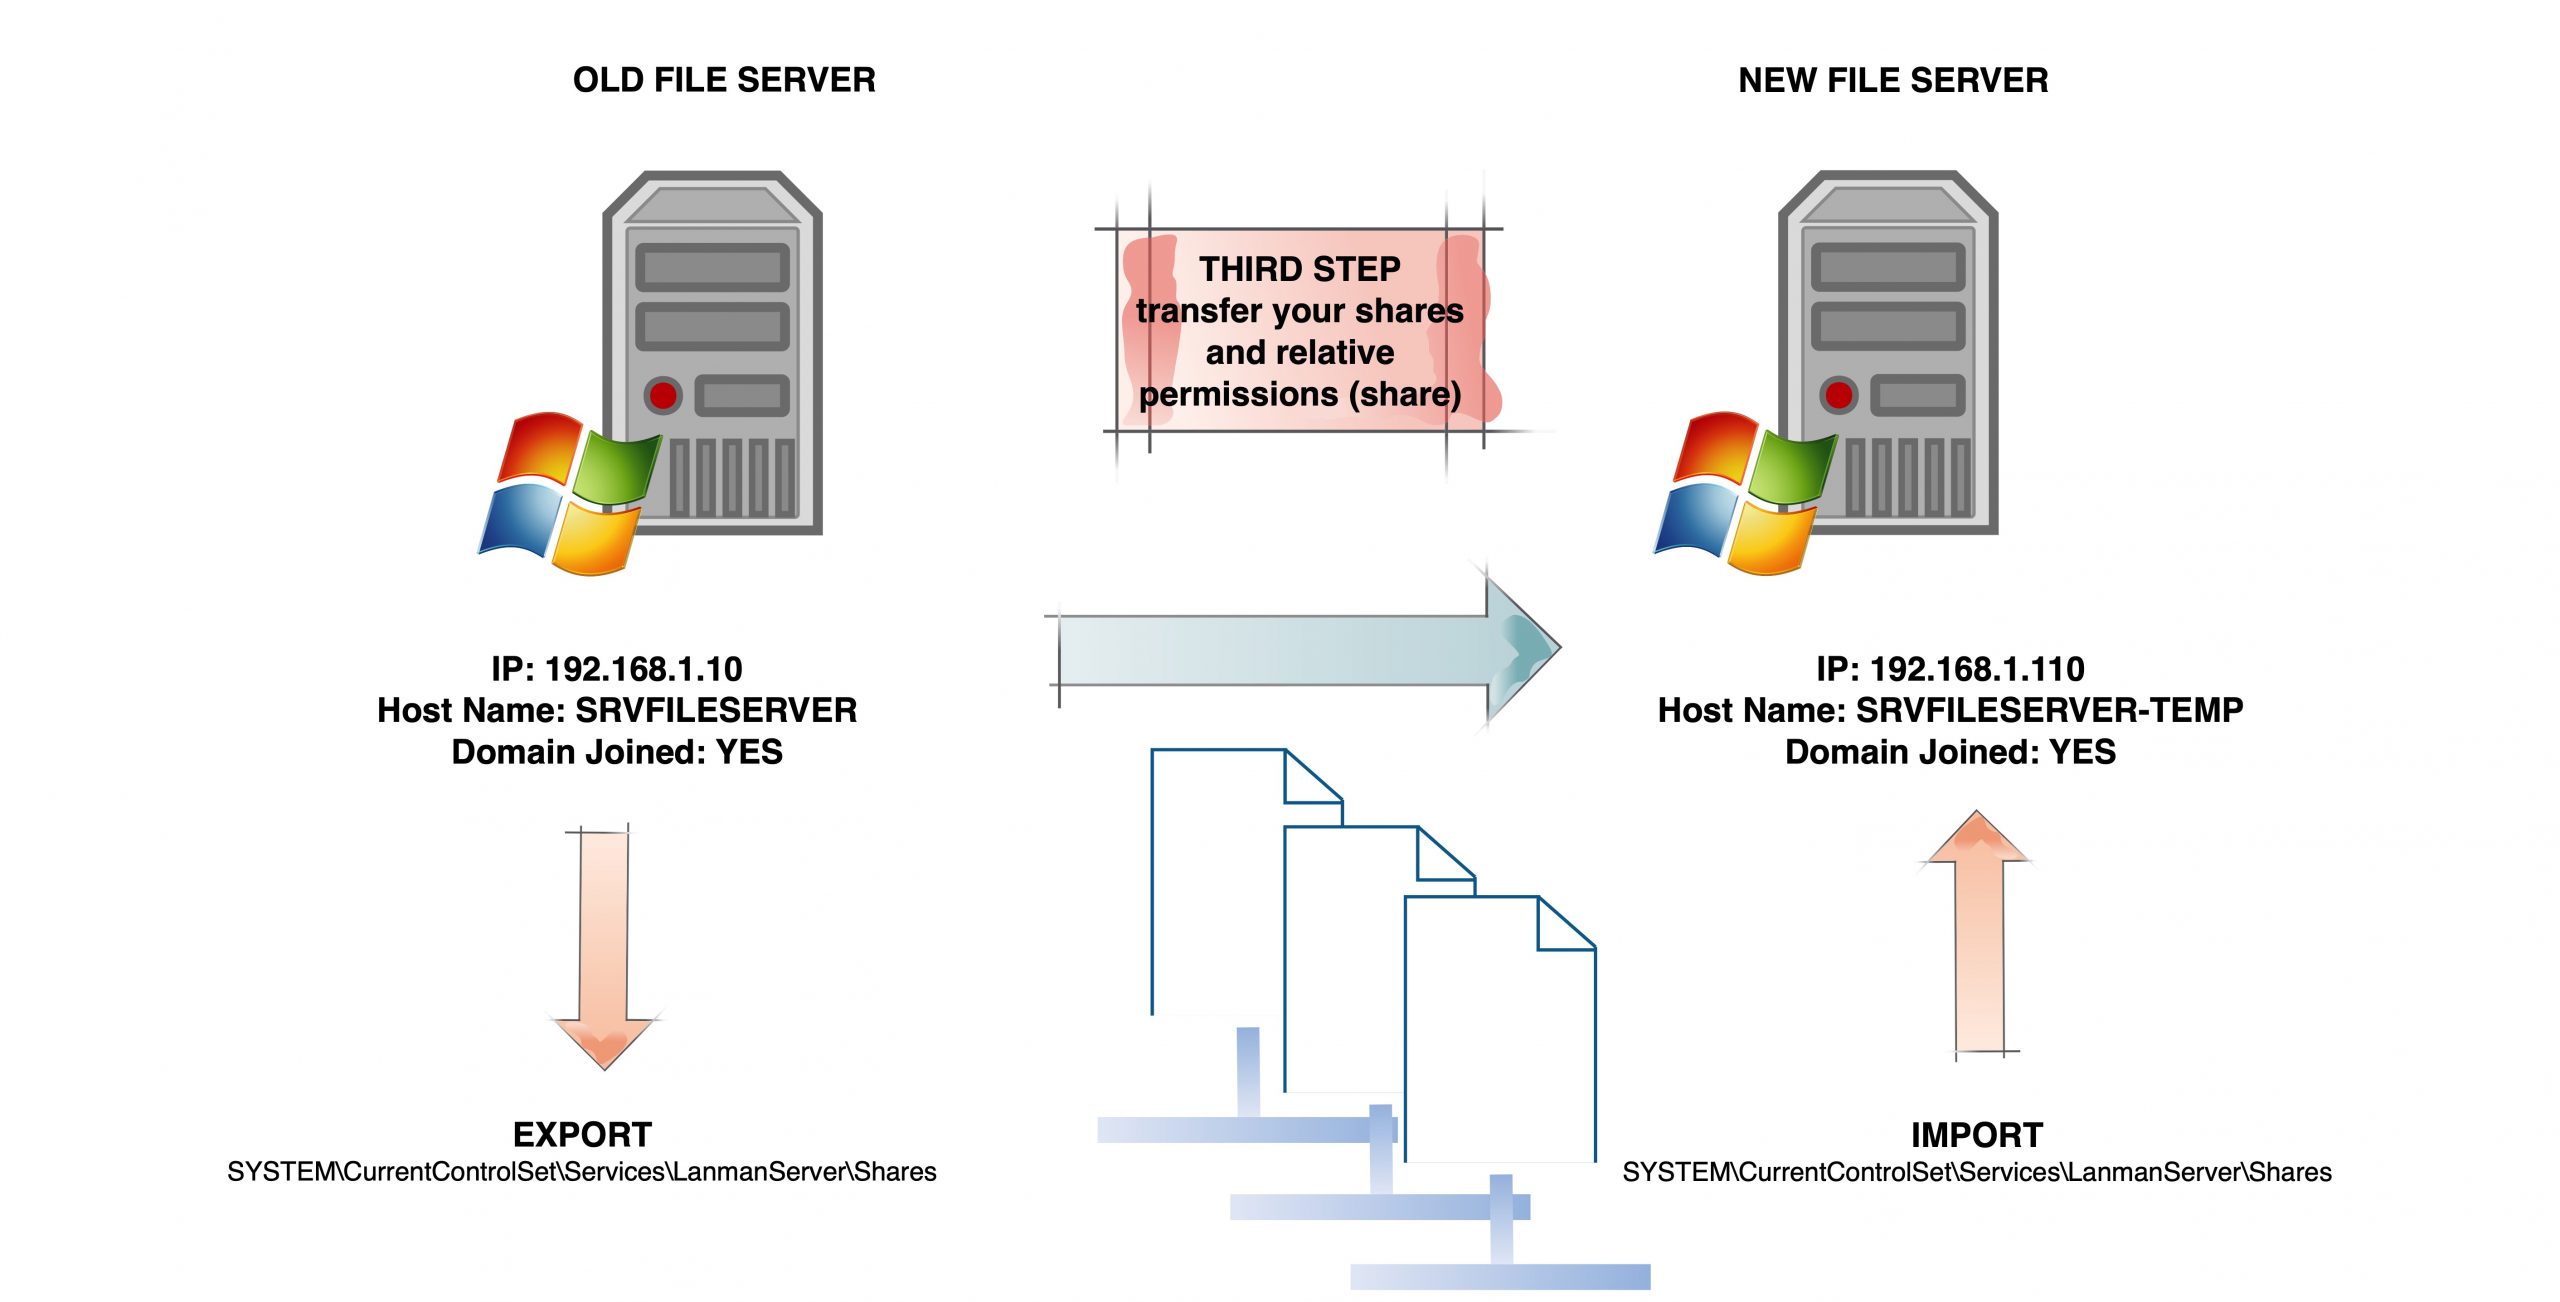
After the first files alignment is completed , we can “transfer” the shares and their permissions to the new server.
To do this, simply export, from the source server, the registry key “SYSTEM\CurrentControlSet\Services\LanmanServer\Shares“
and import it to the new server.
However, keep in mind that this operation is only possible if:
1) the target server has the same letter assigned to the disk where the shares are located.
2) that all the paths are present = >> for this reason you have to wait to this after at least the first round of sync of the files and folders.
Finally, the switchover
On the day of the change, these are the steps:
1) Run the same script but with / SECFIX instead /SEC to reapply all the NTFS permissions that could be changed from the first run of the previous step .
NB: the / SEC parameter only synchronizes the permissions the first time, if you want to make a new security pass to align the NTFS permissions use / SECFIX
2) Connect to the “old” file server and change the name, the ip and restart it
3) Connect to the “new” file server and change the name making it coincide with old IP and Hostname of the old file server
Some useful tips
Use multiple server names (File Server with multiple hostname)
If you decide to create an ALIAS instead of naming the new file server like the previous one, then I recommend that you upload the UPNs.
This is because from the version of Windows 2012R2 , the ALIAS / CNAME are no longer sufficient and it is NECESSARY to load the UPNs
Example:
NEWNAME << ==== primary FileServer name
OLDNAME << ==== CNAME that point to new file server = >>> MUST be a SPN !!!
Without the loaded UPN, you will not be able to access the file server with the old name.
to resolve the problem, simply add the hostname and FQDN name that refer to the old file server name (my example talks about SRVFILE as the CNAME)
open a cmd prompt with admin right on the Domain Controller and do :
setspn -A HOST/OLDNAME.yourdomain.local NEWNAME
setspn -A RestrictedKrbHost/OLDNAME NEWNAME
Alternatively you can you could disable the DisableStrictNameChecking HKEY_LOCAL_MACHINE \ SYSTEM \ CurrentControlSet \ Services \ LanmanServer \ Parameters (Microsoft note)