
|
1 2 3 4 |
<a href="https://marcoschiavon.net/migrate-from-exchange-2010-13-to-exchange-2016---part-one/">Migrate from Exchange 2013 to Exchange 2016 - Part one</a> <a href="https://marcoschiavon.net/migrate-from-exchange-2010-13-to-exchange-2016---part-two/">Migrate from Exchange 2013 to Exchange 2016 - Part two</a> <a href="https://marcoschiavon.net/migrate-from-exchange-2010-13-to-exchange-2016---part-three/">Migrate from Exchange 2013 to Exchange 2016 - Part three</a> <a href="https://marcoschiavon.net/migrate-from-exchange-2010-13-to-exchange-2016-part-four/">Migrate from Exchange 2013 to Exchange 2016 - Part four</a> |
This is a simple and synthetic guide to implement your first Exchange 2016 into your current Exchange 2010-13 organization.
Step 1 ” prerequisites”
Basically, you need :
- Forest Level and AD at 2008 R2
- A windows 2012R2 to install the Exchange
Here the complete list from Microsoft
Now install your Windows 2012 and prepare it fallowing these :
- Install RSAT-ADDS
- do not install the .Net 4.61 but install above versione (see the matrix)
- Install UCMA 4.0 Runtime
- Install IIS
- Visual C++ Redistributable Package for Visual Studio 2012
- Install Desktop-Experience
Here a useful link
To do all in one way :
Install-WindowsFeature AS-HTTP-Activation, Desktop-Experience, NET-Install-WindowsFeature AS-HTTP-Activation, Server-Media-Foundation, NET-Framework-45-Features, RPC-over-HTTP-proxy, RSAT-Clustering, RSAT-Clustering-CmdInterface, RSAT-Clustering-Mgmt, RSAT-Clustering-PowerShell, WAS-Process-Model, Web-Asp-Net45, Web-Basic-Auth, Web-Client-Auth, Web-Digest-Auth, Web-Dir-Browsing, Web-Dyn-Compression, Web-Http-Errors, Web-Http-Logging, Web-Http-Redirect, Web-Http-Tracing, Web-ISAPI-Ext, Web-ISAPI-Filter, Web-Lgcy-Mgmt-Console, Web-Metabase, Web-Mgmt-Console, Web-Mgmt-Service, Web-Net-Ext45, Web-Request-Monitor, Web-Server, Web-Stat-Compression, Web-Static-Content, Web-Windows-Auth, Web-WMI, Windows-Identity-Foundation, RSAT-ADDS
In the case is a Windows 2016 server :
Install-WindowsFeature NET-Framework-45-Features, RPC-over-HTTP-proxy, RSAT-Clustering, RSAT-Clustering-CmdInterface, RSAT-Clustering-Mgmt, RSAT-Clustering-PowerShell, Web-Mgmt-Console, WAS-Process-Model, Web-Asp-Net45, Web-Basic-Auth, Web-Client-Auth, Web-Digest-Auth, Web-Dir-Browsing, Web-Dyn-Compression, Web-Http-Errors, Web-Http-Logging, Web-Http-Redirect, Web-Http-Tracing, Web-ISAPI-Ext, Web-ISAPI-Filter, Web-Lgcy-Mgmt-Console, Web-Metabase, Web-Mgmt-Console, Web-Mgmt-Service, Web-Net-Ext45, Web-Request-Monitor, Web-Server, Web-Stat-Compression, Web-Static-Content, Web-Windows-Auth, Web-WMI, Windows-Identity-Foundation, RSAT-ADDS
Don’t forget the to install UCMA 4.0 Runtime the .NET Framework 4.8 and the C++ Redistrib
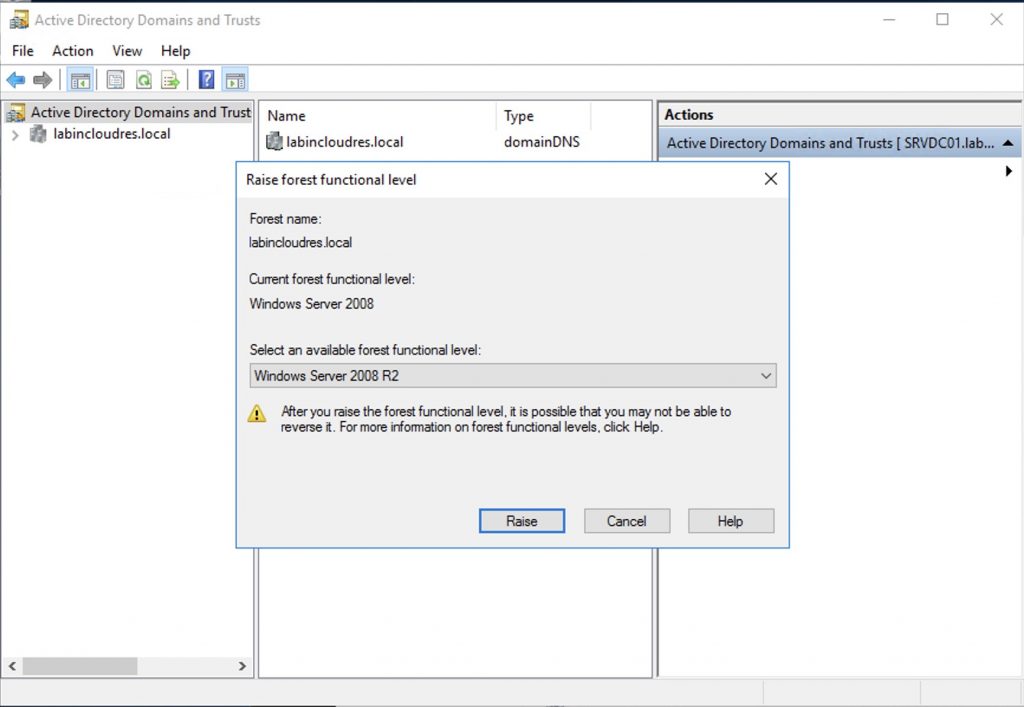
After that we need to prepare the “forest”, the “AD, and the “domain” to accept the first Exchange 2016.
First of all, rise the “forest funcional level” to the minimal required by Exchange 2016 (Windows 2008 R2 Level)
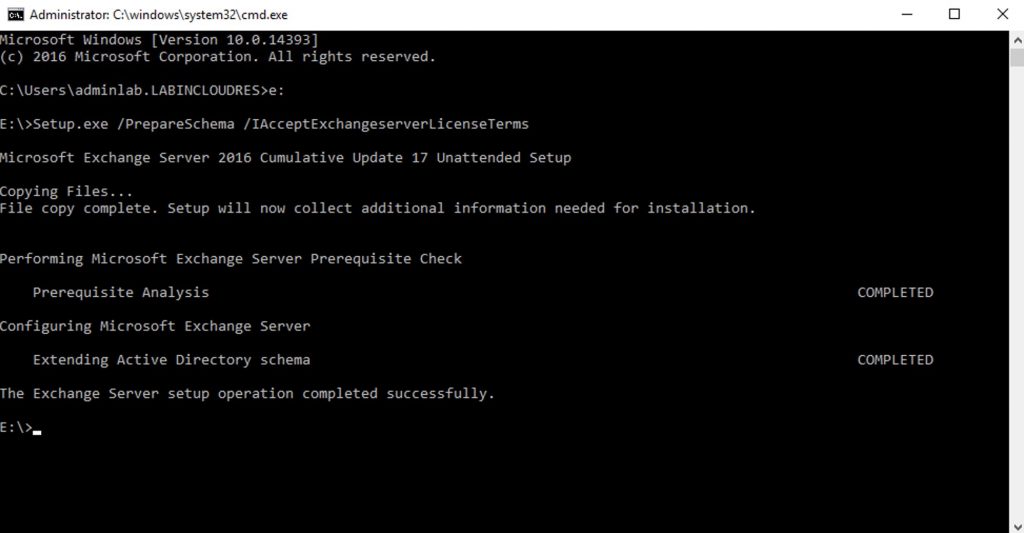
Now download and mount Exchange ISO and issue these commands:
Setup.exe /PrepareSchema /IAcceptExchangeserverLicenseTerms
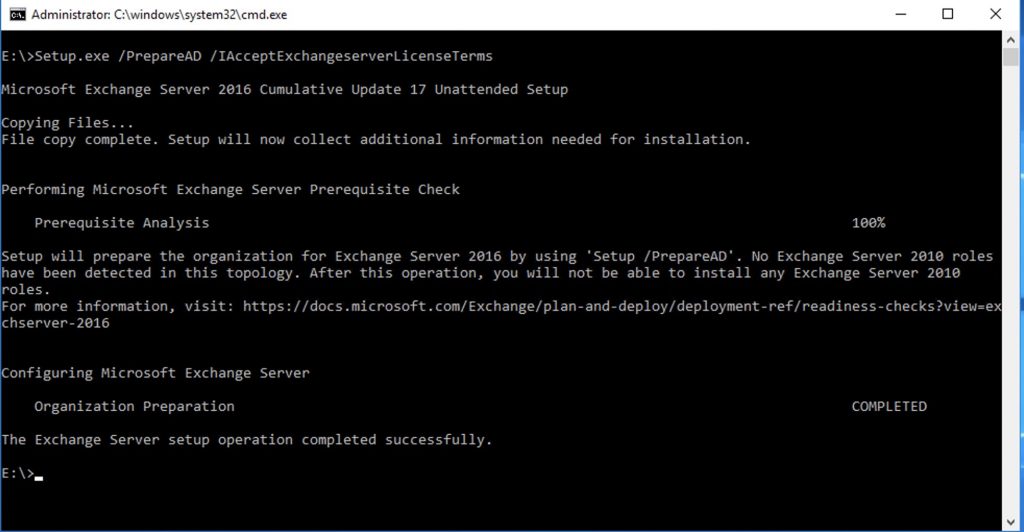
Setup.exe /PrepareAD /IAcceptExchangeserverLicenseTerms
Setup.exe /PrepareDomain /IAcceptExchangeserverLicenseTerms
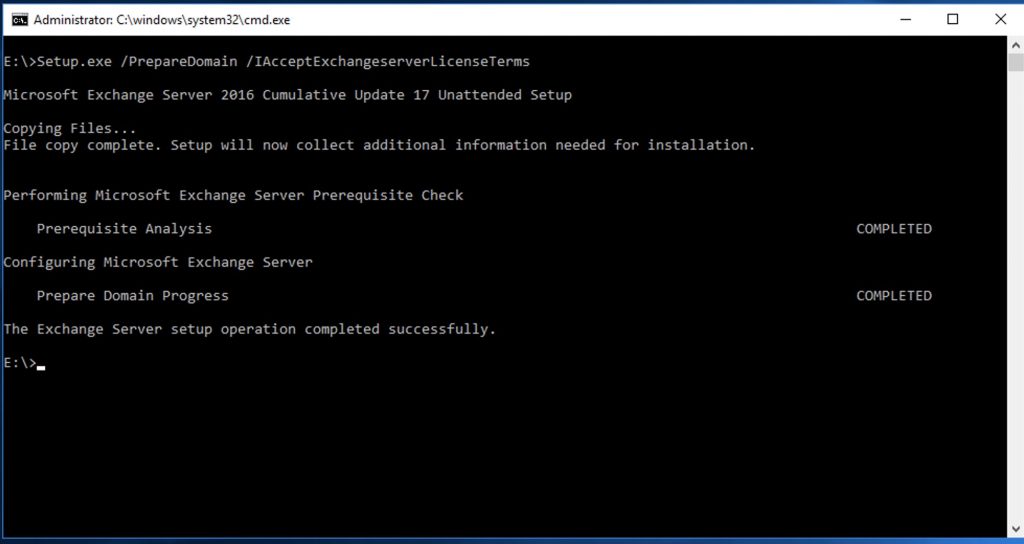
Check that the replication as done.
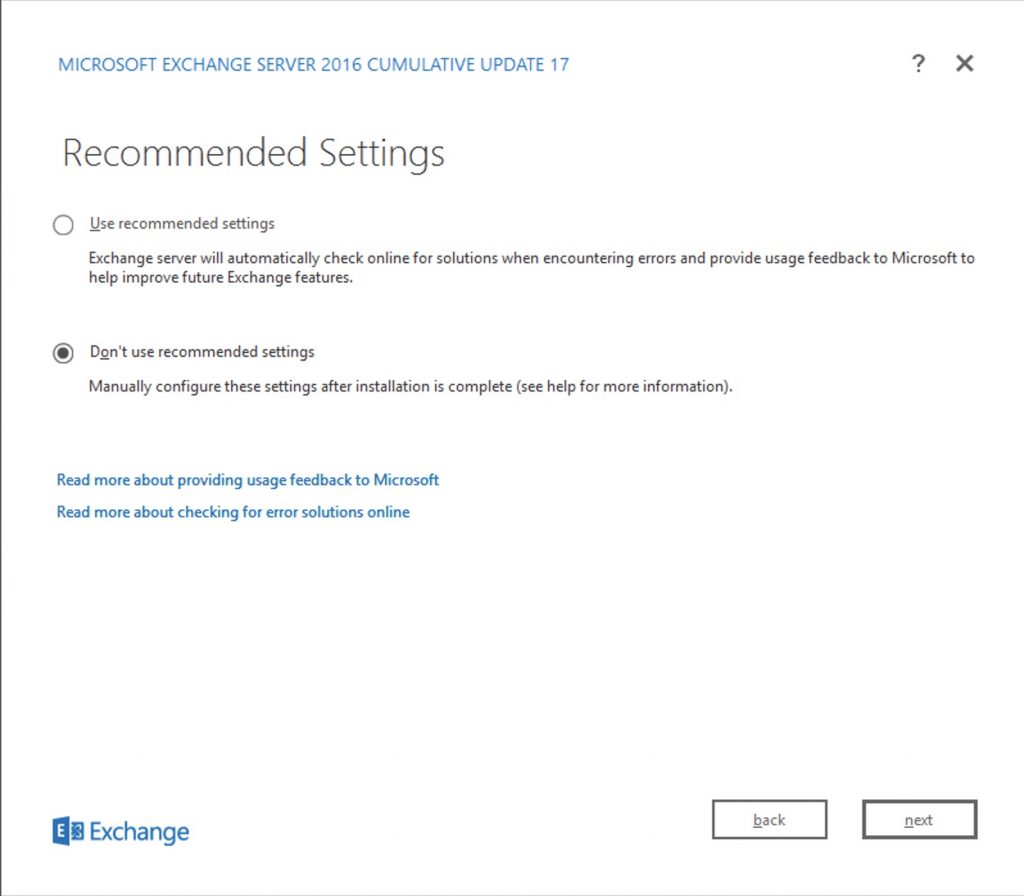
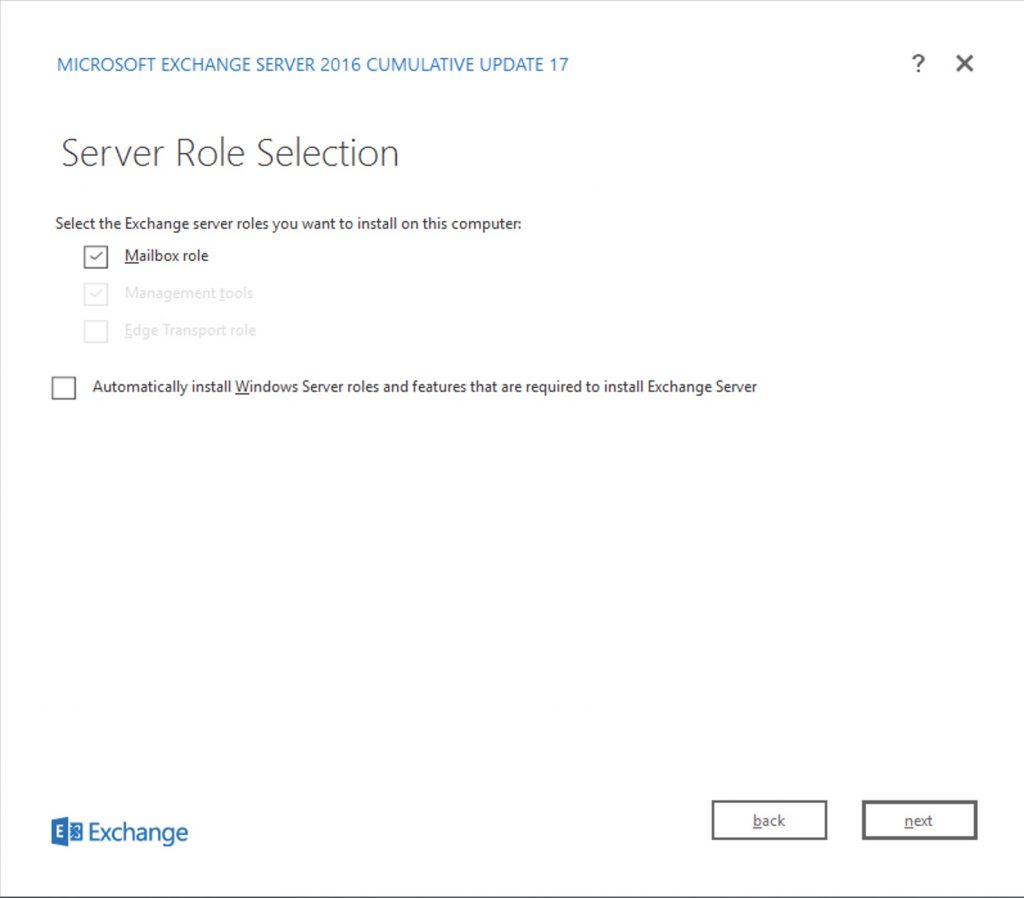
When finished we have to launch the install GUI of Exchange 2016
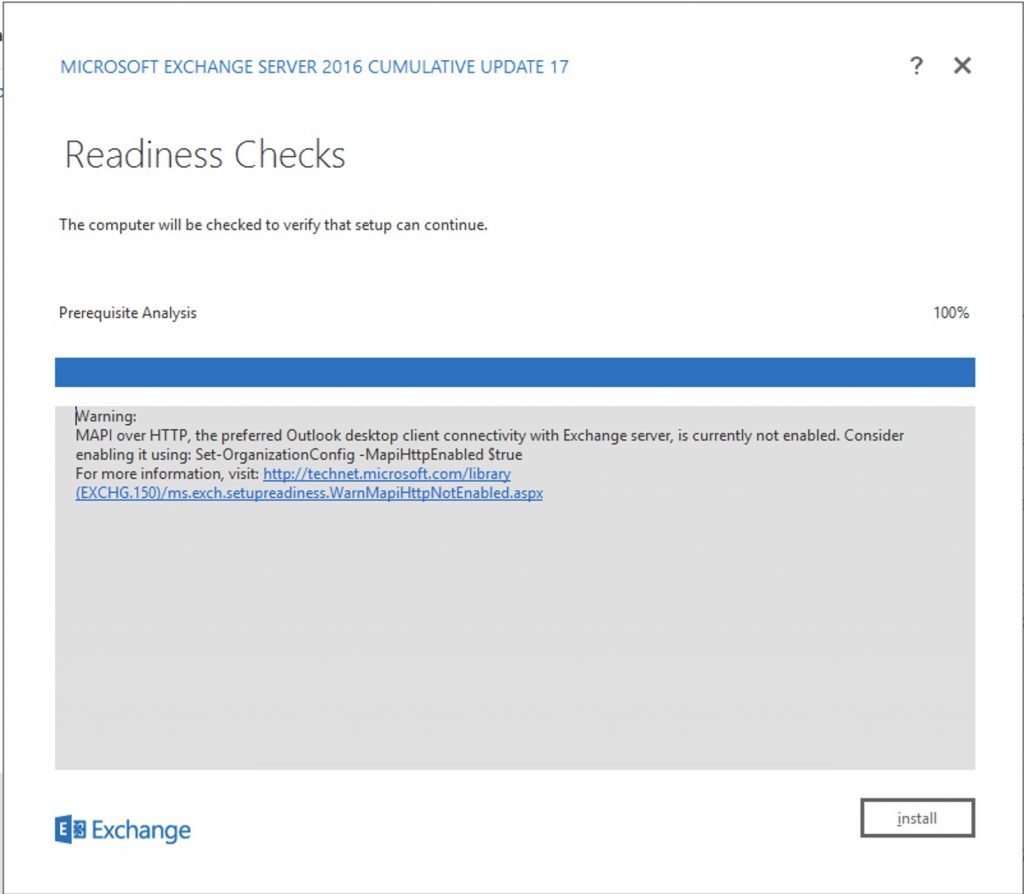
Go ahead to this warning ..
After the installation succeed we need to configure (identically) the fallowing virtual directory :
NB TO GET ALL THE CURRENT CFG OF ALL DIRECTORY OF THE OLD EXCHANGE, ISSUE THIS COMMAND
|
1 2 3 4 5 6 7 8 |
Get-OwaVirtualDirectory -Server SRVEXCH13 | Select-Object InternalUrl,ExternalUrl Get-EcpVirtualDirectory -Server SRVEXCH13 | Select-Object InternalUrl,ExternalUrl Get-ActiveSyncVirtualDirectory -Server SRVEXCH13 | Select-Object InternalUrl,ExternalUrl Get-WebServicesVirtualDirectory -Server SRVEXCH13 | Select-Object InternalUrl,ExternalUrl Get-OabVirtualDirectory -Server SRVEXCH13 | Select-Object InternalUrl,ExternalUrl Get-MapiVirtualDirectory -Server SRVEXCH13 | Select-Object InternalUrl,ExternalUrl Get-OutlookAnywhere -Server SRVEXCH13 | Select-Object ExternalHostname,InternalHostname,ExternalClientsRequireSsl,InternalClientsRequireSsl Get-ClientAccessServer -Identity SRVEXCH13 | Select-Object AutoDiscoverServiceInternalUri |
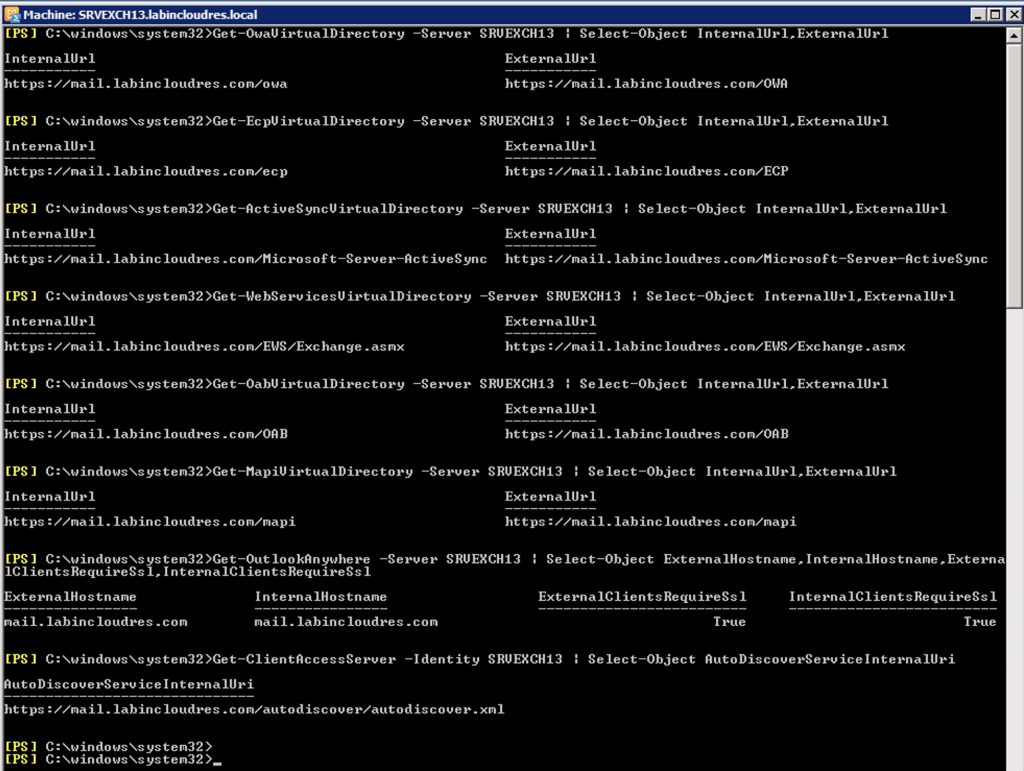
Now we need to set all the Virtual Directory of the Exchange 2016 as the same of the old one..
Our new Exchange 2016 is called SRVEXCH16
Issue this command to show the situation:
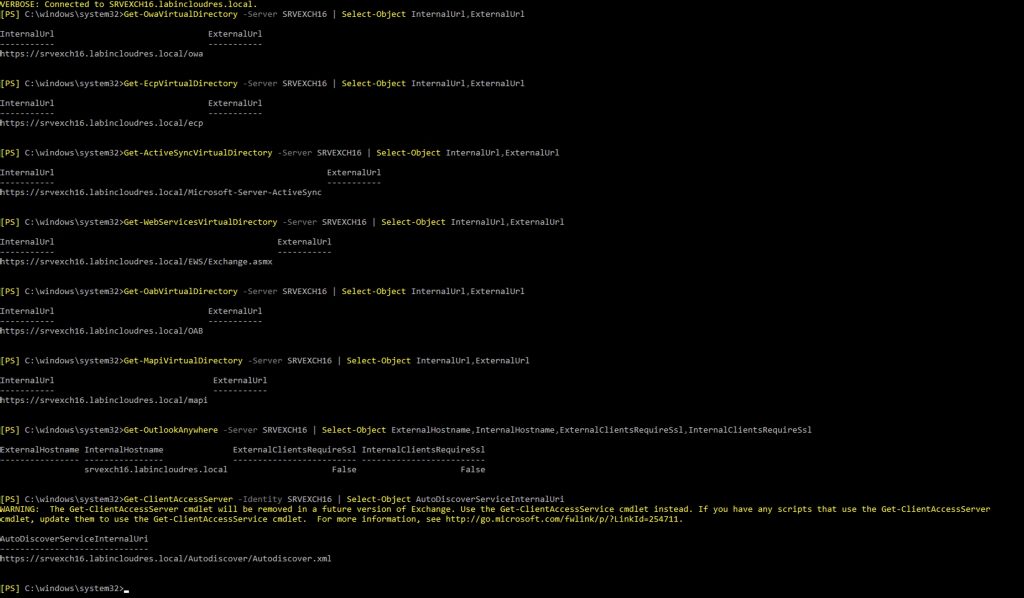
Change all of them with the right FQDN (in our case mail.labincloudres.com)
- Autodiscover.
- Send Connector.
- OWA Virtual Directory.
- ECP Virtual Directory.
- PowerShell Virtual Directory.
- MAPI Virtual Directory.
- OAB Virtual Directory.
- ActiveSync Virtual Directory.
- Web Services Virtual Directory.
|
1 |
Suppose that our server idenity is exhange2016 and our URL for internal and external is mail.labincloudres.com
After you have install the first exchange server 2016, you have to set the SCP, on the new installed exhcnage 2016 to point to the old exchange . In this way you avoid that clients will try to connect to the new exchange.
These are the commands :
Autodiscover / SCP
Set-ClientAccessServer -Identity srvexch16 -AutoDiscoverServiceInternalUri https://mail.labincloudres.com/autodiscover/autodiscover.xml
Send Connector (if you send connector is “smtp_to_internet”)
Set-SendConnector -Identity “smtp_to_internet” -SourceTransportServers @{Add=”srvexch16”}
OWA Virtual Directory.
Set-OWAVirtualDirectory -Identity “srvexch16\owa (Default Web Site)” -InternalURL https://mail.labincloudres.com/owa -ExternalURL https://mail.labincloudres.com/OWA
ECP Virtual Directory.
Set-ECPVirtualDirectory -Identity “srvexch16\ecp (Default Web Site)” –InternalURL https://mail.labincloudres.com/ecp -ExternalURL https://mail.labincloudres.com/ECP
PowerShell Virtual Directory.
Set-PowerShellVirtualDirectory -Identity “srvexch16\PowerShell (Default Web Site)” -InternalURL https://mail.labincloudres.com/PowerShell -ExternalURL https://mail.labincloudres.com/PowerSHell
MAPI Virtual Directory.
Set-MapiVirtualDirectory -Identity “srvexch16\mapi (Default Web Site)” -InternalURL https://mail.labincloudres.com/mapi -ExternalURL https://mail.labincloudres.com/mapi
OAB Virtual Directory.
Set-OabVirtualDirectory -Identity “srvexch16\OAB (Default Web Site)” -InternalURL https://mail.labincloudres.com/OAB -ExternalURL https://mail.labincloudres.com/OAB
ActiveSync Virtual Directory.
Set-ActiveSyncVirtualDirectory -Identity “srvexch16\Microsoft-Server-ActiveSync (Default Web Site)” -InternalURL https://mail.labincloudres.com/Microsoft-Server-ActiveSync -ExternalURL https://mail.labincloudres.com/Microsoft-Server-ActiveSync
Web Services Virtual Directory.
Set-WebServicesVirtualDirectory -Identity “srvexch16\EWS (Default Web Site)” -InternalURL https://mail.labincloudres.com/EWS/Exchange.asmx -ExternalURL https://mail.labincloudres.com/EWS/Exchange.asmx
Outlook Anywhere Virtual Directory
Set-OutlookAnywhere -Identity “srvexch16\RPC (Default Web Site)” -ExternalHostname mail.labincloudres.com -InternalHostname mail.labincloudres.com -ExternalClientsRequireSsl $true -I
nternalClientsRequireSsl $true -InternalClientAuthenticationMethod NTLM -ExternalClientAuthenticationMethod Negotiate
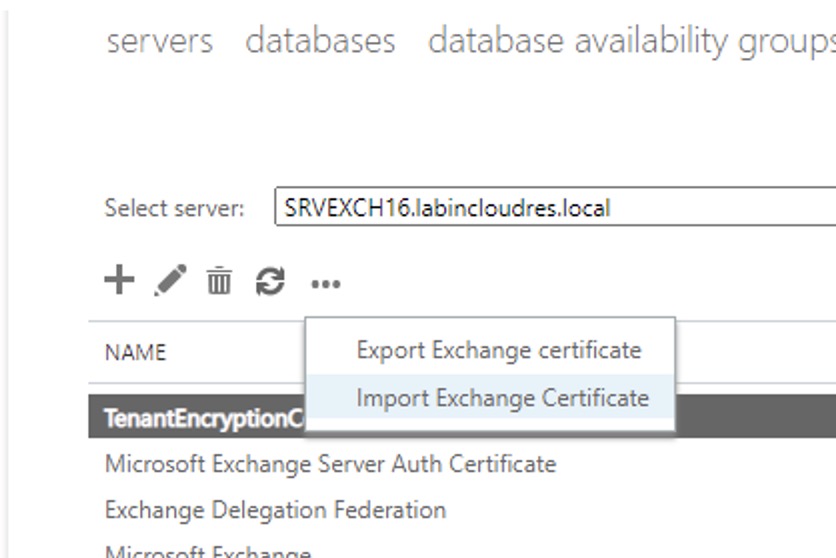
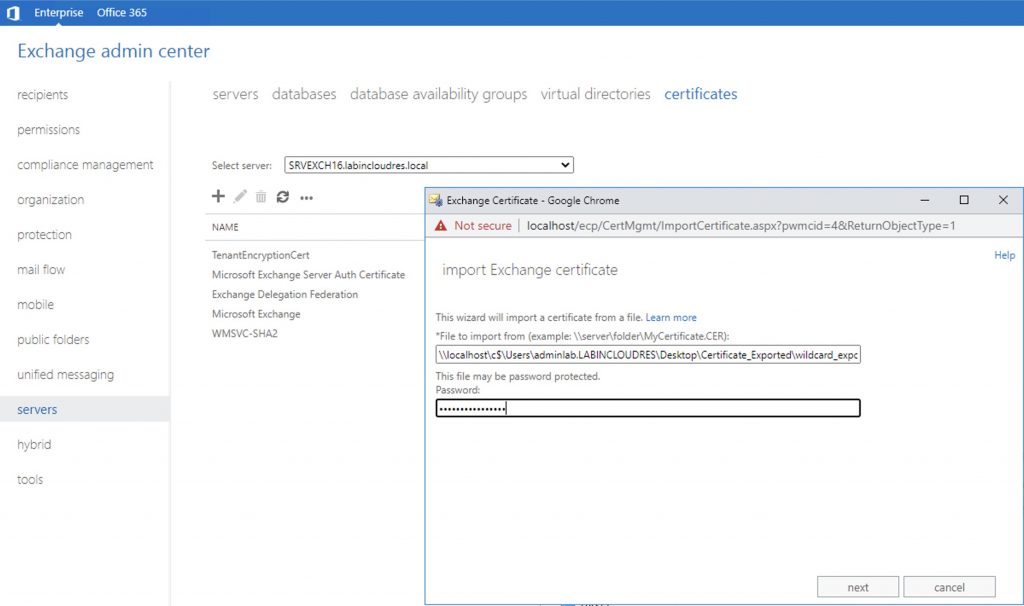
Now import to the new exchange server the same certificate used by exchange ’13. (you have to export it)
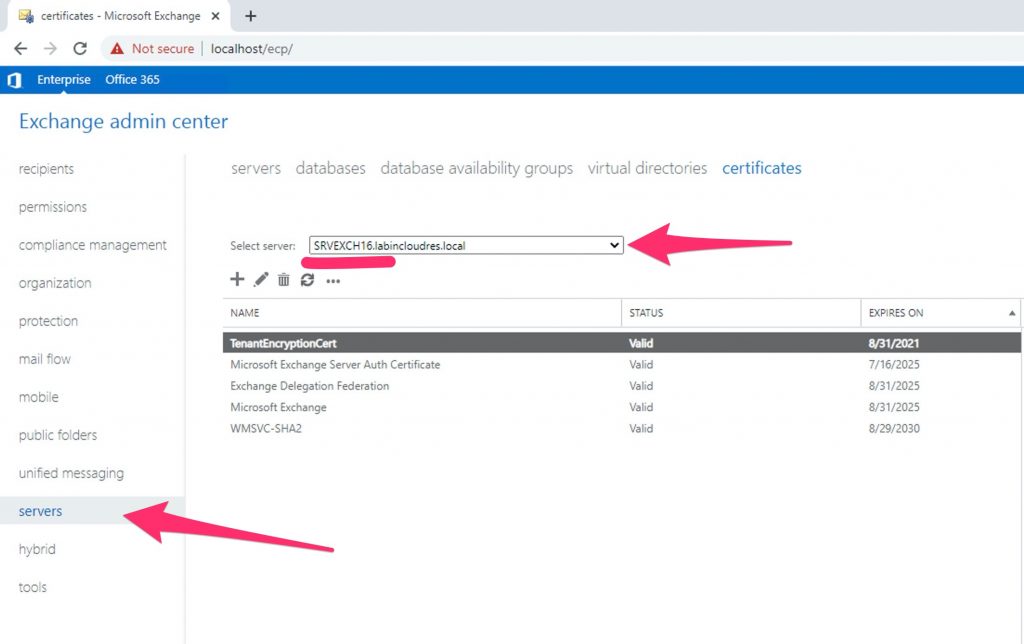
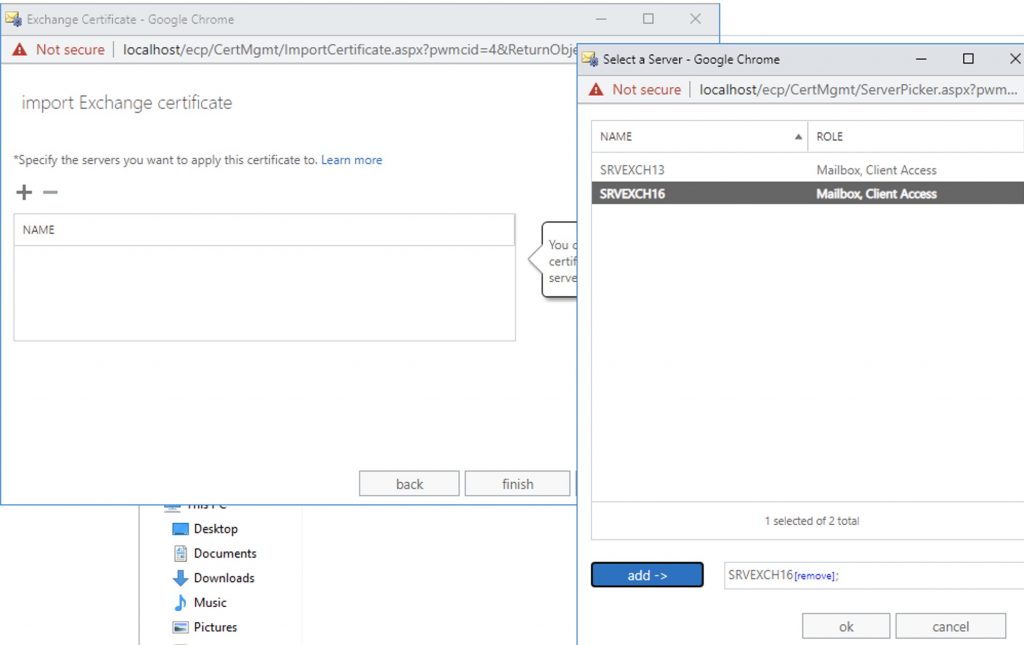
Specify the new server
Finally , assign the cert to IIS and SMTP
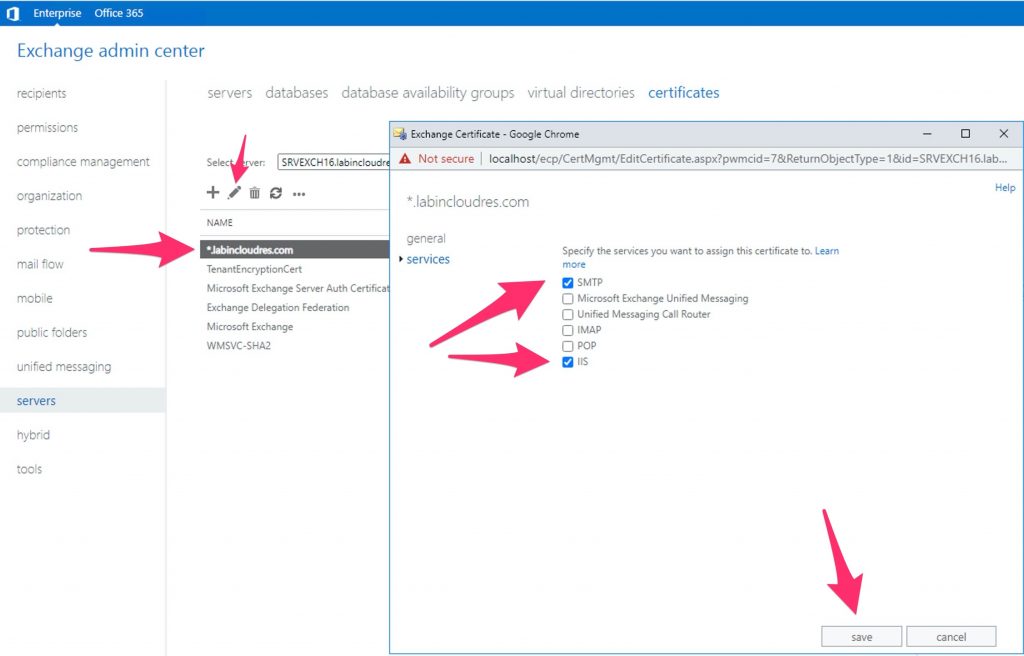
That’s it.