I know that in the last two year all want to migrate yours Exchange infrastructures to the Microsoft’s cloud, but sometimes someone still asks to stay on-prem.
So, let’s go on this journey and start we me in this simple lab where, starting from an old Exchange 2010, we will reach the final step, passing Exchange 2016 , the Exchange 2019 On-Prem.
Our lab enviroment is made of:
- One Windows 2019 Domain Controller
- One Windows 2008 R2 Domain Joined
- On which is installed Exchange 2010 Standard
- A Windows 10 client fully configured to work with Exchange 2010 with Outlook 2019 connected to it
Some requirements
| Exchange version | SO Required | AD forest Level | Coexistance |
| Exchange 2010 | Windows Server 2008 R2 | Windows Server 2003 | Exchange 2003 Exchange 2007 |
| Exchange 2016 | Windows Server 2012 R2 => Windows 2016 (don’t use Windows 2019) | Windows Server 2012 R2 | Exchange 2010 SP3 UR11 Exchange 2013 |
| Exchange 2019 | Windows Server 2019 | Windows Server 2012 R2 | Exchange 2013 Exchange 2016 |
The steps that we’ll go through are:
- Upgrade our Exchange 2010 to latest CU (I mark that it was done)
- Prepare the Windows 2016 where will be installed the Exchange 2016
- Upgrade the forest level to Windows Server 2012 R2
- Task to do on your Exchange 2010 before proceed
- Install the to Organization an Exchange 2016
- Migrate all data from Exchange 2010 to Exchange 2016
- Decommission the Exchange 2010
- Add to Organization an Exchange 2019
- Migrate all data from Exchange 2016 to Exchange 2019
- Decommission the Exchange 2016
- END
So now, let’s start.
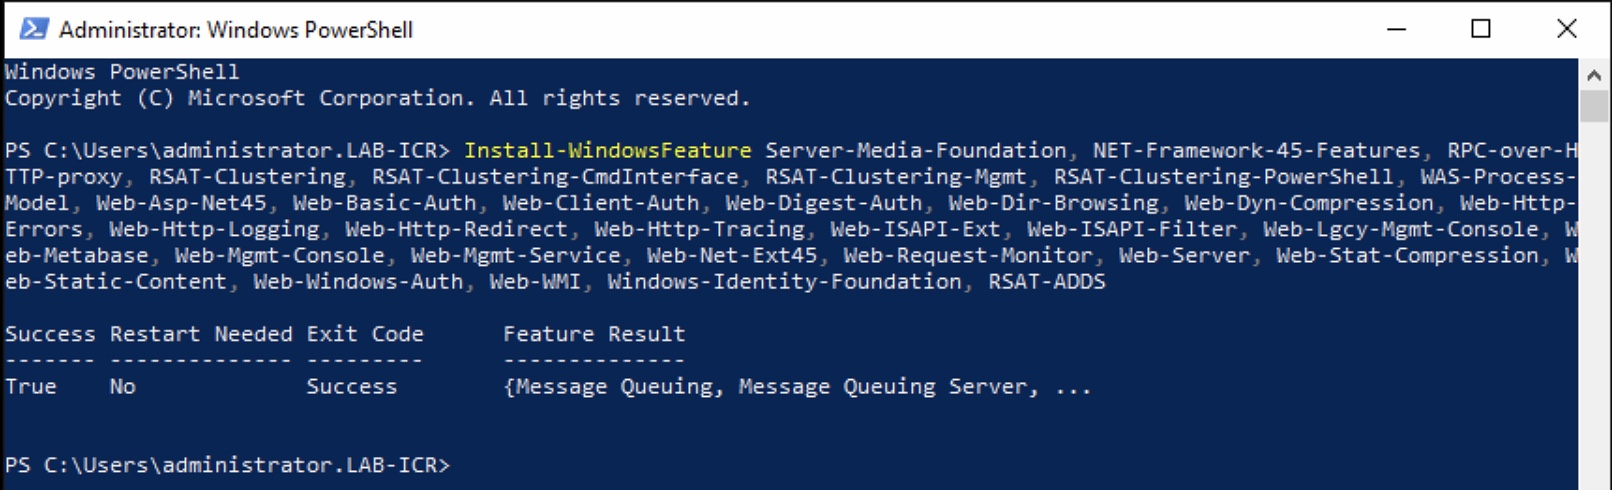
Prepare your Win 2016 with all requirement (need also .NET Framework 4.8 , Visual C++ Redistributable Package for Visual Studio 2012 , Visual C++ Redistributable Package for Visual Studio 2013 and Microsoft Unified Communications Managed API 4.0)
|
1 |
Install-WindowsFeature Server-Media-Foundation, NET-Framework-45-Features, RPC-over-HTTP-proxy, RSAT-Clustering, RSAT-Clustering-CmdInterface, RSAT-Clustering-Mgmt, RSAT-Clustering-PowerShell, WAS-Process-Model, Web-Asp-Net45, Web-Basic-Auth, Web-Client-Auth, Web-Digest-Auth, Web-Dir-Browsing, Web-Dyn-Compression, Web-Http-Errors, Web-Http-Logging, Web-Http-Redirect, Web-Http-Tracing, Web-ISAPI-Ext, Web-ISAPI-Filter, Web-Lgcy-Mgmt-Console, Web-Metabase, Web-Mgmt-Console, Web-Mgmt-Service, Web-Net-Ext45, Web-Request-Monitor, Web-Server, Web-Stat-Compression, Web-Static-Content, Web-Windows-Auth, Web-WMI, Windows-Identity-Foundation, RSAT-ADDS |
Now, we will check our Domain/Forest level..
|
1 2 |
Get-ADDomain | fl Name,DomainMode Get-ADForest | fl Name,ForestMode |

And we will raise to meet the minimal requirement (see table) About this command and forest level..
|
1 |
Set-ADForestMode -Identity lab-icr.local -ForestMode Windows2012R2Forest |

Check again, the result …

Now we’ll do some check on our Exchange 2010…
Check if Outlook Anywhere is enabled or not
|
1 |
Get-OutlookAnywhere |select external*,internal* |

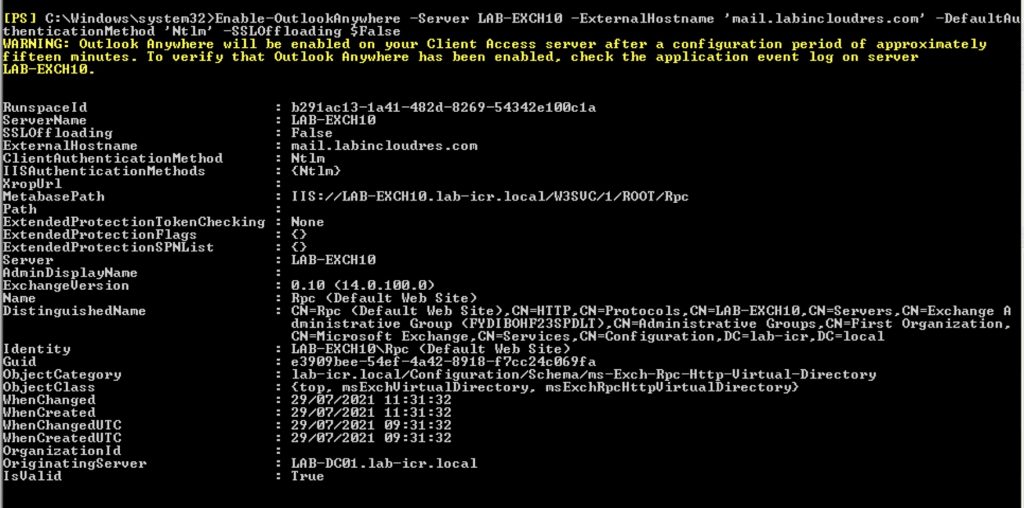
So, enable it choosing the right name space (in our case is mail.labincloudres.com)
|
1 2 3 4 5 6 7 8 9 10 |
TO Enable Enable-OutlookAnywhere -Server 'LAB-EXCH10' -ExternalHostname 'mail.labincloudres.com' -Default AuthenticationMethod 'Ntlm' -SSLOffloading $false OR to Set if just Eanbled Set-OutlookAnywhere -IISAuthenticationMethods 'Ntlm' -ClientAuthenticationMethod 'Ntlm' -Ident ty '<meta charset="utf-8">LAB-EXCH10\Rpc (Default Web Site)' |
At this point we are ready to install our Exchange 2019…
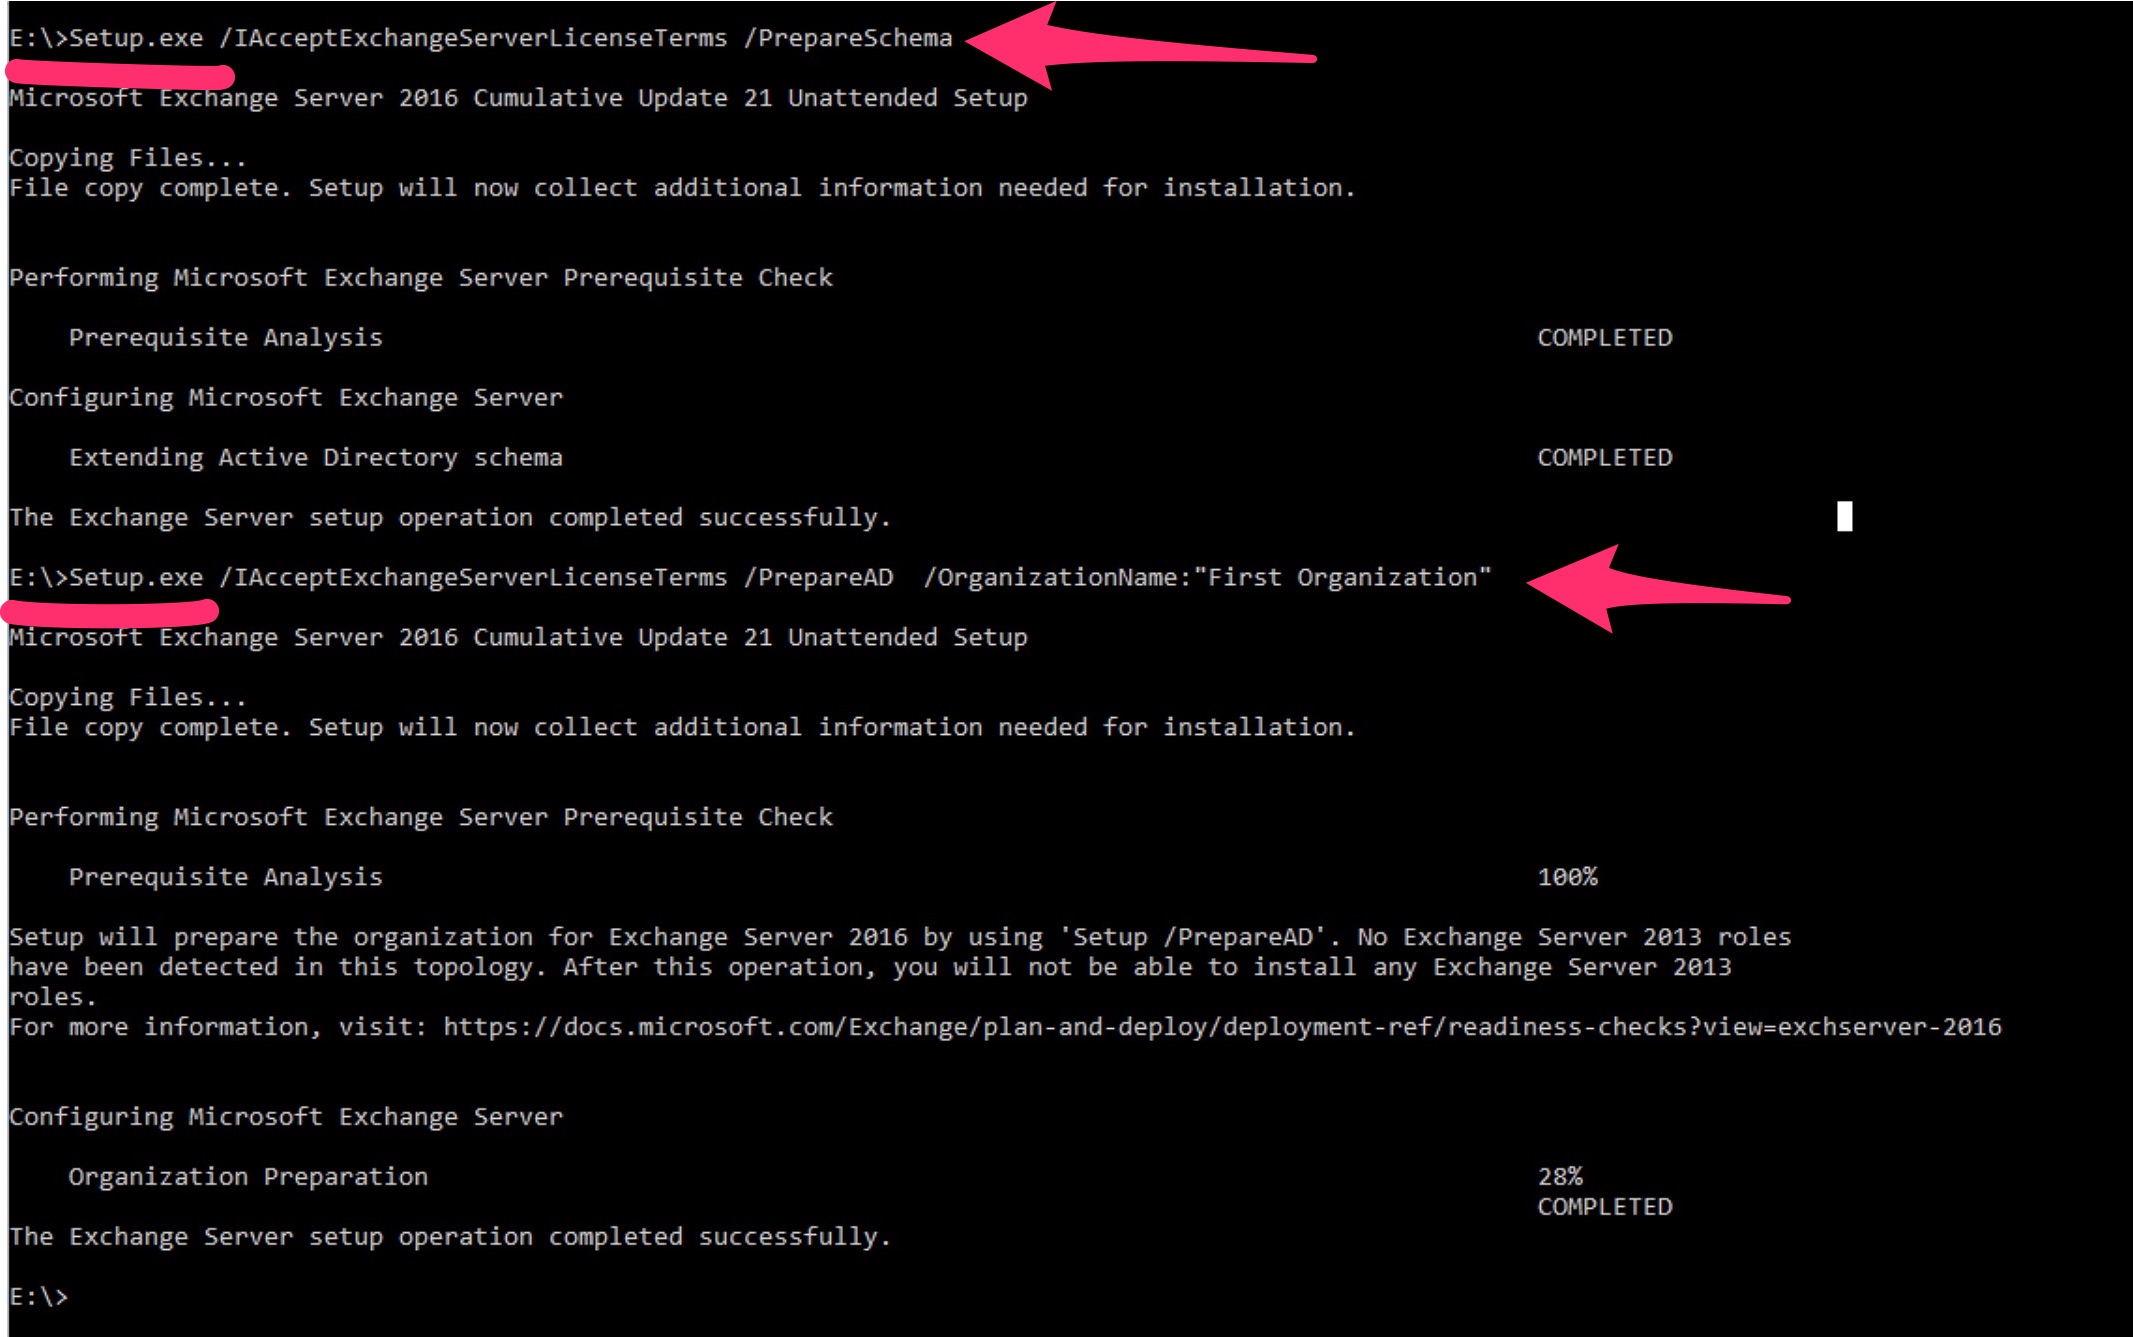
Mount the ISO on the server where will install it and prepare the Domain and Forest…
|
1 2 3 |
Setup.exe /IAcceptExchangeServerLicenseTerms /PrepareSchema ---and after--- Setup.exe /IAcceptExchangeServerLicenseTerms /PrepareAD /OrganizationName:"XXX" |
If you need to find the Organization Name , issue this command on exchnage console…
|
1 |
Get-OrganizationConfig |select *name* |

Now we are ready to install our Exchange 2016
|
1 |
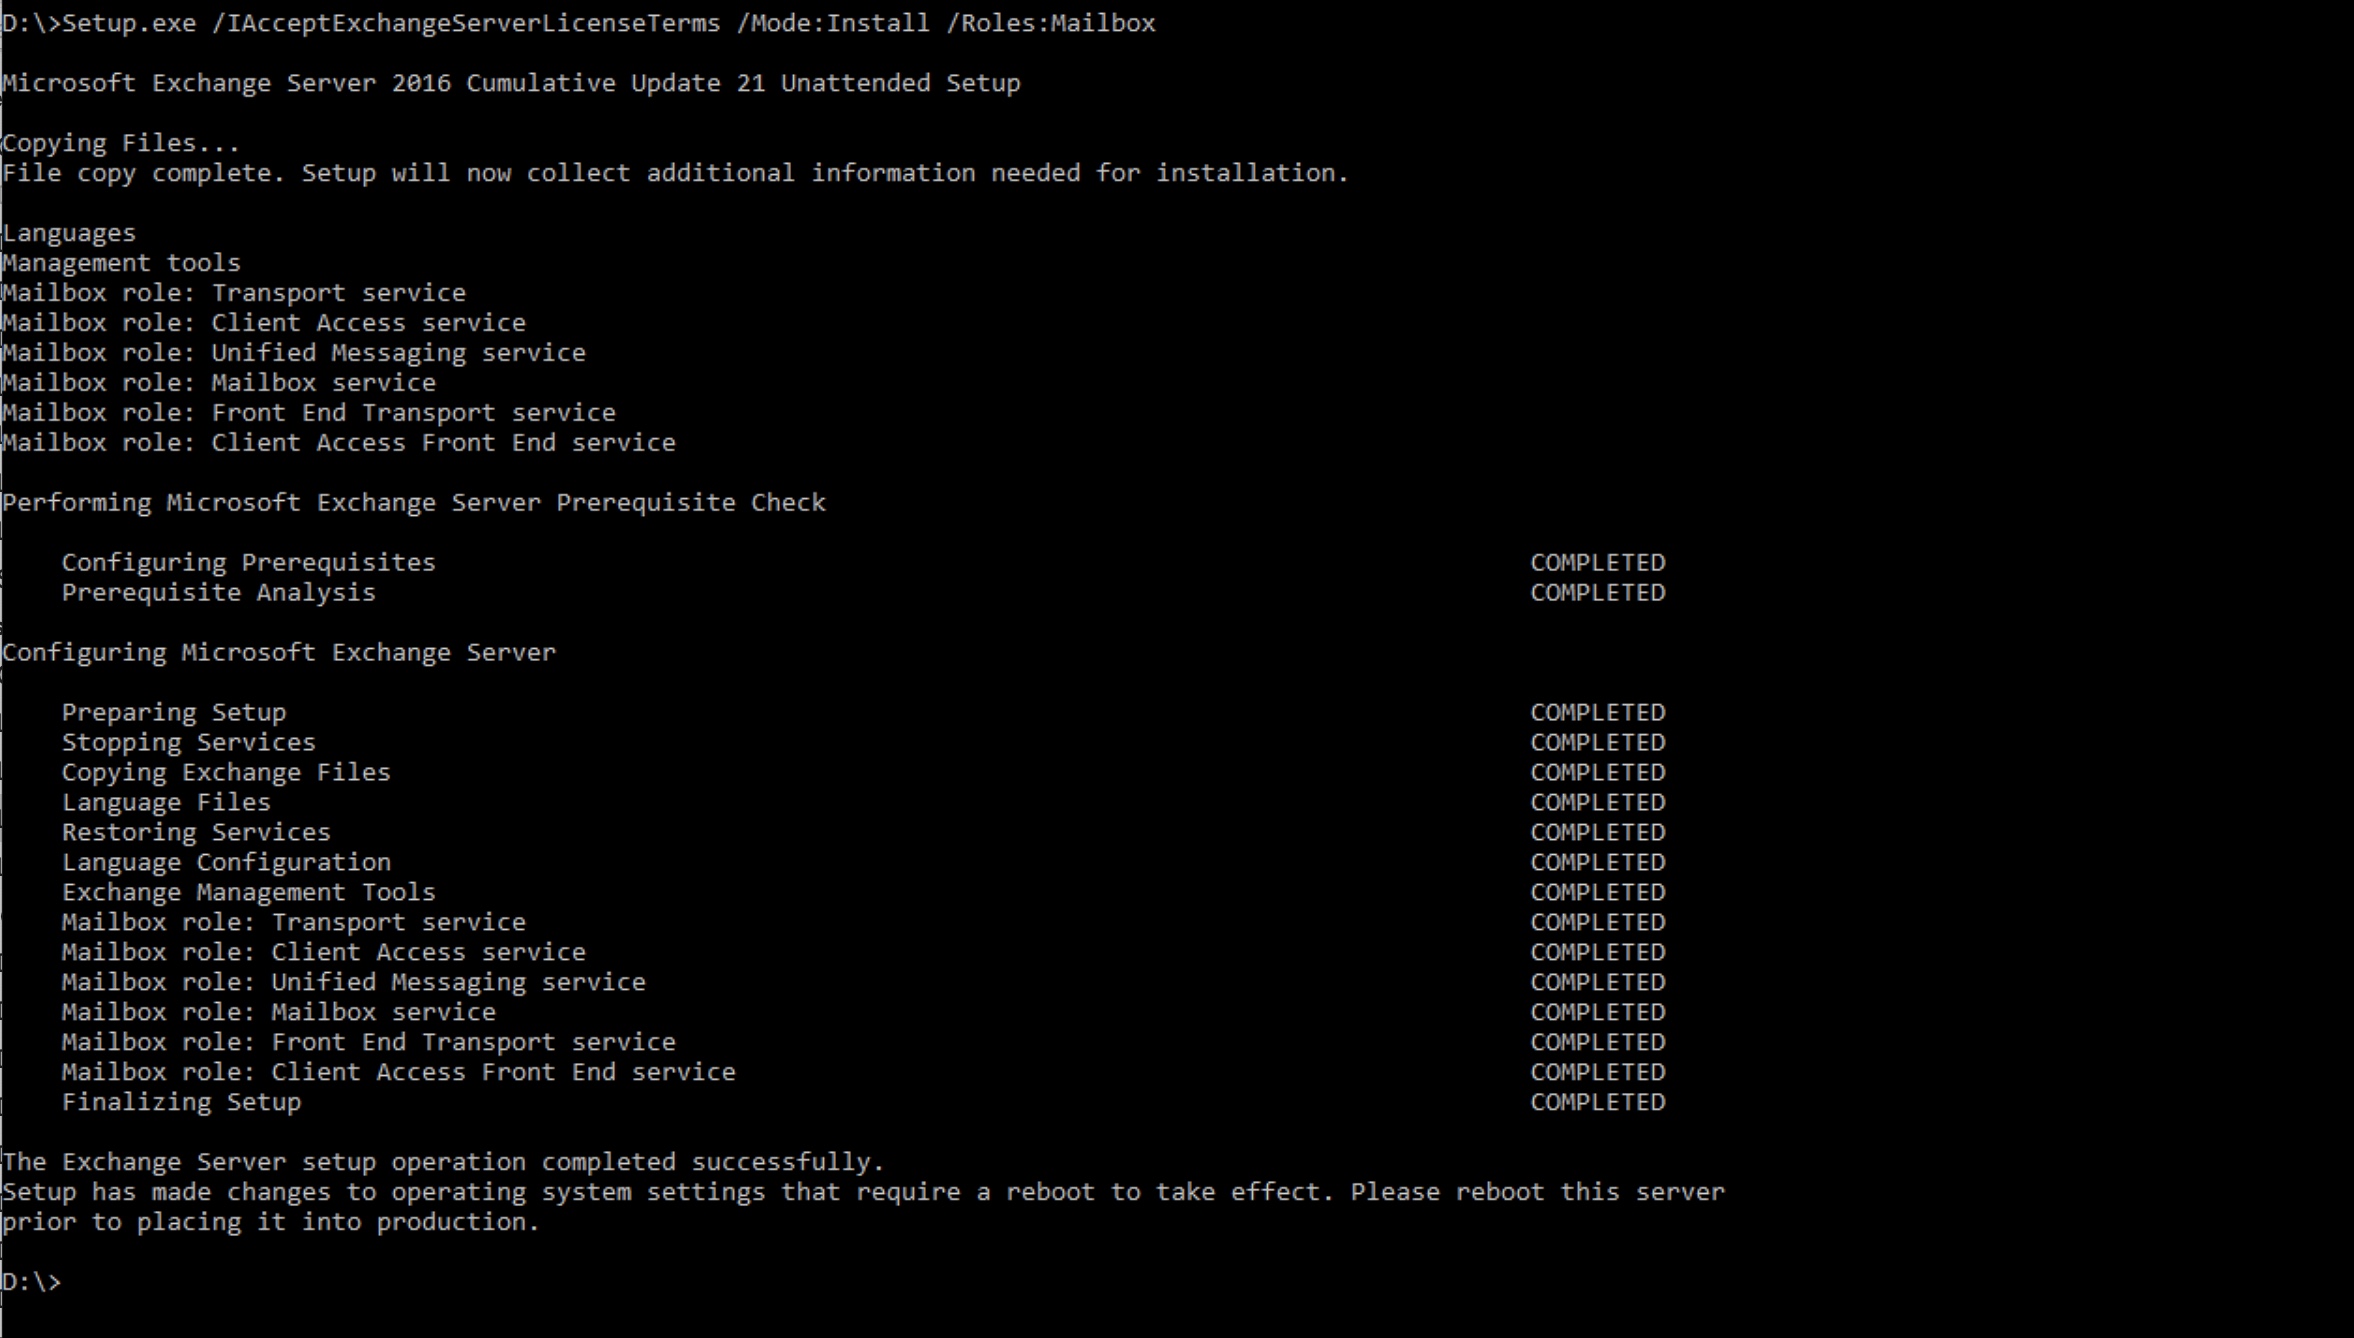
Setup.exe /IAcceptExchangeServerLicenseTerms /Mode:Install /Roles:Mailbox |
Done..
Now reboot check and change the SCP to point to autodiscover DNS record (that at this point is still Exchange 2010! ).
|
1 |
get-ClientAccessService -Identity LAB-EXCH16 |select *discover* |

Change it to point to FQDN of autodiscover
|
1 2 |
set-ClientAccessService -Identity LAB-EXCH16 -AutoDiscoverServiceInternalUri "https://mail.labincloudres.com/Autodiscover/Au todiscover.xml" |
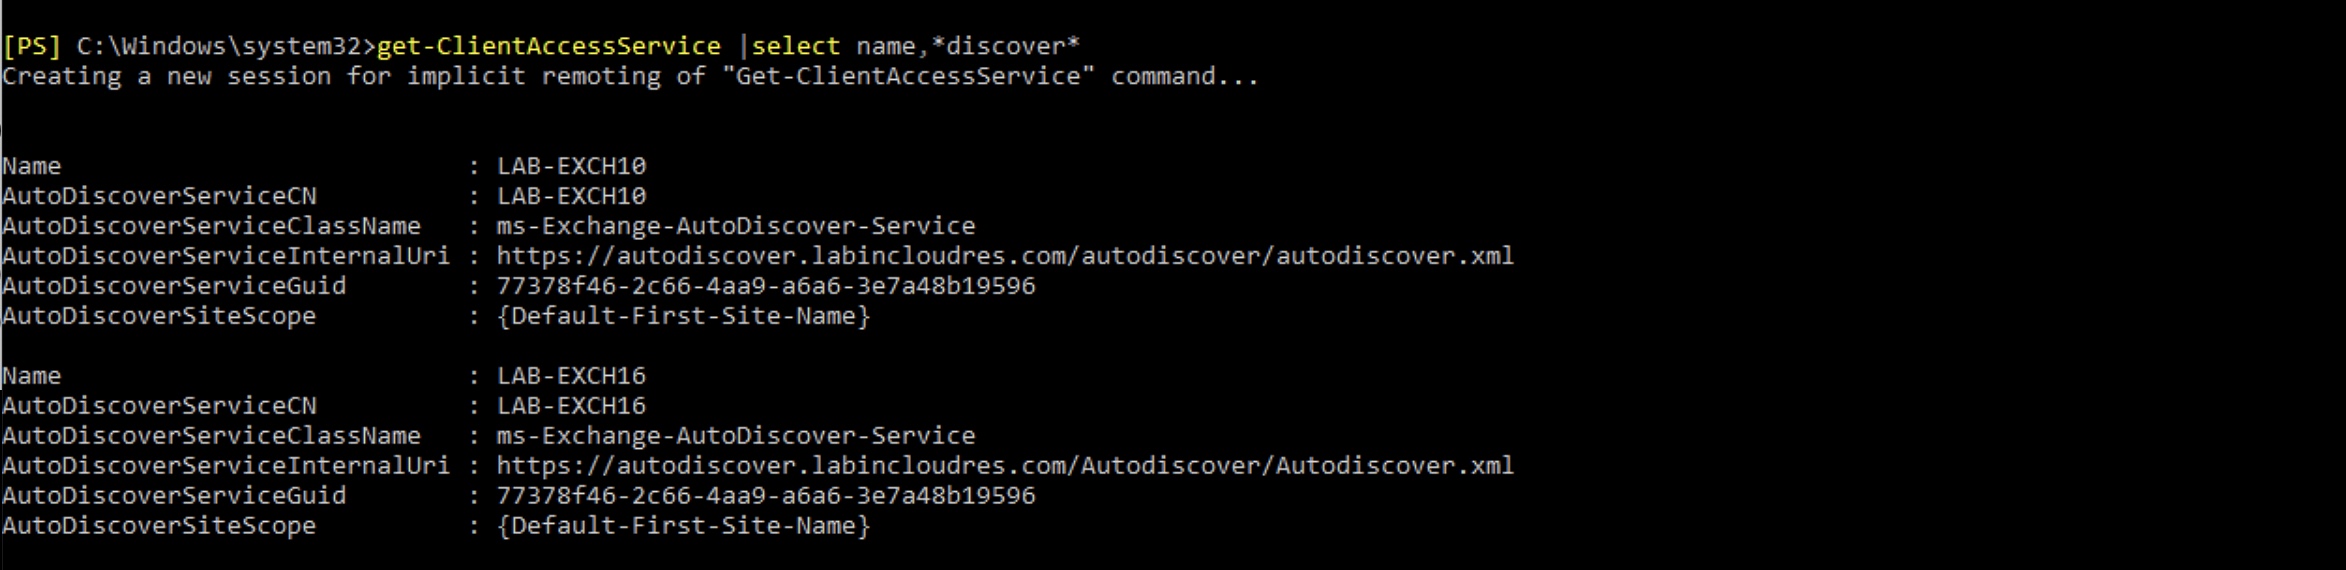
Now check it again…
|
1 |
get-ClientAccessService |select name,*discover* |
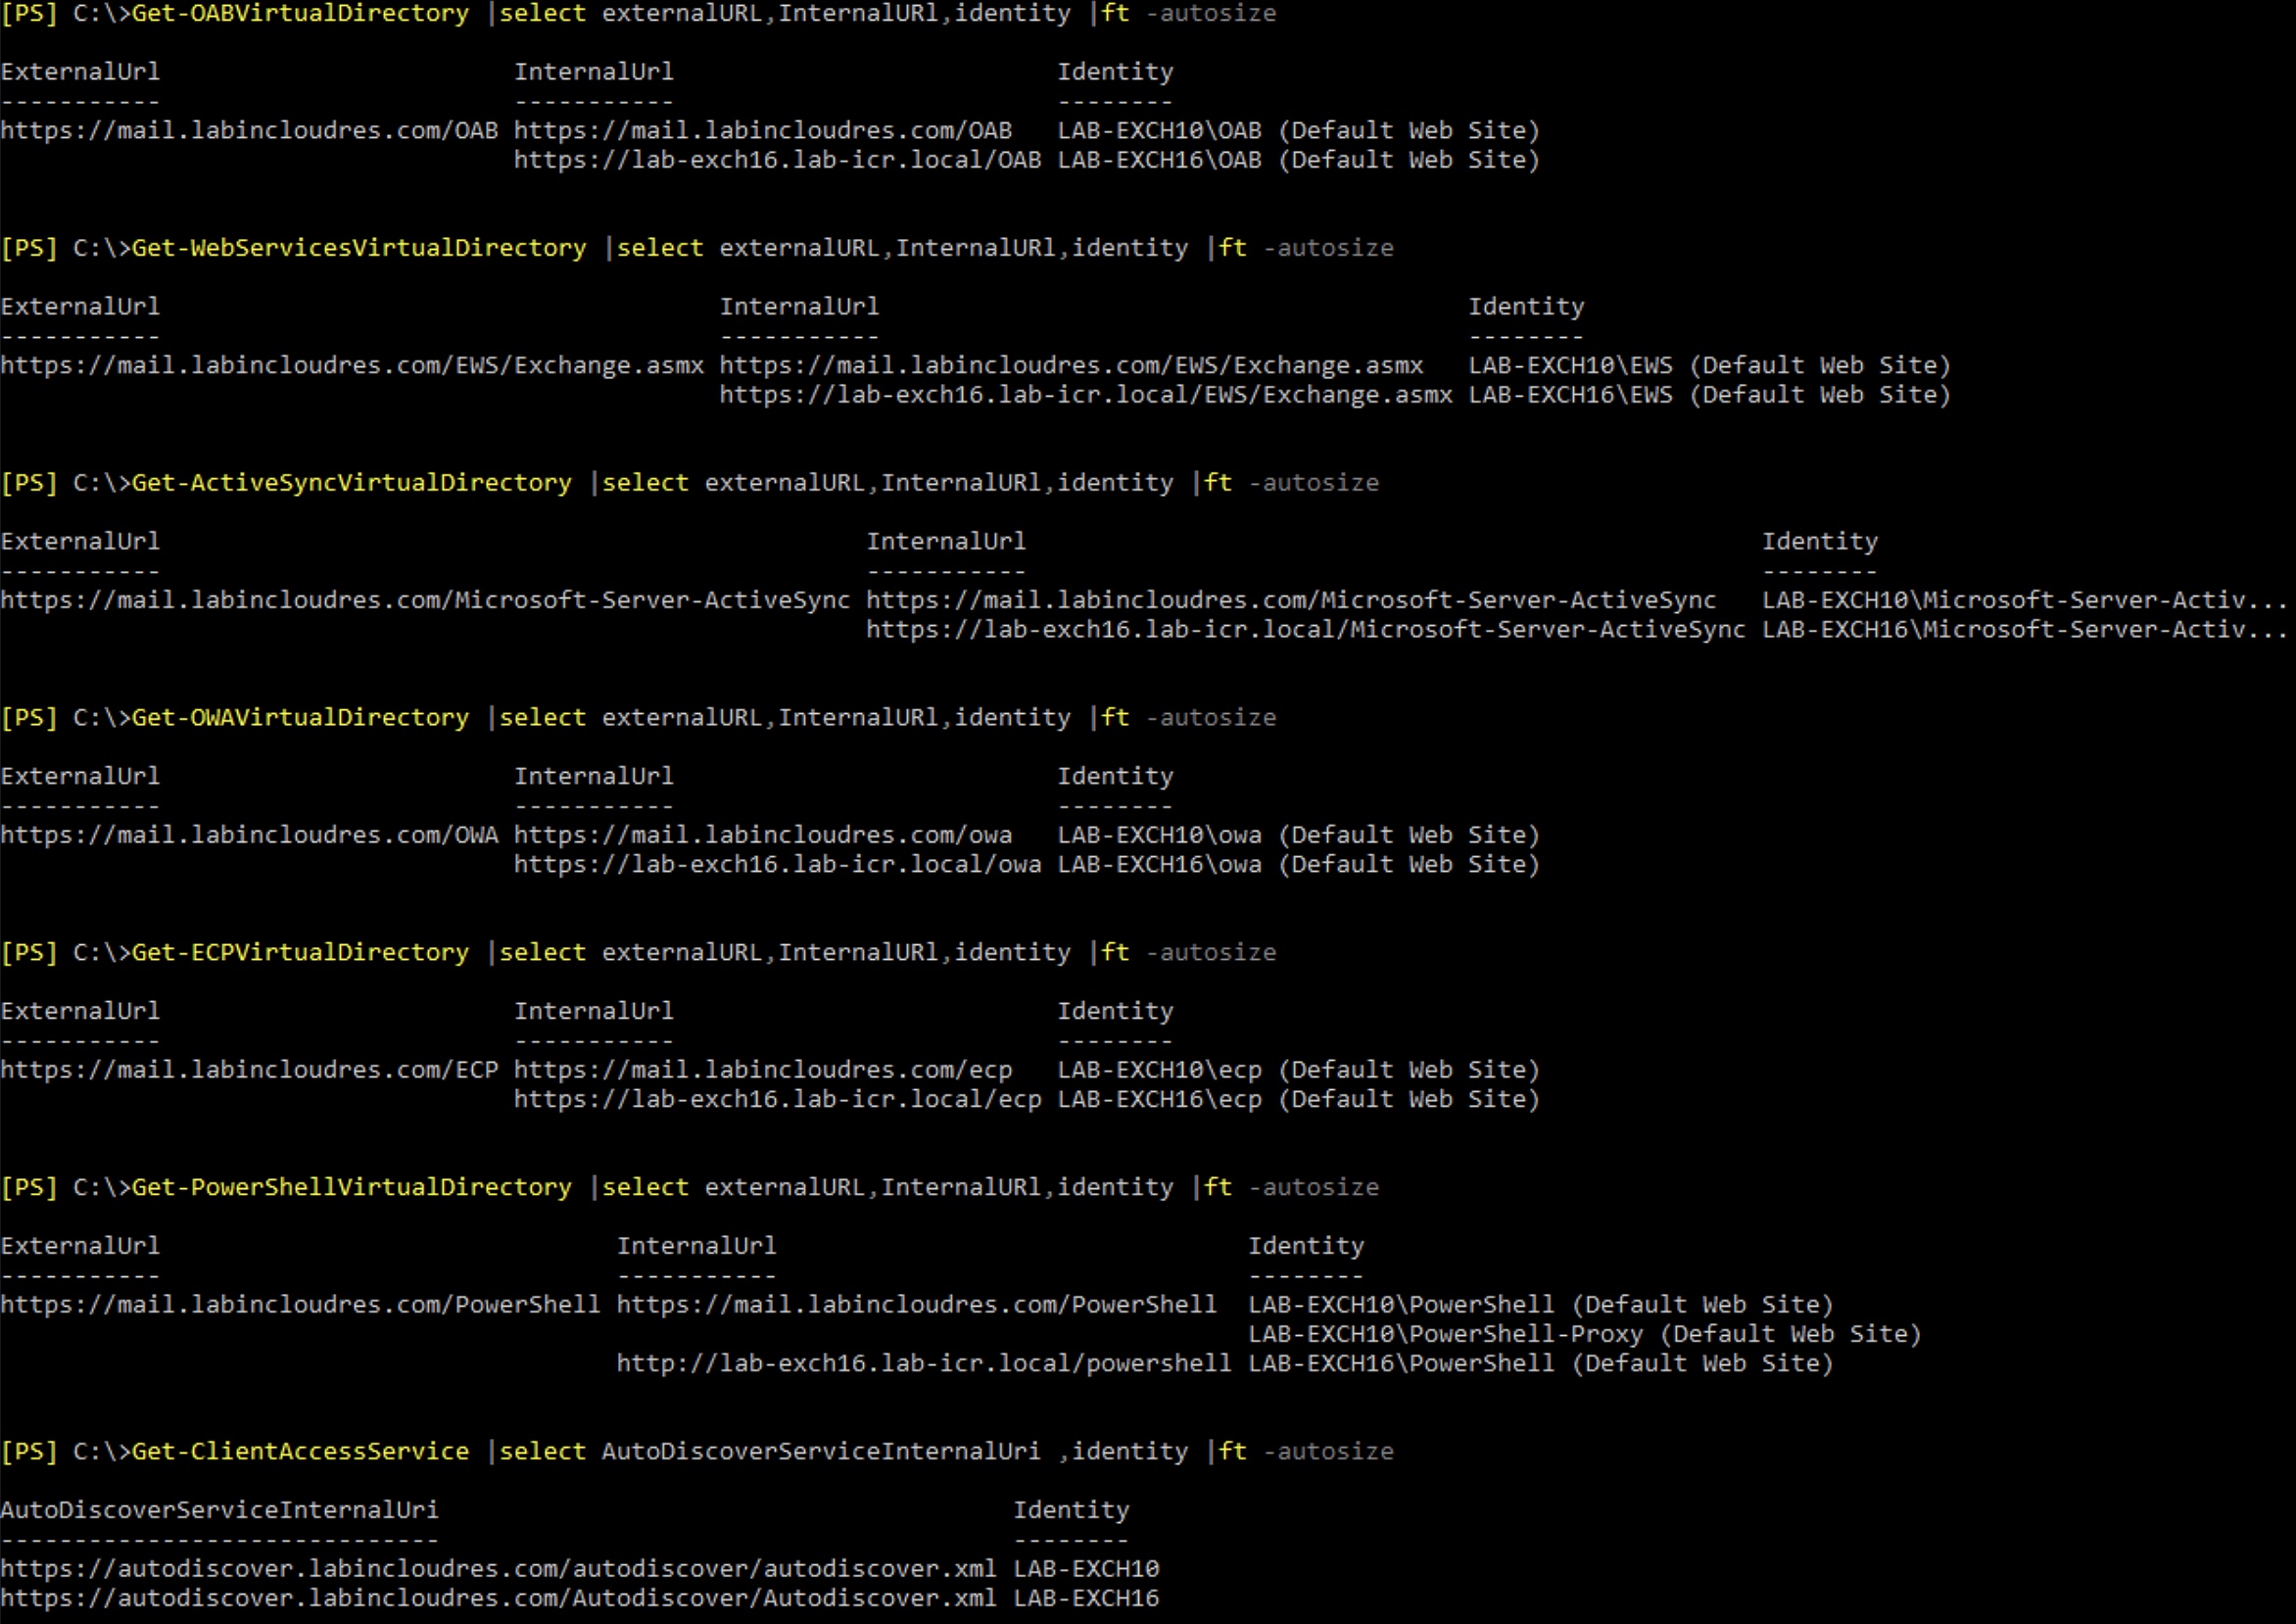
Now we have some things to do… set all virtual directories to the right FQDN and, before start, we can show the situation:
|
1 2 3 4 5 6 7 8 |
Get-OABVirtualDirectory |select externalURL,InternalURl,identity |ft -autosize Get-WebServicesVirtualDirectory |select externalURL,InternalURl,identity |ft -autosize Get-ActiveSyncVirtualDirectory |select externalURL,InternalURl,identity |ft -autosize Get-OWAVirtualDirectory |select externalURL,InternalURl,identity |ft -autosize Get-ECPVirtualDirectory |select externalURL,InternalURl,identity |ft -autosize Get-PowerShellVirtualDirectory |select externalURL,InternalURl,identity |ft -autosize Get-ClientAccessService |select AutoDiscoverServiceInternalUri ,identity |ft -autosize Get-AutodiscoverVirtualDirectory |select externalURL,InternalURl,identity |ft -autosize |
And so, we need all that is related to our new Exchange 2016..
|
1 2 3 4 5 6 7 8 9 10 11 12 13 14 15 |
Set-OABVirtualDirectory -identity "LAB-EXCH16\OAB (Default Web Site)" -ExternalURL https://mail.labincloudres.com/OAB -InternalUrl https://mail.labincloudres.com/OAB Set-WebServicesVirtualDirectory -identity "LAB-EXCH16\EWS (Default Web Site)" -ExternalURL https://mail.labincloudres.com/EWS/Exchange.asmx -InternalUrl https://mail.labincloudres.com/ews/Exchange.asmx Set-ActiveSyncVirtualDirectory -Identity "LAB-EXCH16\Microsoft-Server-ActiveSync (Default Web Site)" -ExternalURL https://mail.labincloudres.com/Microsoft-Server-ActiveSync -InternalUrl https://mail.labincloudres.com/Microsoft-Server-ActiveSync Set-OWAVirtualDirectory -Identity "LAB-EXCH16\owa (Default Web Site)" -ExternalURL https://mail.labincloudres.com/owa -InternalUrl https://mail.labincloudres.com/owa Set-ECPVirtualDirectory -Identity "LAB-EXCH16\ecp (Default Web Site)" -ExternalURL https://mail.labincloudres.com/ecp -InternalURl https://mail.labincloudres.com/ecp Set-PowerShellVirtualDirectory -Identity "LAB-EXCH16\PowerShell (Default Web Site)" -ExternalURL https://mail.labincloudres.com/powershell -InternalURl https://mail.labincloudres.com/powershell Set-ClientAccessService -Identity LAB-EXCH16 -AutoDiscoverServiceInternalUri https://autodiscover.labincloudres.com/Autodiscover/Autodiscover.xml Set-AutodiscoverVirtualDirectory -identity "LAB-EXCH16\Autodiscover (Default Web Site)" -ExternalUrl https://autodiscover.labincloudres.com/Autodiscover/Autodiscover.xml -InternalUrl https://autodiscover.labincloudres.com/Autodiscover/Autodiscover.xml |
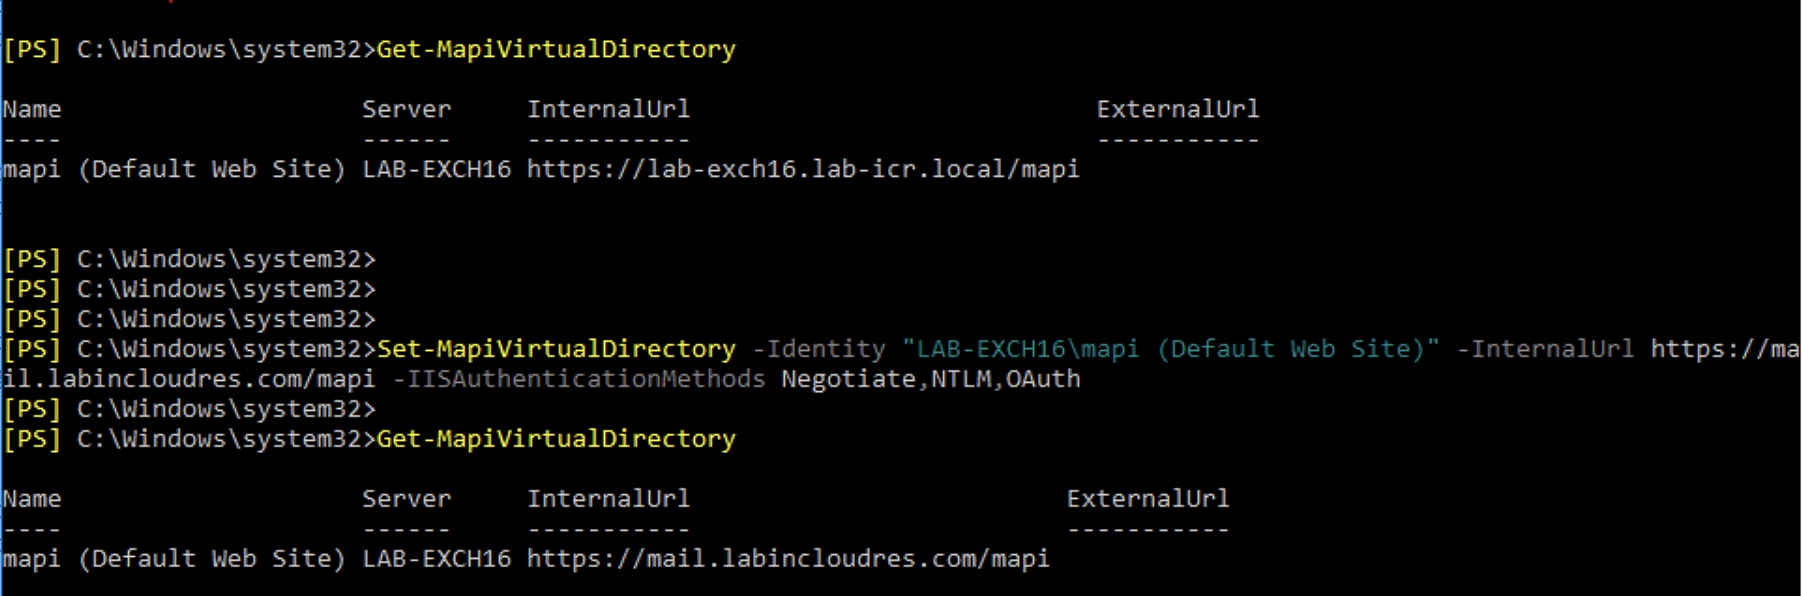
Double check the MAPI (MapiVirtualDirectory) and OutlookAnywhere on your Exchange 2016.
Change it too
|
1 2 3 |
Get-MapiVirtualDirectory Set-MapiVirtualDirectory -Identity "LAB-EXCH16\mapi (Default Web Site)" -InternalUrl https://mail.labincloudres.com/mapi -ExternalUrl https://mail.labincloudres.com/mapi -IISAuthenticationMethods NTLM,Negotiate,OAuth |
And, finally set OutlookAnywhere on the Exchange 2016…
|
1 2 3 |
get-OutlookAnywhere Set-OutlookAnywhere -Identity "LAB-EXCH16\RPC (Default Web Site)" -ExternalHostname mail.labincloudres.com -InternalHostname mail.labincloudres.com -ExternalClientsRequireSsl $true -InternalClientsRequireSsl $true -DefaultAuthenticationMethod NTLM |

Now, we need to export the SSL certificare from Exchange 2010 and importo to Exchange 2016
Remember that Exchange 2010 has a “bug” in the Export-ExchangeCertificate because “-path” is missing… so we need to fallow this useful suggestion from Nick
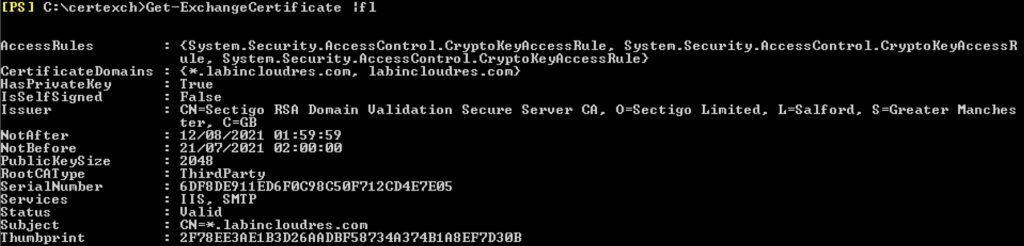
First extract from Exchange 2010 the thumbprint of the cerfificate.
|
1 |
Get-ExchangeCertificate |fl |
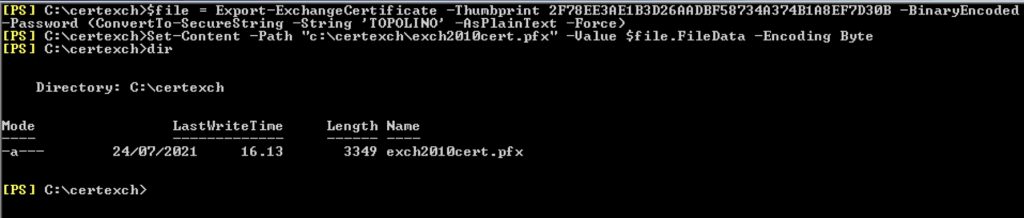
Now, fallowing Nick, we will use these commands to export.
|
1 2 3 |
$file = Export-ExchangeCertificate -Thumbprint 2F78EE3AE1B3D26AADBF58734A374B1A8EF7D30B -BinaryEncoded -Password (ConvertTo-SecureString -String 'TOPOLINO' -AsPlainText -Force) Set-Content -Path "c:\certexch\exch2010cert.pfx" -Value $file.FileData -Encoding Byte |
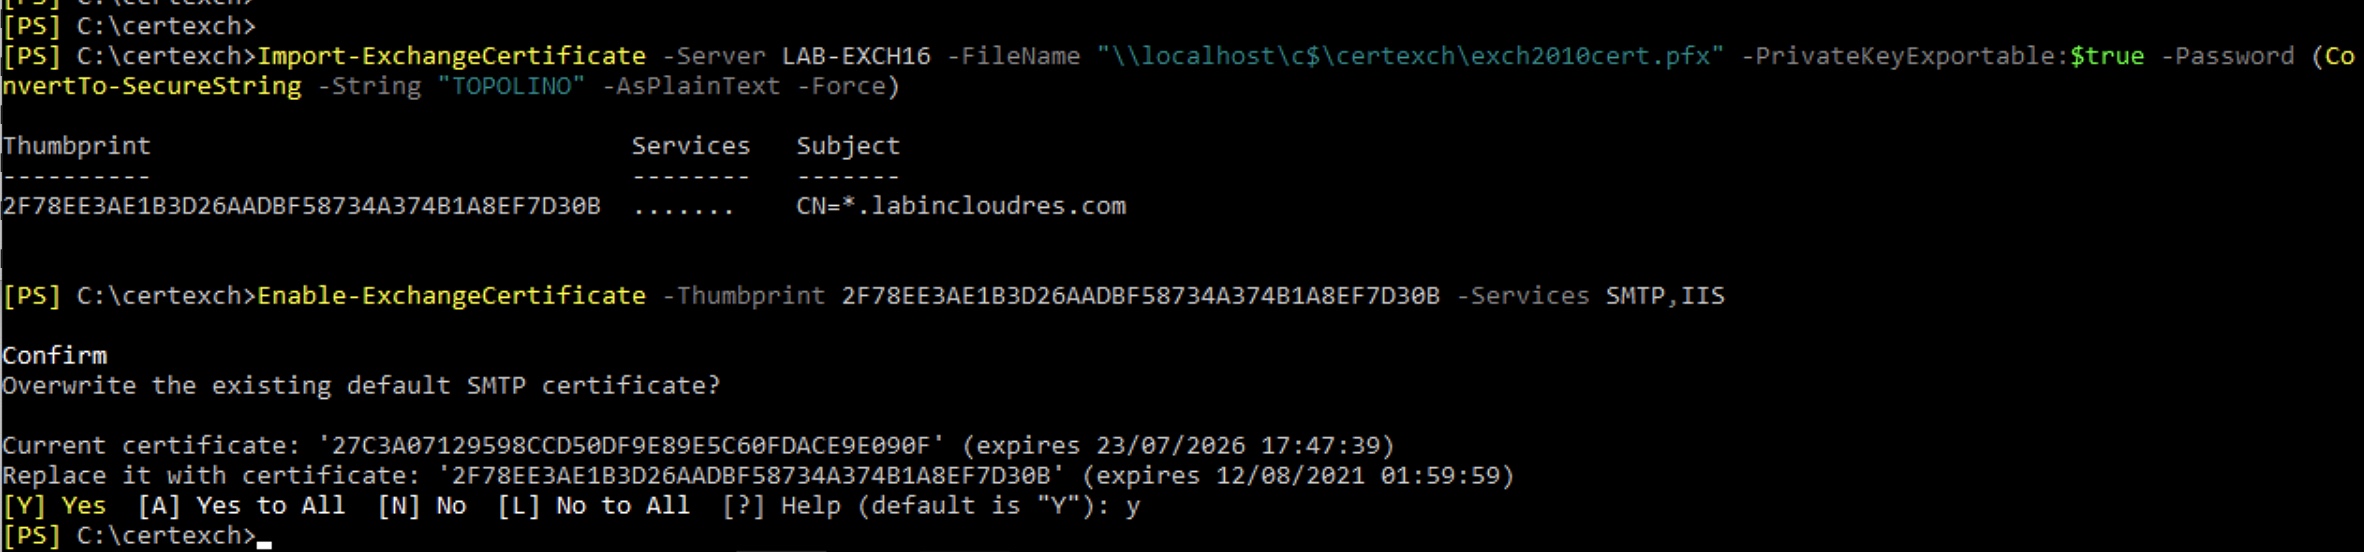
Now copy this exported certificate to your Exchange 2016, import it and assign to IIS and SMTP.
|
1 2 3 |
Import-ExchangeCertificate -Server LAB-EXCH16 -FileName "\\localhost\c$\certexch\exch2010cert.pfx" -PrivateKeyExportable:$true -Password (ConvertTo-SecureString -String "TOPOLINO" -AsPlainText -Force) Enable-ExchangeCertificate -Thumbprint 2F78EE3AE1B3D26AADBF58734A374B1A8EF7D30B -Services SMTP,IIS |
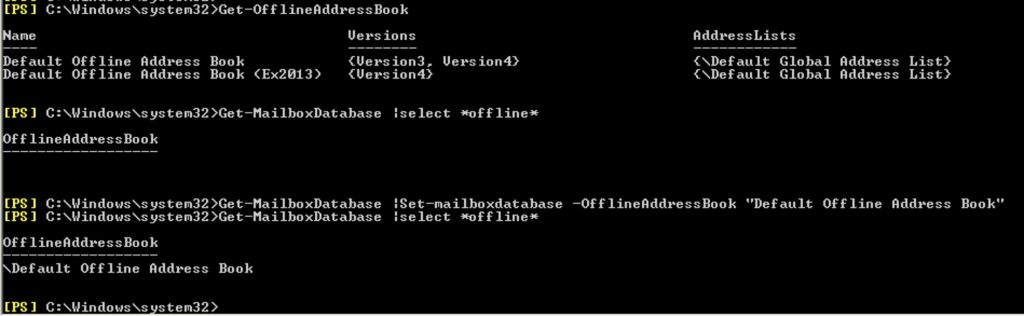
Set the default OAB per DB on the Exchange 2010
|
1 2 3 4 |
Get-OfflineAddressBook Get-MailboxDatabase |select *offline* Get-MailboxDatabase |Set-mailboxdatabase -OfflineAddressBook "Default Offline Address Book" |
On Exchange 2016
Create an OAB for the Exchange 2016 DB
|
1 |
Get-MailboxDatabase | Set-MailboxDatabase -OfflineAddressBook “Default Offline Address List (Ex2013)” |
And set it as the default OAB for the Exchange 2016 DBs
|
1 |
Get-MailboxDatabase | Set-MailboxDatabase -OfflineAddressBook "\Default Offline Address Book" |
Now we will do some task preparing to move mailboxes (NB disable Circular logging and increases database limits…) :
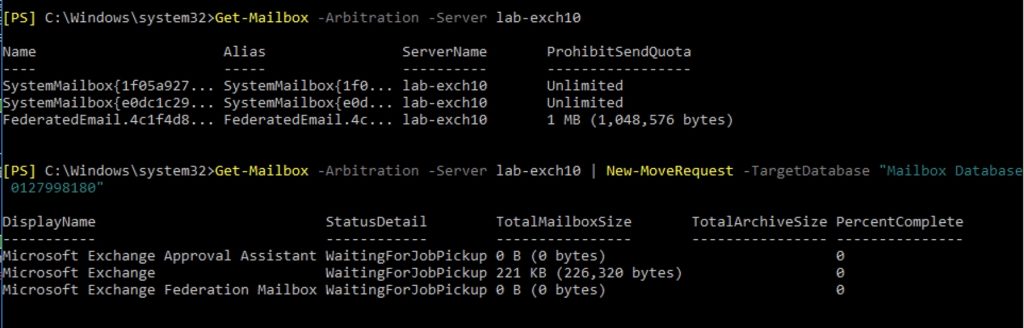
First we need to move the Arbitration mailboxes from 2010 to 2016 to avoid problem access to OAB after moving mailboxes..
|
1 2 3 4 |
Get-Mailbox -Arbitration -Server lab-exch10 Get-Mailbox -Arbitration -Server lab-exch10 | New-MoveRequest -TargetDatabase "Mailbox Database 0127998180" |
At this point we could test a mailbox move, but, before, we can switch the DNS record to point to our Exchange 2016.
If you want only do a test with a pc, you could change the HOSTS file to force the resolution of SCP FQDN , in my case mail.labincloudres.com , to your Exchange 2016 instead of 2010
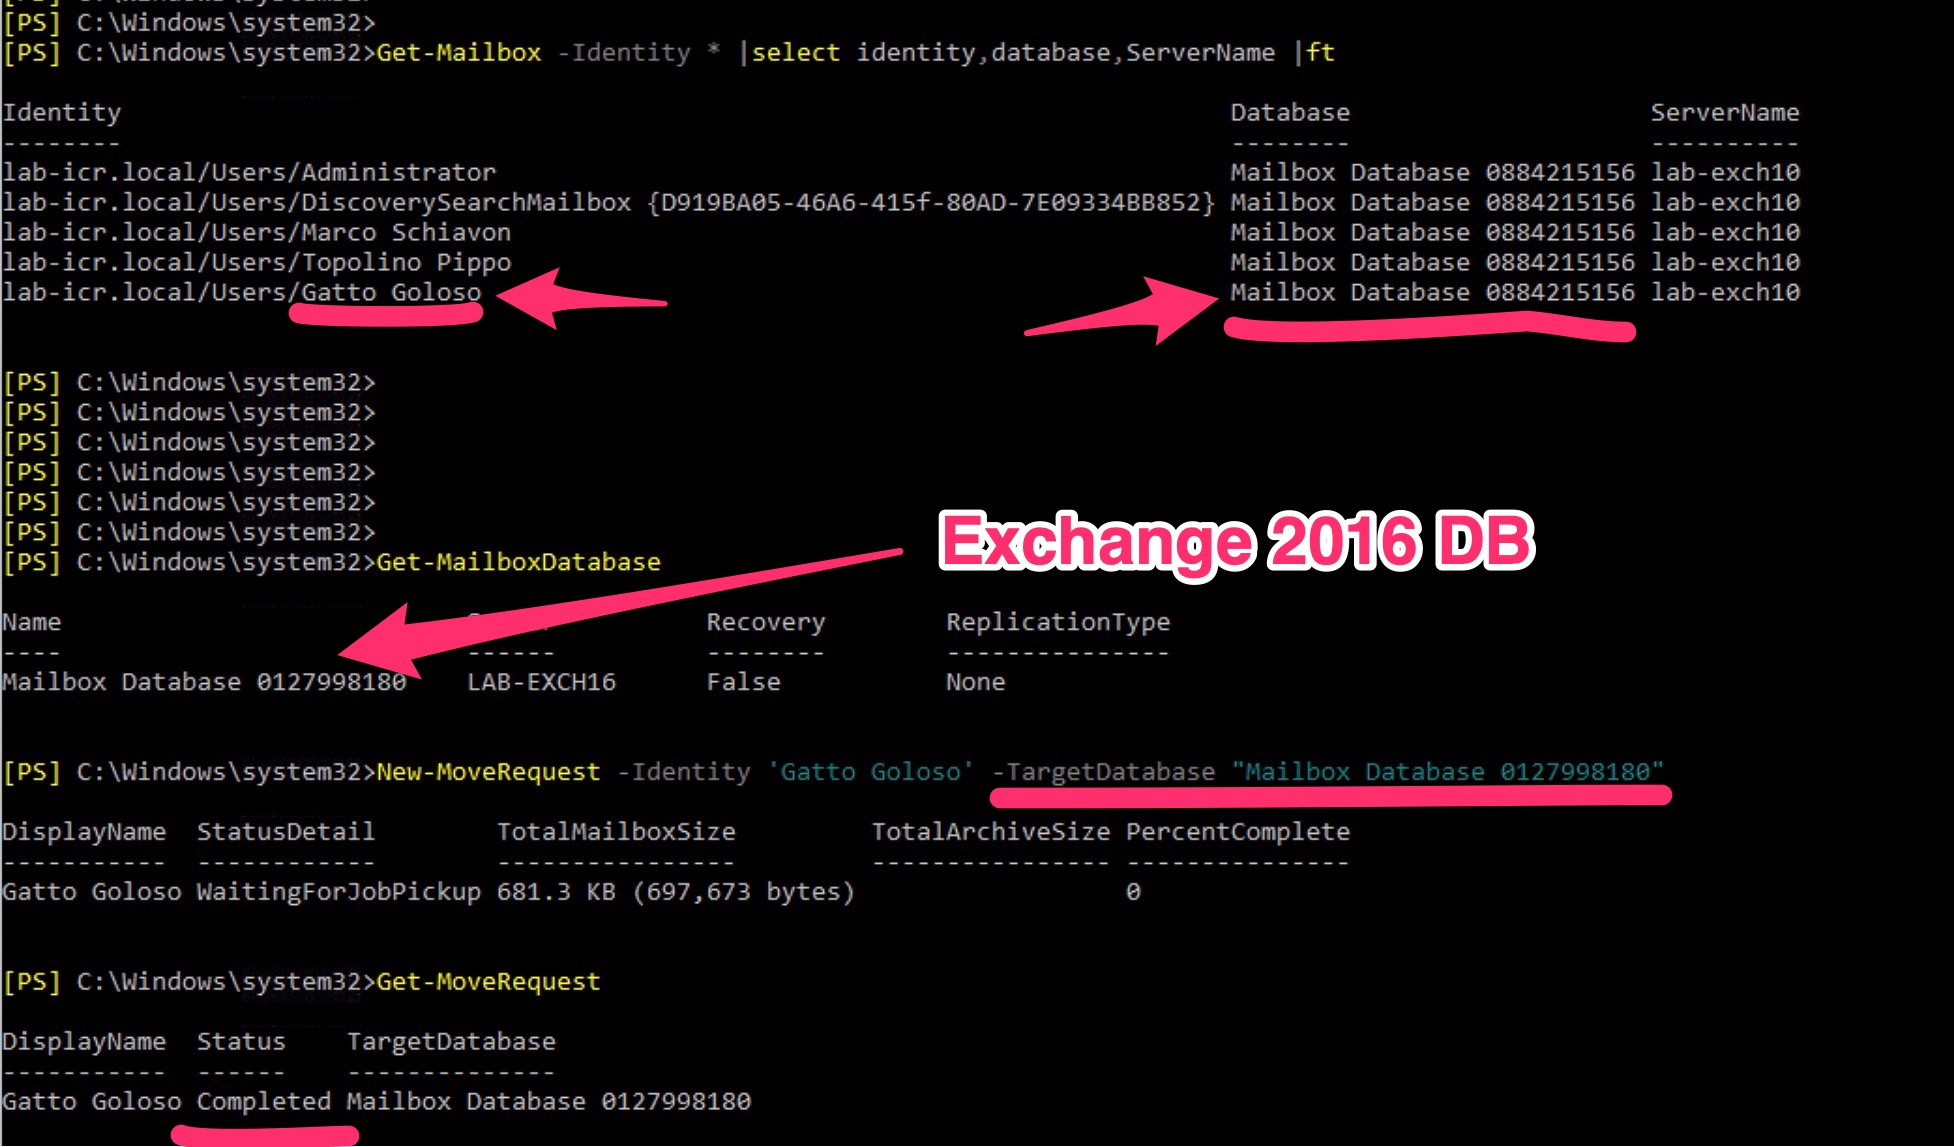
Now we will do a test moving a mailbox and check that everything works..
|
1 2 3 4 5 6 7 8 |
<strong>TO LIST all Mailboxes with DBs...</strong> Get-Mailbox -Identity * |select identity,database,ServerName |ft <strong>TO MOVE a mailbox</strong> New-MoveRequest -Identity 'Gatto Goloso' -TargetDatabase "Mailbox Database 0127998180" <strong>TO GET the move request status..</strong> Get-MoveRequest <strong>TO CLEAR completed move requestes...</strong> Get-MoveRequest -movestatus completed | remove-moverequest |
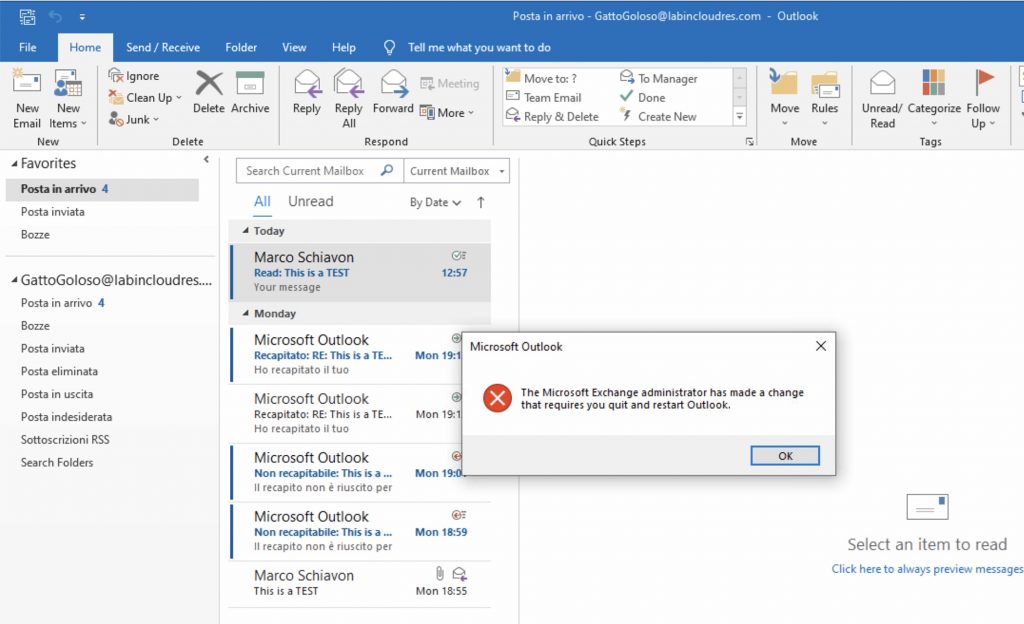
On the client side, Outlook popup a warning, you have to close and reopen Outlook.
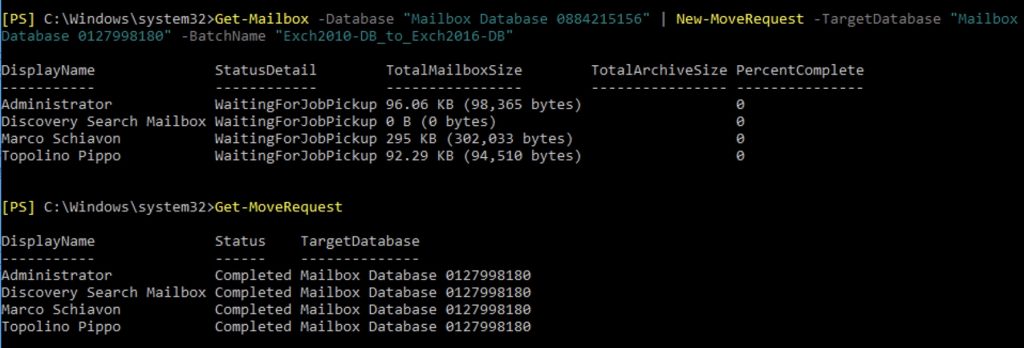
So it works… now we proceed to move all mailbox with this command:
|
1 2 |
Get-Mailbox -Database "Mailbox Database 0884215156" | New-MoveRequest -TargetDatabase "Mailbox Database 0127998180" -BatchName "Exch2010-DB_to_Exch2016-DB" |
Before starting mooving all mailboxes, we need to garantee the ability, for moved mailboxes to access to Public Folders.
tO do this, we need to implement a PF Mailbox Proxy meccanism
- On the Exchage 2010 we need to create a DB dedicated to this particular topics
|
1 |
New-MailboxDatabase -Server 'YOUR EXCHANGE 2010' -Name "MDB NAME' -IsExcludedFromProvisioning $true |

2. Now, we create a mailbox into this Db and hide it.
|
1 2 3 |
New-Mailbox -UserPrincipalName PF-PROXY-MAILBOX01@yourdomain.local -Alias PF-PROXY-MAILBOX01 -Name PF-PROXY-MAILBOX01 -Database "PF-PROXY" -OrganizationalUnit Users -ResetPasswordOnNextLogon $false Set-Mailbox -Identity <meta charset="utf-8">'PF-MAIBOX' -HiddenFromAddressListsEnabled $true |
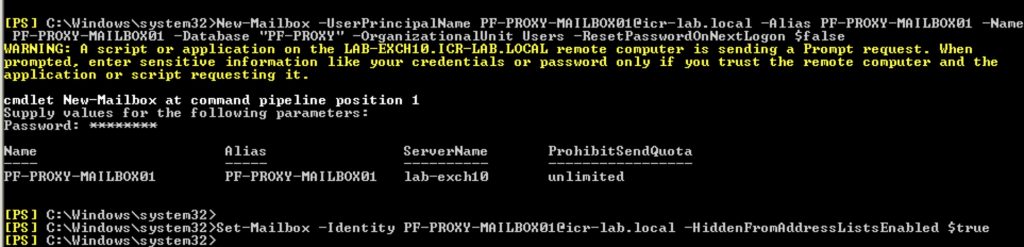
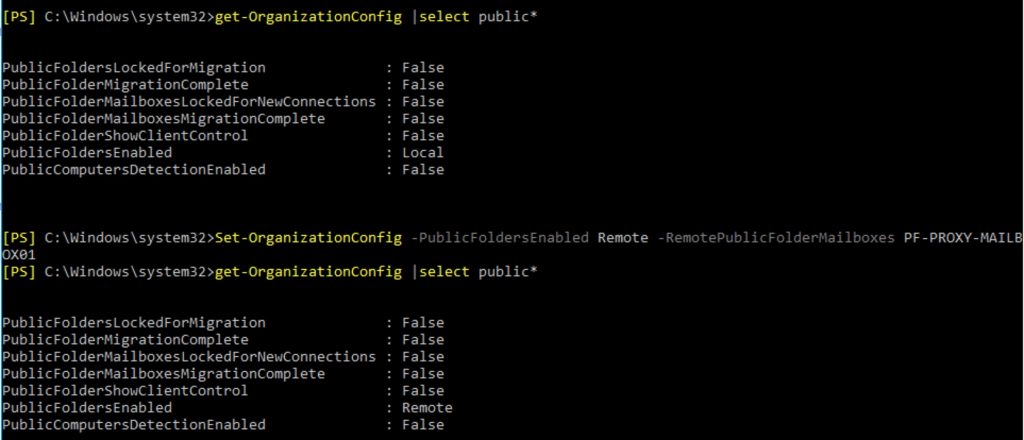
3. Now switch to your Exchange 2016 and change from Local to Remote pointing to previous mailbox created on Exchange 2010.
|
1 2 |
Set-OrganizationConfig -PublicFoldersEnabled Remote -RemotePublicFolderMailboxes PF-PROXY-MAILB OX01 |
Now, we moved all the mailboxes and we will migrate the public folder.
first, download the script from Microsoft
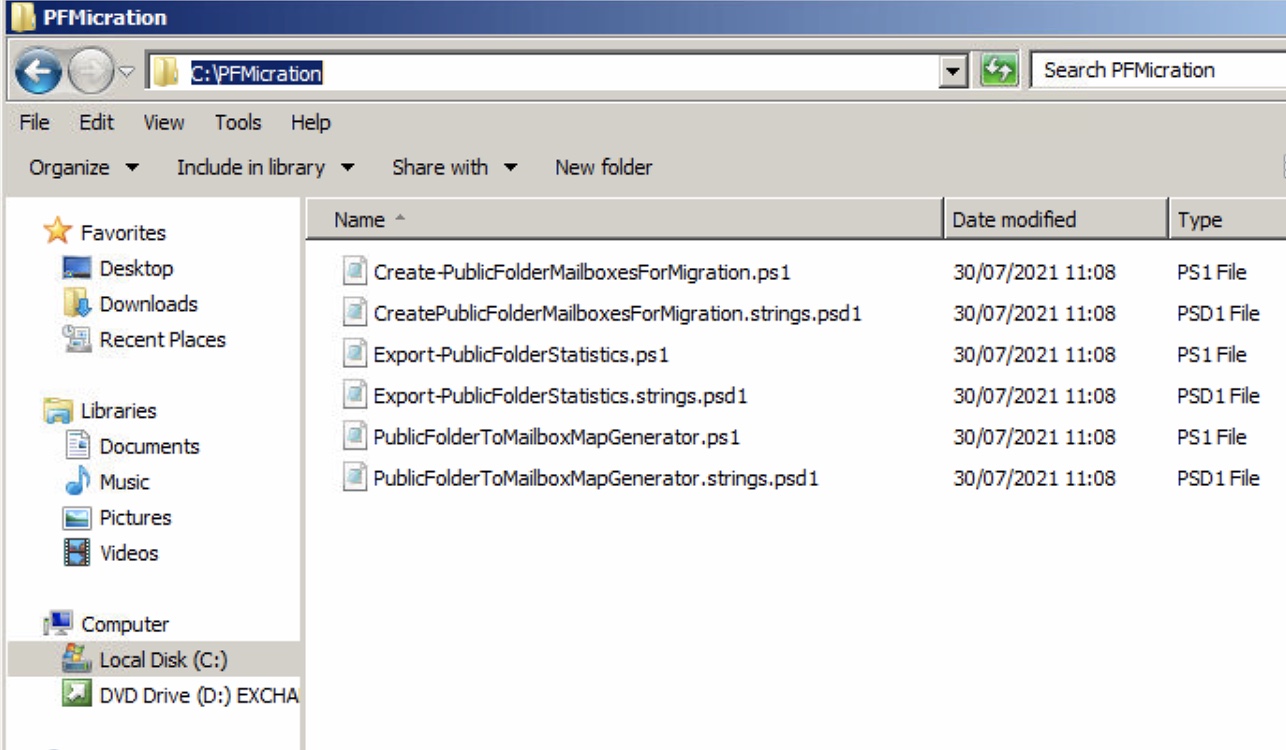
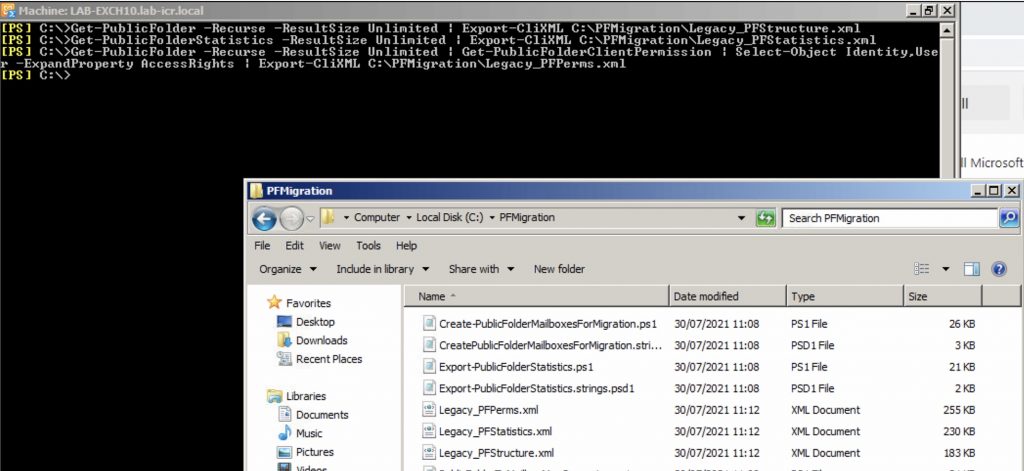
- Now take a snapshot of Structure,Statistics and Permission. These XML will be useful later.
|
1 2 3 4 5 6 |
Get-PublicFolder -Recurse -ResultSize Unlimited | Export-CliXML C:\PFMigration\Legacy_PFStructure.xml Get-PublicFolderStatistics -ResultSize Unlimited | Export-CliXML C:\PFMigration\Legacy_PFStatistics.xml Get-PublicFolder -Recurse -ResultSize Unlimited | Get-PublicFolderClientPermission | Select-Object Identity,User -ExpandProperty AccessRights | Export-CliXML C:\PFMigration\Legacy_PFPerms.xml |
Now check if there are a previous migration in progress…
|
1 |
Get-OrganizationConfig | Format-List PublicFoldersLockedforMigration, PublicFolderMigrationComplete |

Now, we will map a drive on the Exchange 2010 that is pointed to a folder/share of Exchange 2016. We do this, because we need to launch the scripts from Exchange 2010, but we need to put the output on the Exchange 2016.
In my case i created a folder called PFMigration con C:\
Map it from Exchange 2010

Now, open an Ex Console with Admin rights, and launch the first script
|
1 2 |
.\Export-PublicFolderStatistics.ps1 k:\exp_stats.csv lab-exch10 |
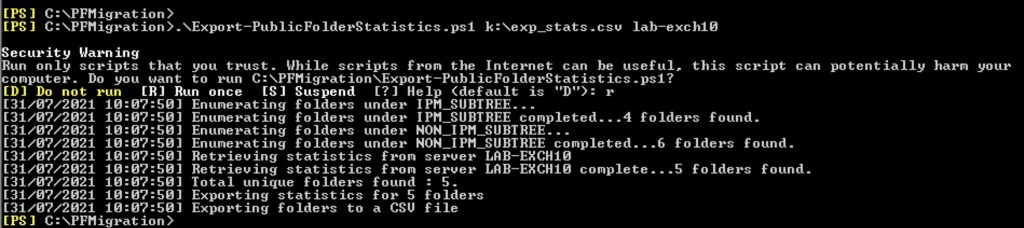
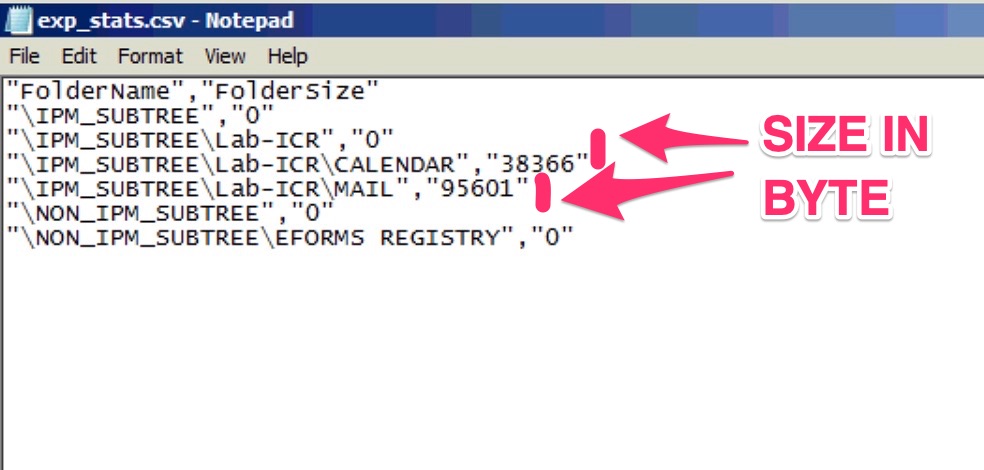
Now we can open the CSV just created to see the “size” of the current PF. in my case i have only 133.967 Byte that correspond to 0,13 Mb.. very small, but this is a LAB. Basically, you need to make a total to know how you will need to specify in the second script to permit “the public folder mailbox has room to grow.“
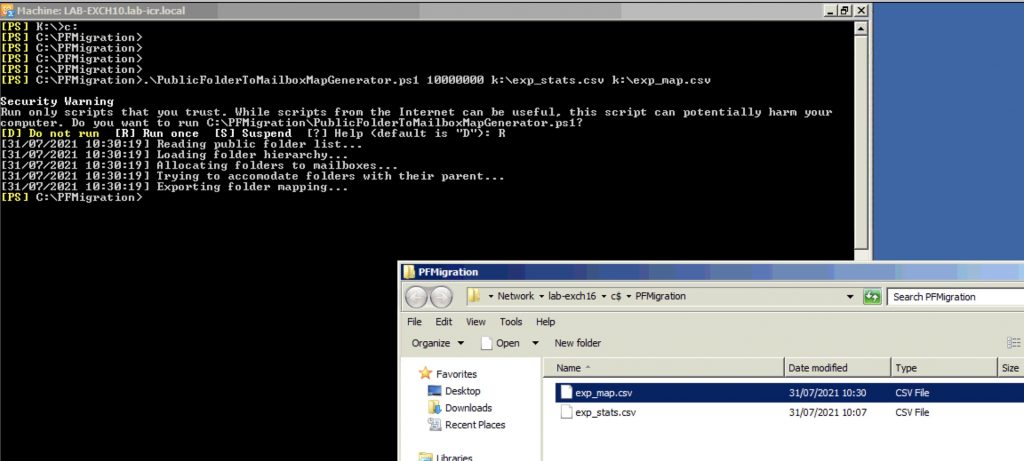
Now we run the script that will create a CSV to map the PF to a mailbox/mailboxes
|
1 2 |
.\PublicFolderToMailboxMapGenerator.ps1 10000000 k:\exp_stats.csv k:\exp_map.csv |
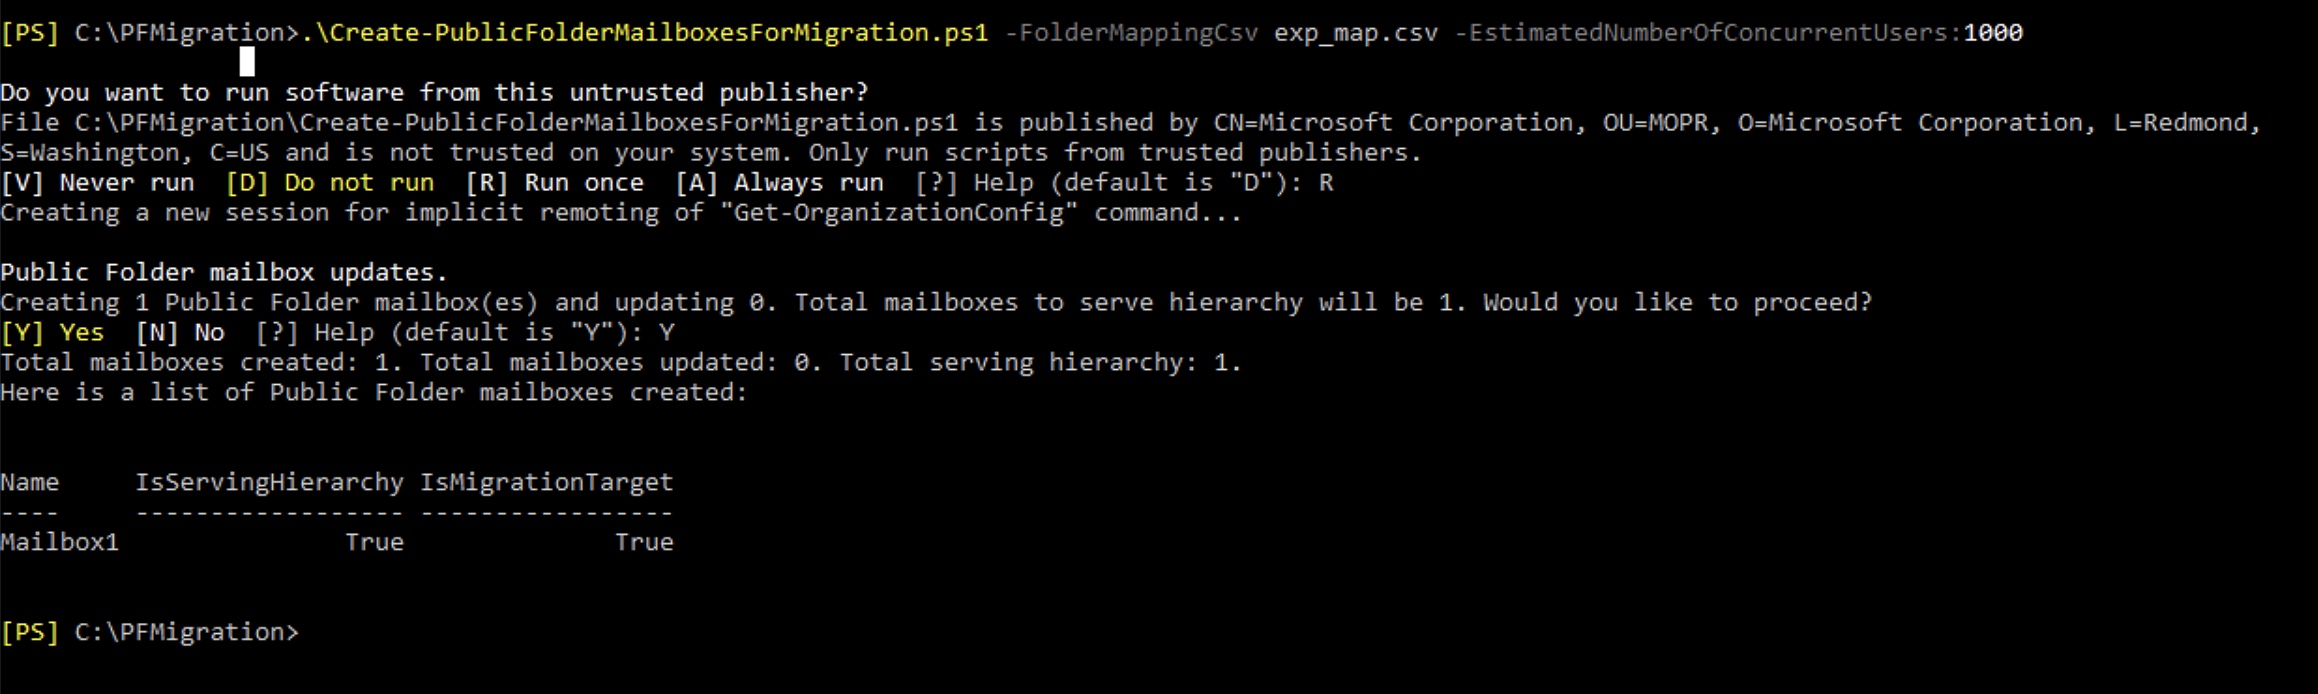
At this point we need to create the Public Folder Mailbox on the Exchange 2016, so, this command will be executed on the Exchange 2016 console <<<<!!!!
|
1 |
.\Create-PublicFolderMailboxesForMigration.ps1 -FolderMappingCsv exp_map.csv -EstimatedNumberOfConcurrentUsers:1000 |
Now issue the command to start the migration.
|
1 |
New-MigrationBatch -Name PFMigration -SourcePublicFolderDatabase (Get-PublicFolderDatabase -Server LAB-EXCH10) -CSVData (Get-Content exp_map.csv -Encoding Byte) -NotificationEmails mschiavon@labincloudres.com |

Set limits and start the batch
|
1 2 |
Set-MigrationBatch PFMigration -LargeItemLimit 100 -Baditemlimit 50 Start-MigrationBatch PFMigration |
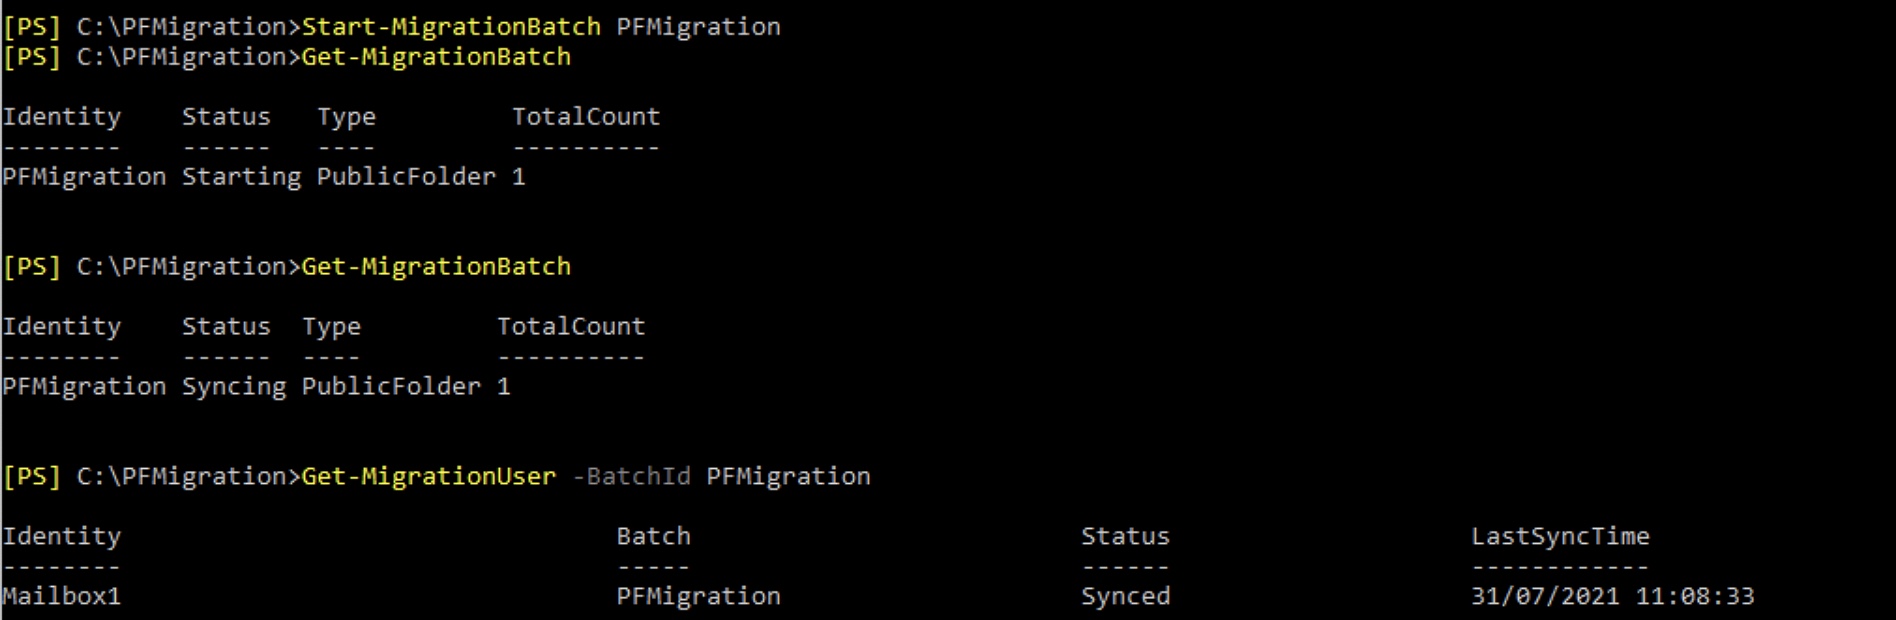
Check the status..
|
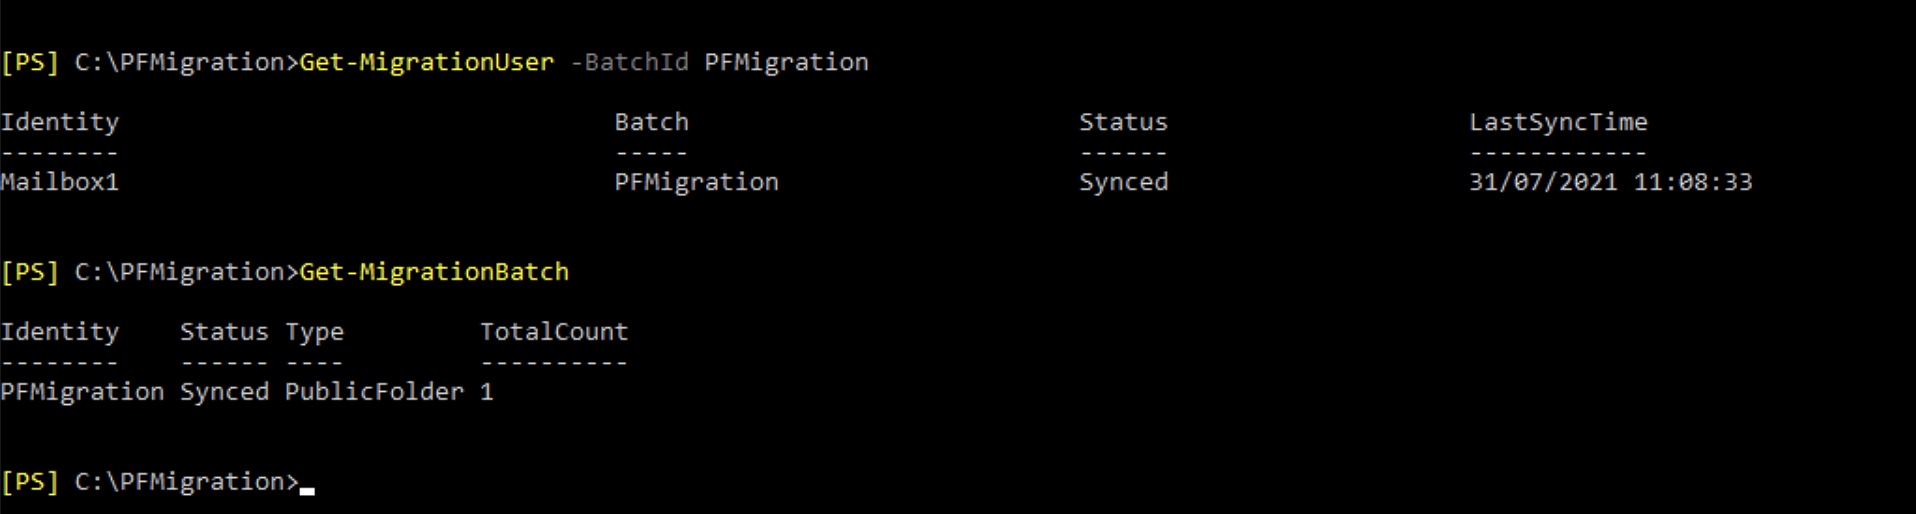
1 2 |
Get-MigrationUser -BatchId PFMigration Get-MigrationBatch |
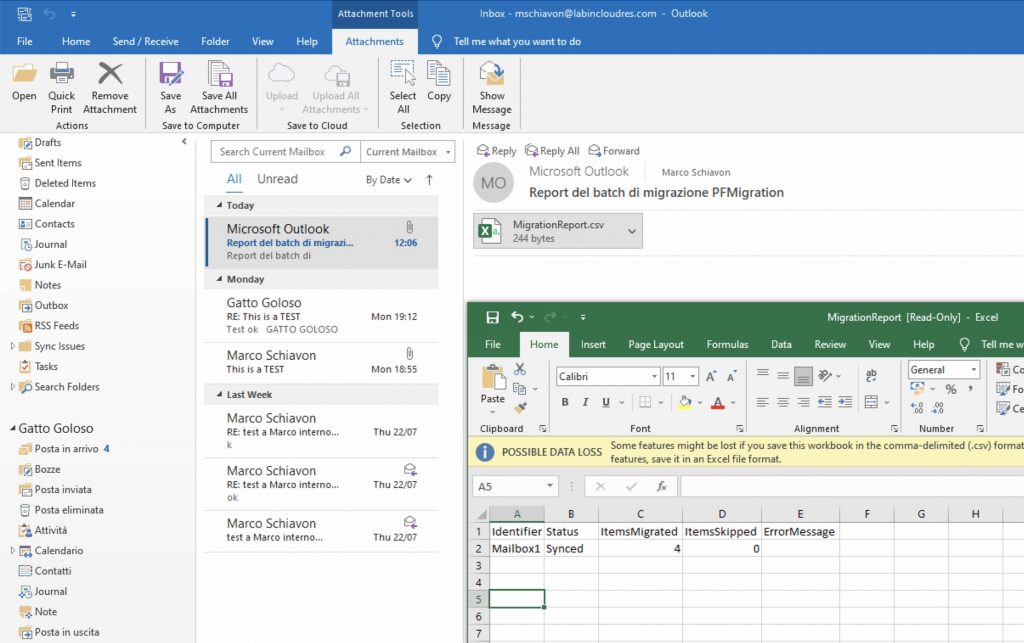
Check also the report sent to the mail address specified on the batch..
So, we are ready to finish or migration.
Go back to Exchange 2010 console and lock down the public folder. (this interrupt normal users operations on the public folders…. Do it off hours if you can.)
|
1 |
Set-OrganizationConfig -PublicFoldersLockedForMigration:$true |

Now, go back to Exchange 2016 console and finalize the migration batch…
|
1 2 |
Set-OrganizationConfig -PublicFoldersEnabled Remote Complete-MigrationBatch PFMigration |

Note that in this case , with the “complete-migrationbatch” system return and error.. to resolve it quickly, restart the Information Store on the Exchange 2010.

After restarted, everything works.

Now the final steps..
|
1 2 3 |
Get-Mailbox -PublicFolder | Set-Mailbox -PublicFolder -IsExcludedFromServingHierarchy $false Set-OrganizationConfig -PublicFolderMigrationComplete:$true Set-OrganizationConfig -PublicFoldersEnabled Local |

Test the outlook…
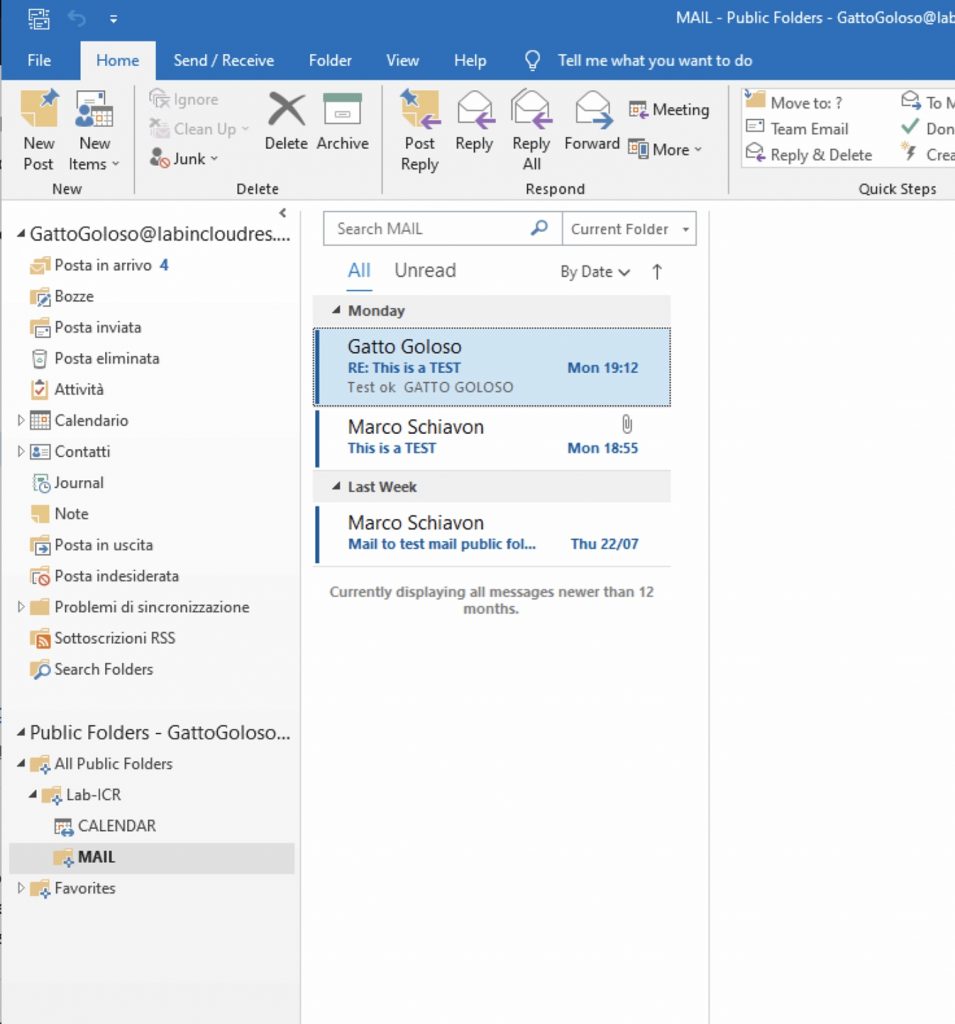
Done!
Decommissioning exchange 2010.
I assumed that you moved/repoint receive and sent connectors
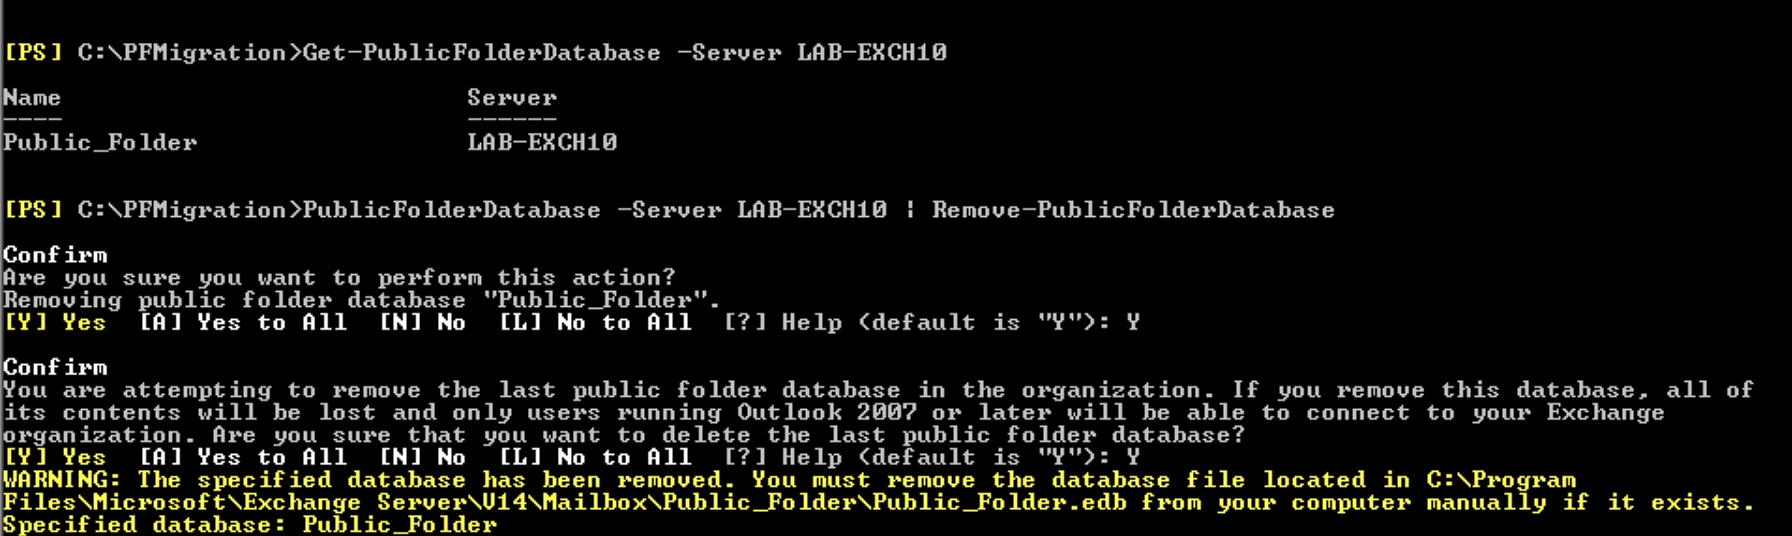
So now we remove the public and private DBs.
|
1 2 3 |
Get-PublicFolderDatabase -Server LAB-EXCH10 Get-PublicFolderDatabase -Server LAB-EXCH10 | Remove-PublicFolderDatabase |
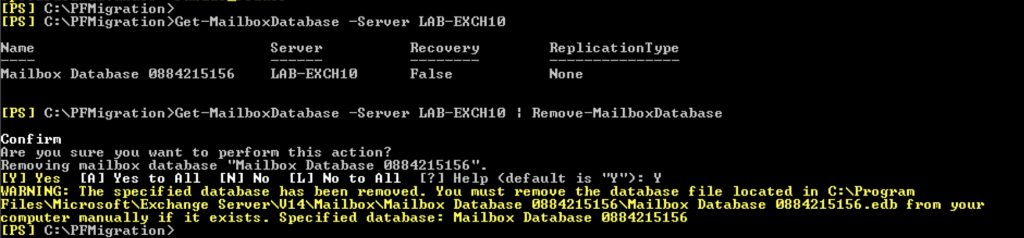
Do the same for the MailboxDb
|
1 2 3 |
Get-MailboxDatabase -Server LAB-EXCH10 Get-MailboxDatabase -Server LAB-EXCH10 | Remove-MailboxDatabase |
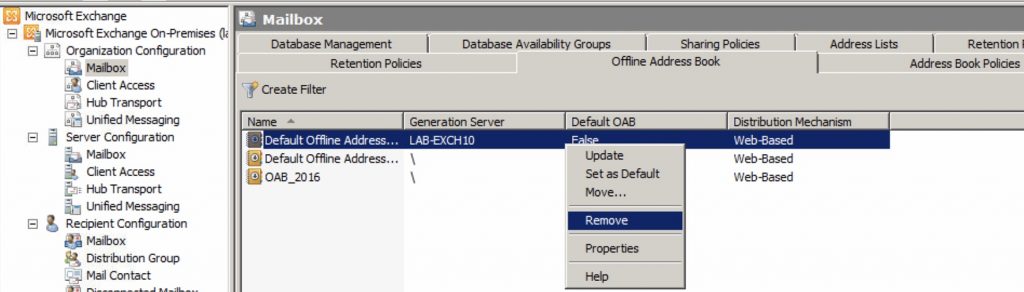
Remove the OAB
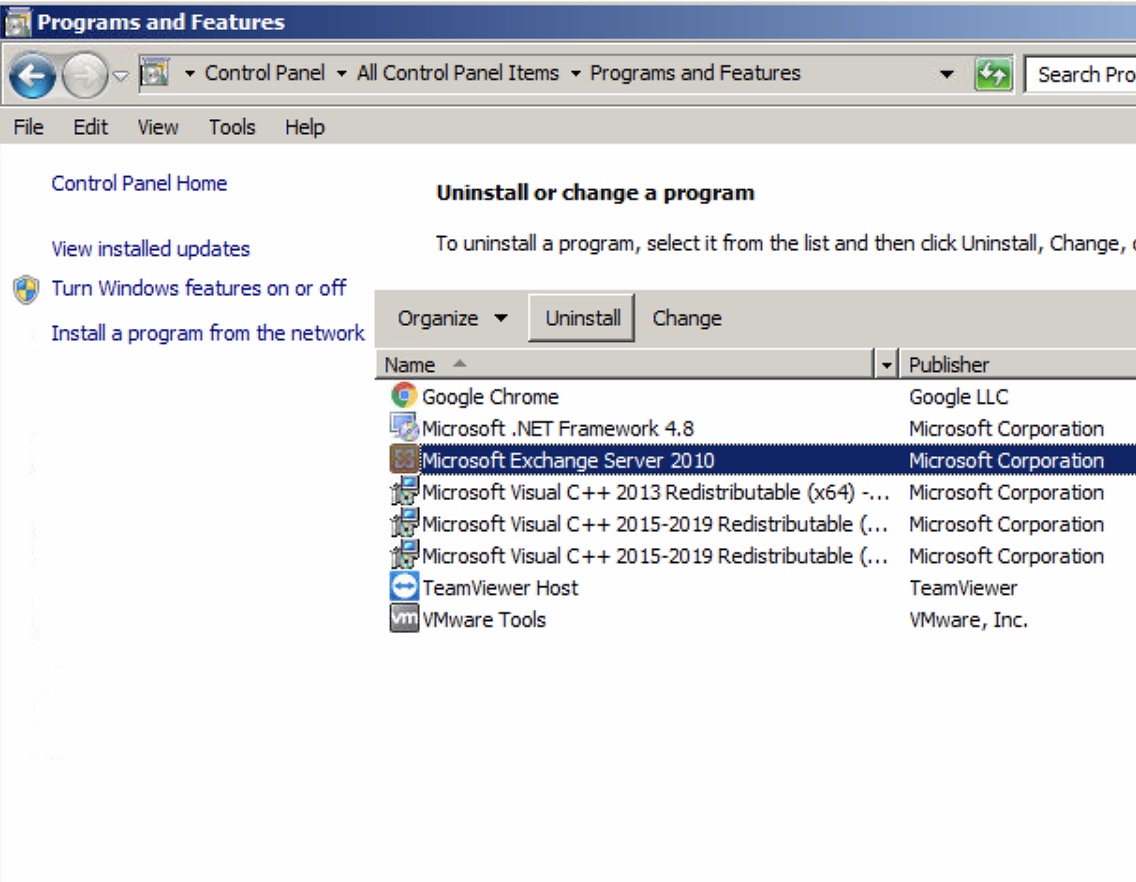
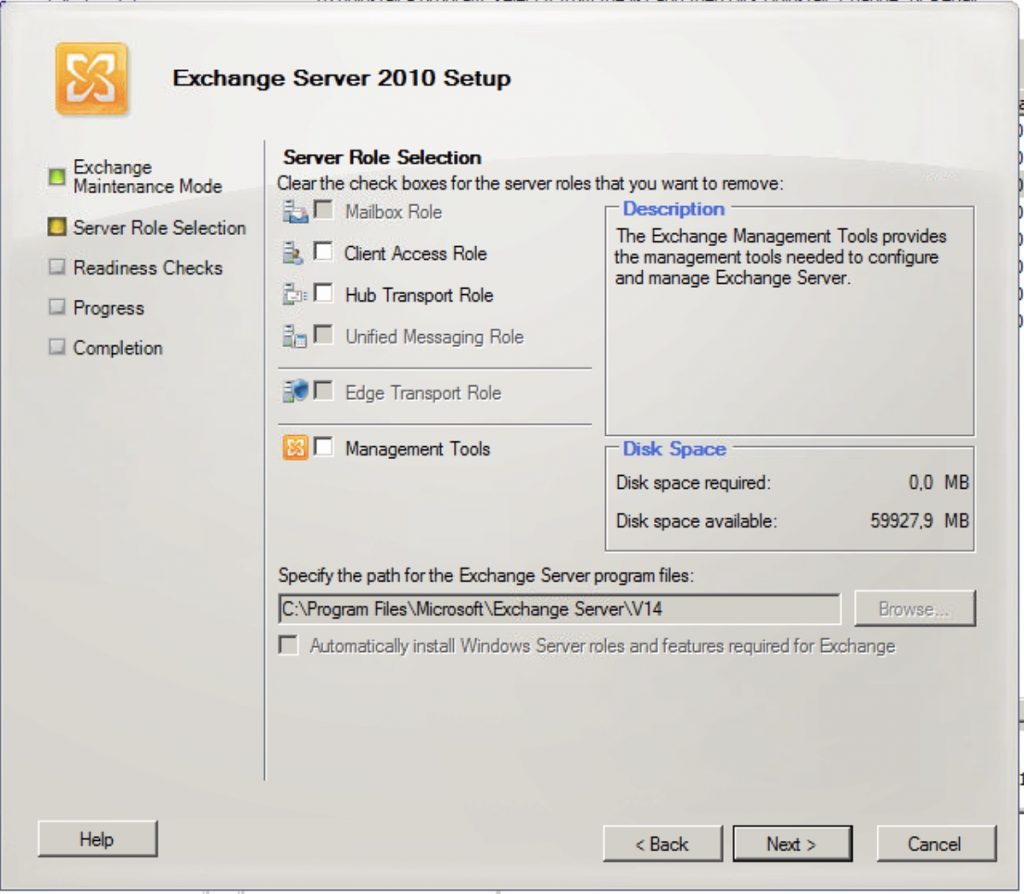
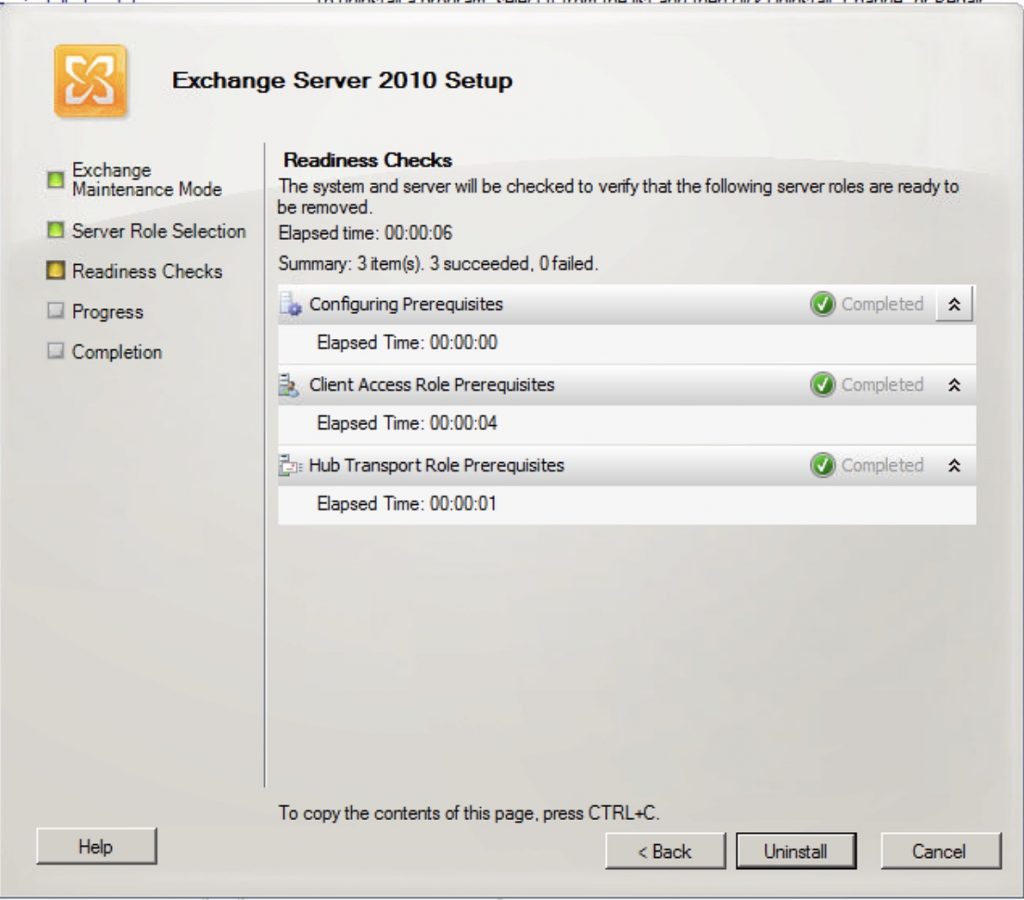
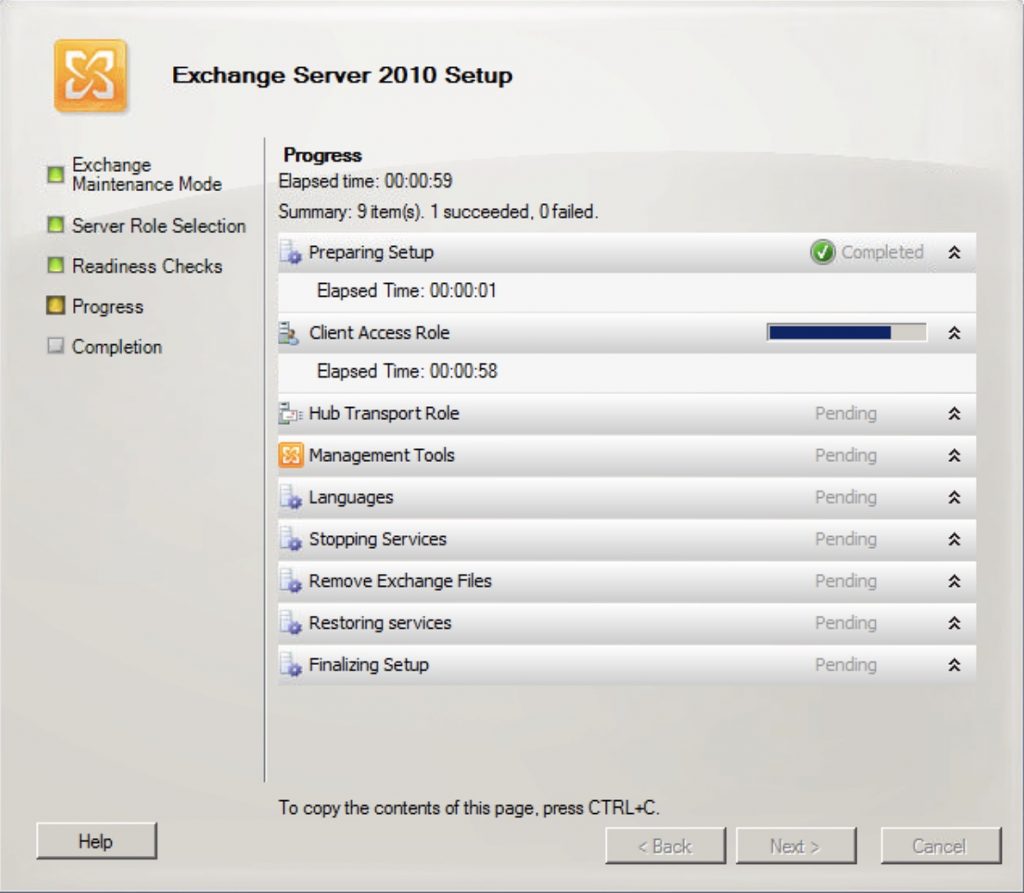
Now, finally, uninstall it.
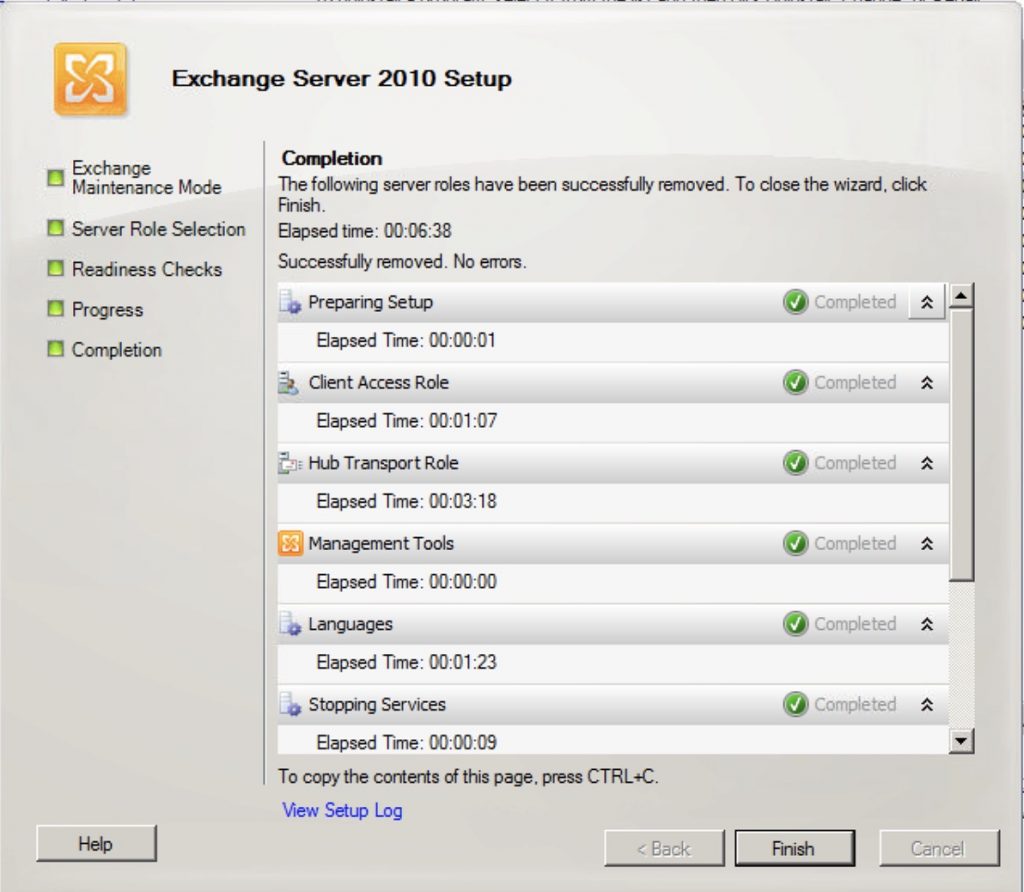
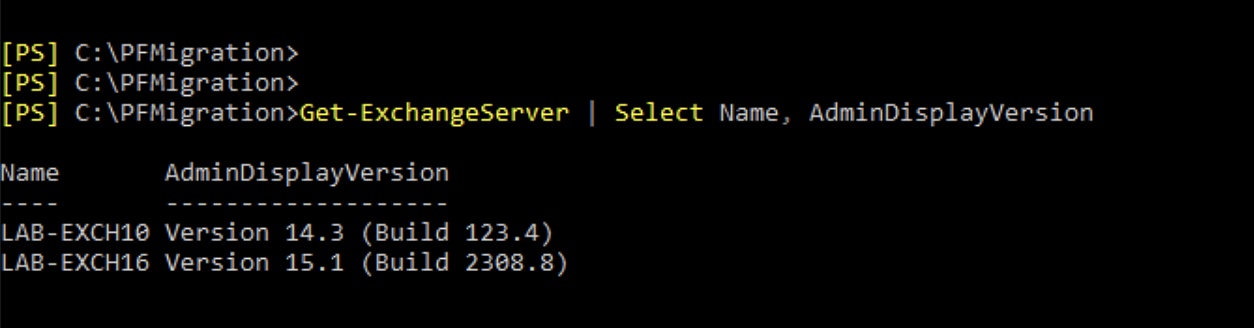
Finally check the presence of the Exchage server.
|
1 |
Get-ExchangeServer | Select Name, AdminDisplayVersion |
Before…
After…
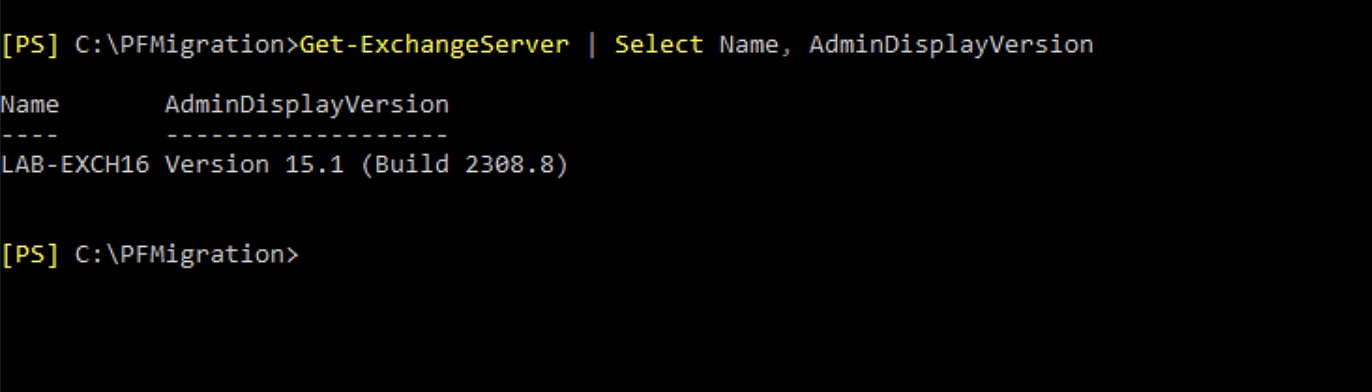
FINISH!