The following is a simple guide to implement a Windows 2019 terminal server cluster. In addition to this, I also deal with the activation of the same through the License Service and the setup of a simple Collection.
I hope this guide, even if brief, can be of help to other colleagues!
Let’s start!
1)Setting up a Windows 2019 Remote Desktop Cluster
3)Activate the Terminal Services Licensing
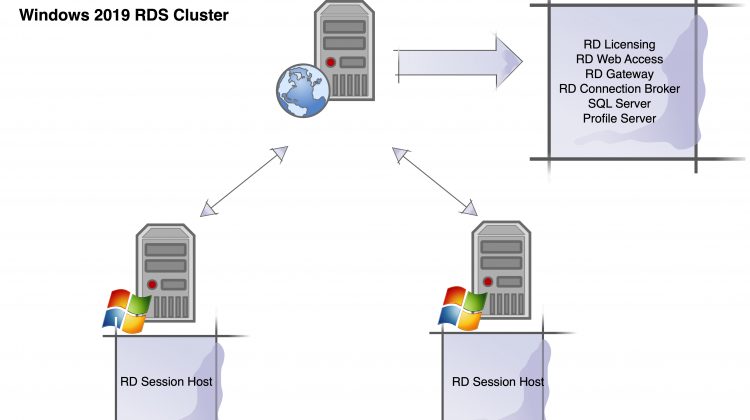
1) Setting up a Windows 2019 RDS Cluster
In our environment we have 3 servers :
| Server | Function |
| SRVRDSCB | RD Licensing RD Web Access RD Gateway RD Connection Broker SQL Server Profile Server |
| SRVRDSHS1 | RD Session Host |
| SRVRDSHS2 | RD Session Host |
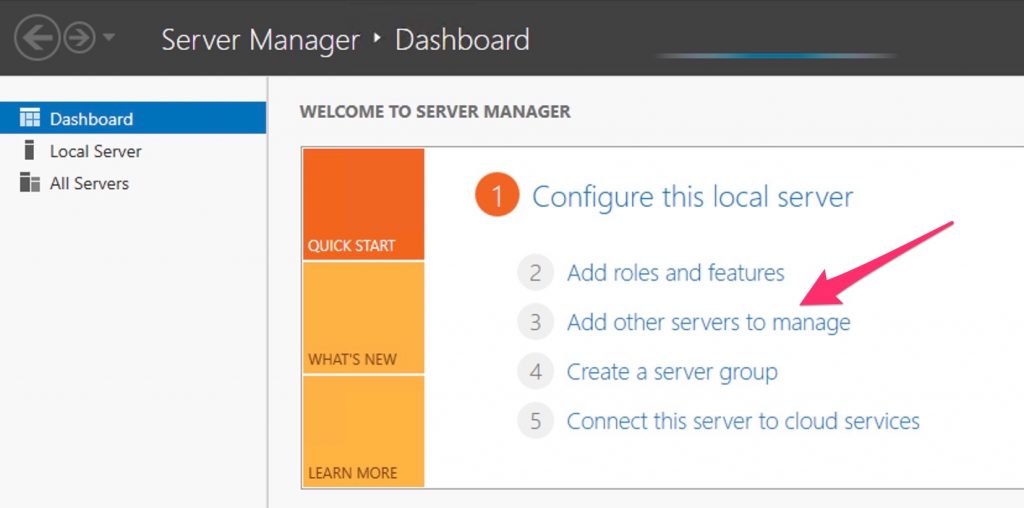
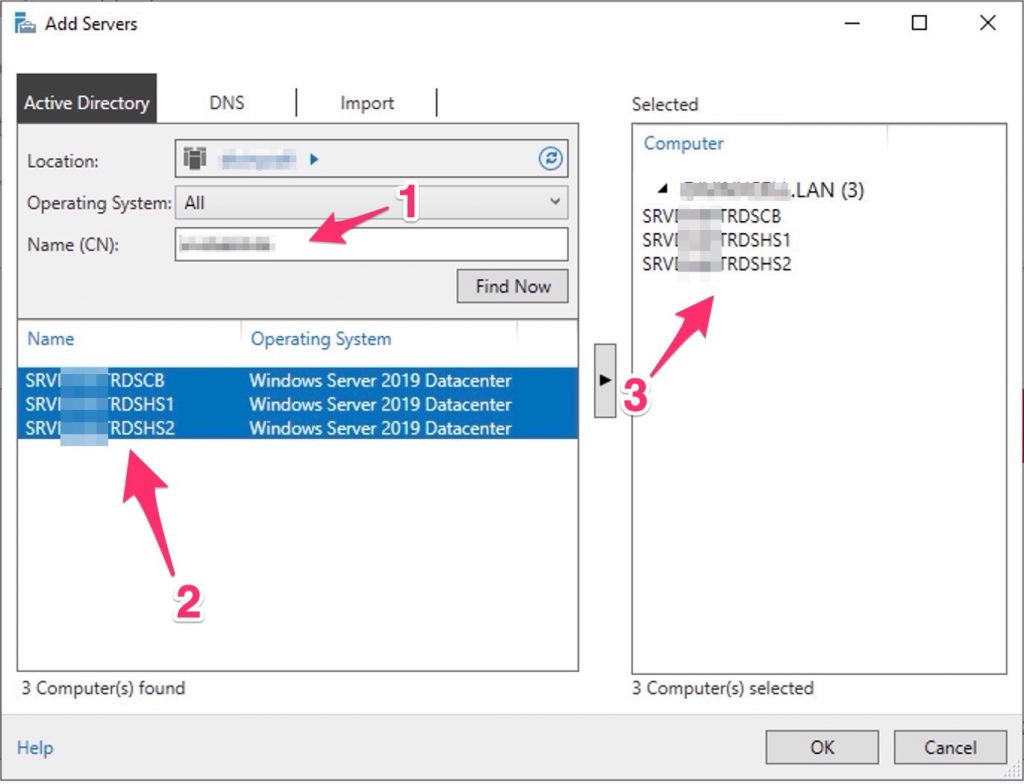
Before start, add all the servers
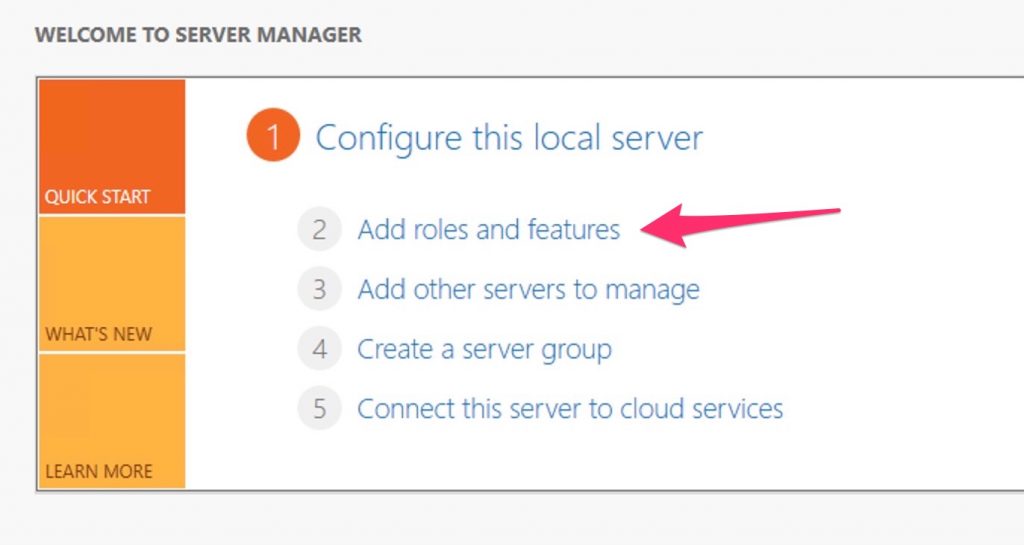
Now we proceed installing the RDS roles..
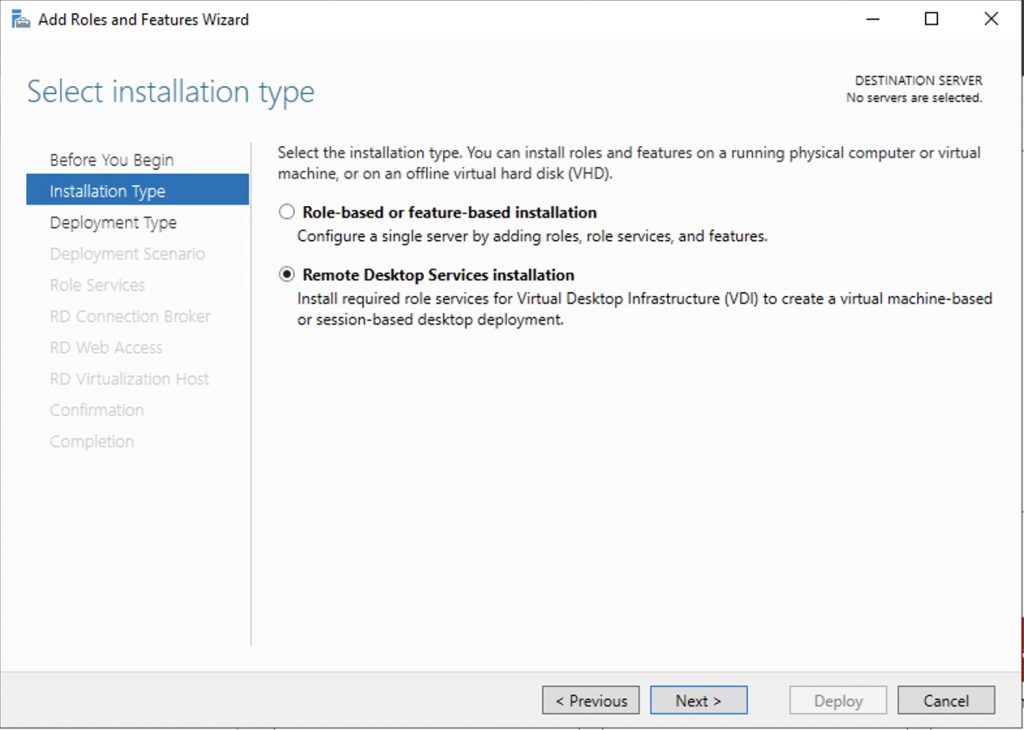
Select the “remote desktop services”…
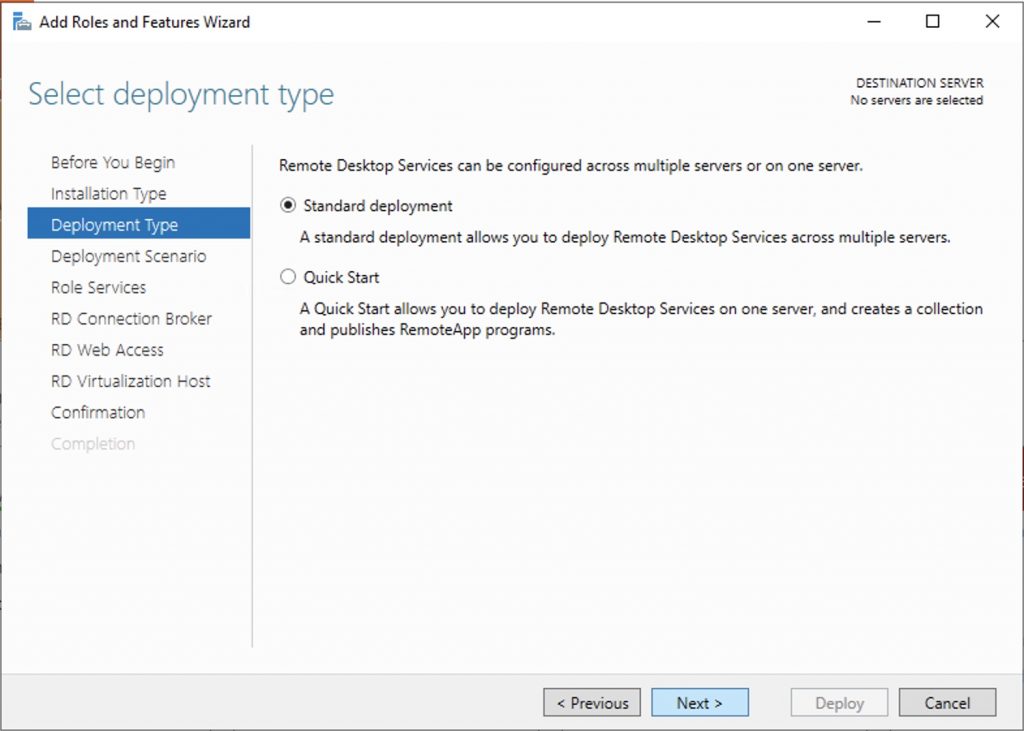
The standard deployment…
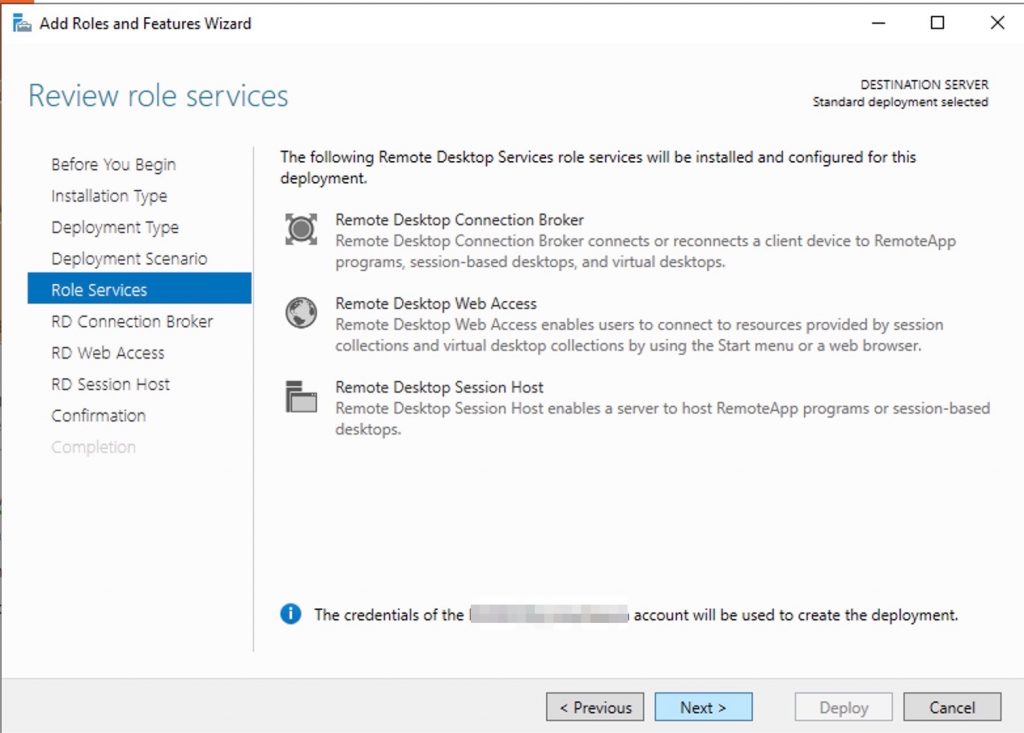
In this guide we will set up a session-based environment…

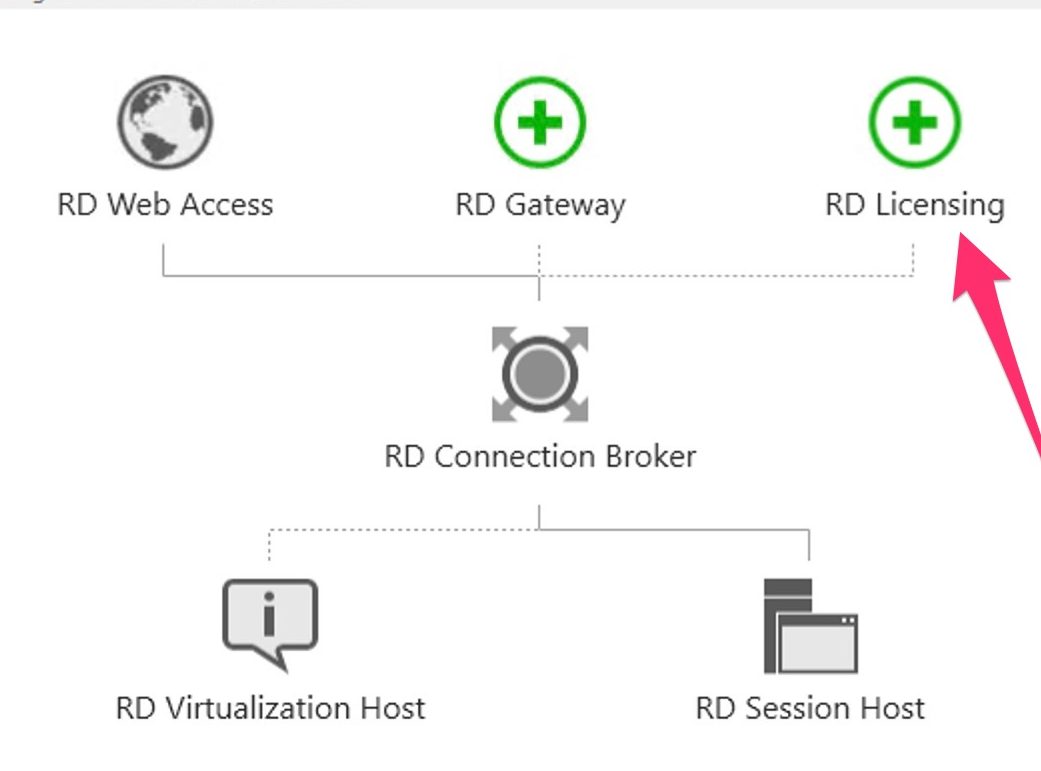
This is a summary…
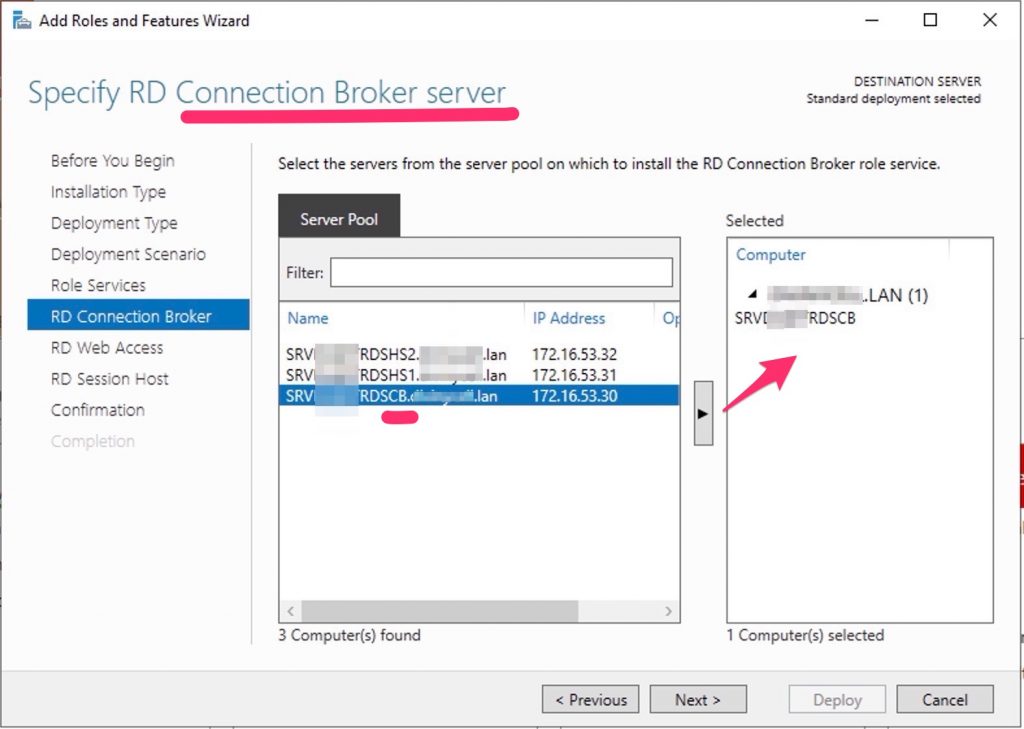
Select the server that will be the Connection Broker
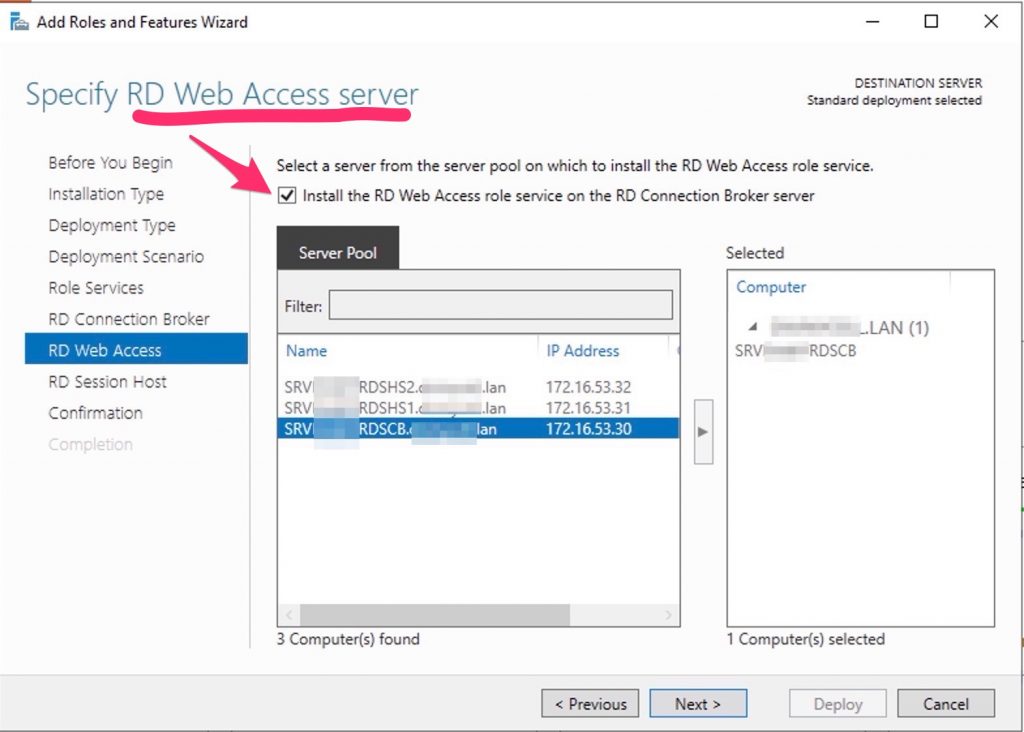
Select the tick to install the RDS Web Gateway in the same server (Connection Broker)
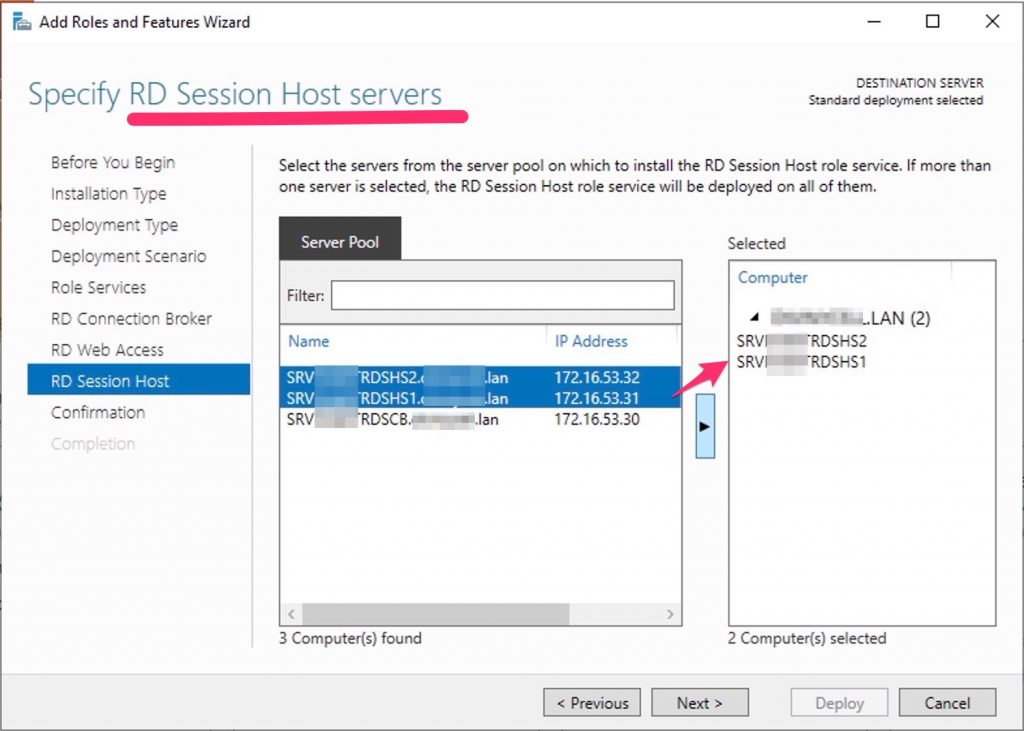
Now, select the server that will act as Host Servers.
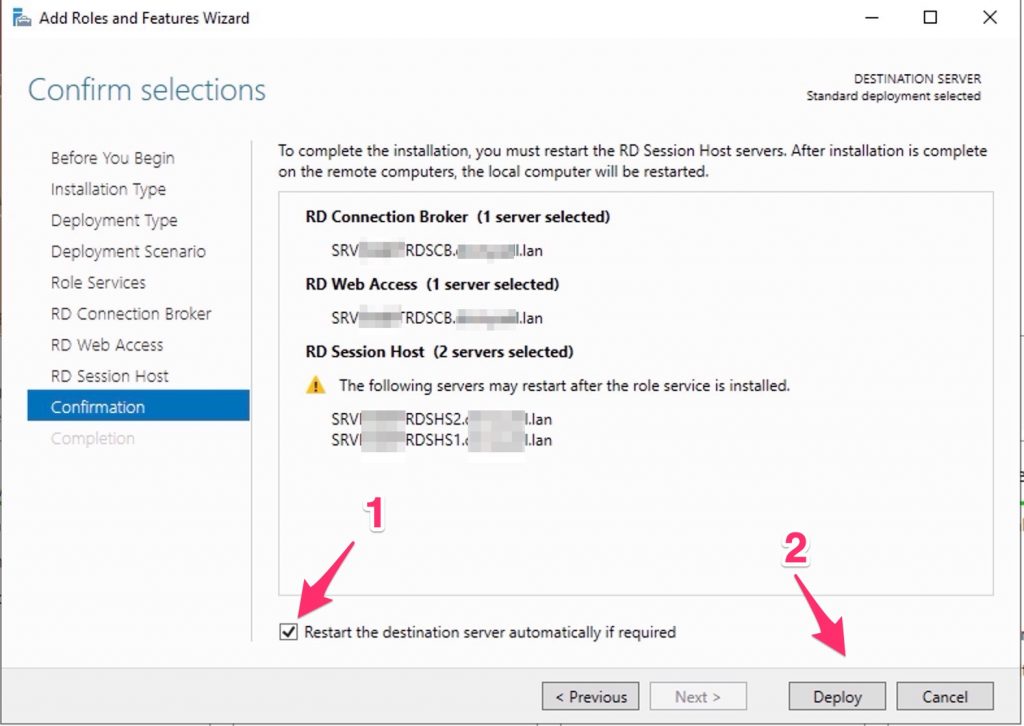
Deploy all and restarts the servers….
Configure the RD Licensing…
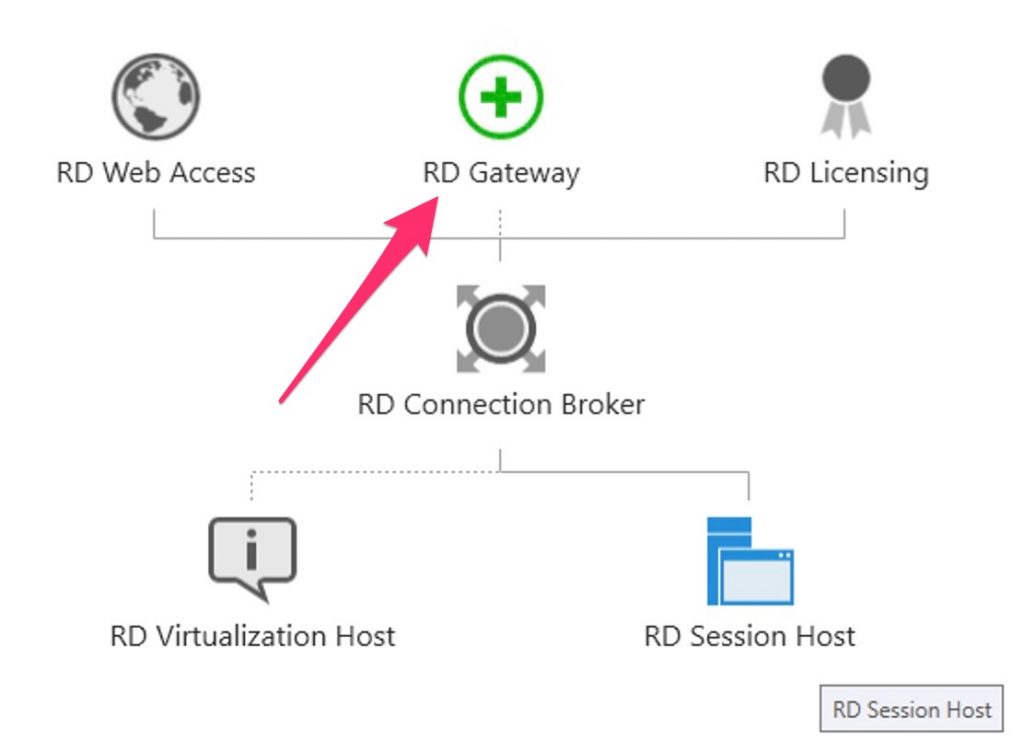
Now Configure/enable the RDS Gateway….
Write down your FQDN
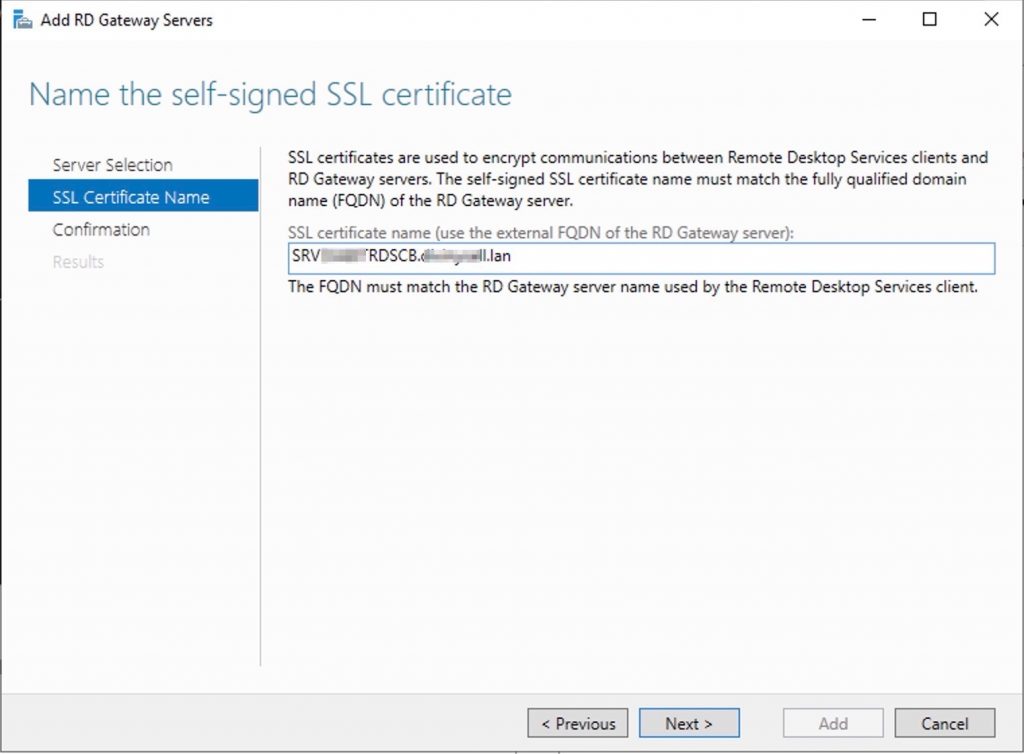
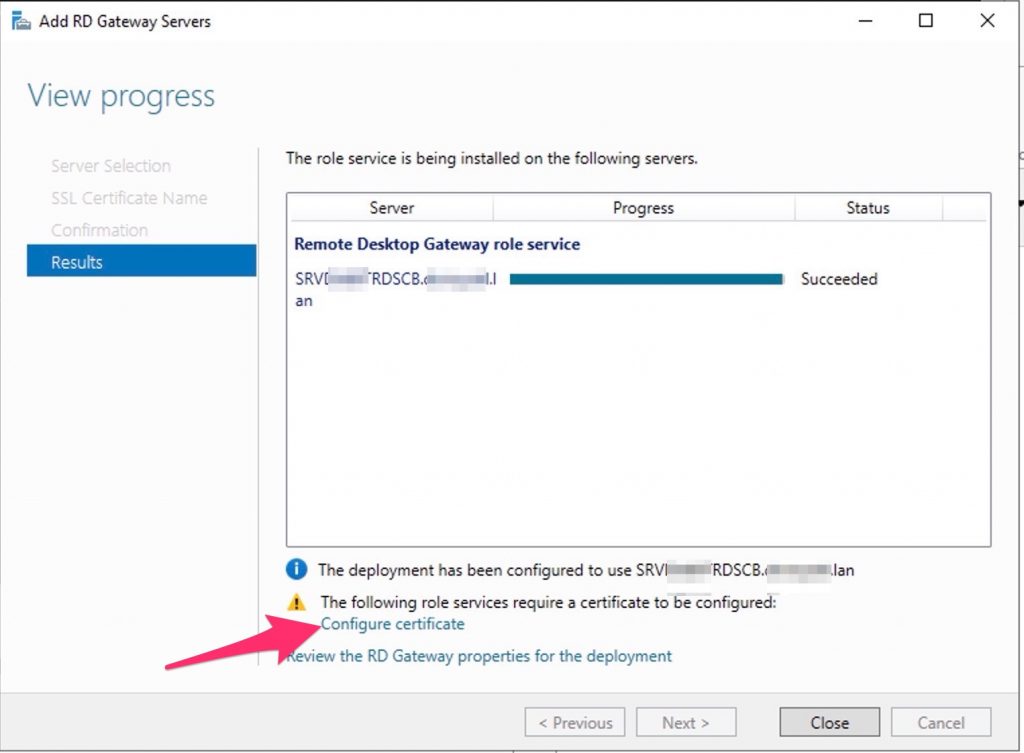
Select “configure certificate” to deploy a self sign..
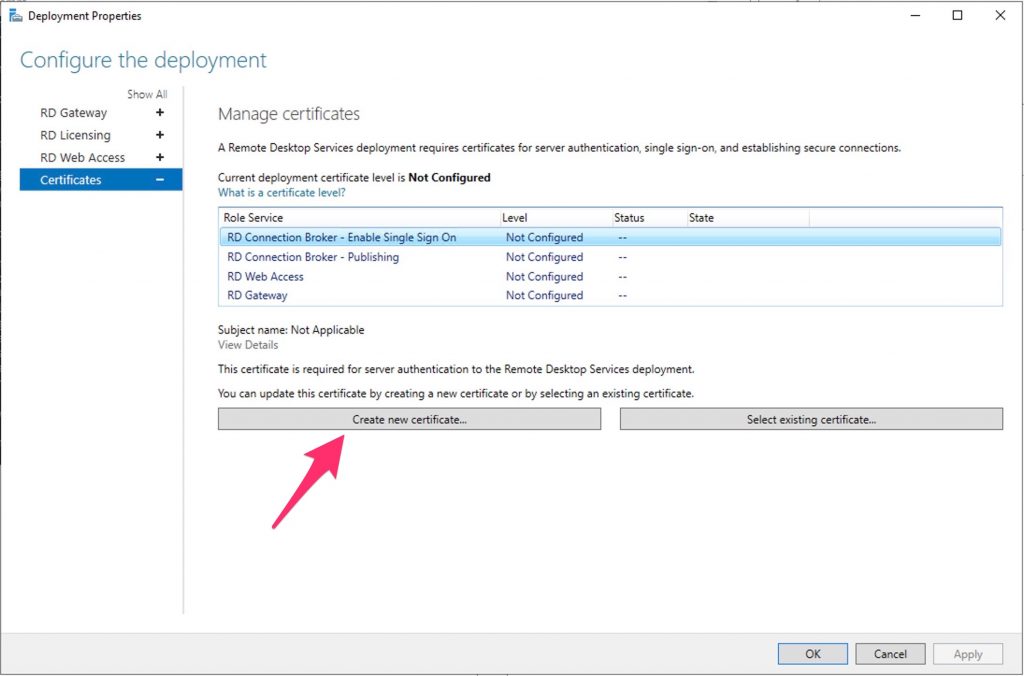
Create the cert.., write down the password…

Now, assign it to the RDS Gateway..

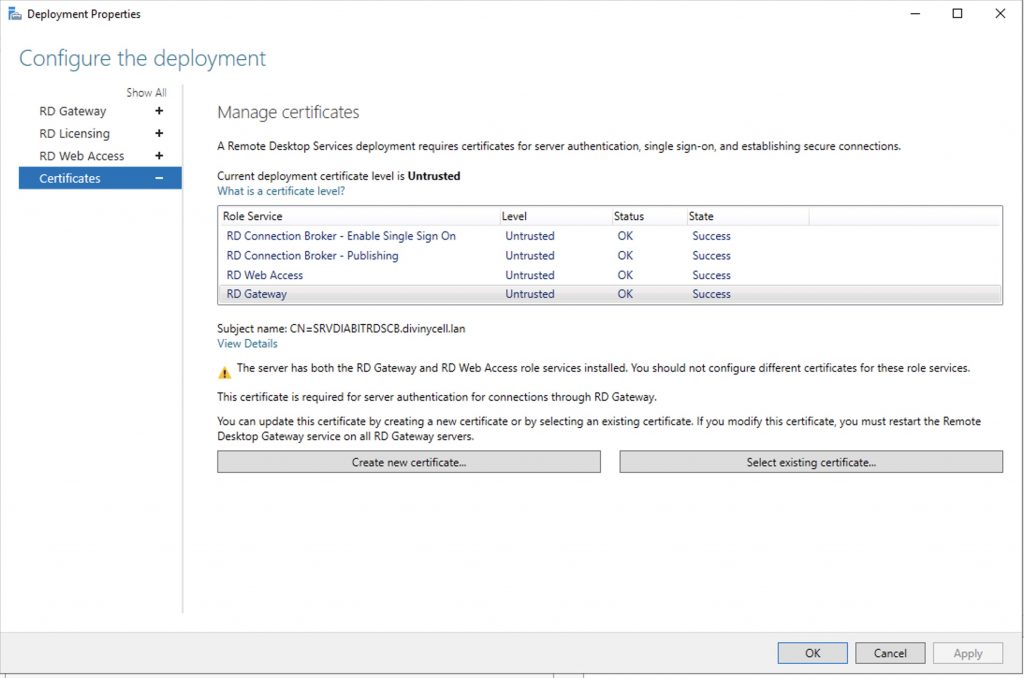
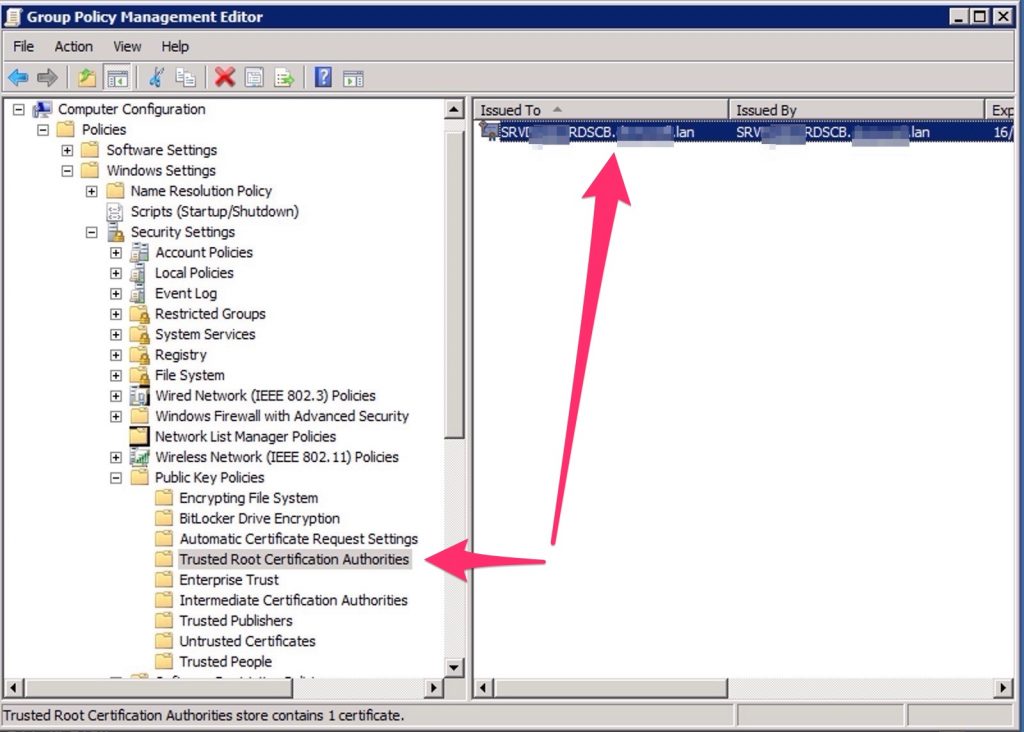
Don’t forget to distribute the selfsign certificate into your domain trought a GPO
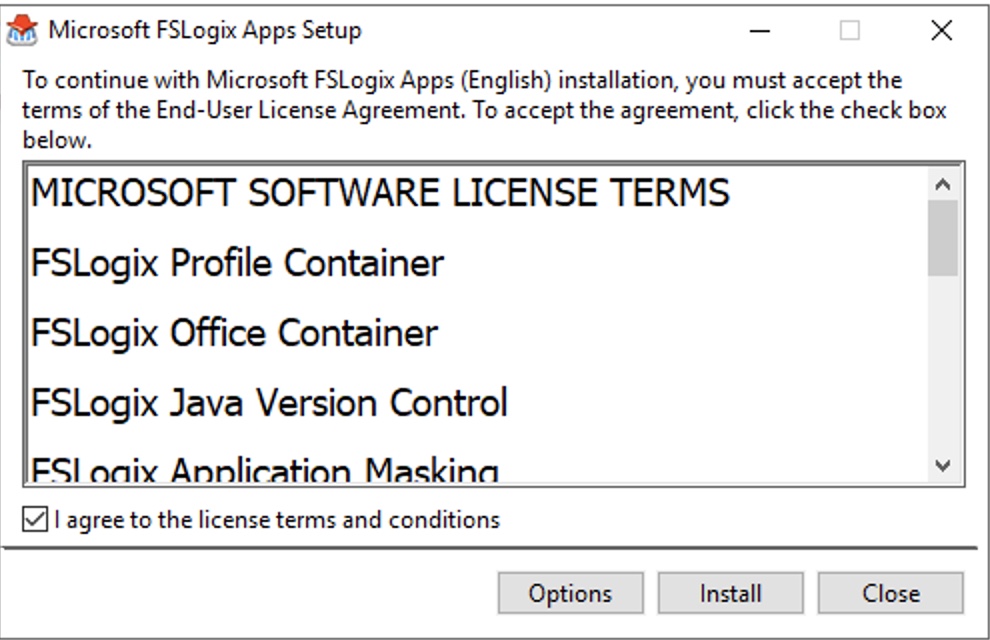
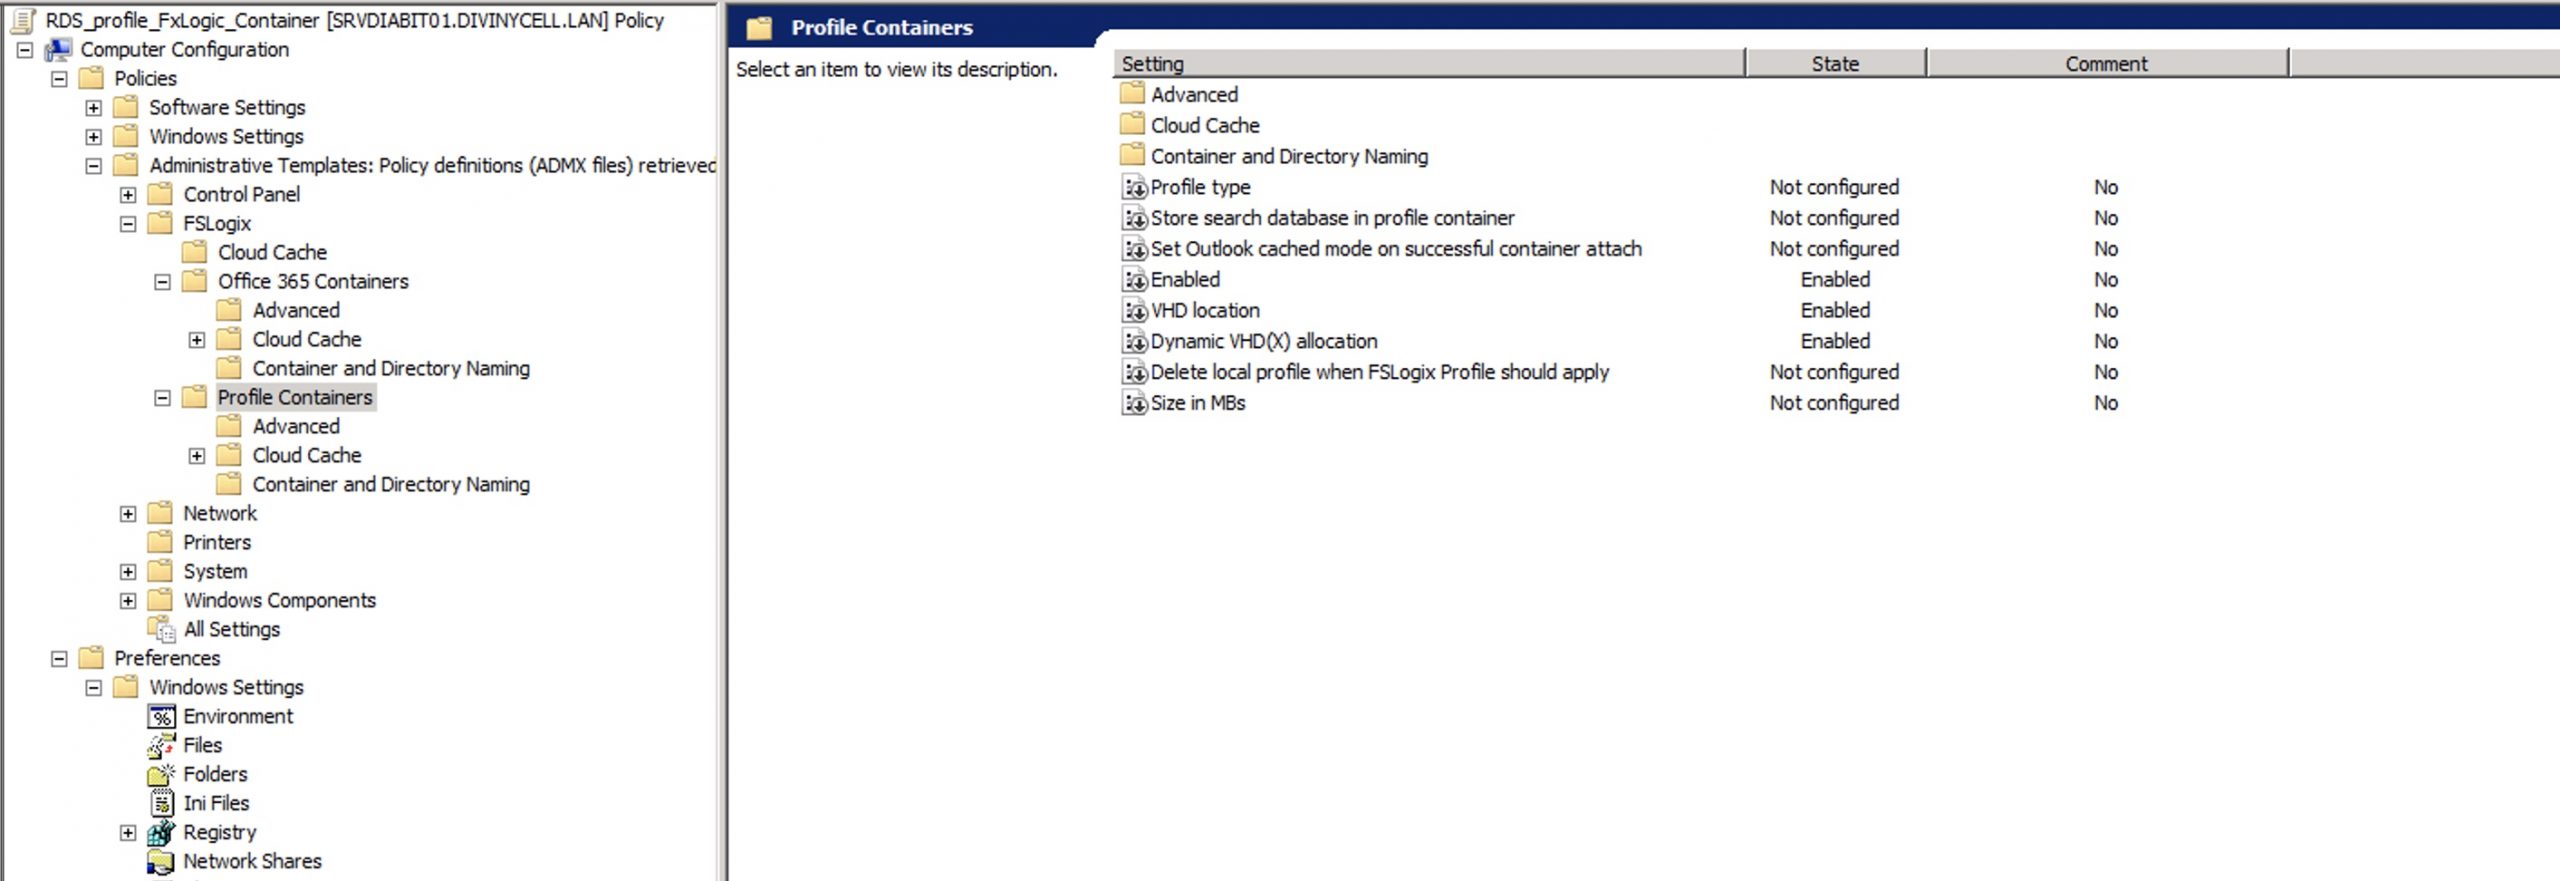
Now we need to setup the FXLogic profile container.
Download it on the Host Session Hosts (SRVRDSHS1 and SRVRDSHS2), install it .
At this point you could set up FXLogic with registry or a GPO. We will import the ADML/ADMX to create the GPO for the Host Session Hosts.
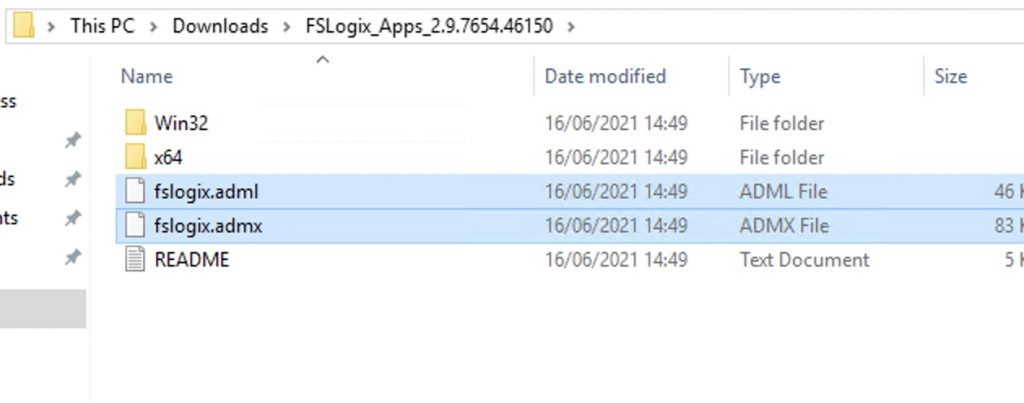
Import them to the folder C:\Windows\PolicyDefinitions of a DC.
C:\Windows\PolicyDefinitions\en-US => the ADML
C:\Windows\PolicyDefinitions\ => the ADMX
On my Connection Broker, where i decided to place the user profile, these are the permission required :
| User | Account | Folder Permissions |
| Users | This Folder | Modify |
| Creator / Owner | Subfolders and Files | Modify |
| Administrator | This Folder, Subfolders, and Files | Full Control |
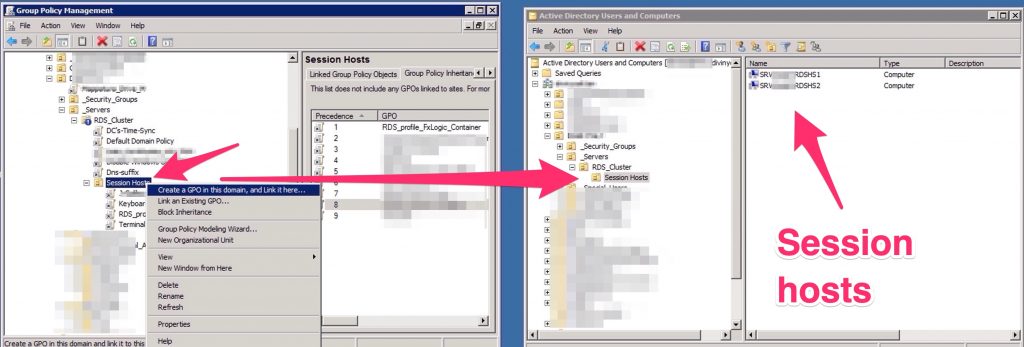
Create a policy and attach it to the OU where resides your Host Session Host
So now, we are almost done…
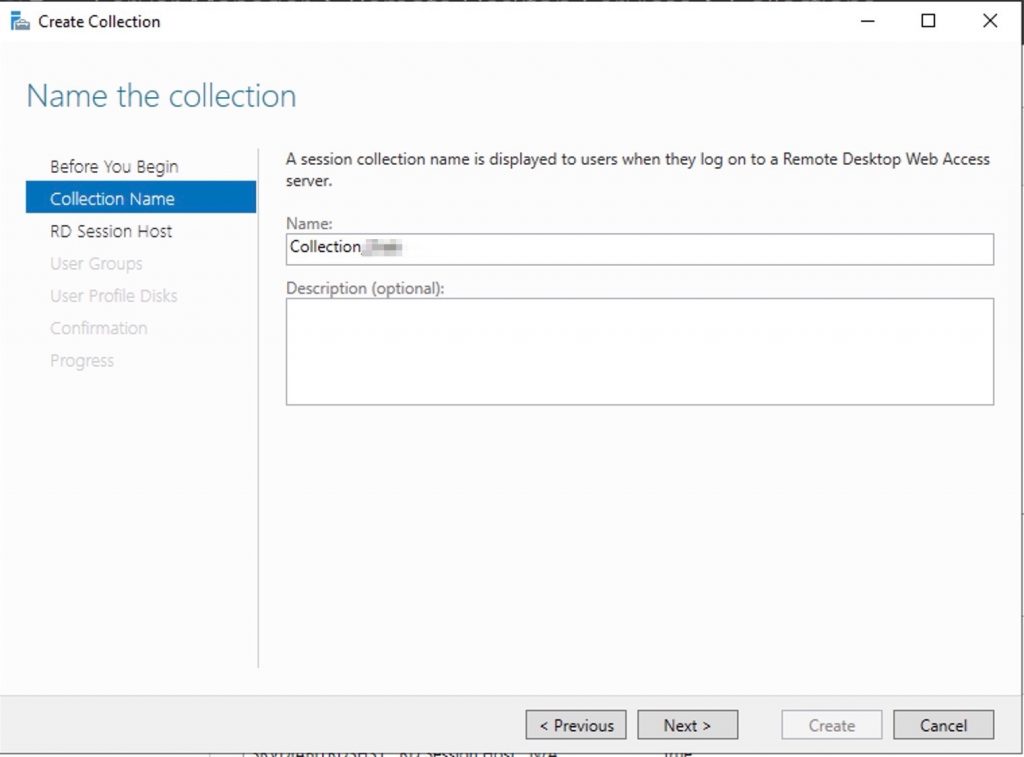
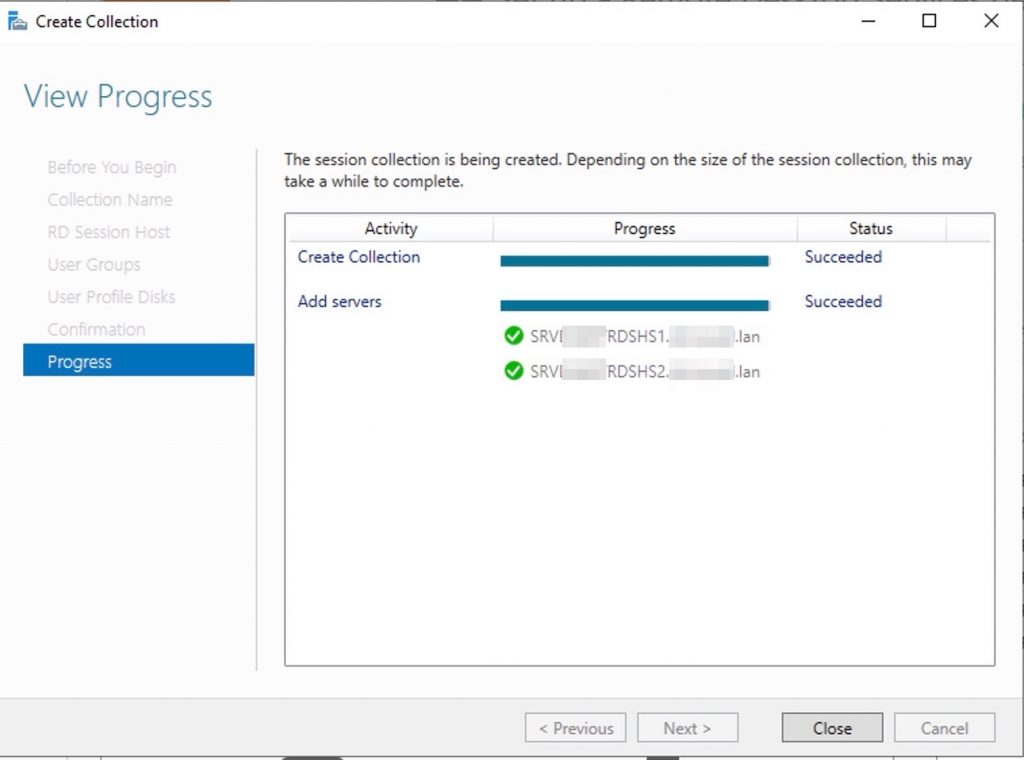
At this point we need to create a “Collection” to publish and RDP access trought the RD Connection broker

Set the name of the App/Session
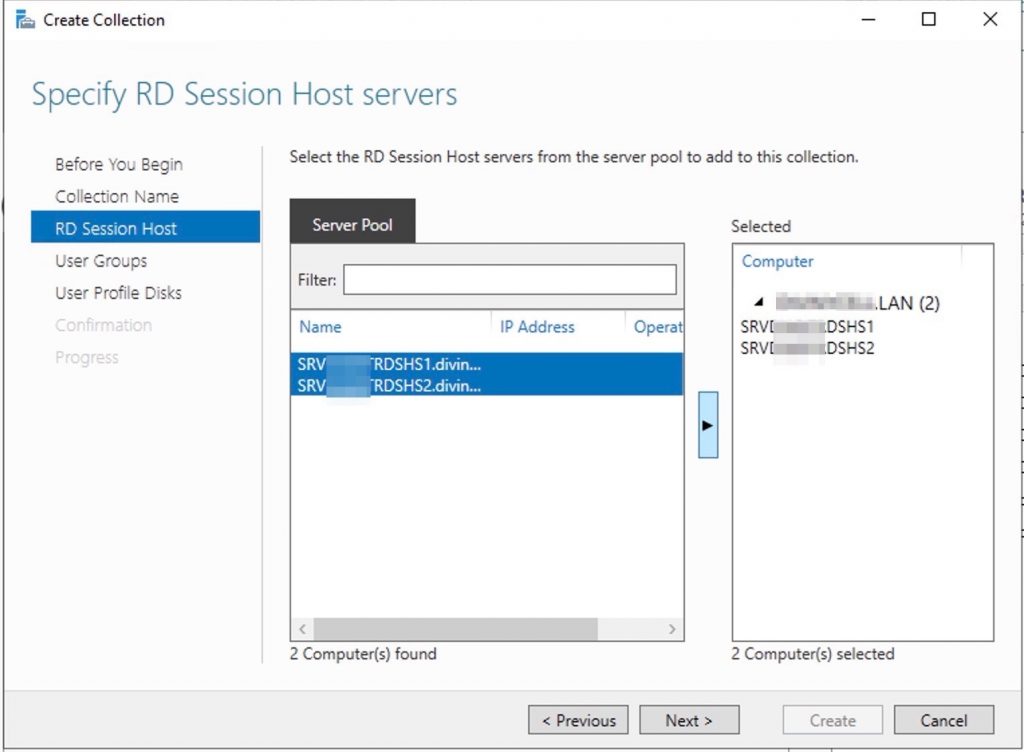
Add the hosts to hold this collection
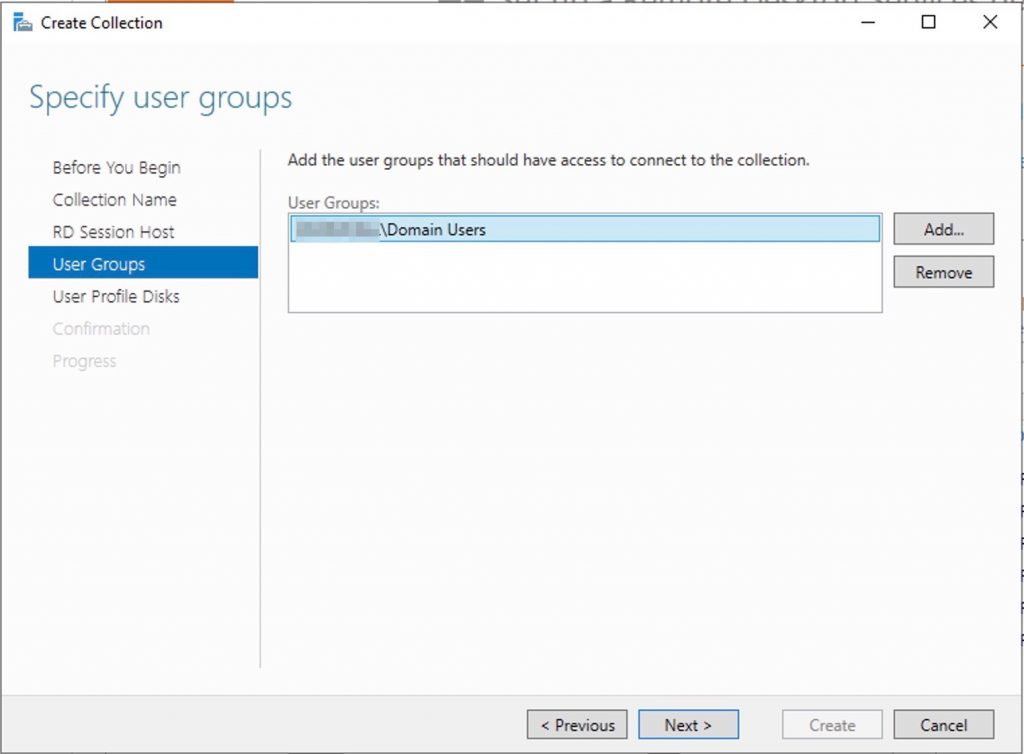
Select who can access to this collection
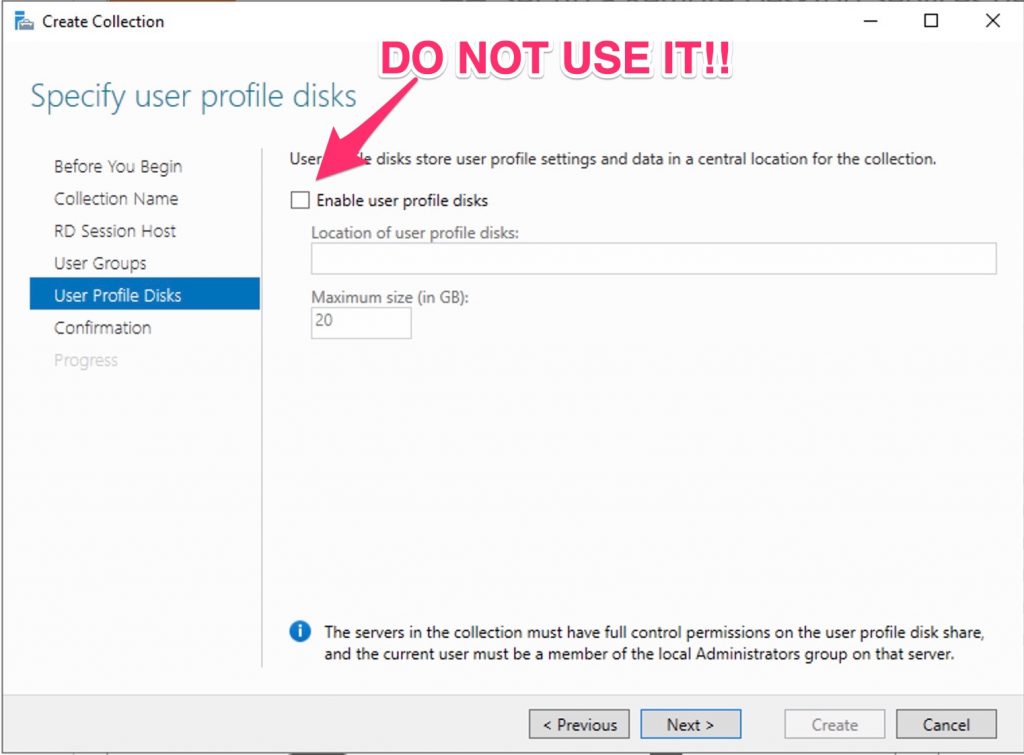
Deselect the option “Enable user profile disks” because we are using FSLogix.
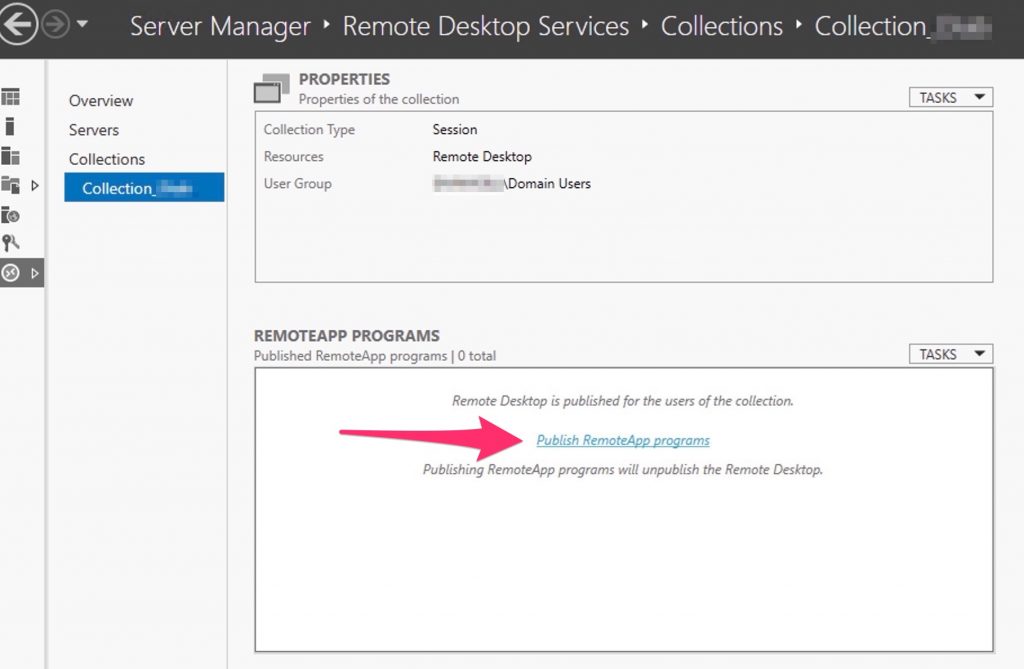
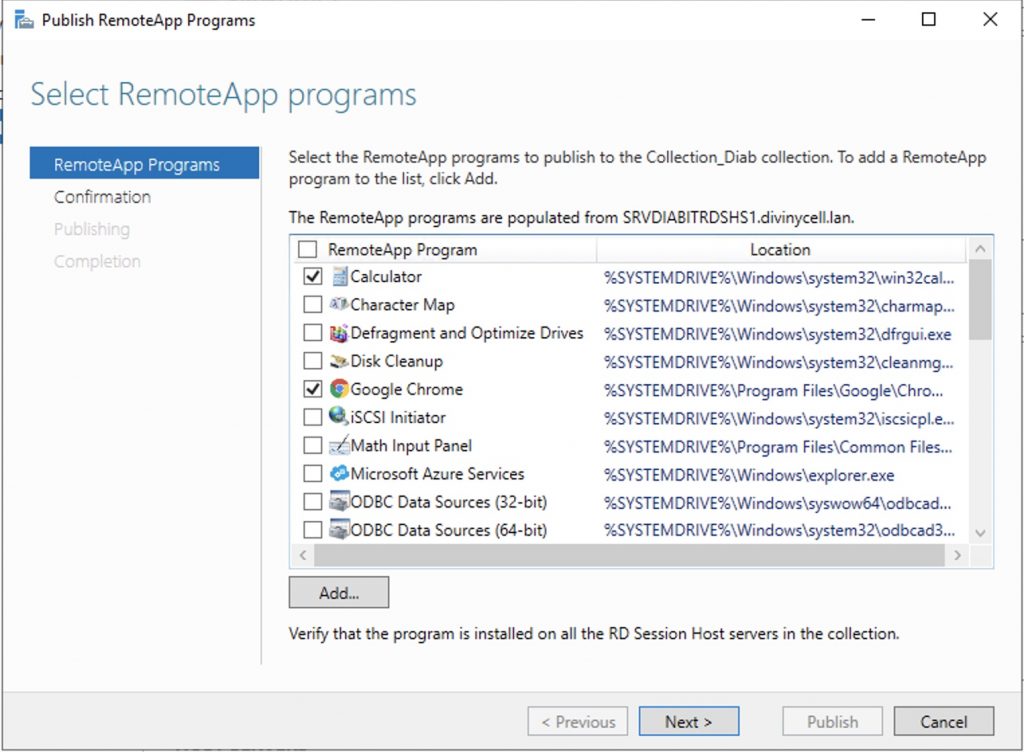
At this point we can add some apps to publish….
Select the app you want to do the test…
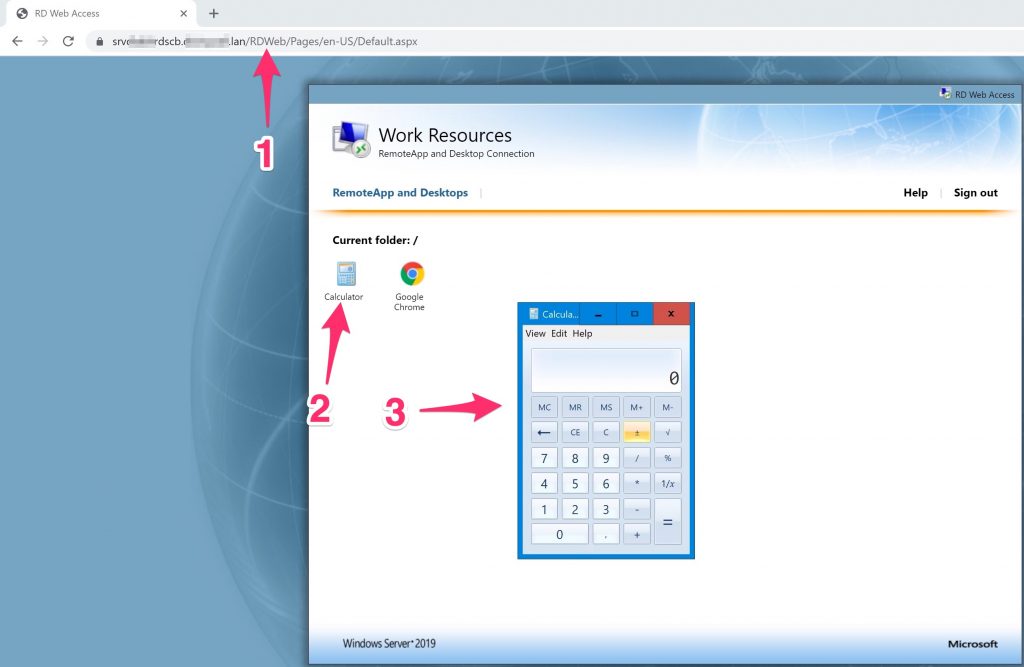
Now we could connect to the Connection Brocker Web interface and we can see the Collection just created.
To to RDWEB (https://ip-of-connection-brockerserver/RDWEB)
2) Some Tips
Normally you can’t connect to your session Hosts trought the Connection Brocker from the RDP client , but you need to connect to the Web interface and fallow this process.
If you need to use the normal RDP client ( MSTSC.exe) you have to modify the fallowing registry key of the Connection Broker
Computer\HKEY_LOCAL_MACHINE\SYSTEM\CurrentControlSet\Control\Terminal Server\ClusterSettings
Add the fallowing :
reg_sz DefaultTsvUrl plus the value tsv://MS Terminal Services Plugin.1.COLLECION

So, you really need to write “MS Terminal Services Plugin.1.” plus your collection‘s name
Doing this, you can connect to your host session hosts, trought the Connection Broker with MSTSC.exe !!
Moreover, if you want to connect to you Connection Brocker, now you need to pass the /admin switch.
e.g : MSTSC.exe serverconnectionbroker.yourdomain.com /admin
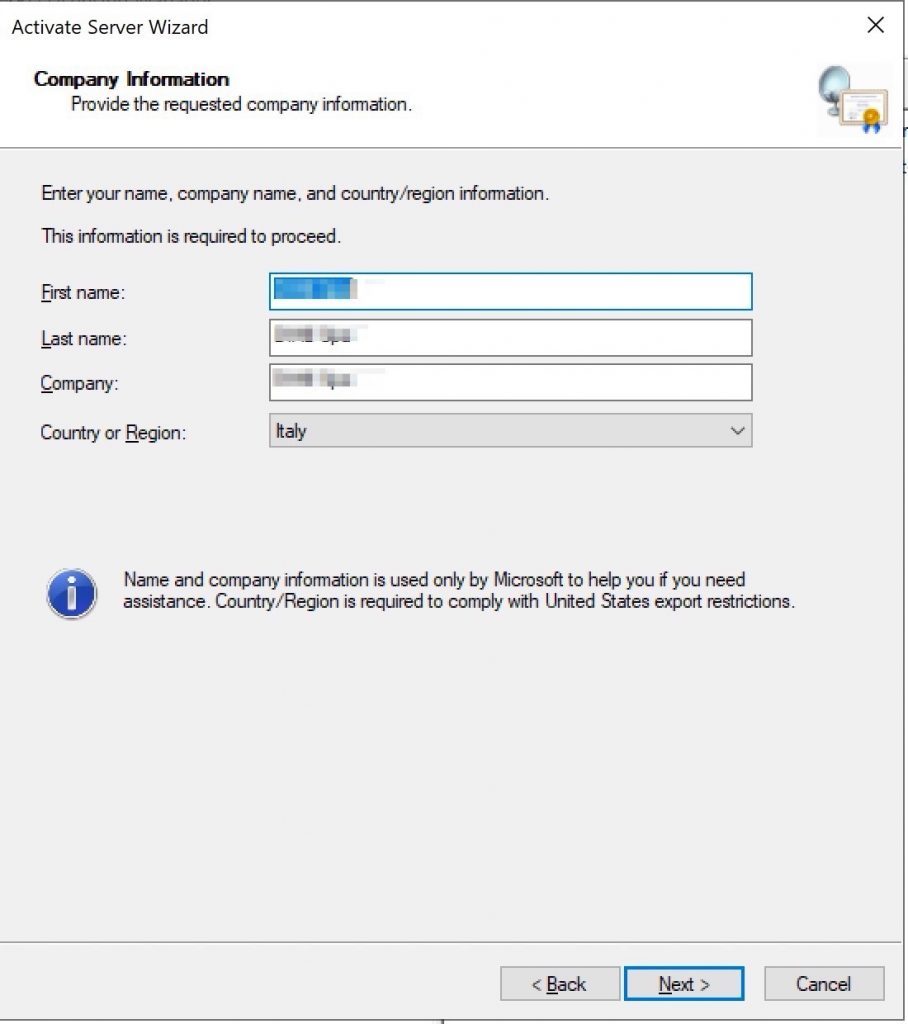
3) Activate the Terminal Services Licensing
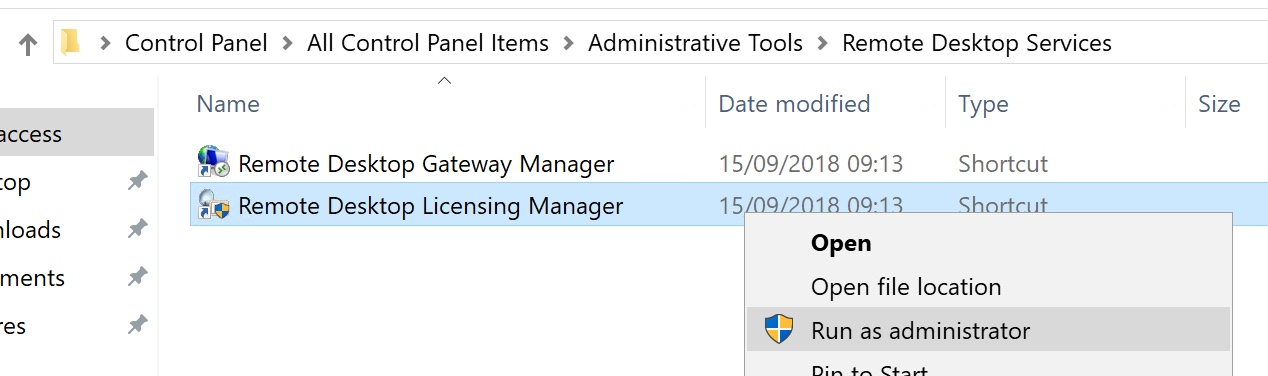
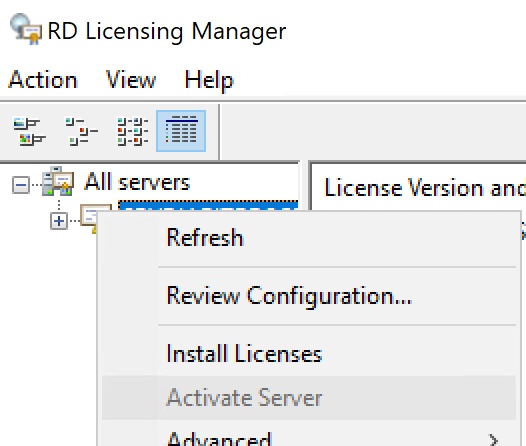
Connect to the server where you installed the Licensing Manager and proceed with the activation
Right click on your server and select “activate” in my case is grey out because I’ve just did it.
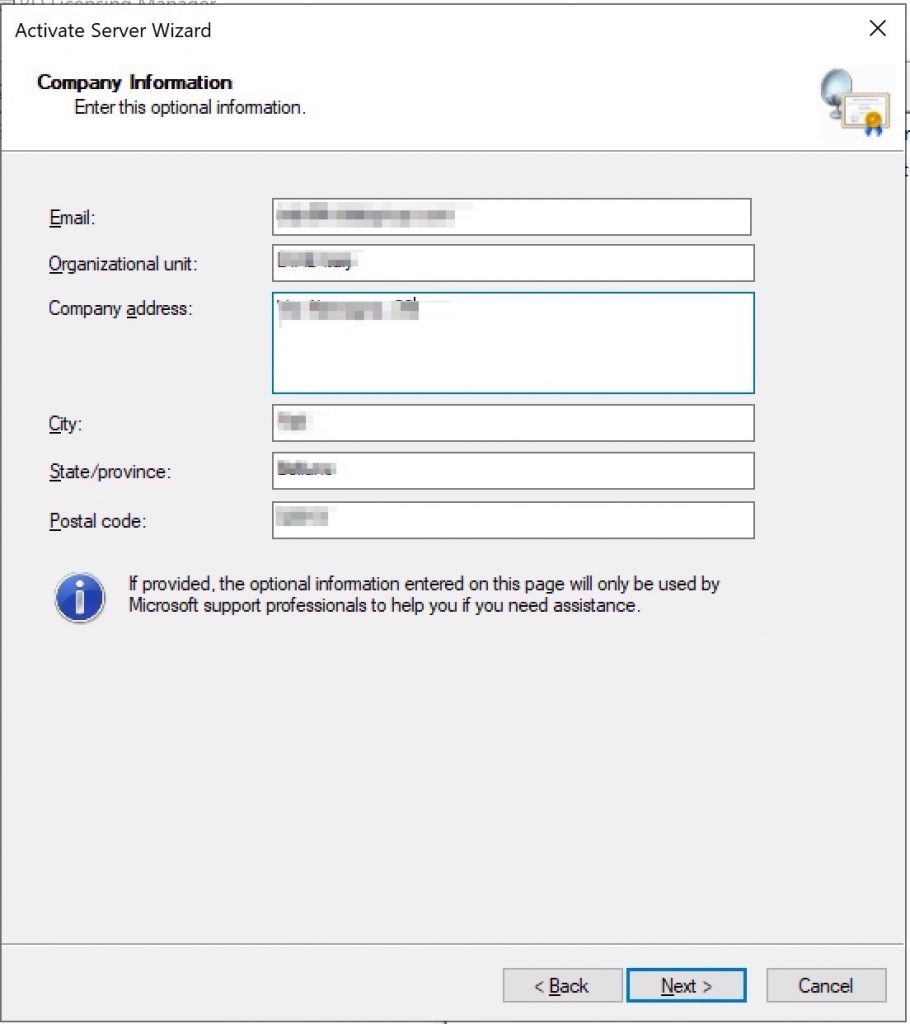
The Wizard starts, fill all your data ..
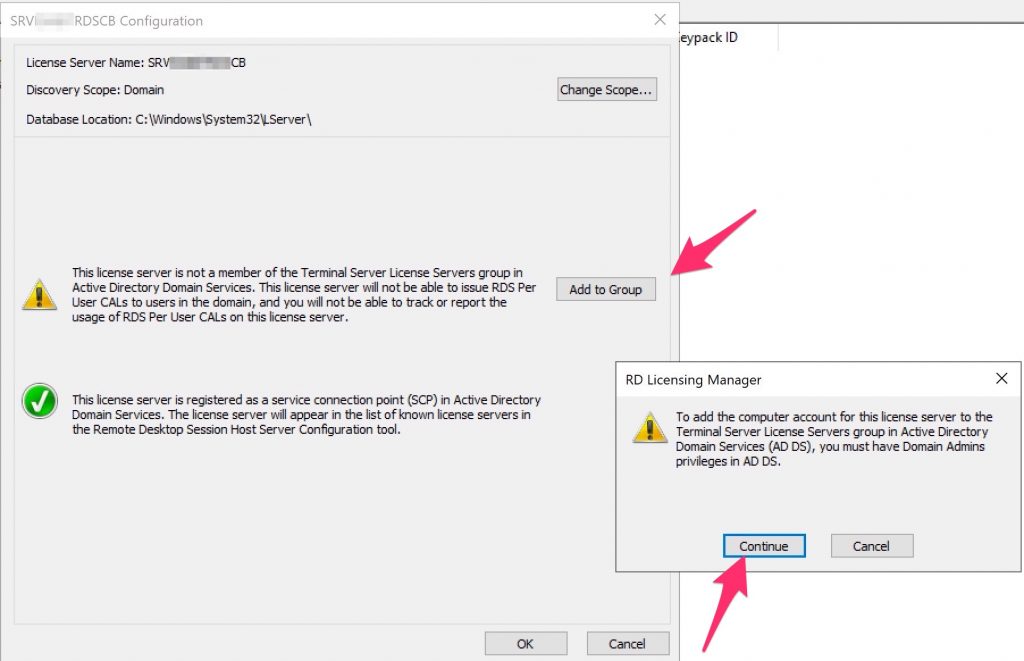
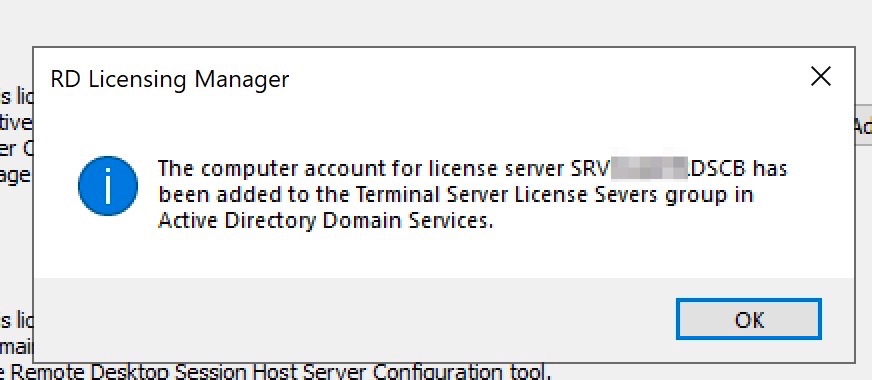
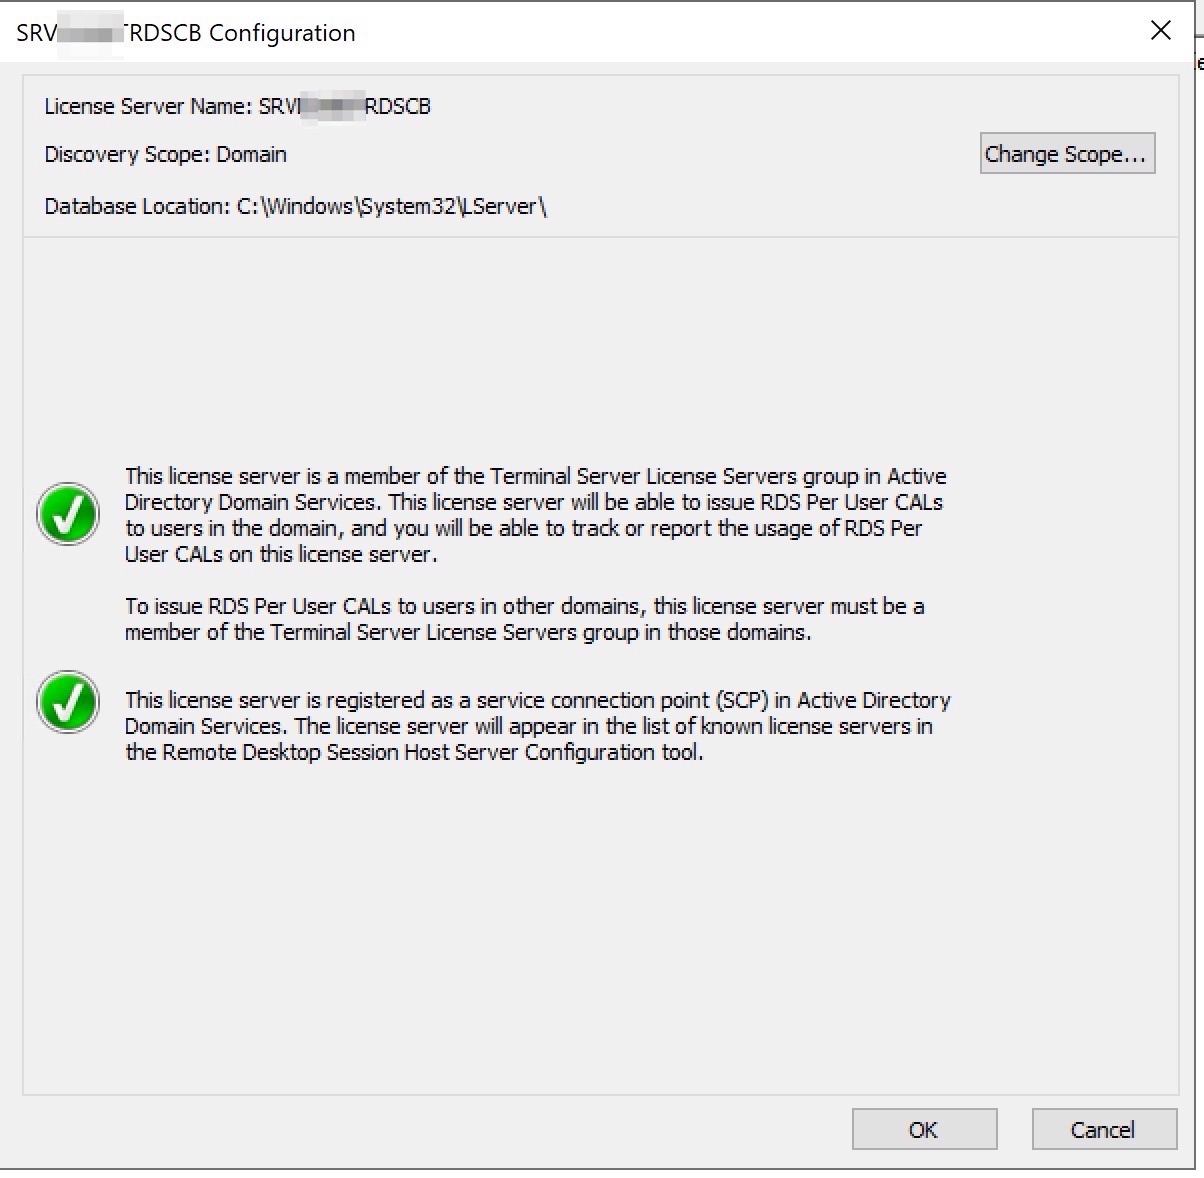
After that, verity the “Review Configuration” (right click on License Server Name) and add your server into “License Servers Group”… In my case, the SCP is just ok.
Ok and , as we can see , the license server is up
At this point we need to inform our Session Host servers which is our license server.. To do this we’ll use GPOs..
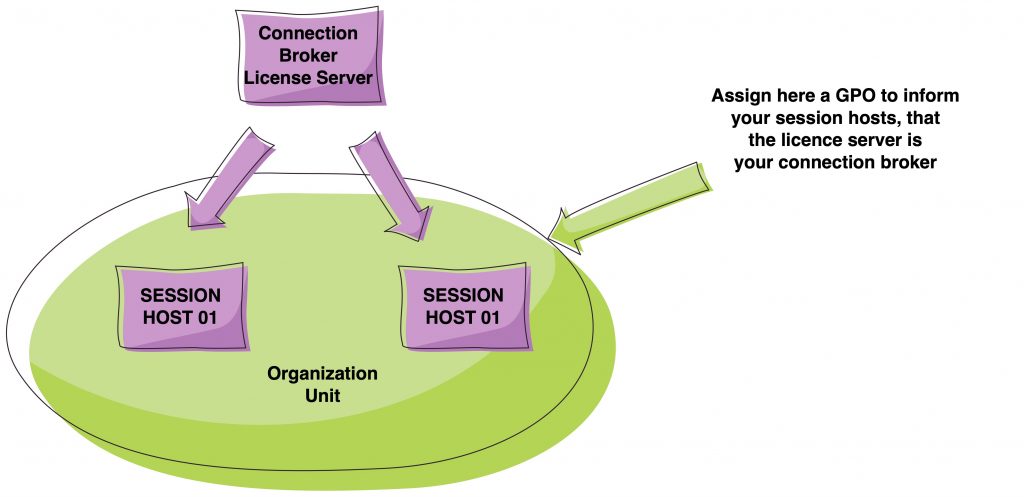
We need to create a GPO (Computer) that has these informations.
Fill this parameter “Use the specified RD license servers” with the FQDN of your CB/License server.
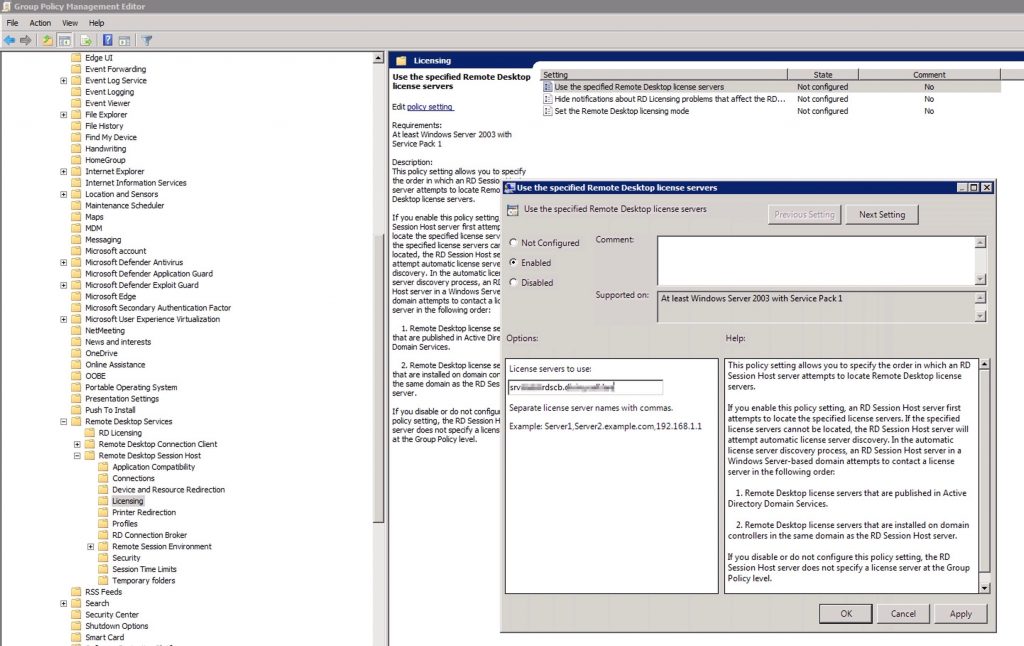
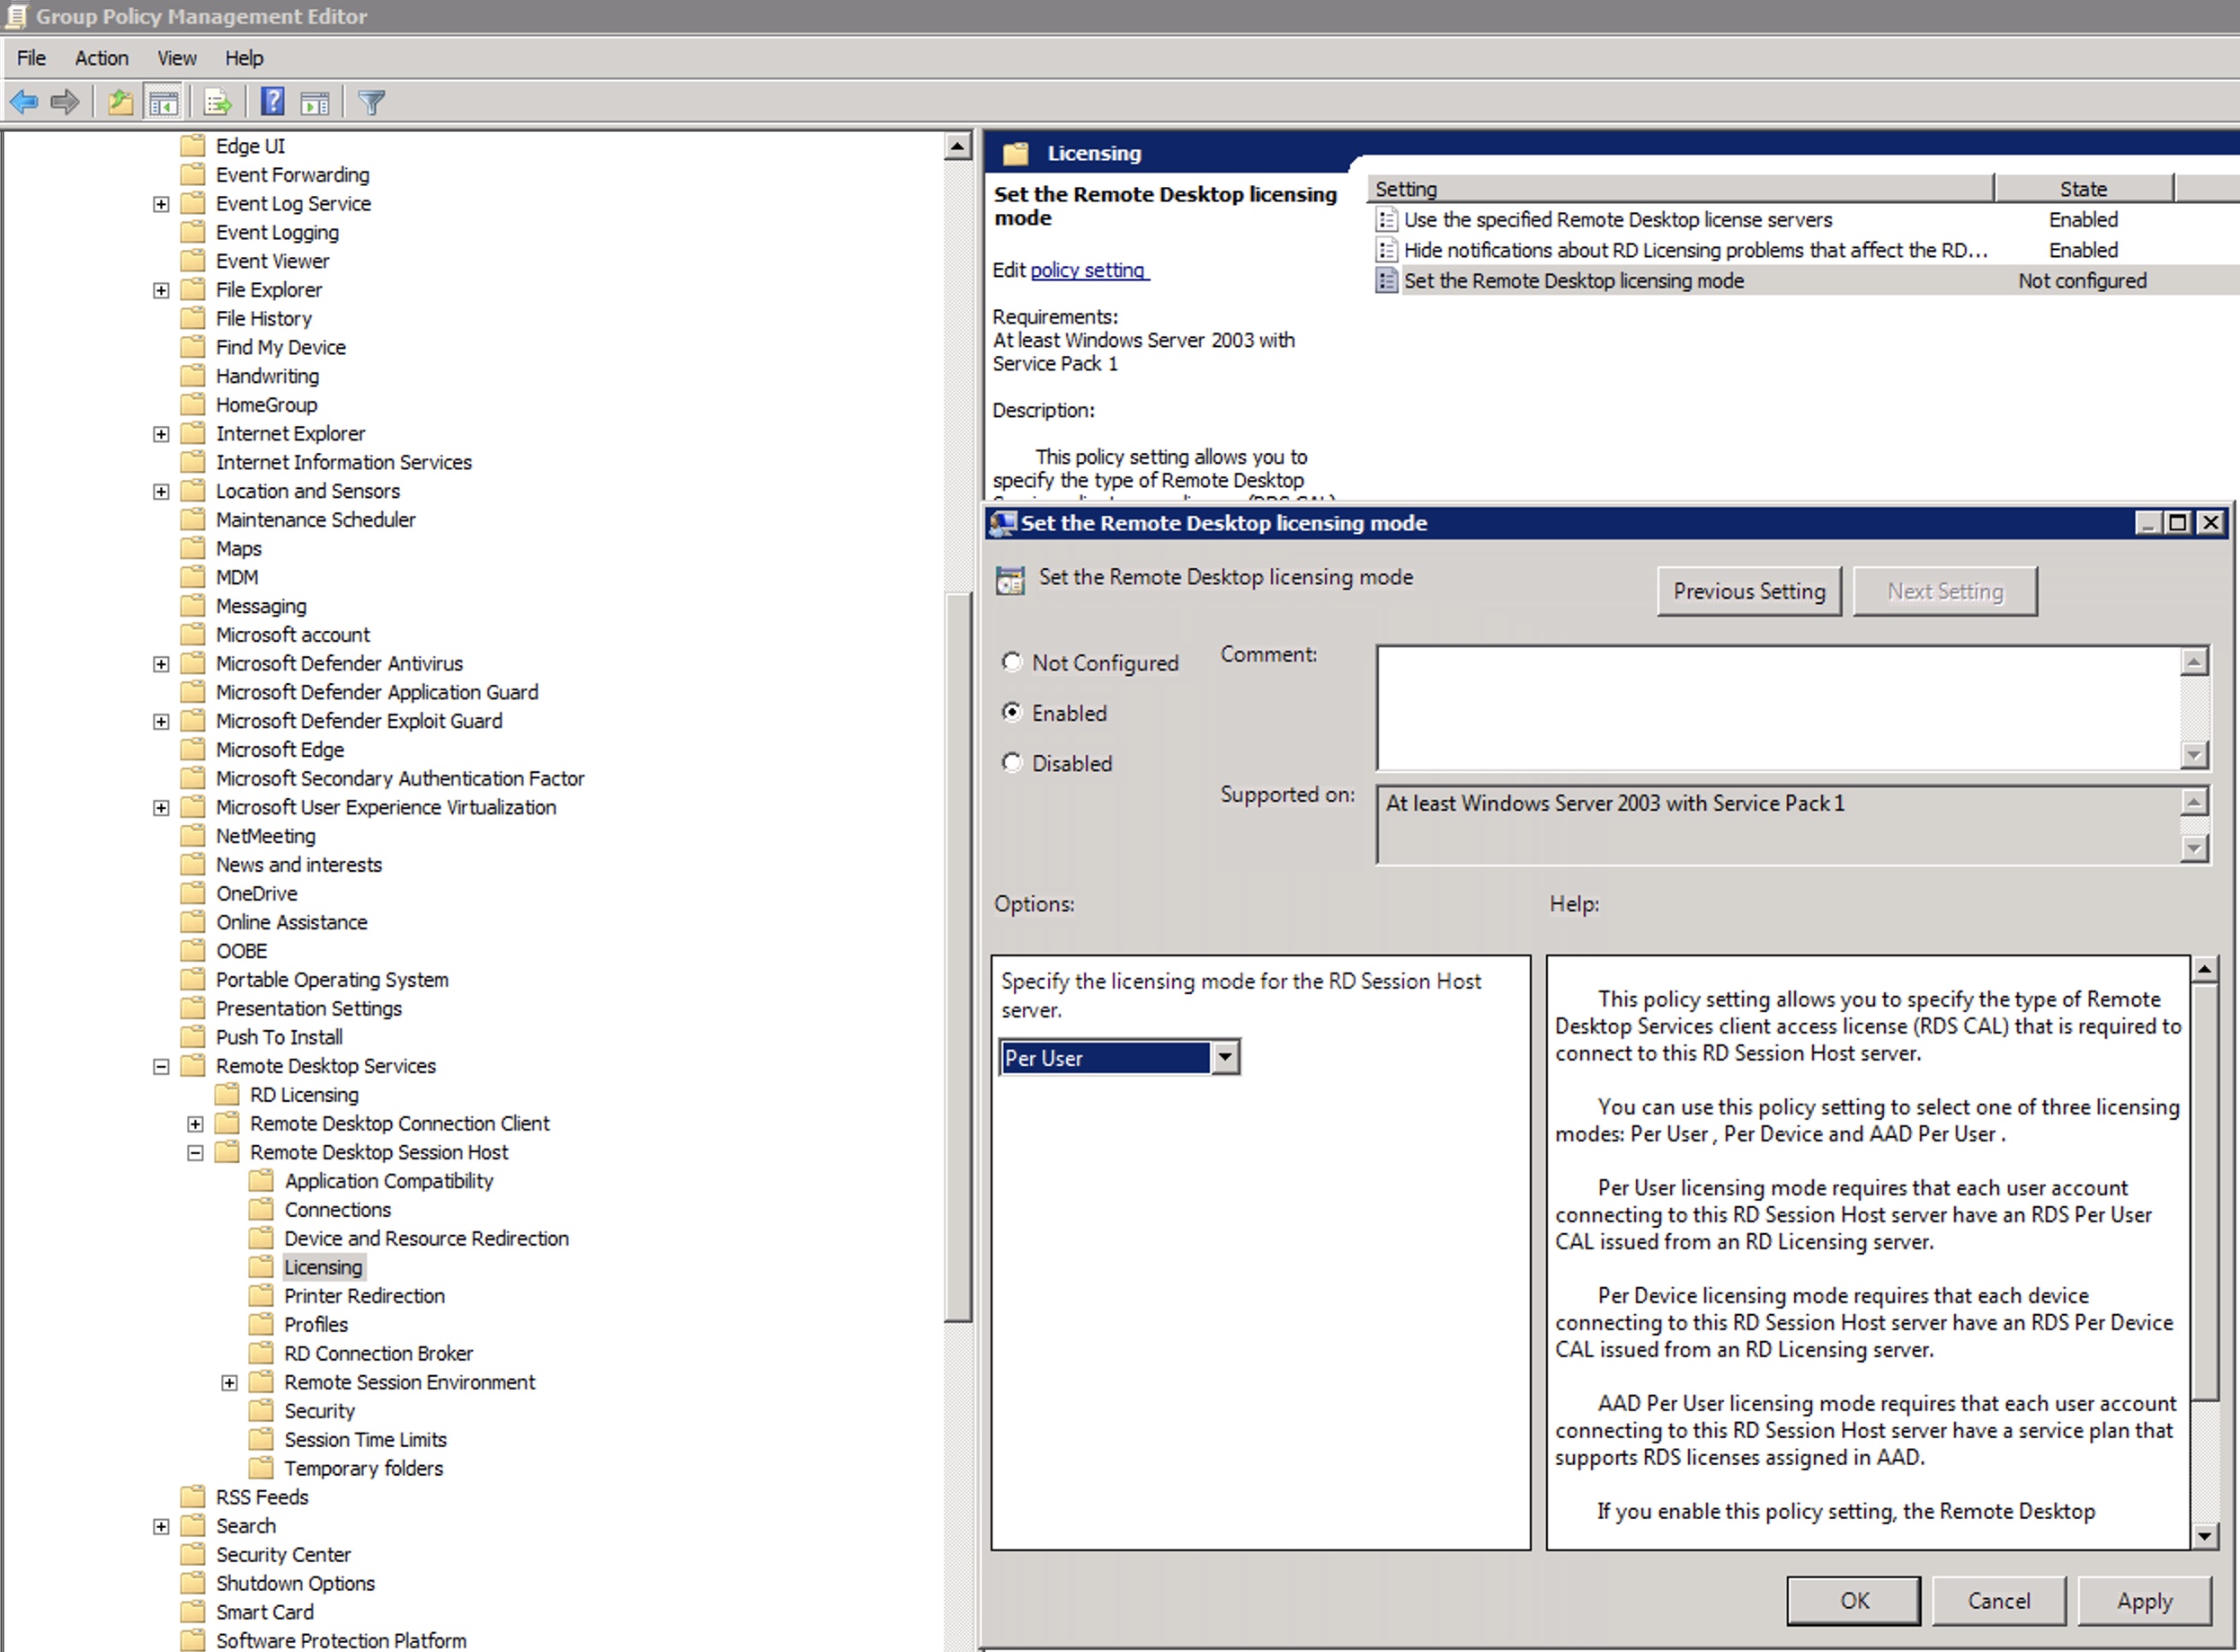
Assign, also, the type of license schema (User/Device)..
Now, connect to both Session Hosts servers,open the “Remote Desktop Licensing Diagnoser” and run a GPUPDATE /Force from cli…

Our Hosts is now correctly registered to our license server.
That’s it.