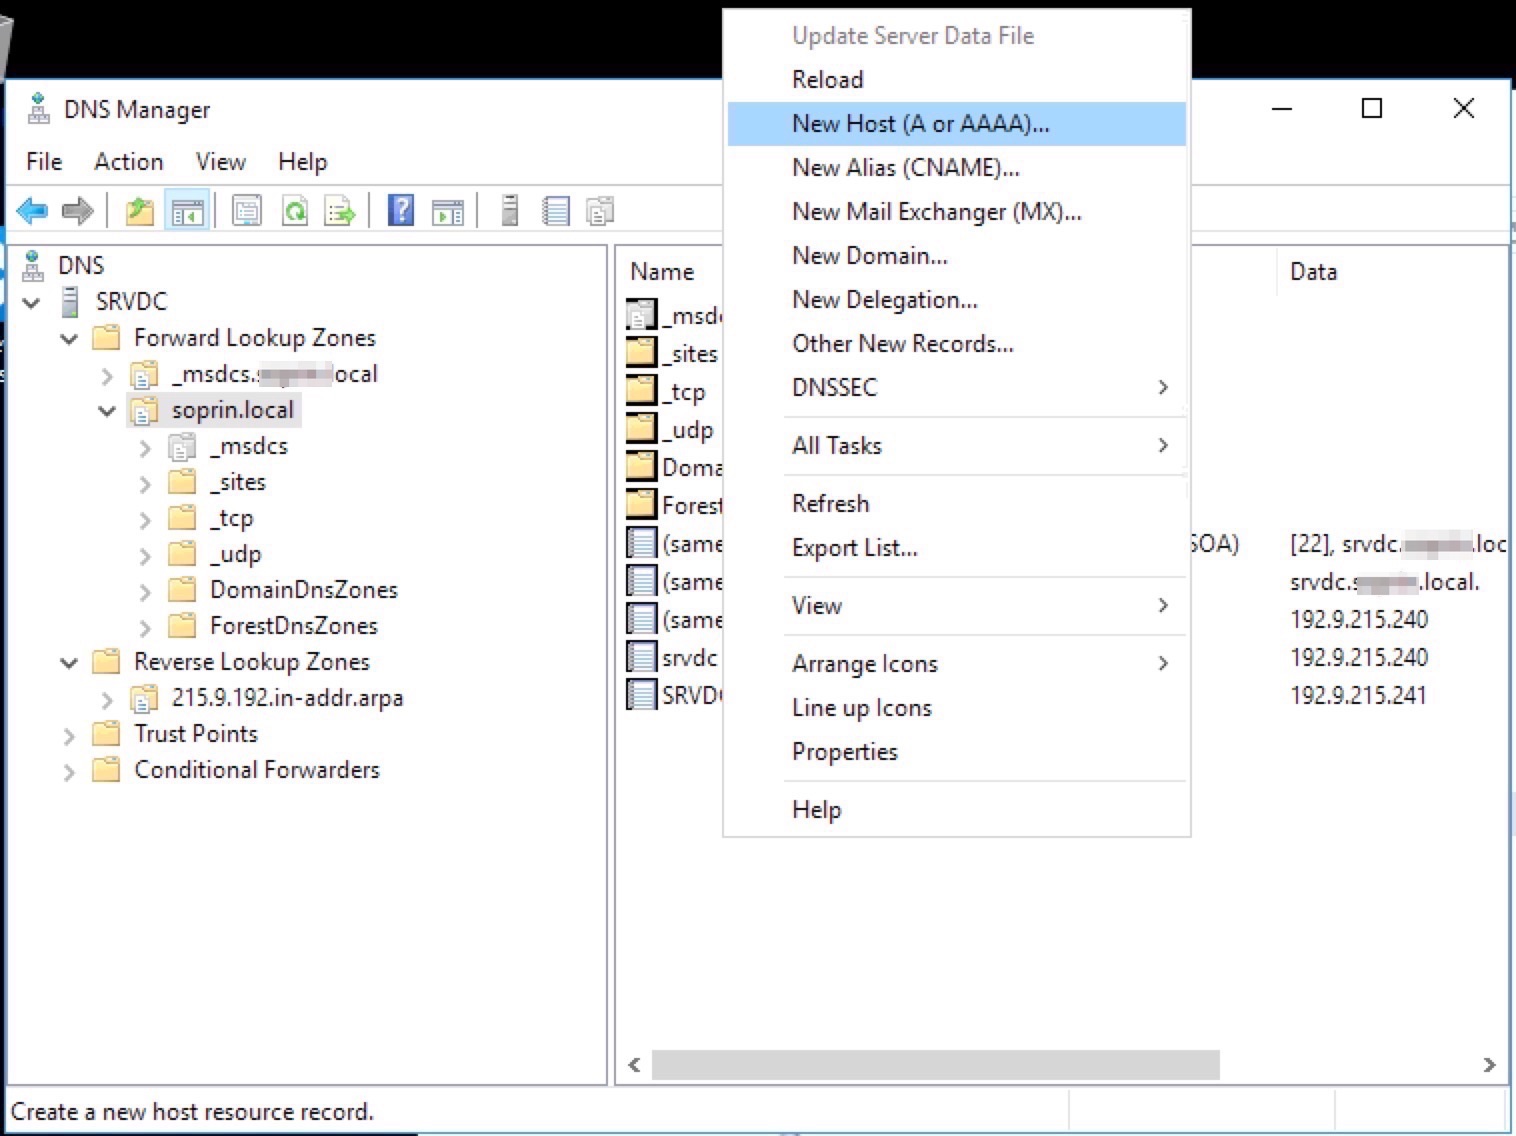
First, before strarting the install process, you have to create a record typa A under your internal DNS server.
In our case, I’ve created a record “A” VCSA.customer.local 192.9.215.x (192.9. ????? why this wrong address in a LAN enveriement? I’m sorry, but at the beginning, this customer was supported by someone that didn’t understand the networking https://en.wikipedia.org/wiki/Private_network ).
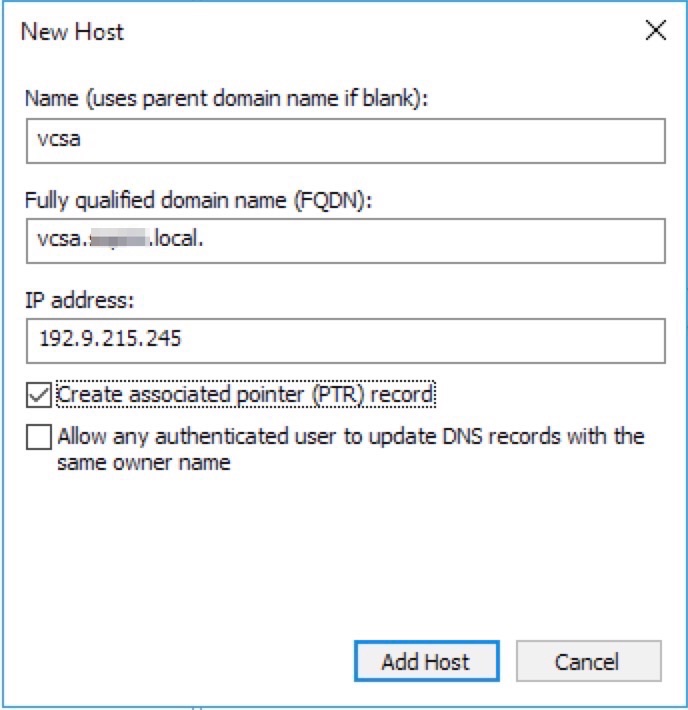
Open your DNS server and create the record “A”
![](http://marcoschiavon.net/wp-content/uploads/2018/09/Screen-Shot-2018-06-12-at-07.41.15.jpg)
![](http://marcoschiavon.net/wp-content/uploads/2018/09/Screen-Shot-2018-06-12-at-07.48.19.jpg)
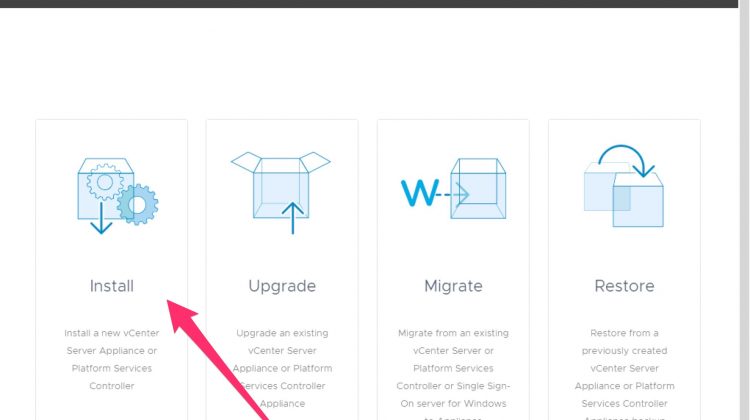
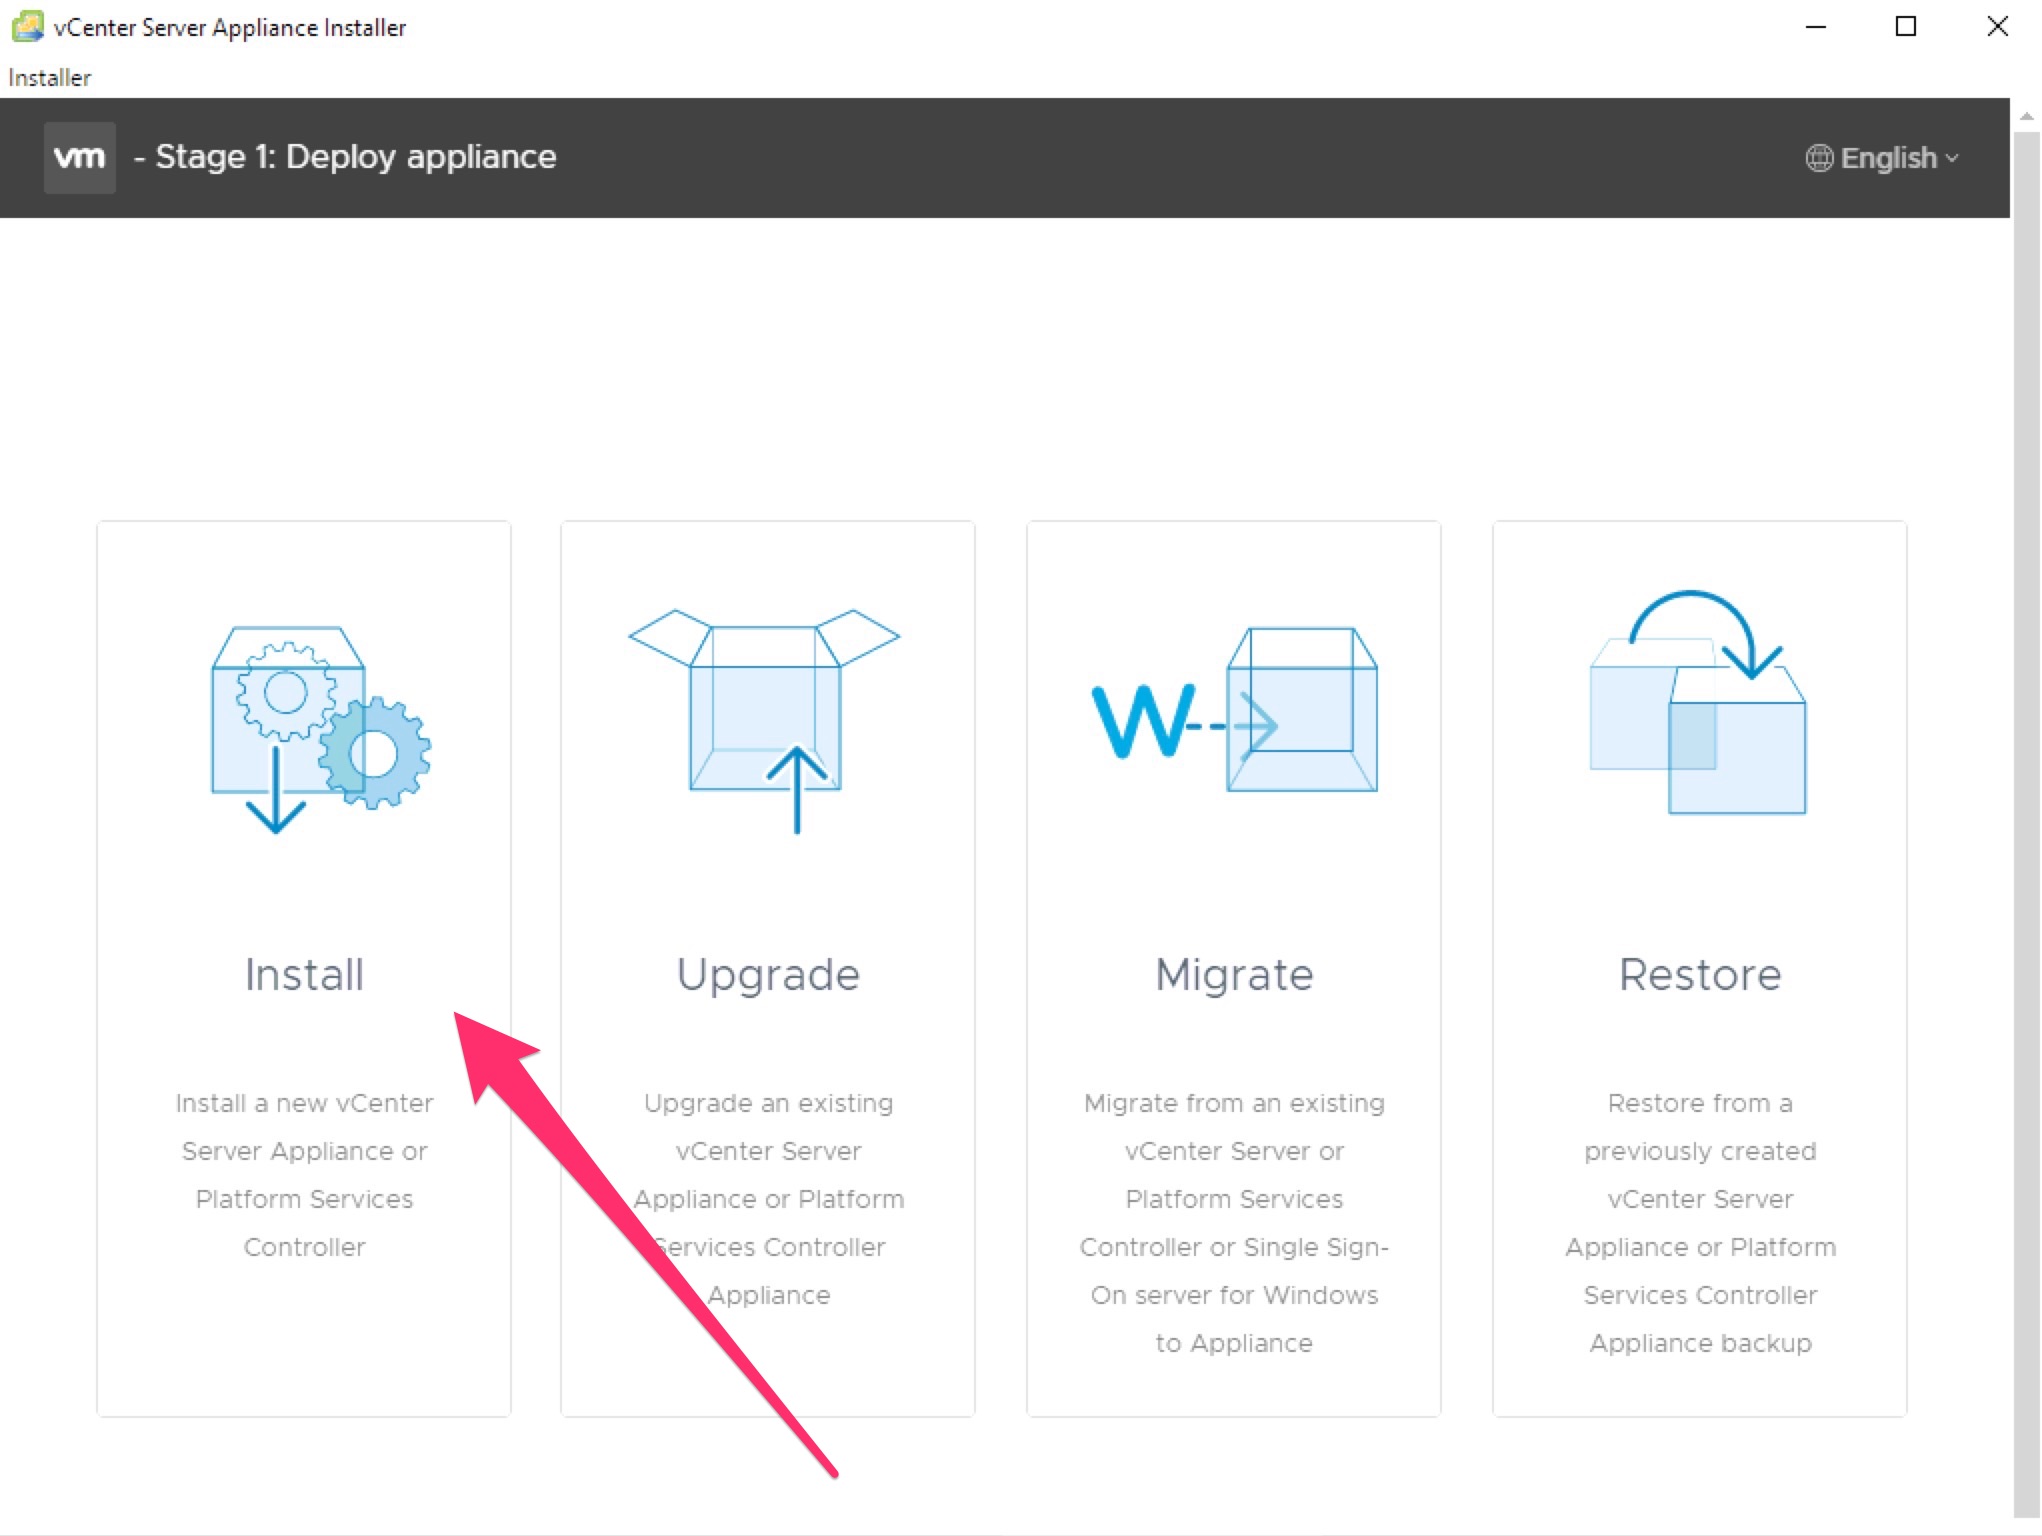
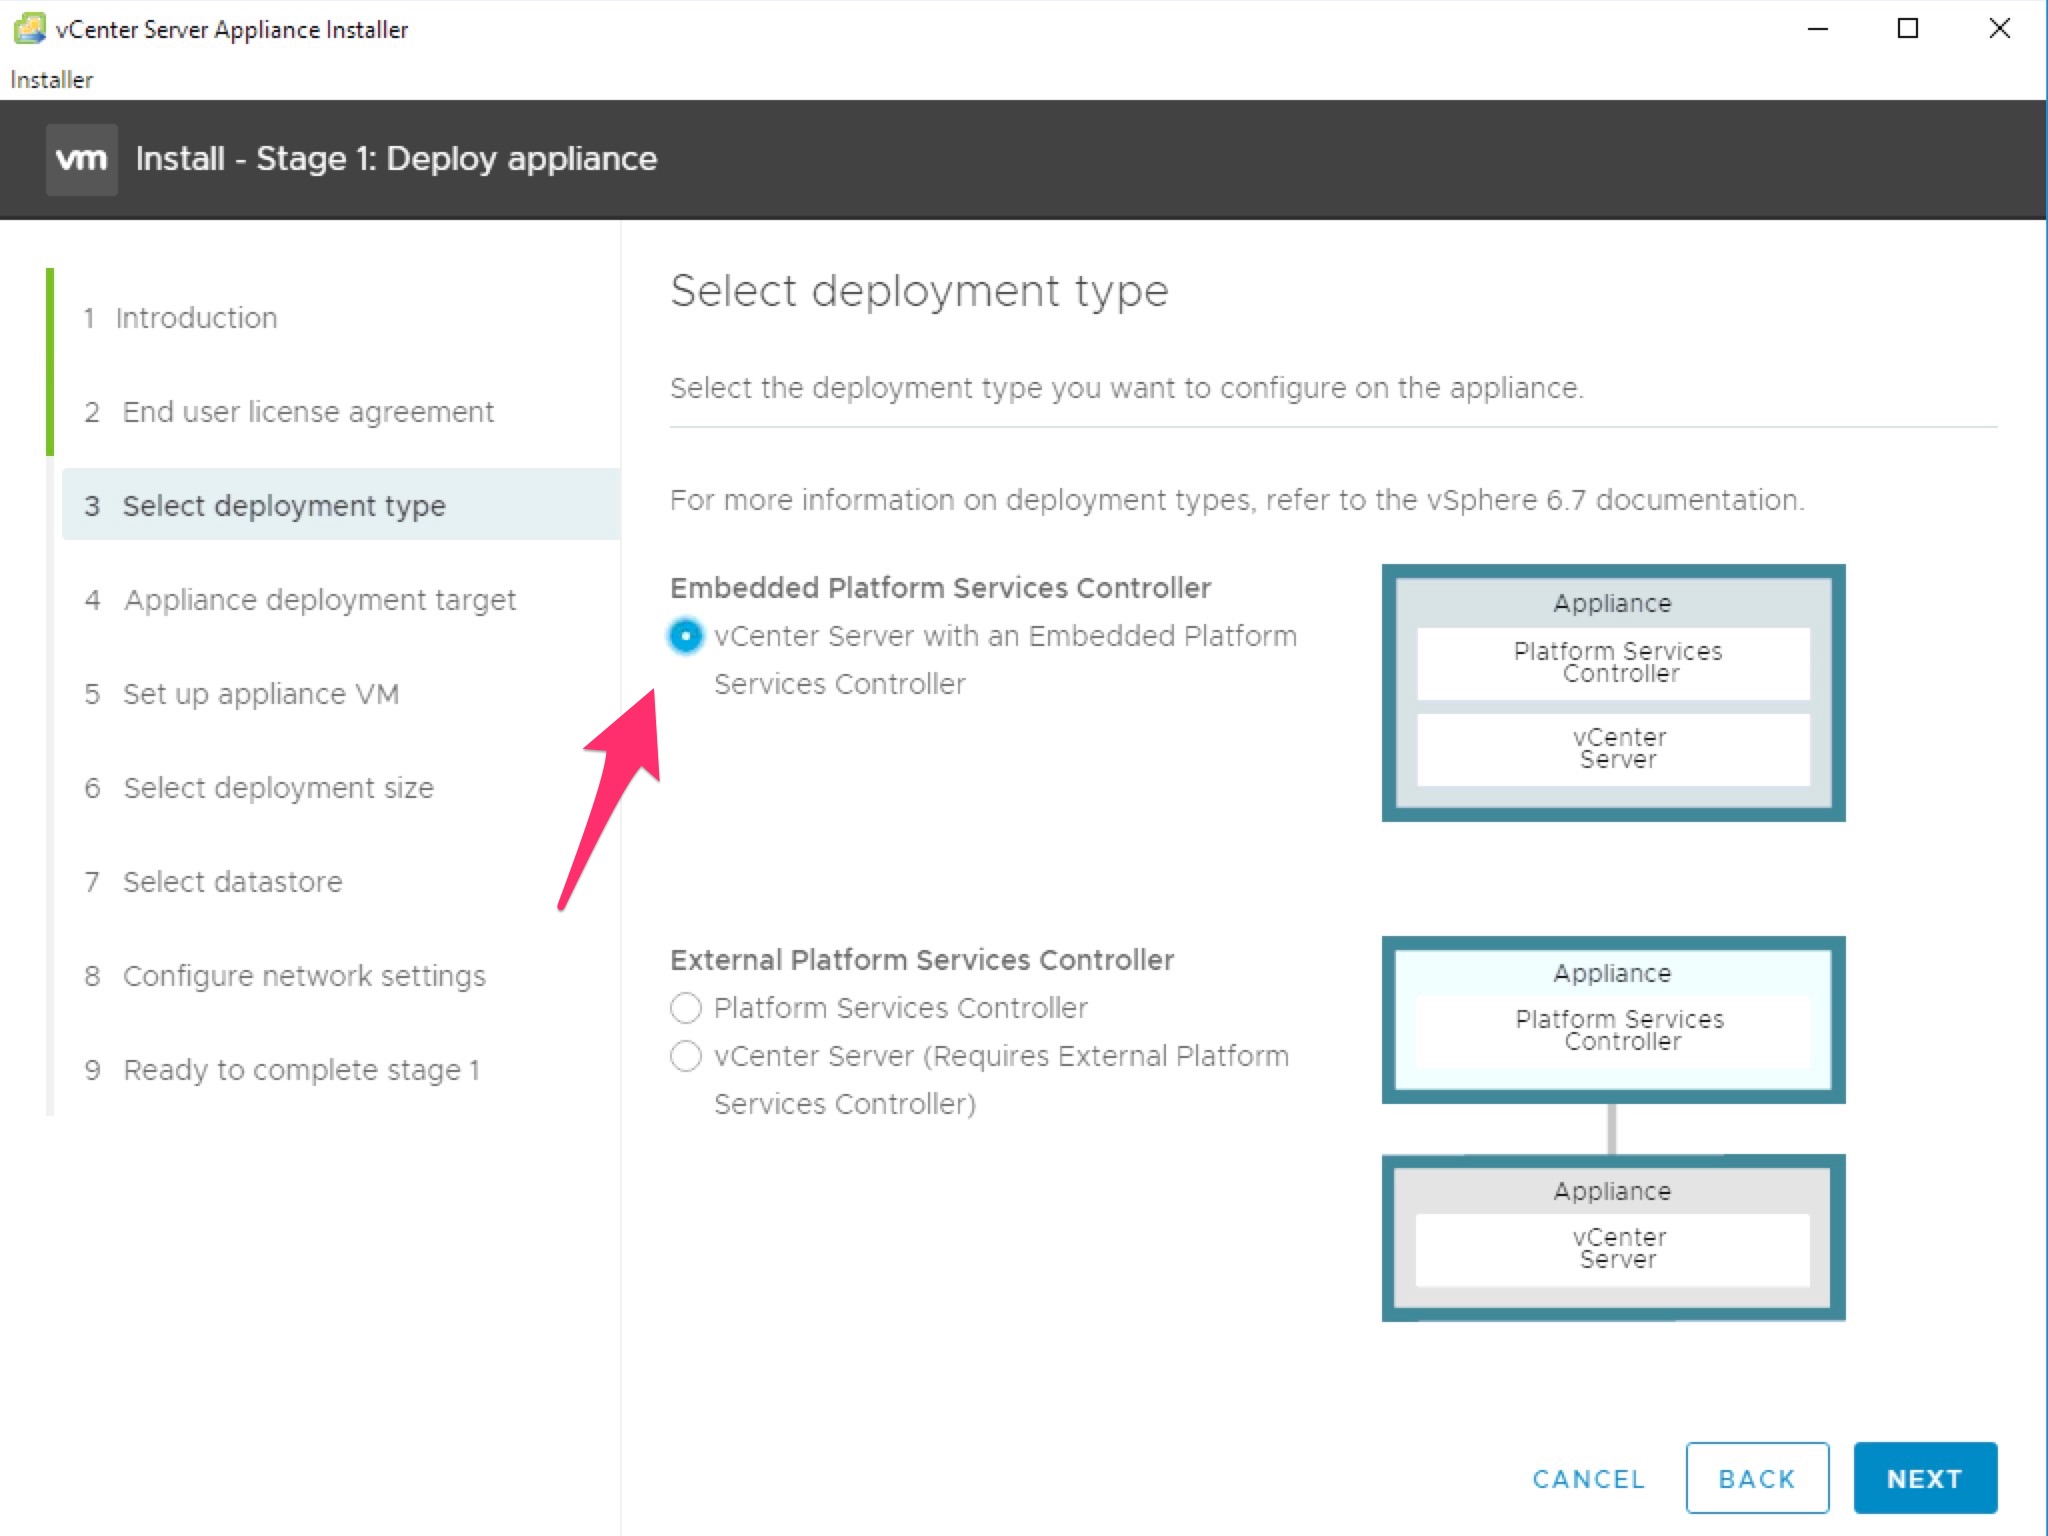
Now we start the install process.
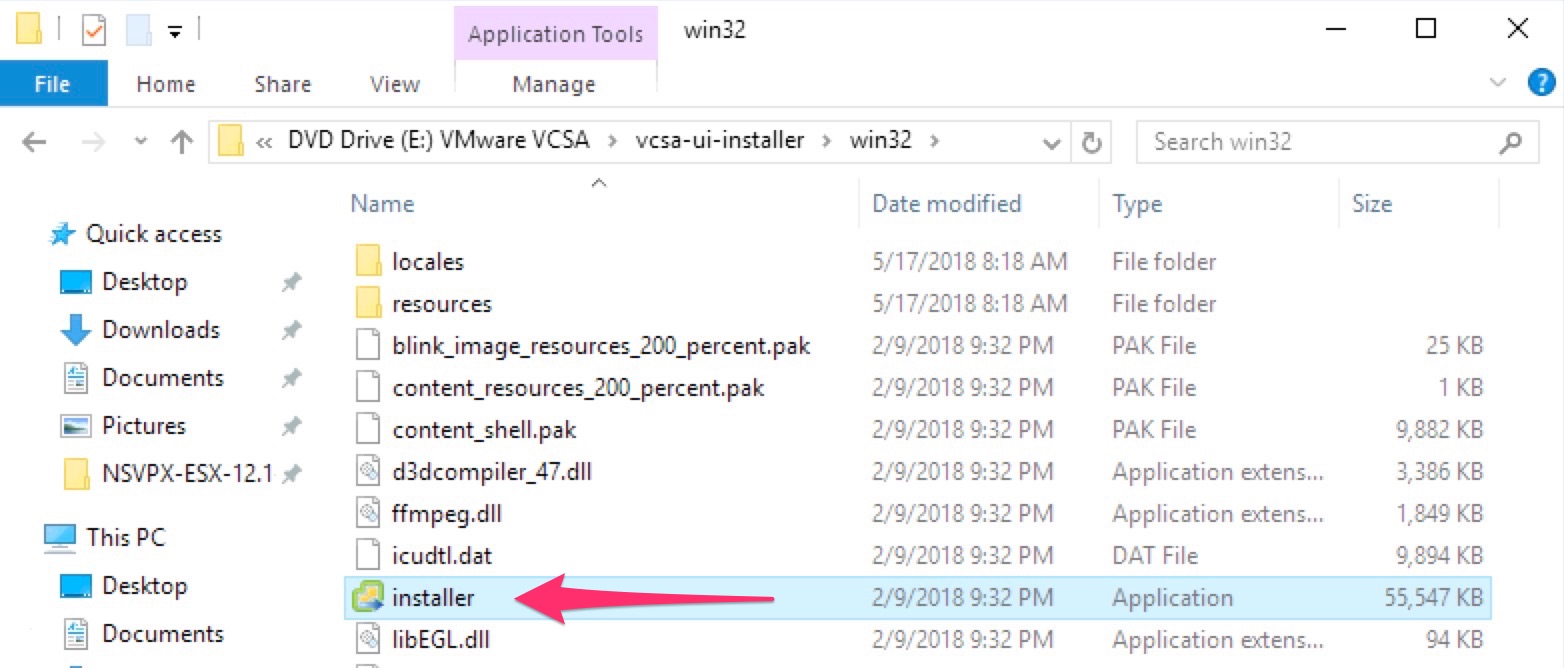
![](http://marcoschiavon.net/wp-content/uploads/2018/09/Screen-Shot-2018-06-12-at-07.50.18.jpg)
Select install
![](http://marcoschiavon.net/wp-content/uploads/2018/09/Screen-Shot-2018-06-12-at-07.50.43.jpg)
![](http://marcoschiavon.net/wp-content/uploads/2018/09/Screen-Shot-2018-06-12-at-07.51.09.jpg)
![](http://marcoschiavon.net/wp-content/uploads/2018/09/Screen-Shot-2018-06-12-at-07.51.33.jpg)
![](http://marcoschiavon.net/wp-content/uploads/2018/09/Screen-Shot-2018-06-12-at-07.51.51.jpg)
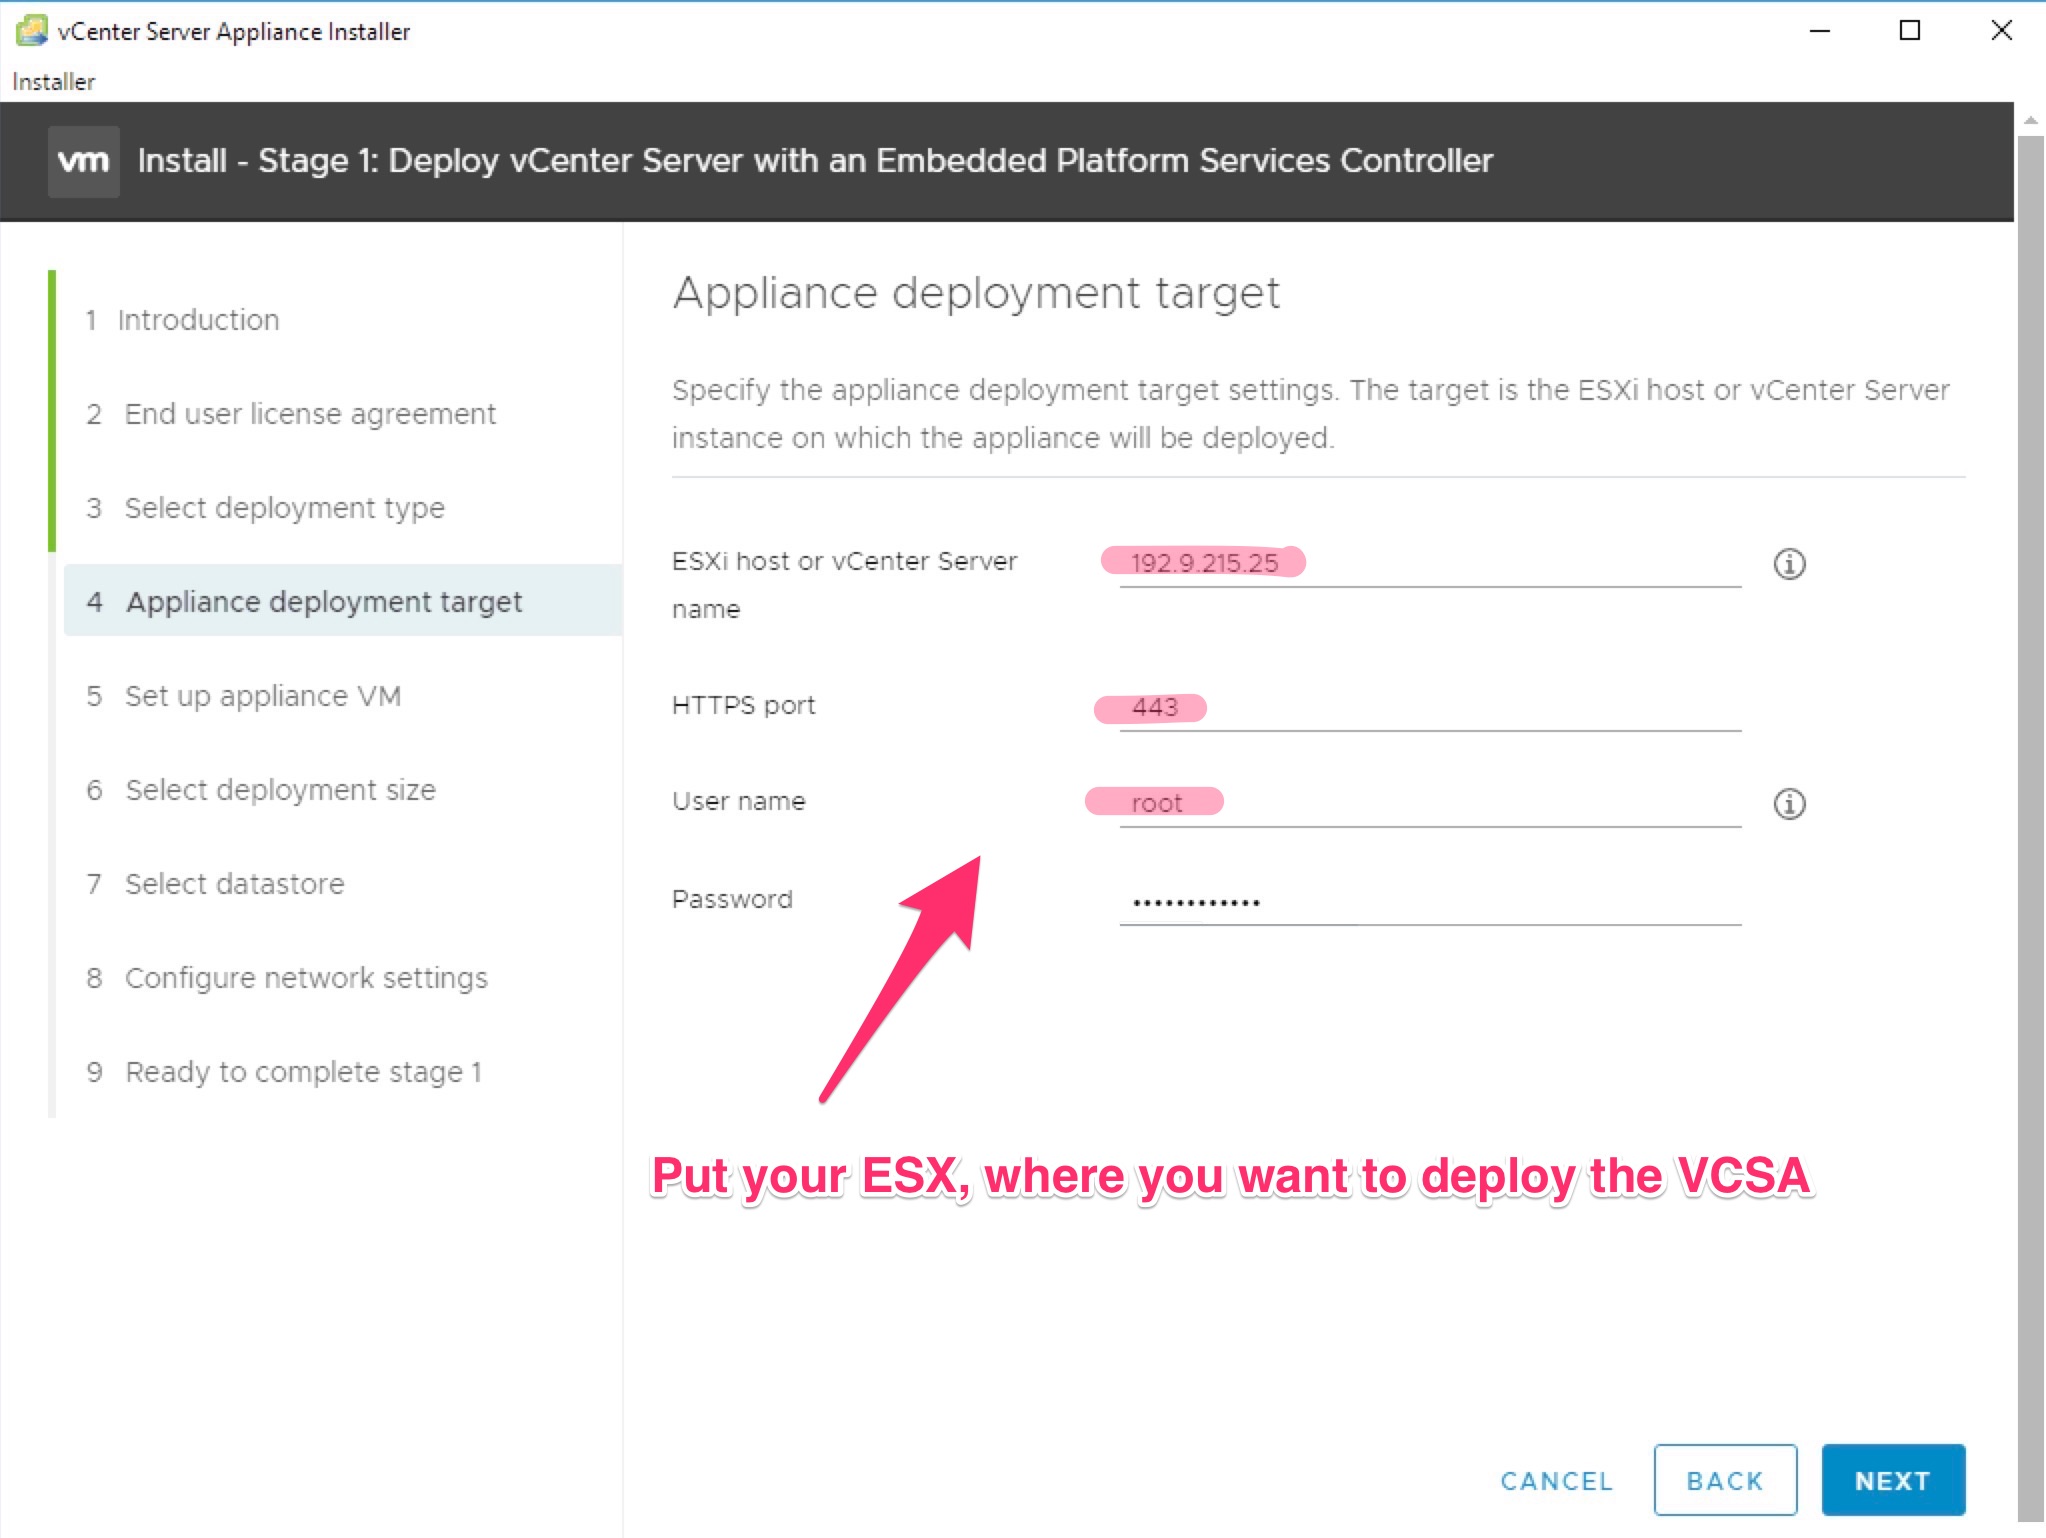
Put info to connect to one ESX
![](http://marcoschiavon.net/wp-content/uploads/2018/09/Screen-Shot-2018-06-12-at-07.56.09.jpg)
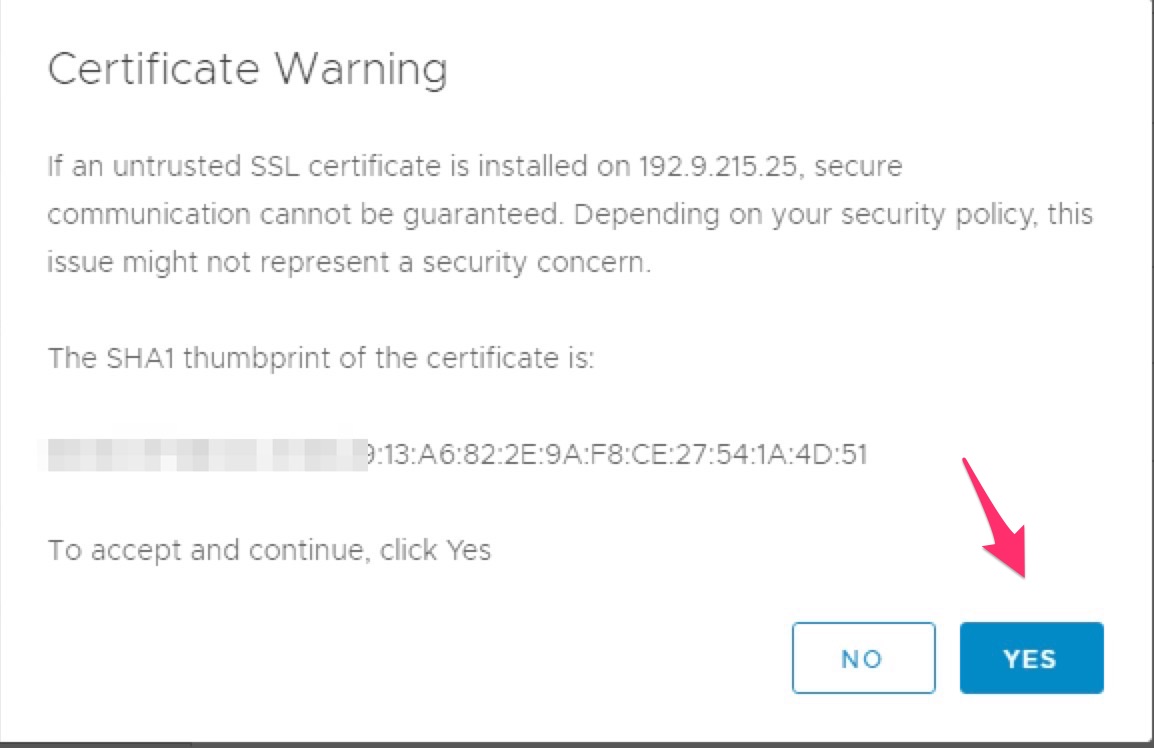
Accept the certificate
![](http://marcoschiavon.net/wp-content/uploads/2018/09/Screen-Shot-2018-06-12-at-07.56.42.jpg)
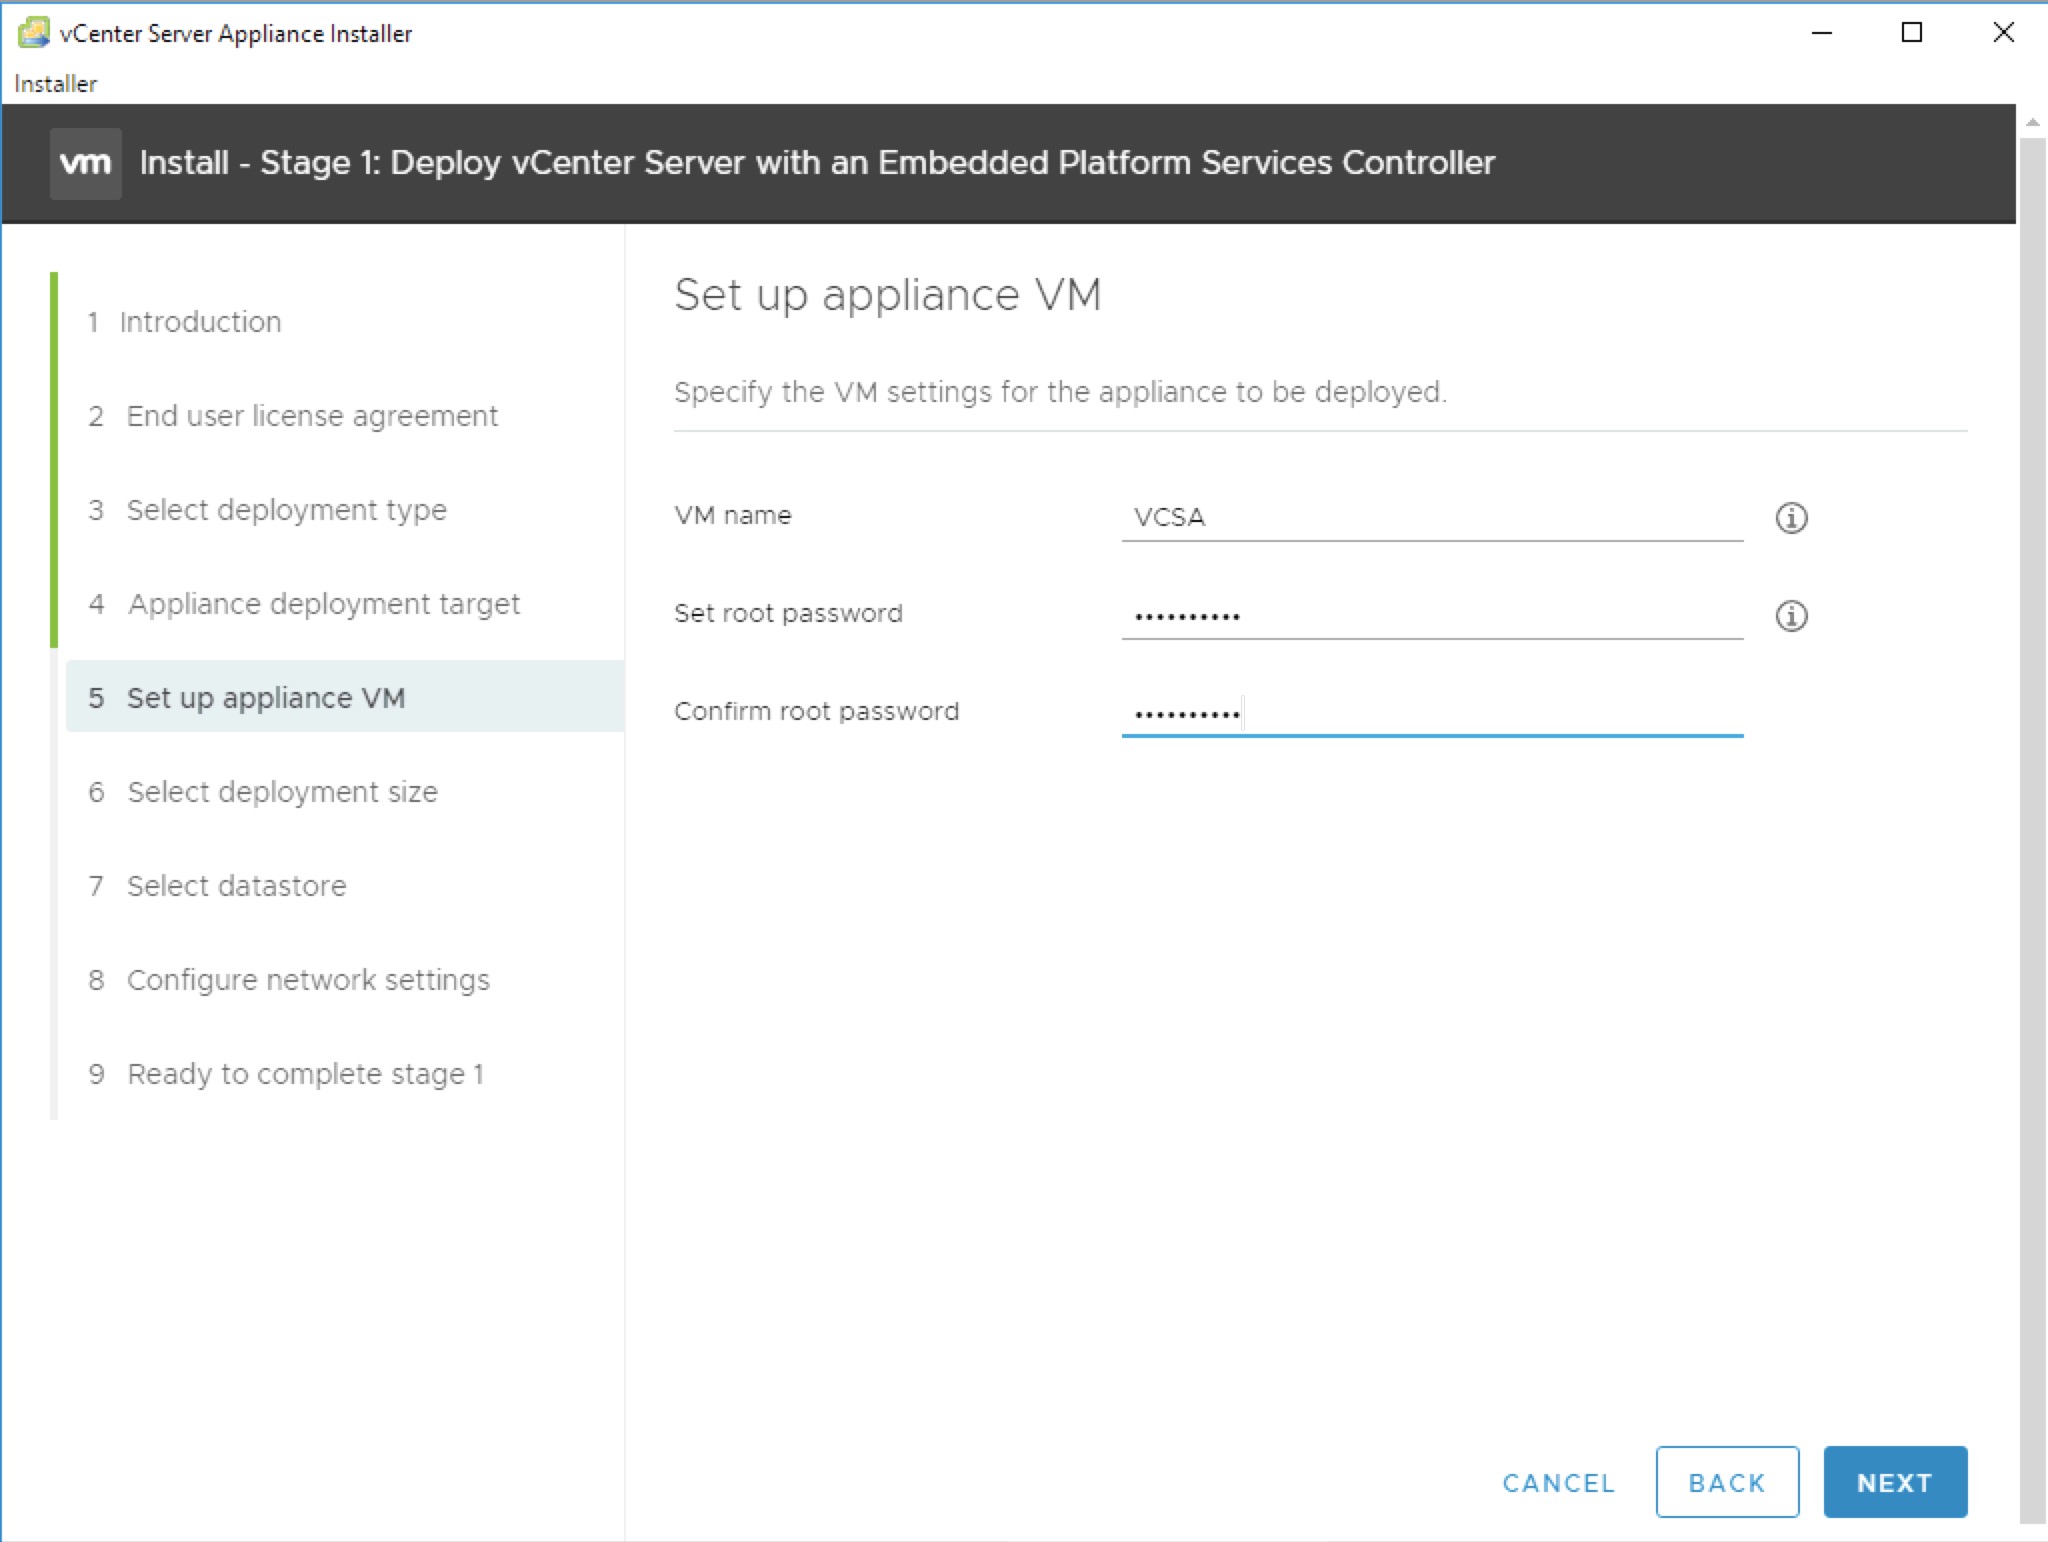
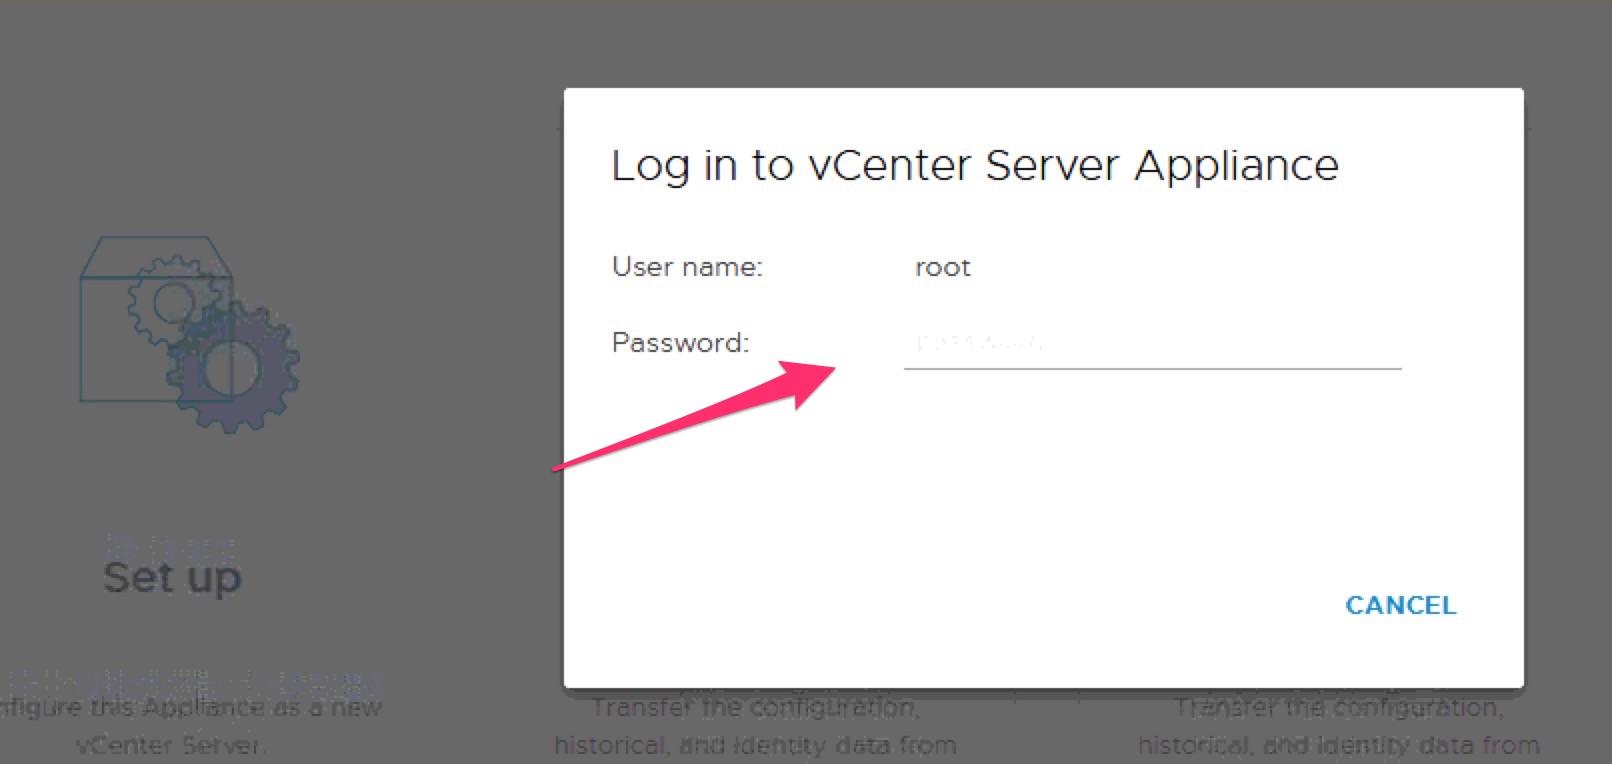
Now set the VCSA name, and VCSA’s console password.
![](http://marcoschiavon.net/wp-content/uploads/2018/09/Screen-Shot-2018-06-12-at-07.59.40.jpg)
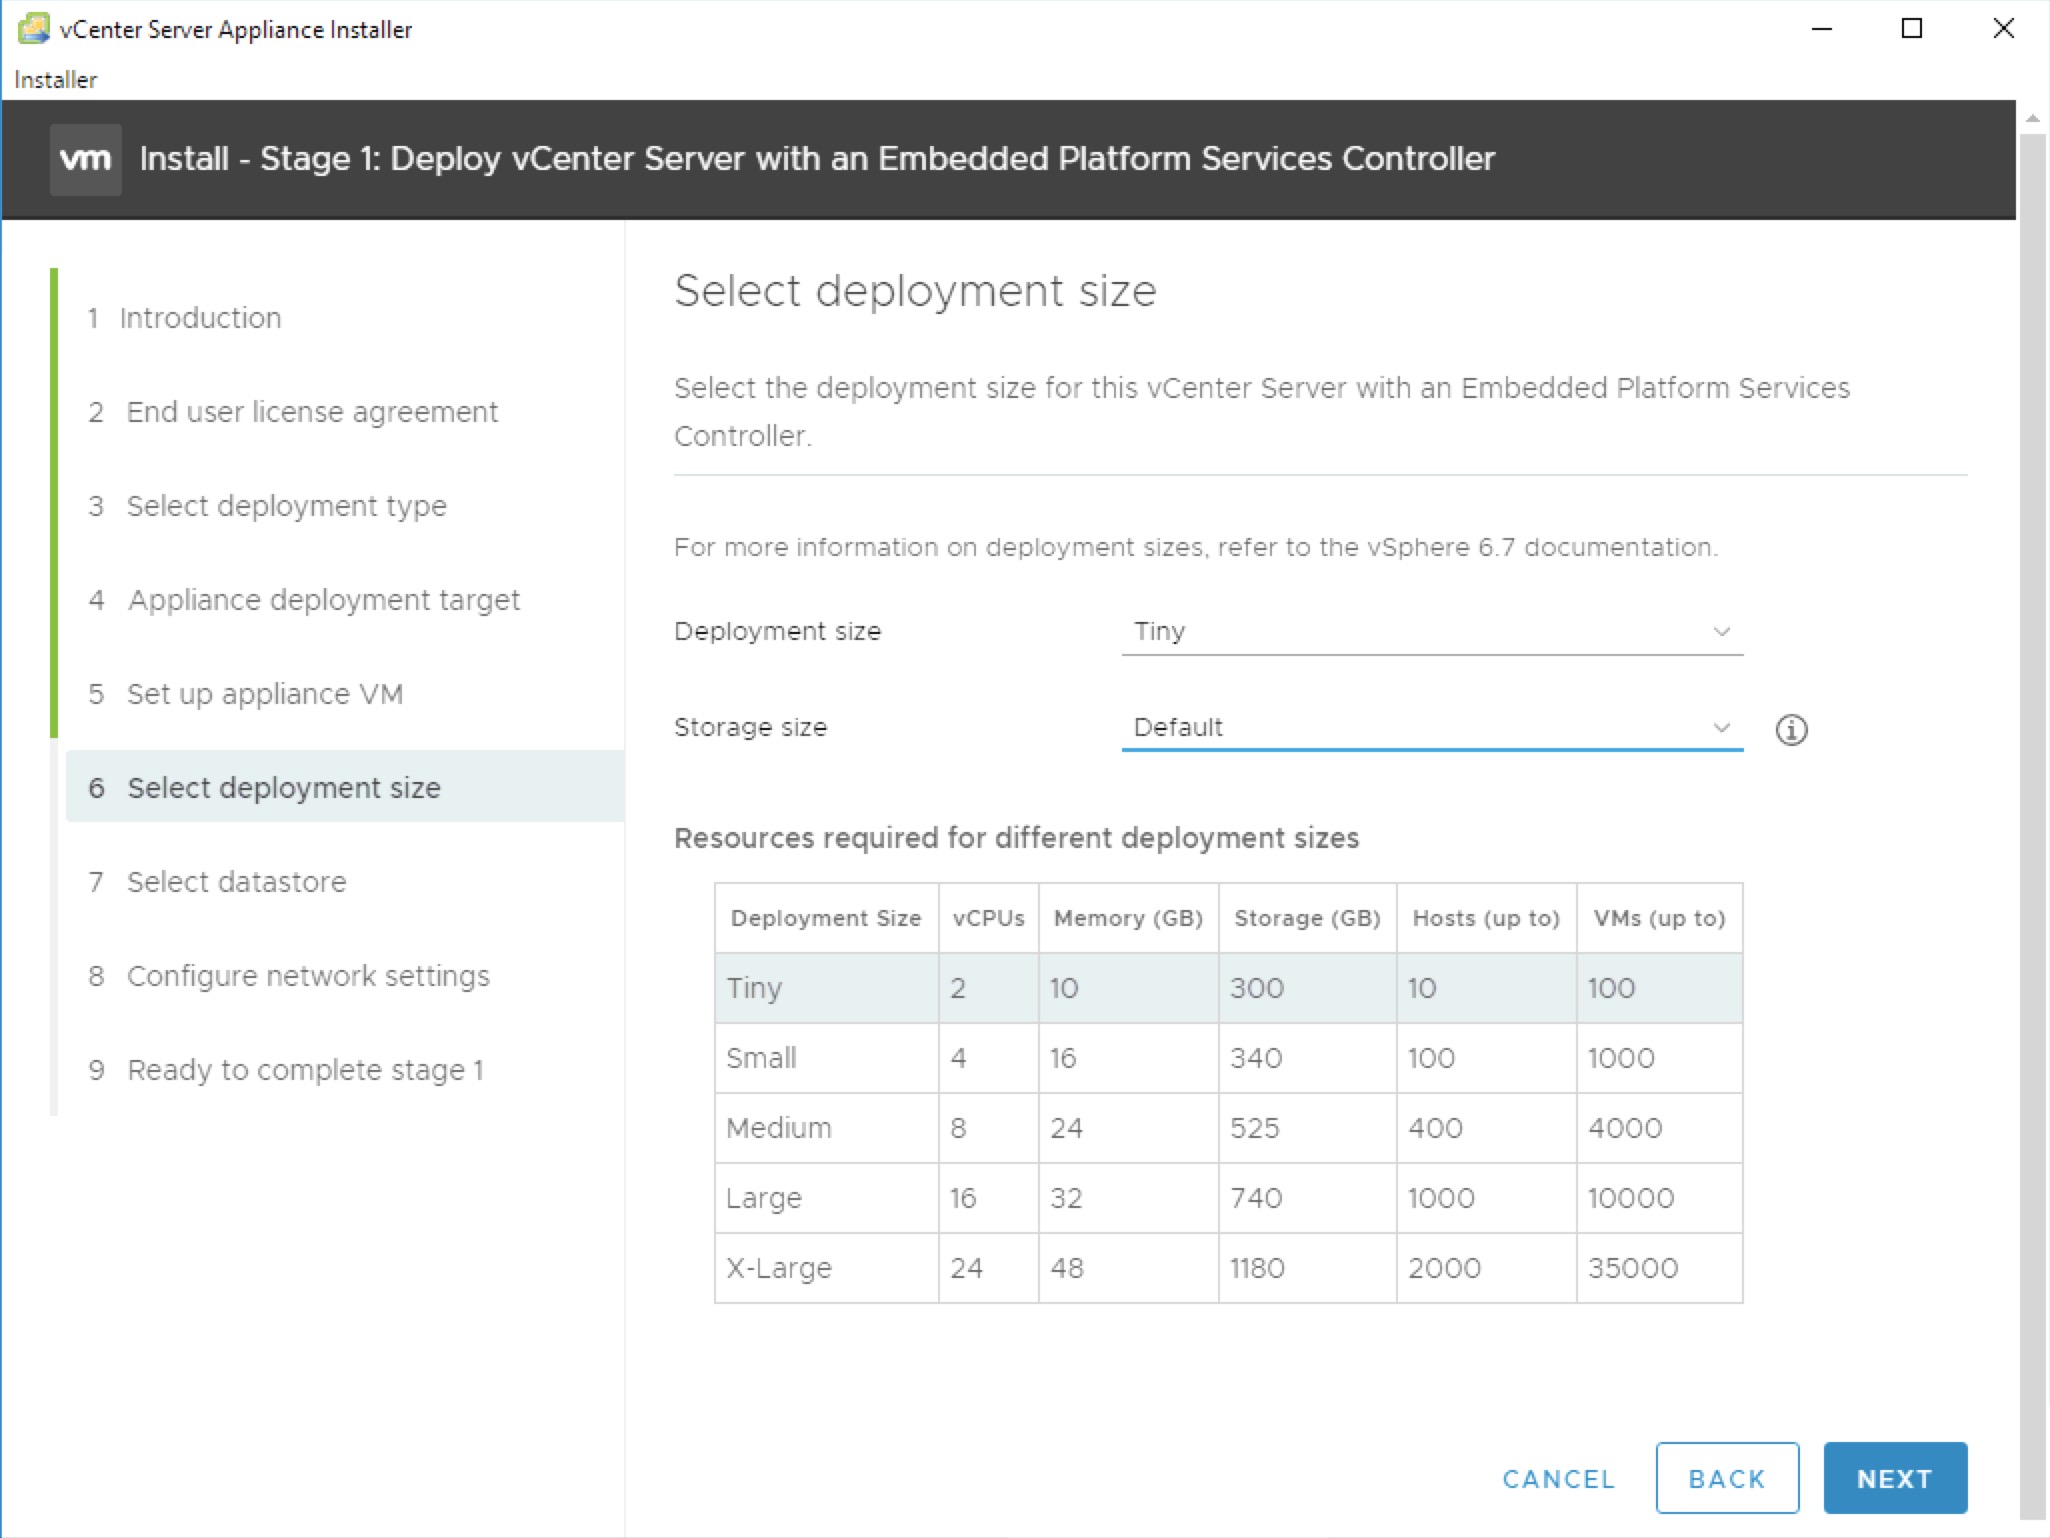
Select the size level
![](http://marcoschiavon.net/wp-content/uploads/2018/09/Screen-Shot-2018-06-12-at-08.00.30.jpg)
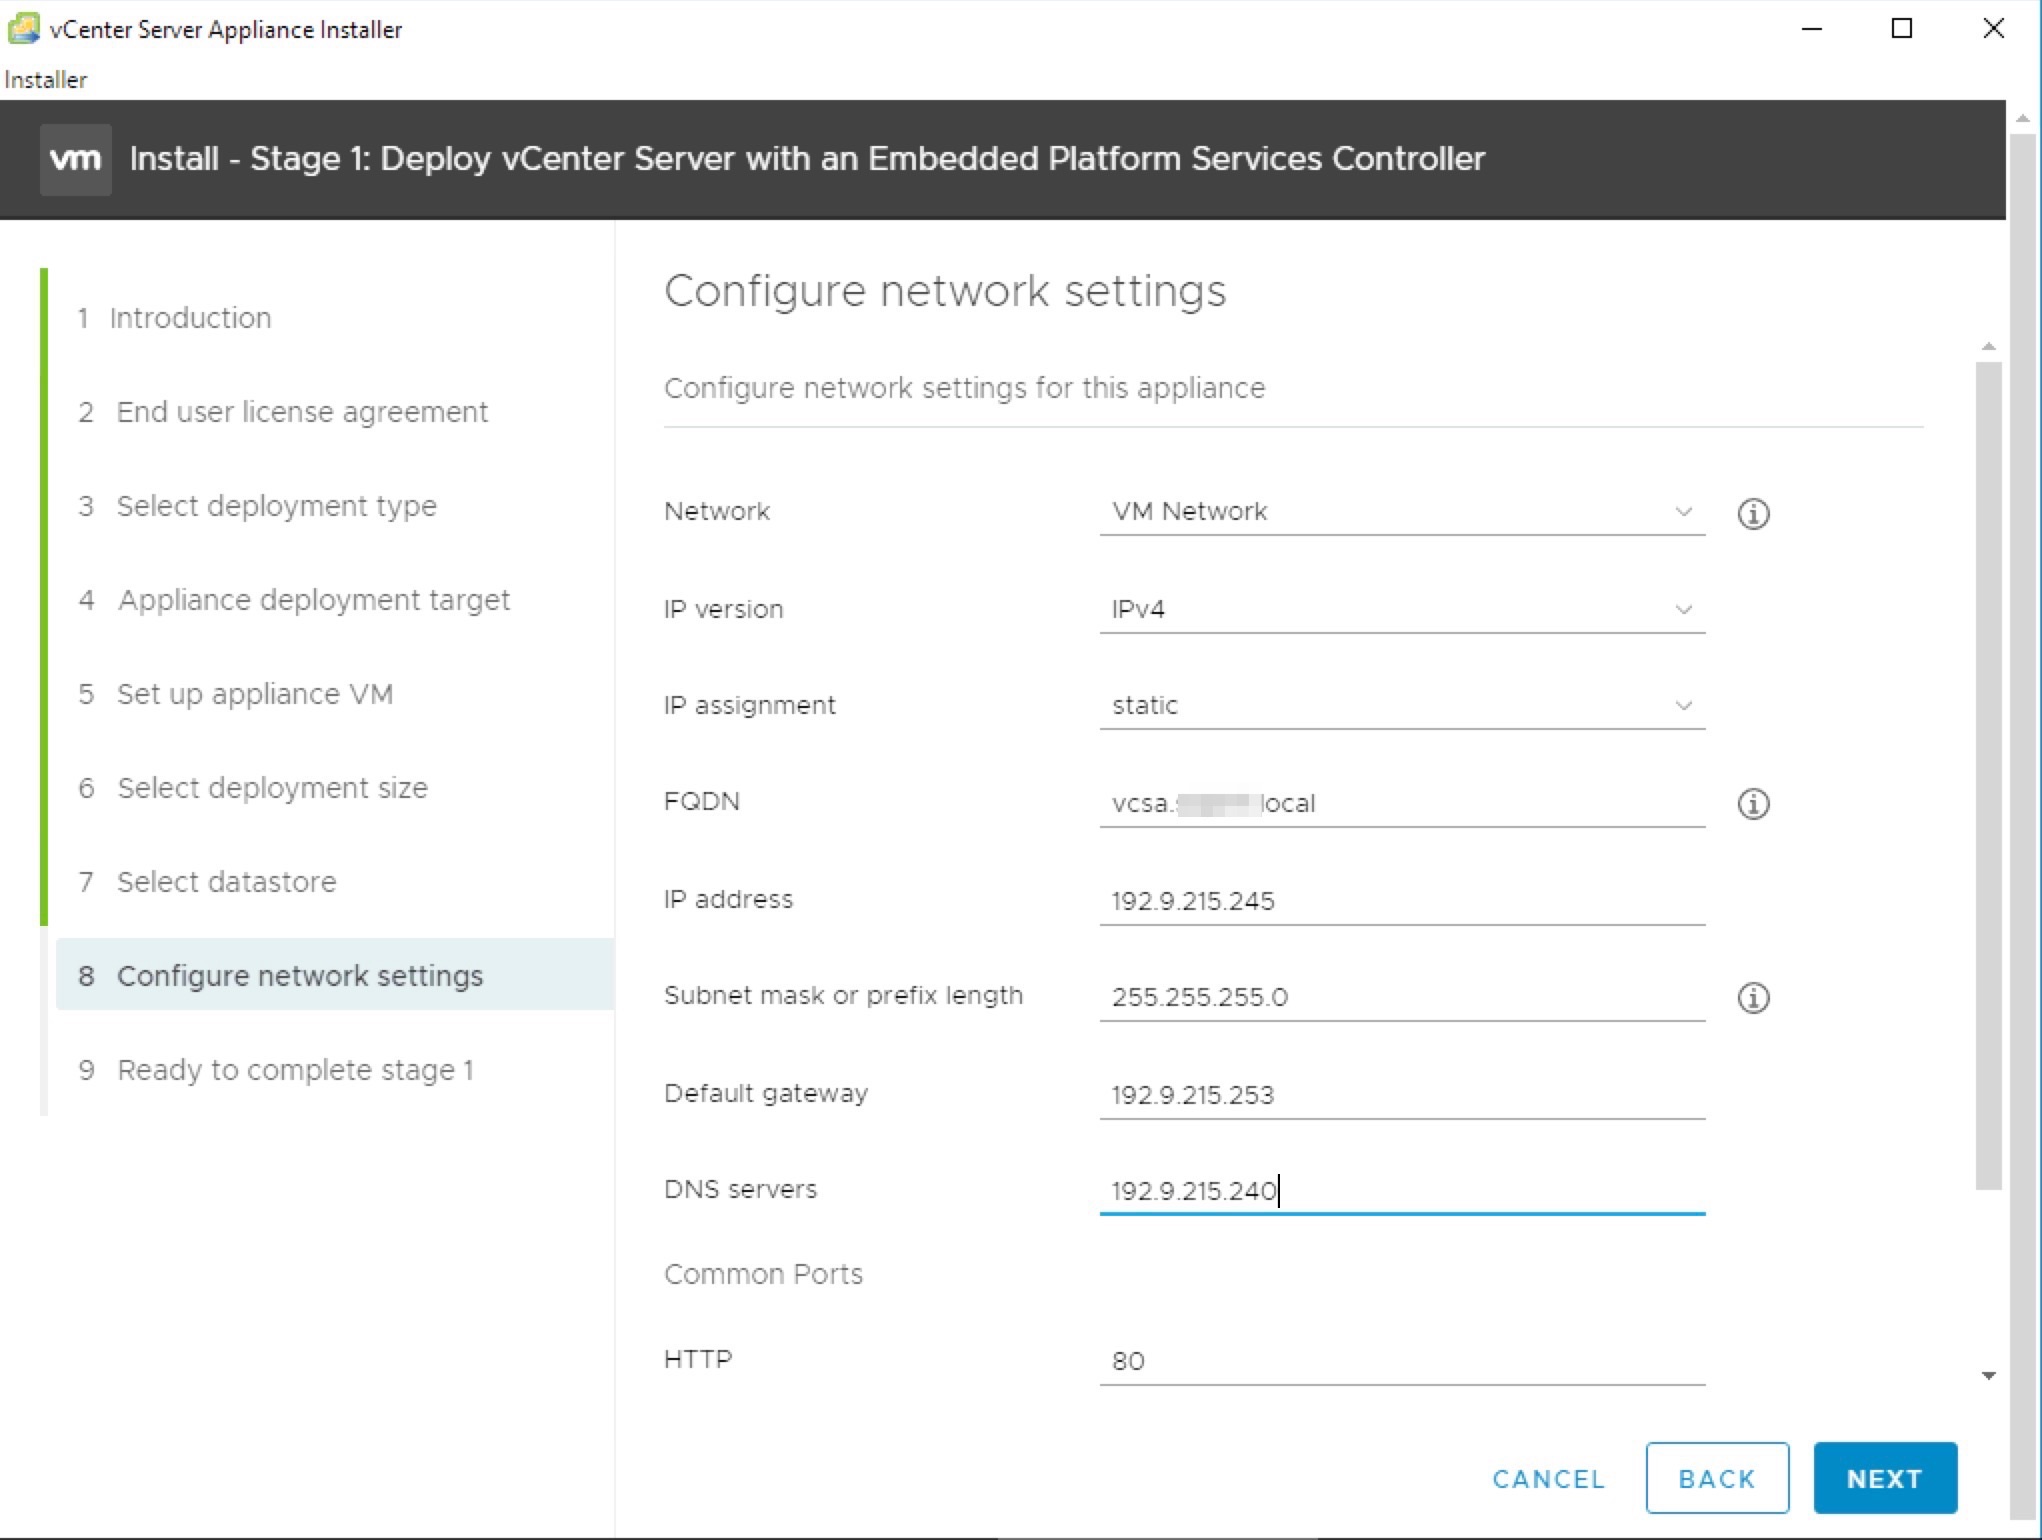
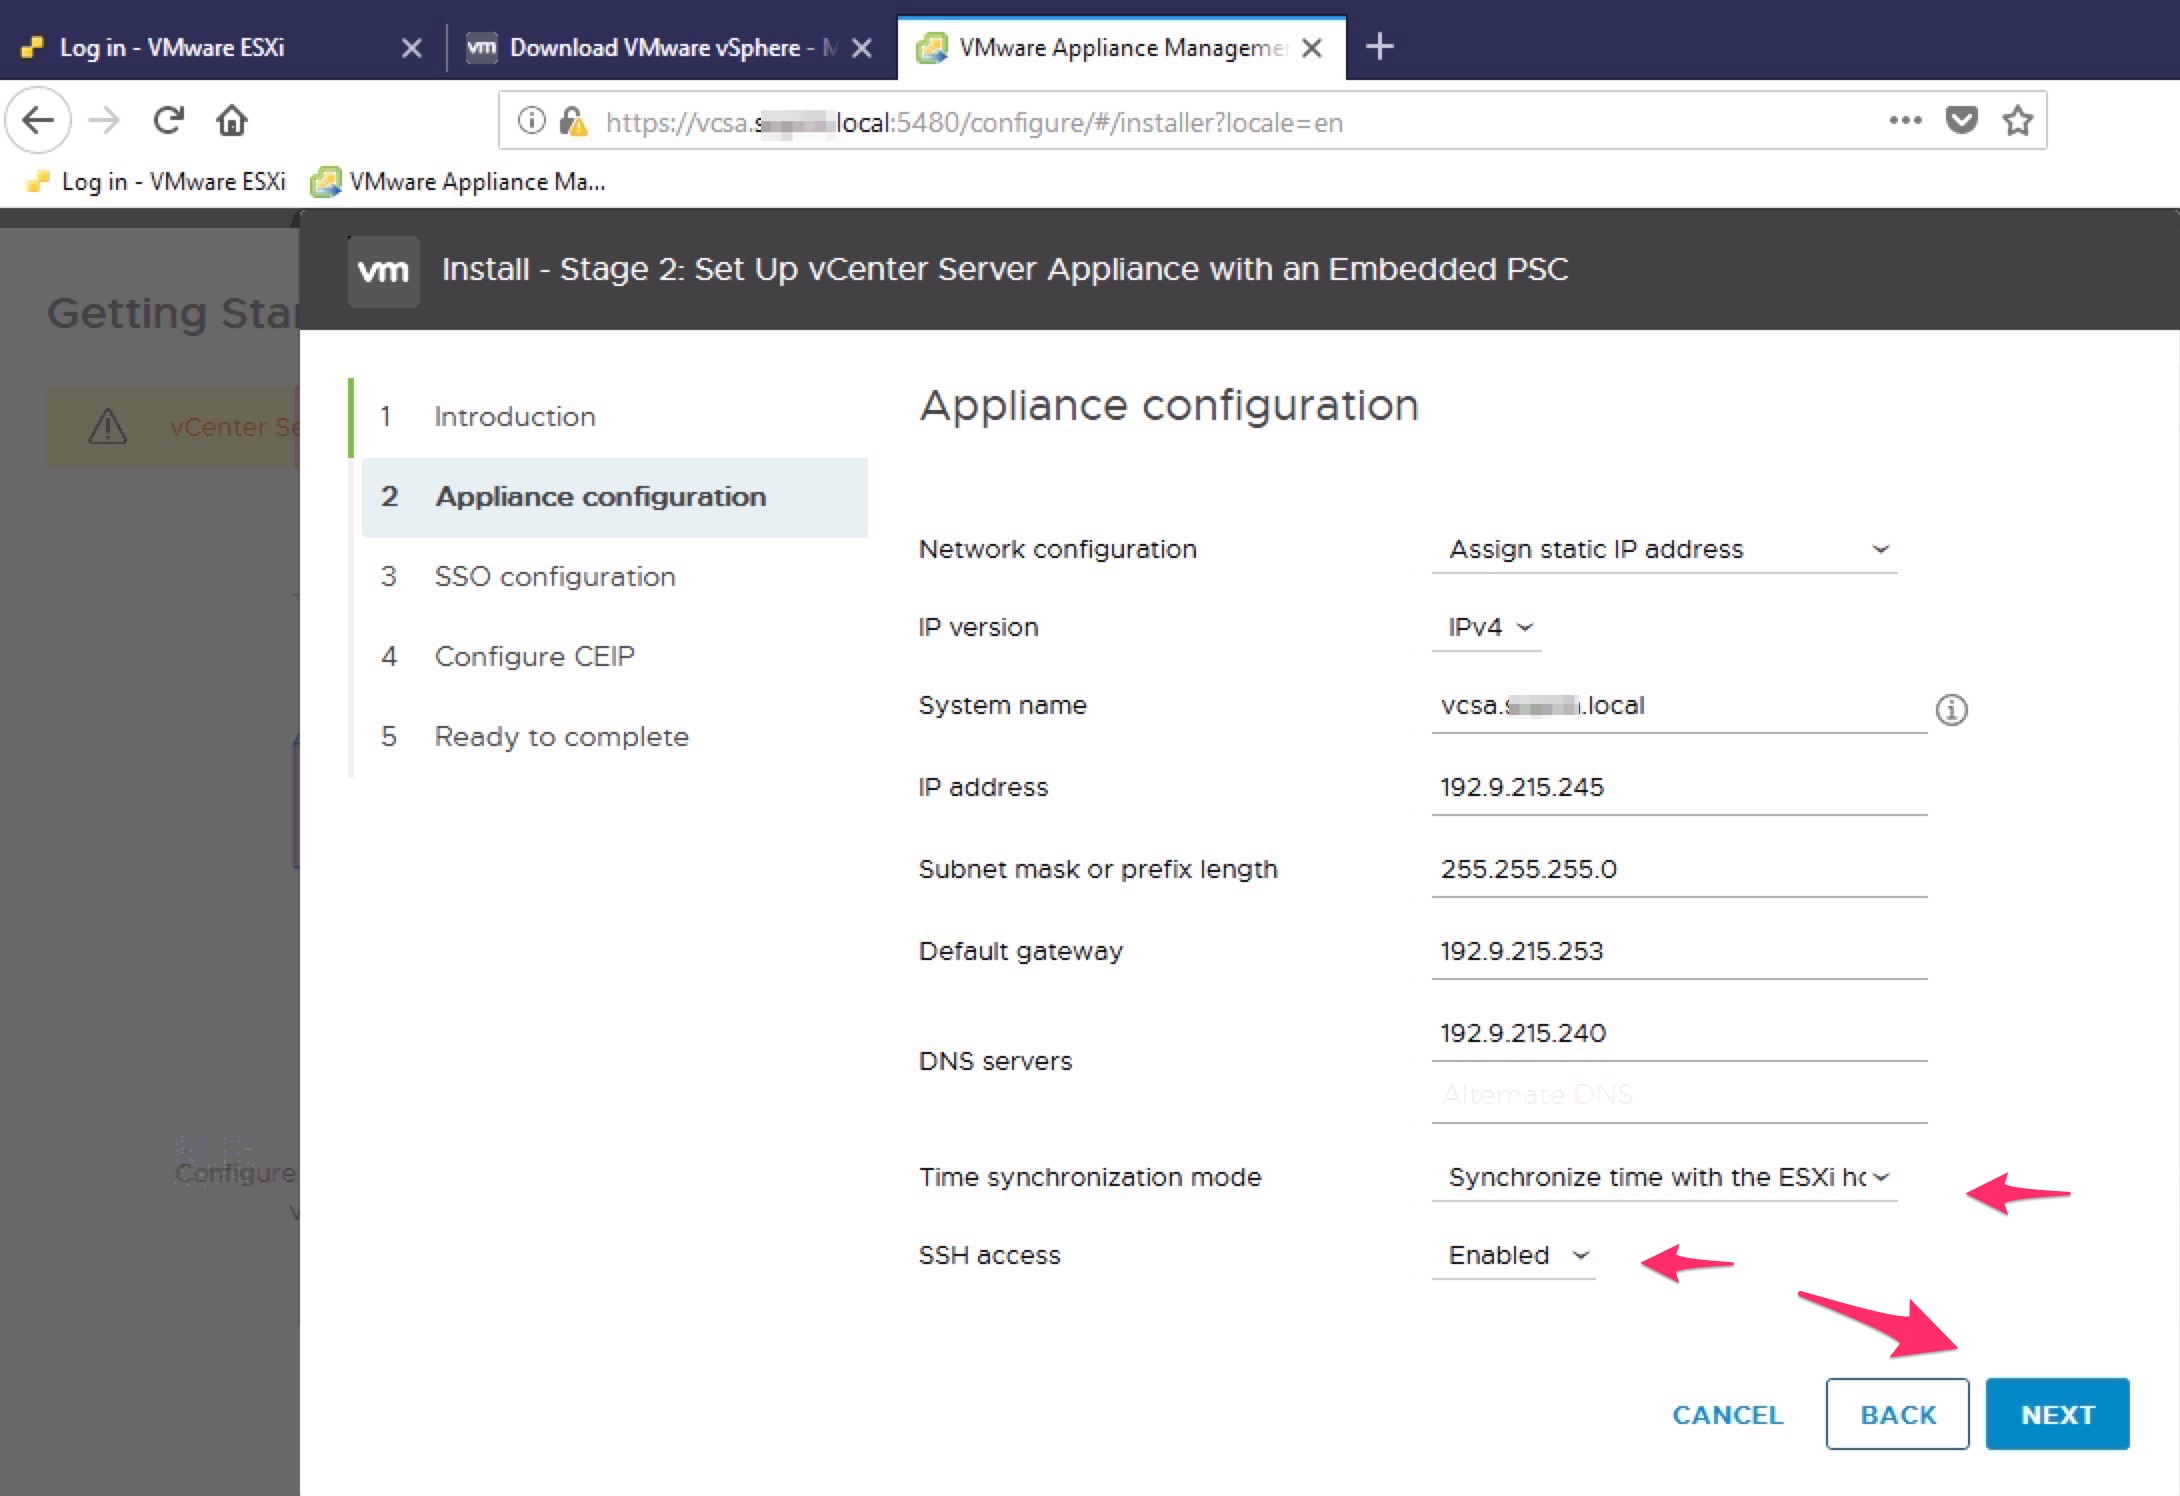
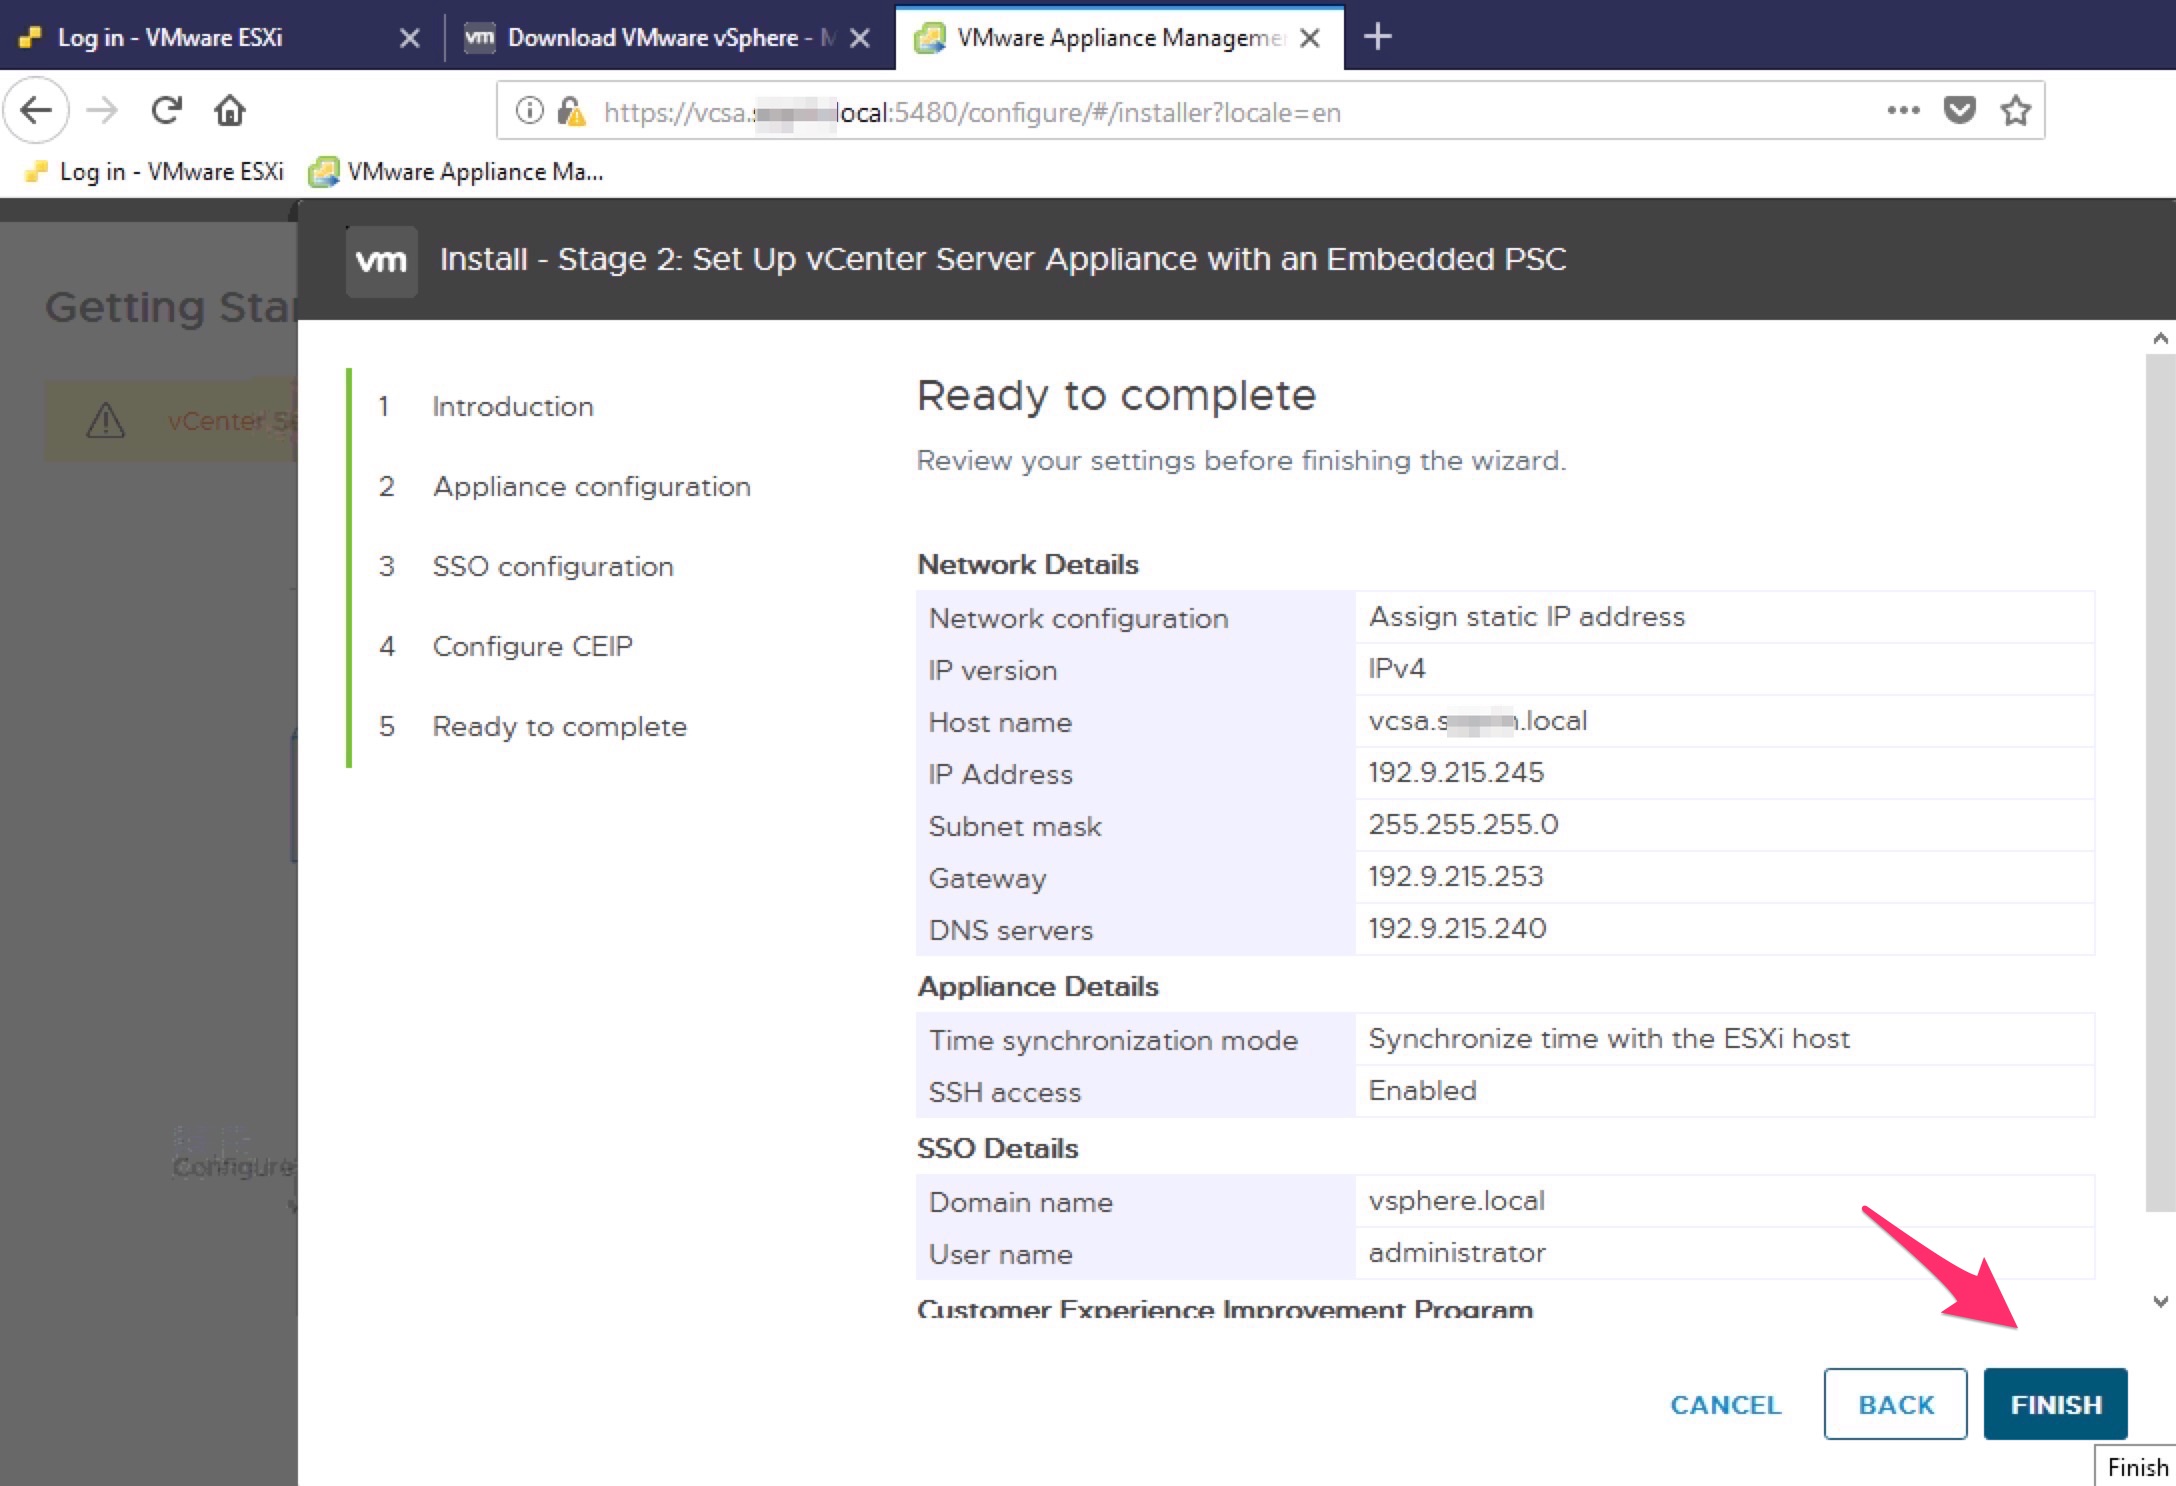
And the network parameters…
![](http://marcoschiavon.net/wp-content/uploads/2018/09/Screen-Shot-2018-06-12-at-08.01.48.jpg)
![](http://marcoschiavon.net/wp-content/uploads/2018/09/Screen-Shot-2018-06-12-at-08.02.21.jpg)
![](http://marcoschiavon.net/wp-content/uploads/2018/09/Screen-Shot-2018-06-12-at-08.02.38.jpg)
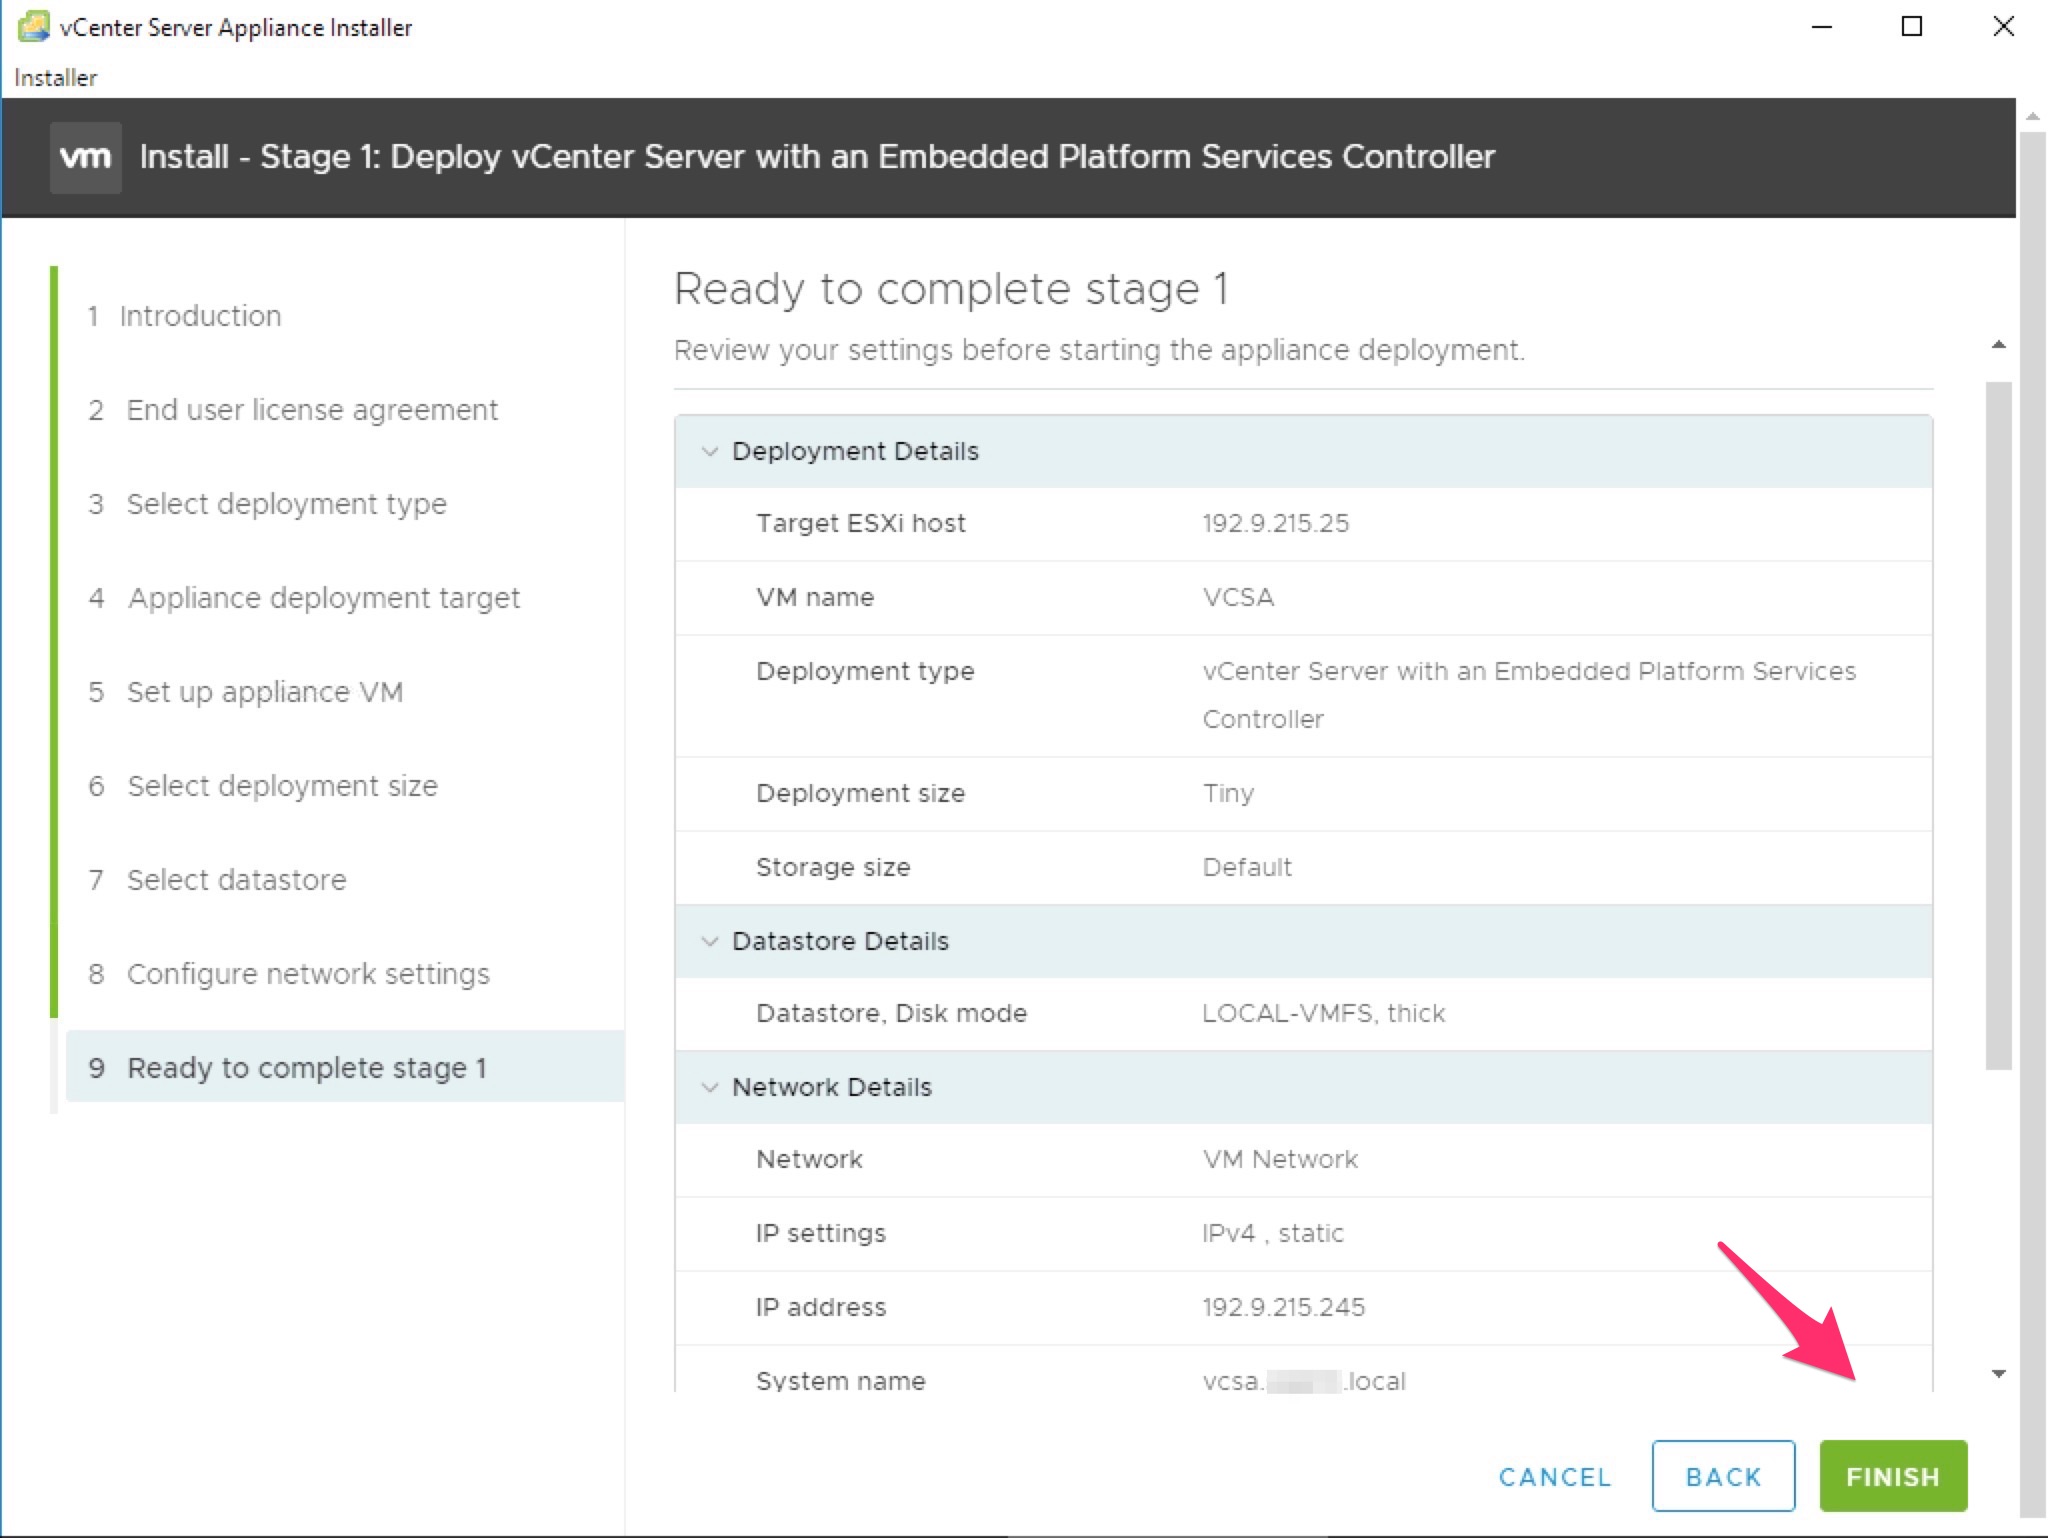
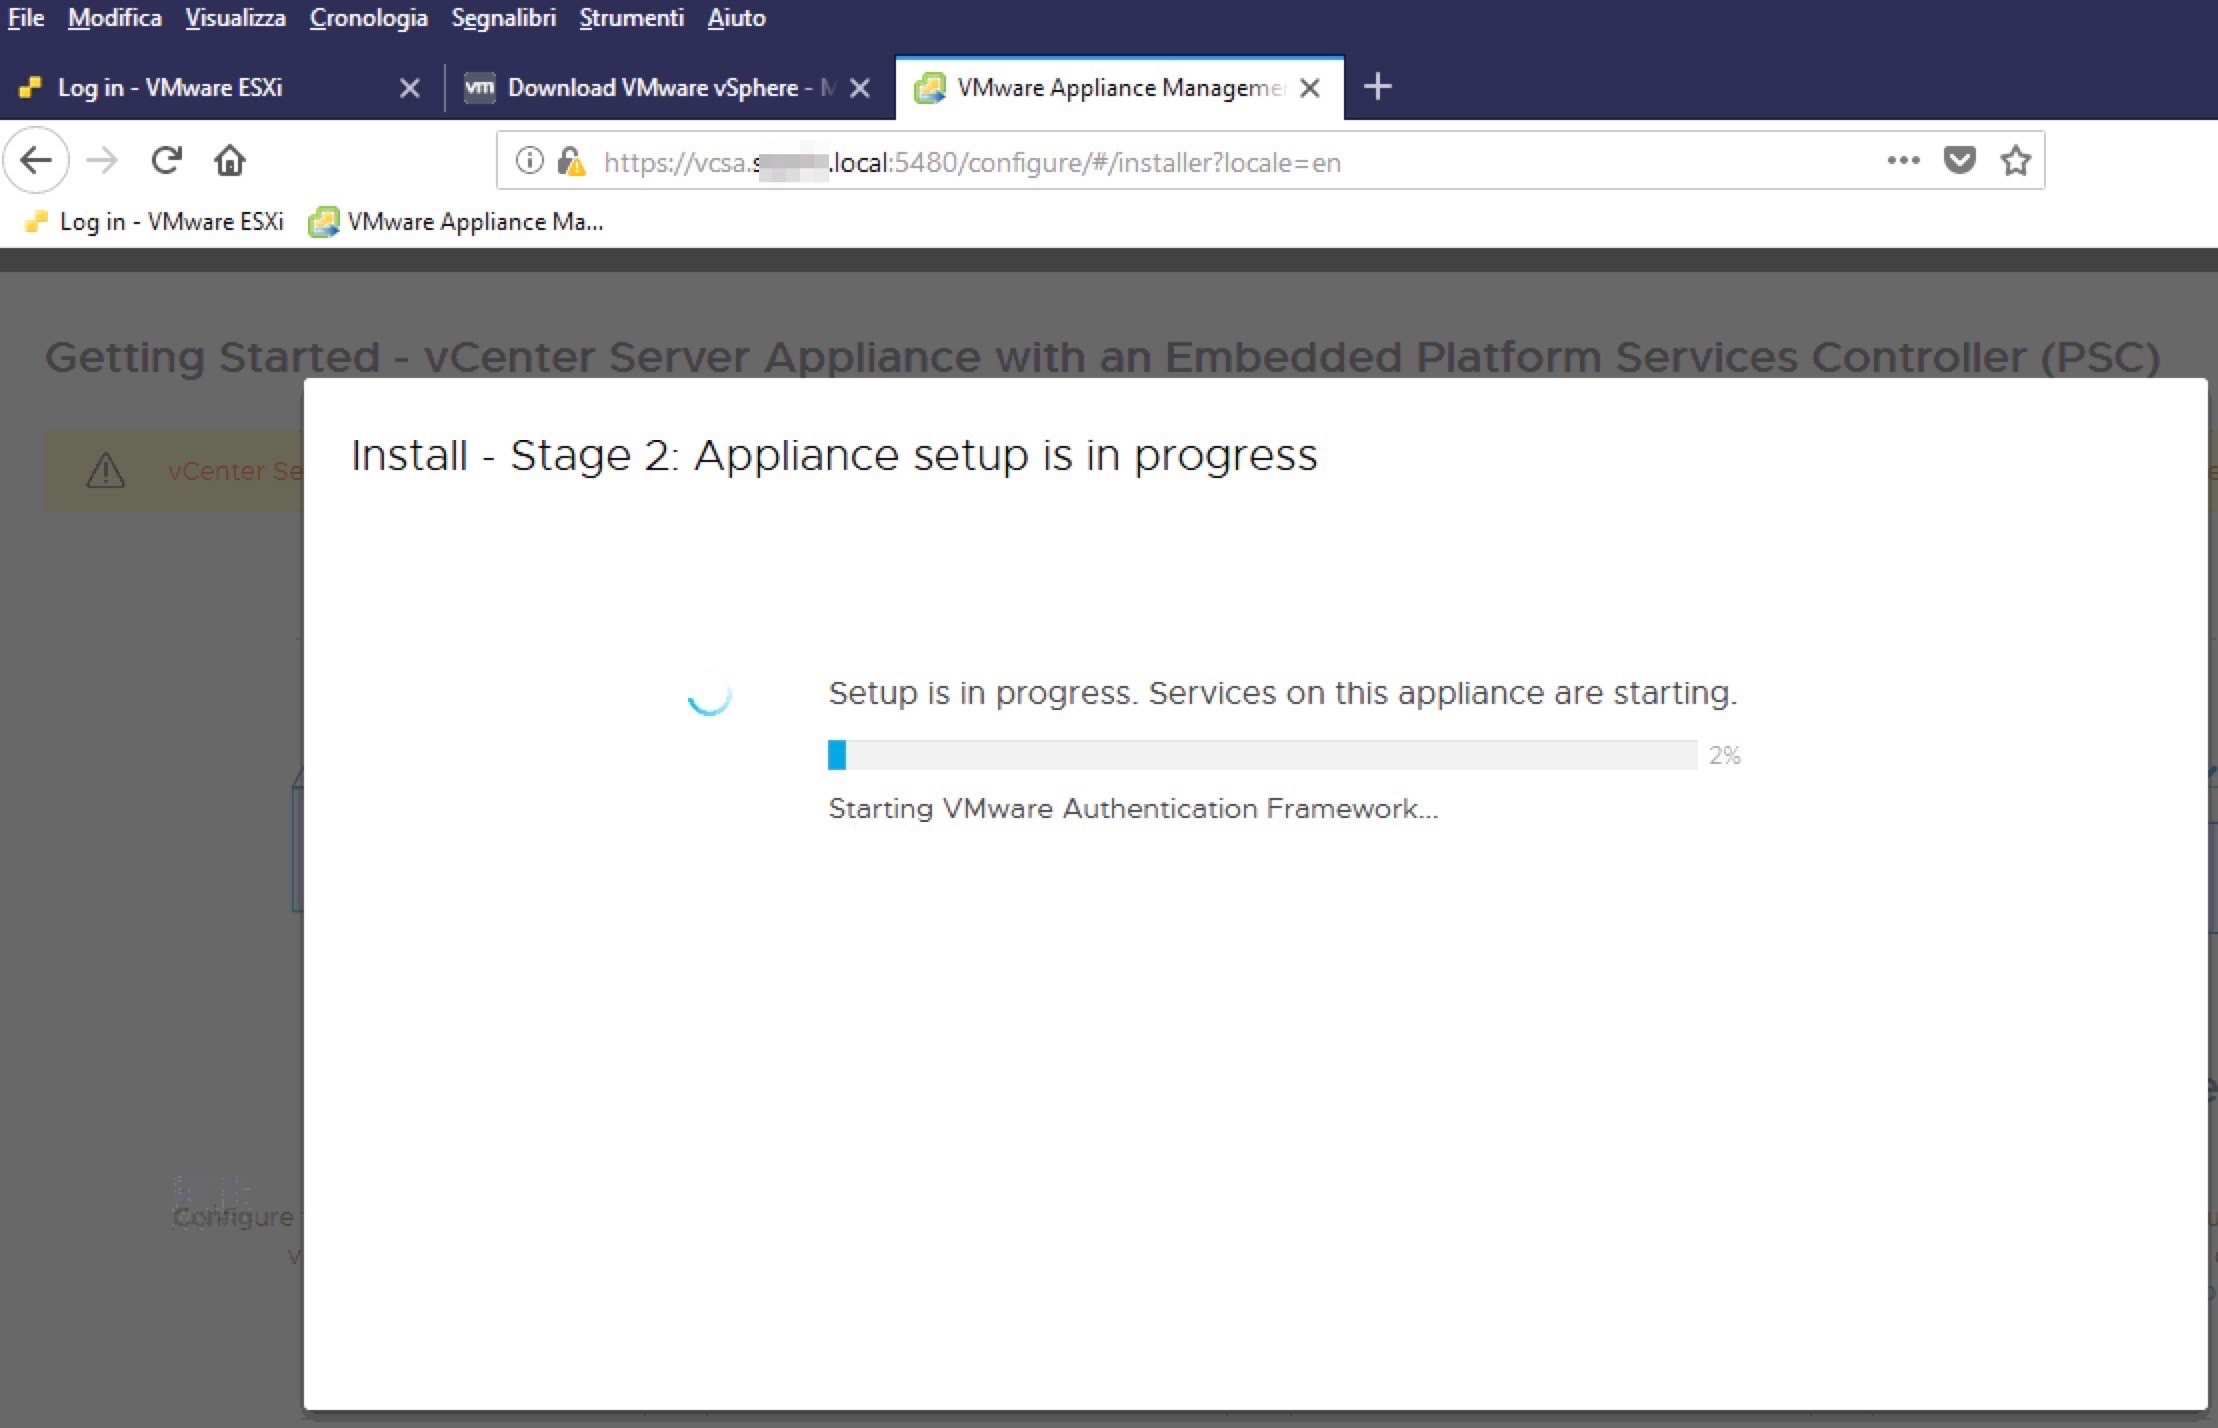
Now you have finished and you can connect to the address reported in this step.
![](http://marcoschiavon.net/wp-content/uploads/2018/09/Screen-Shot-2018-06-12-at-08.44.23.jpg)
![](http://marcoschiavon.net/wp-content/uploads/2018/09/Screen-Shot-2018-06-12-at-08.46.57.jpg)
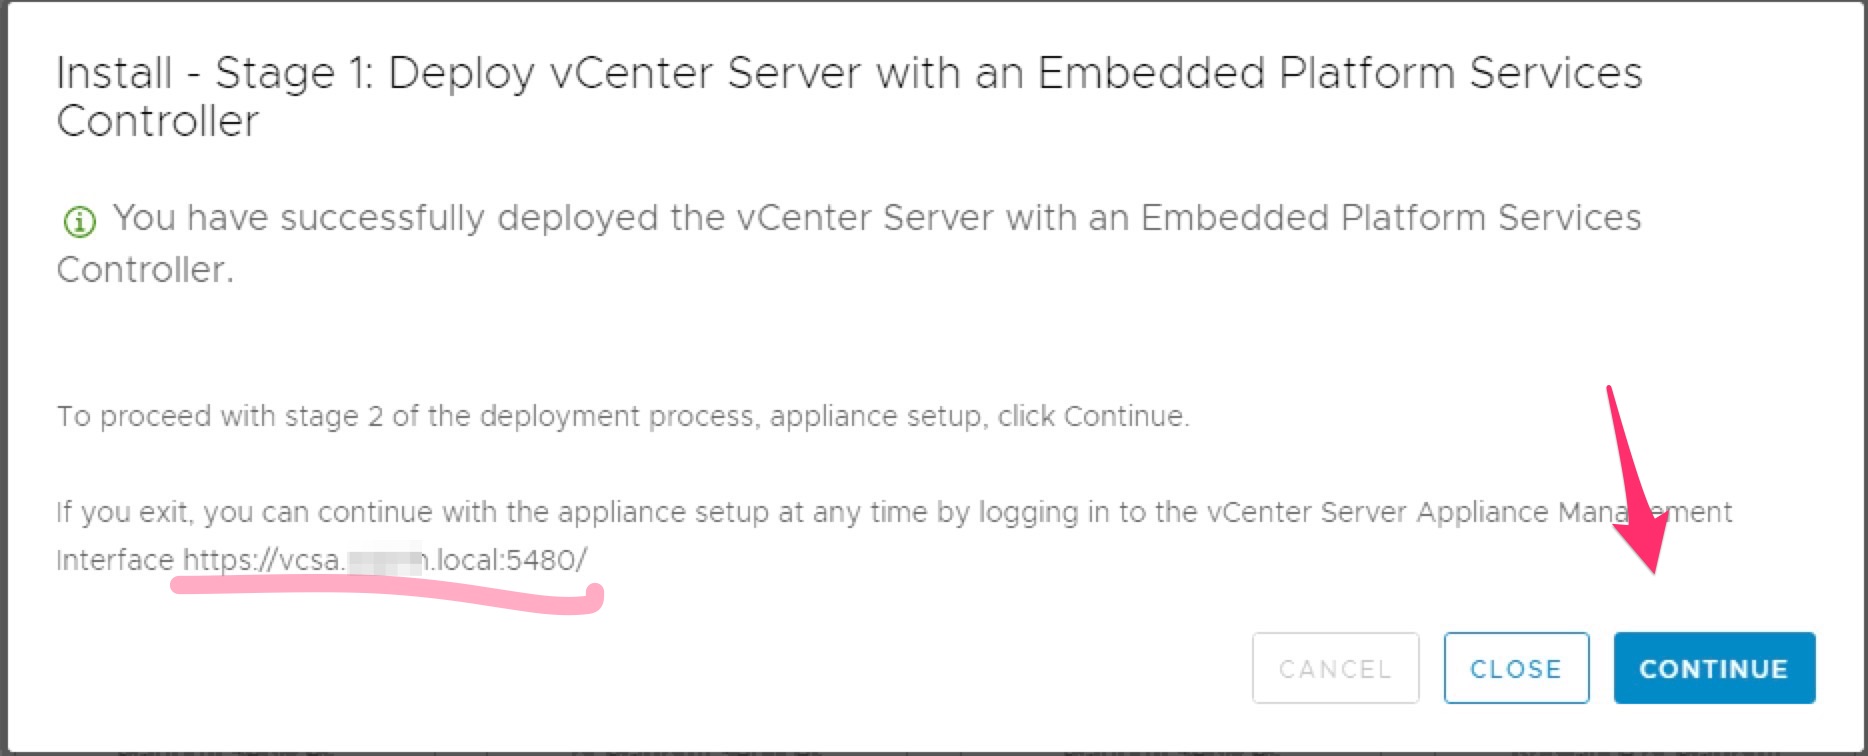
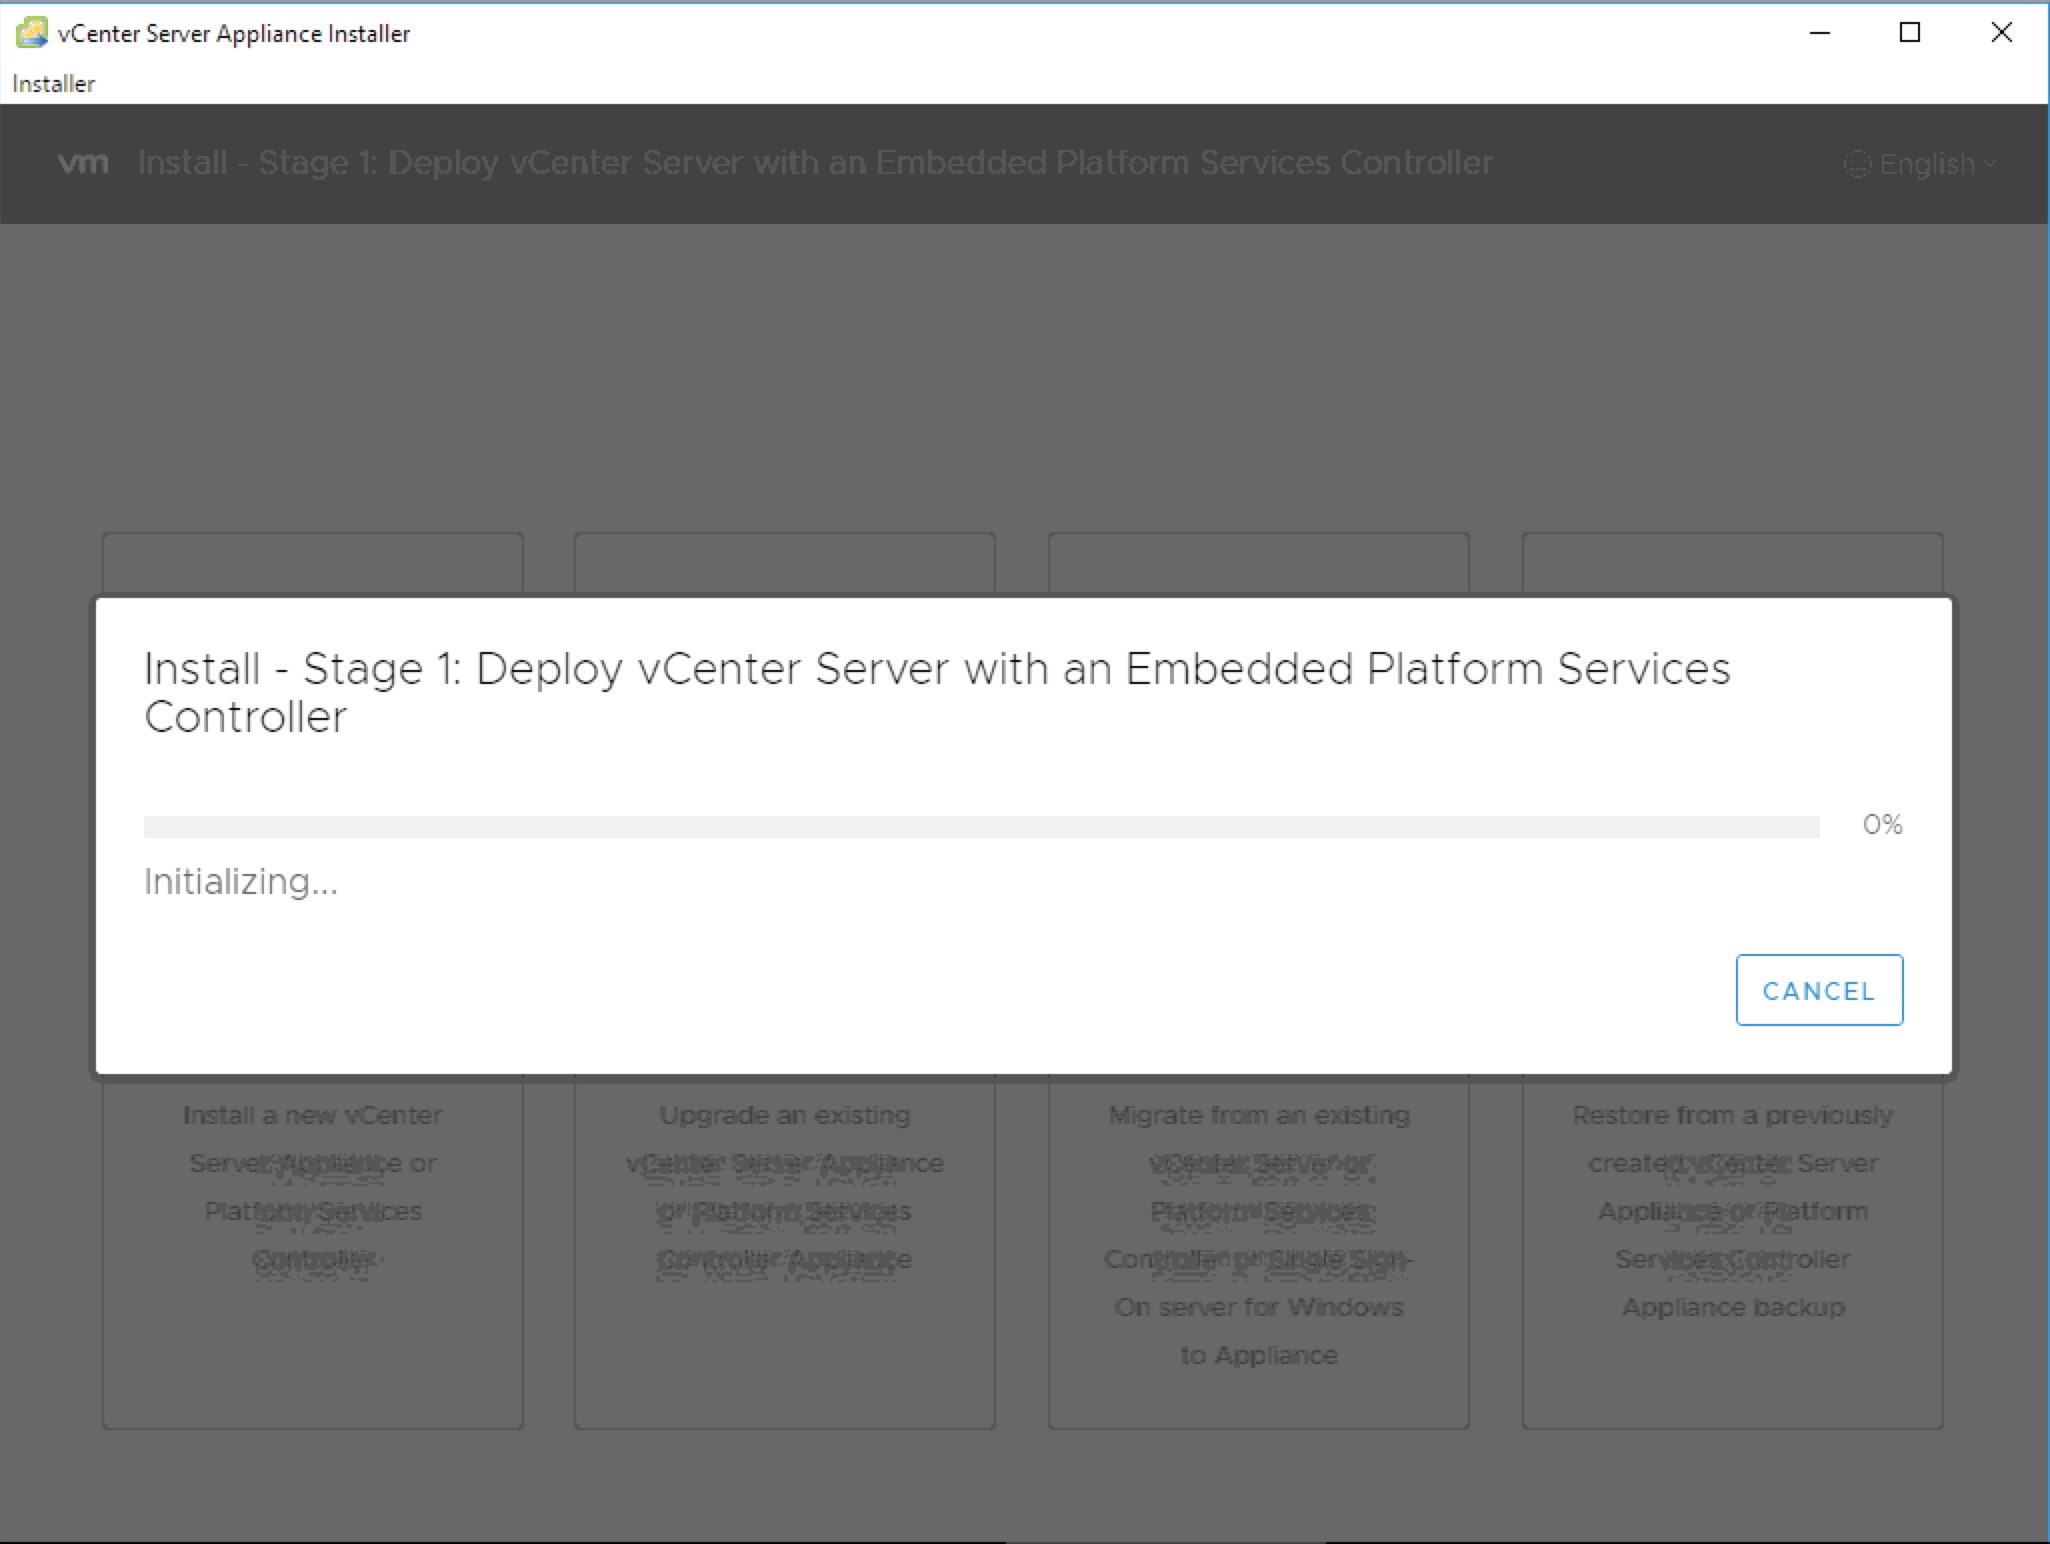
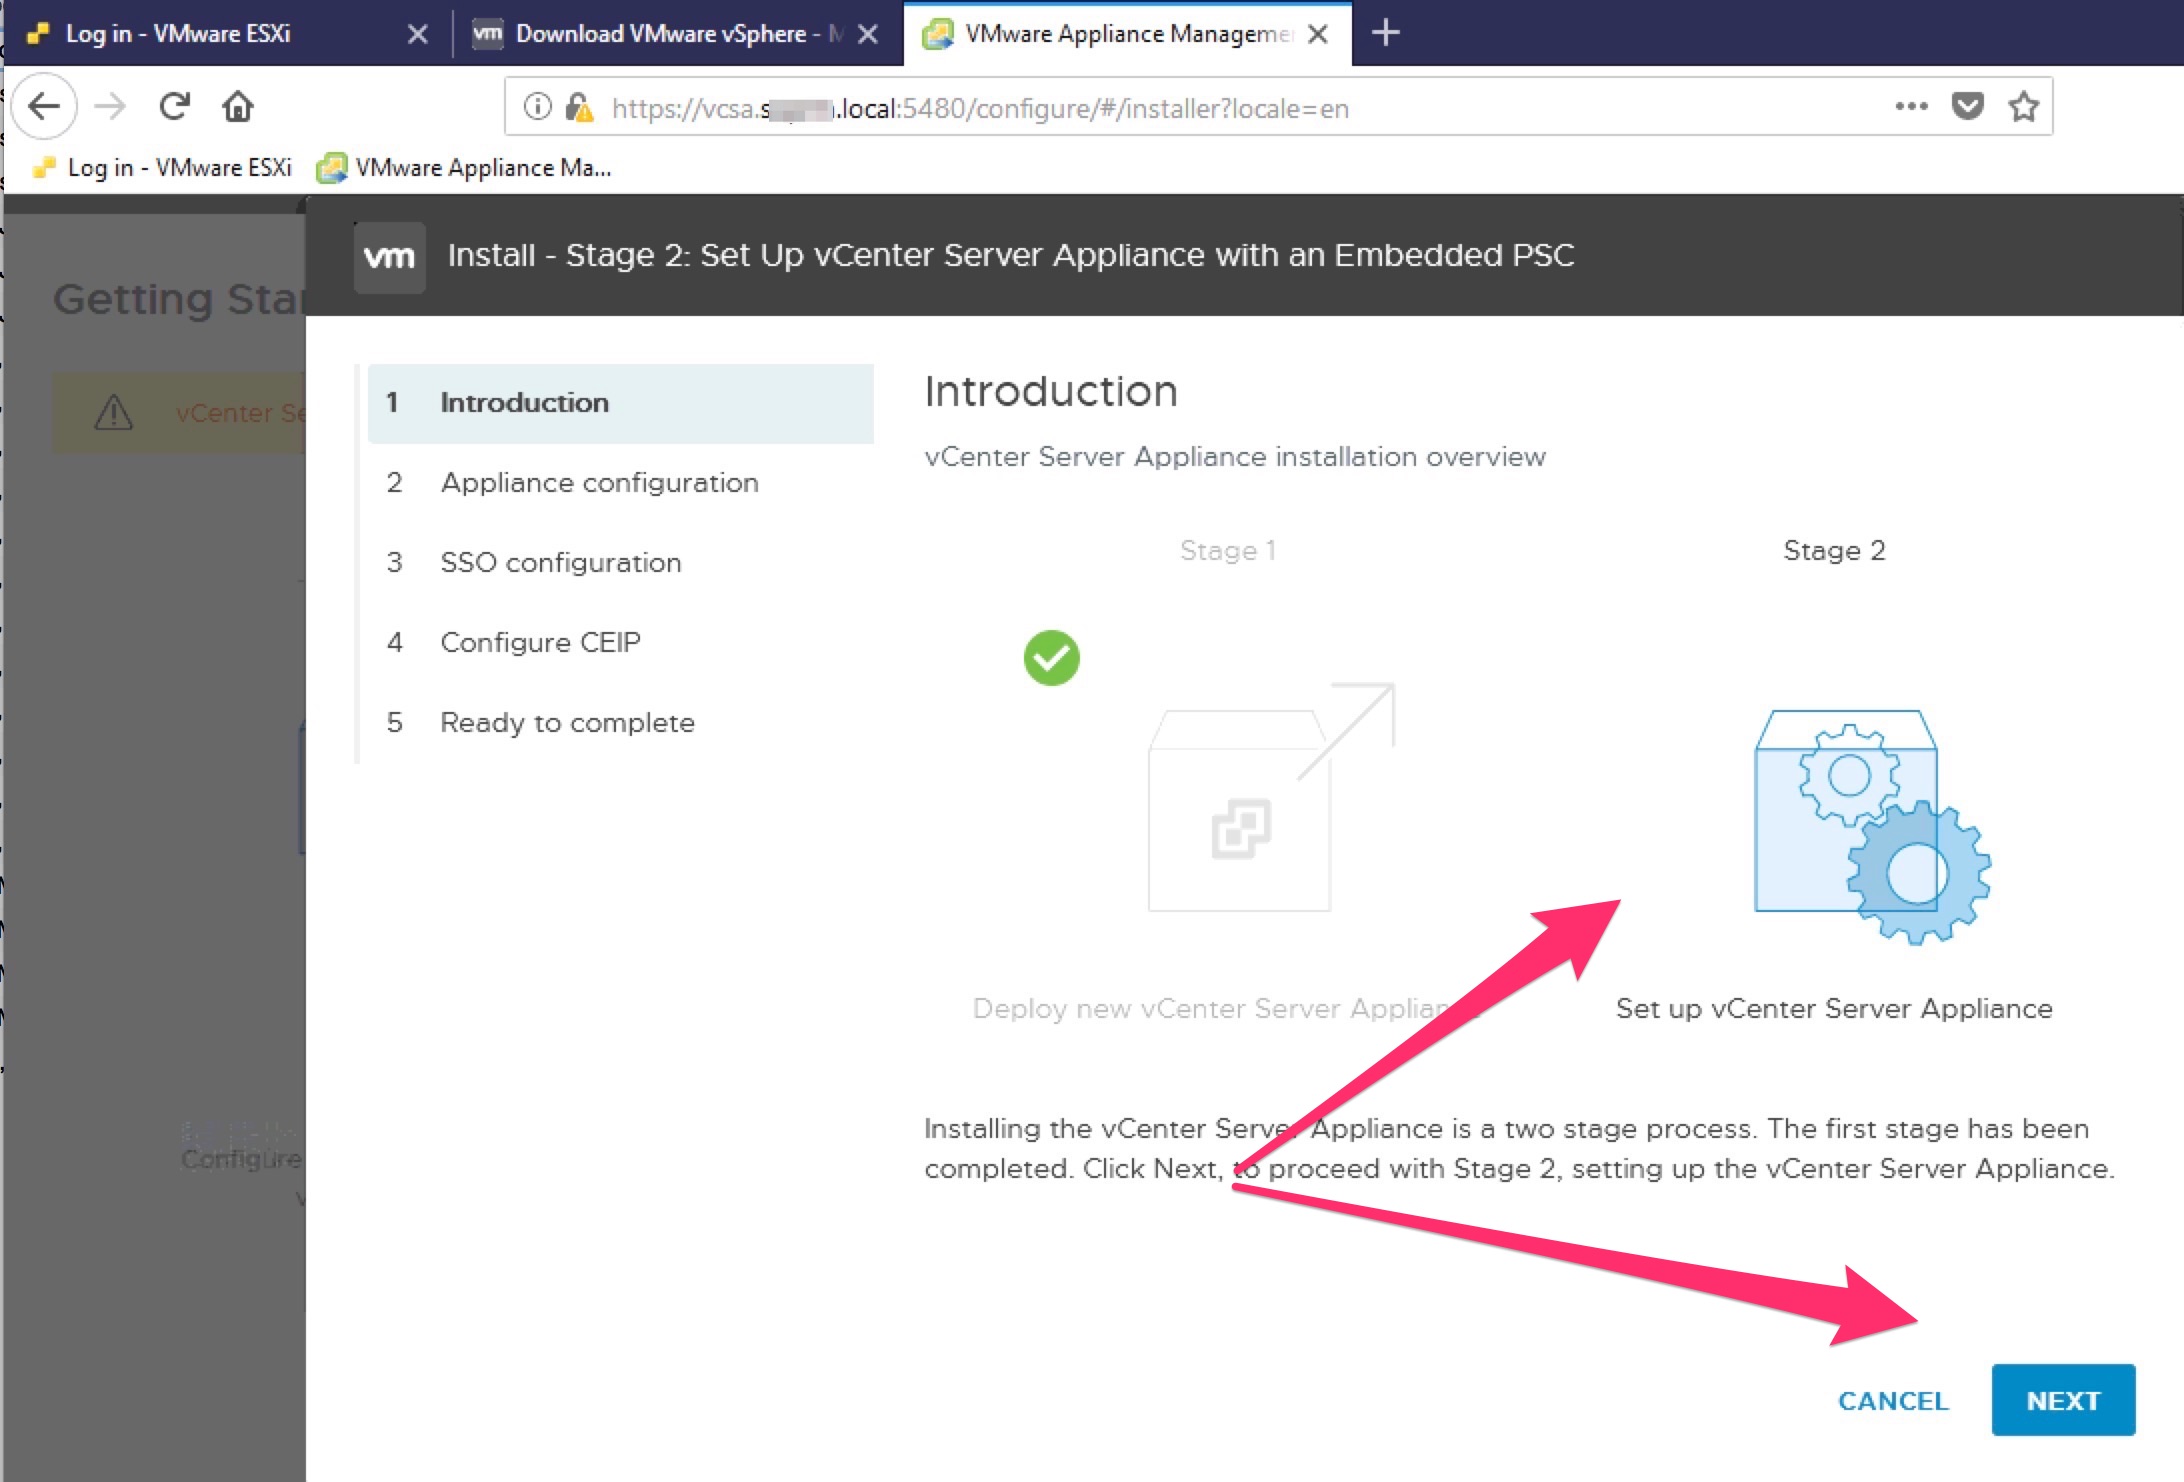
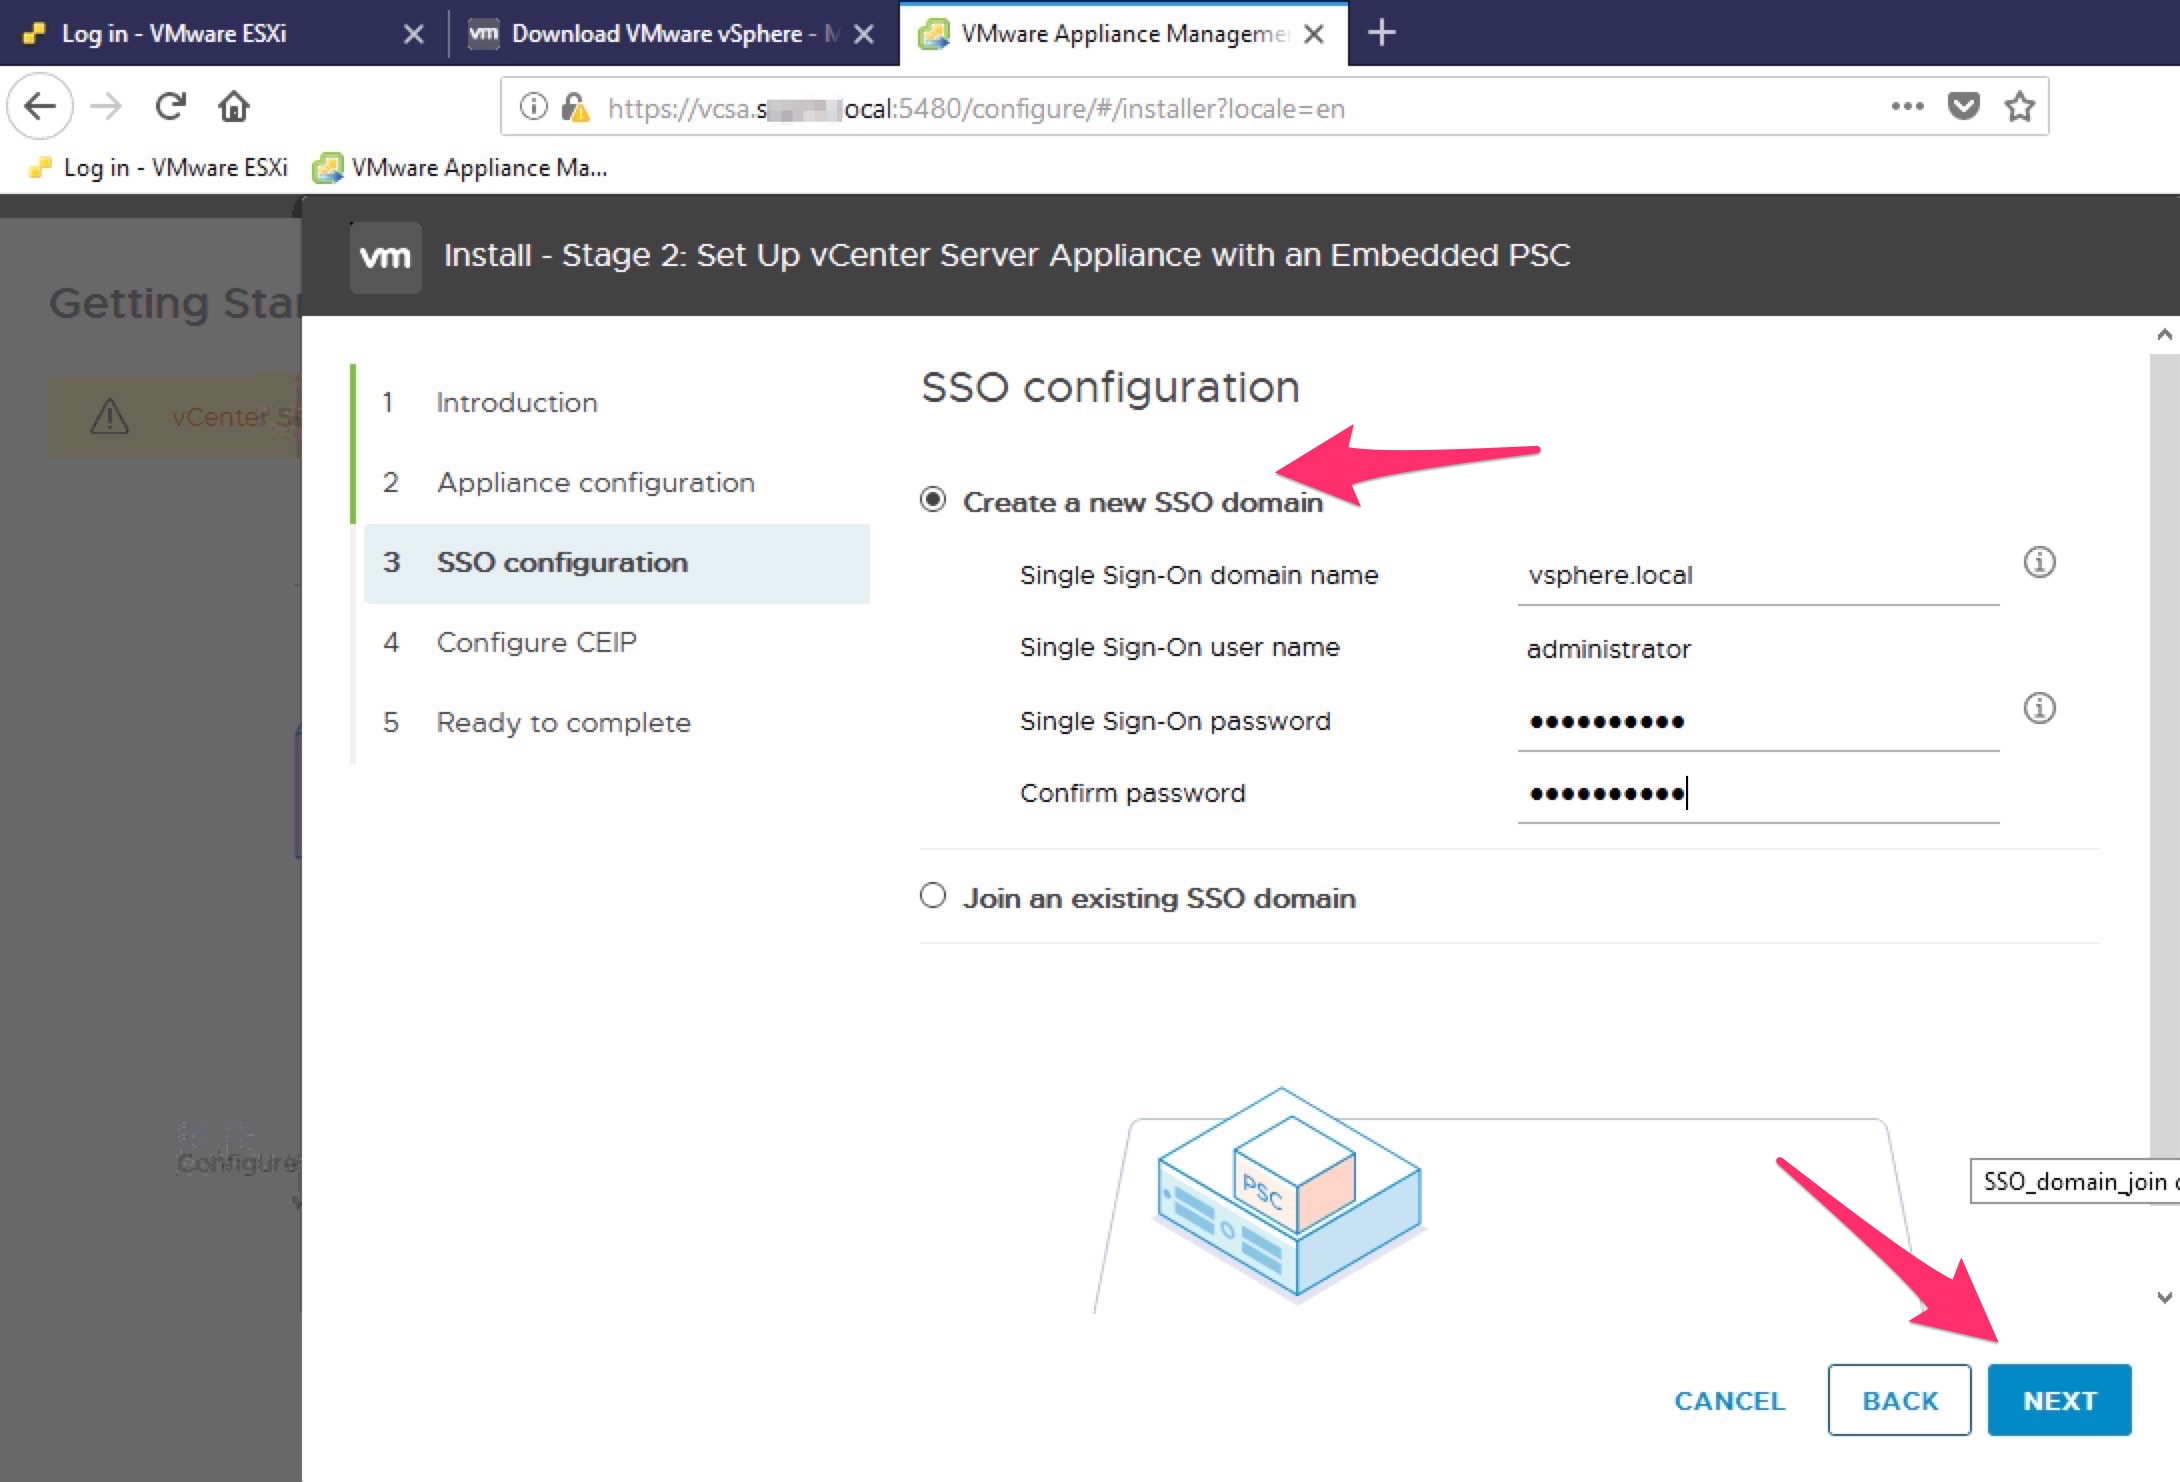
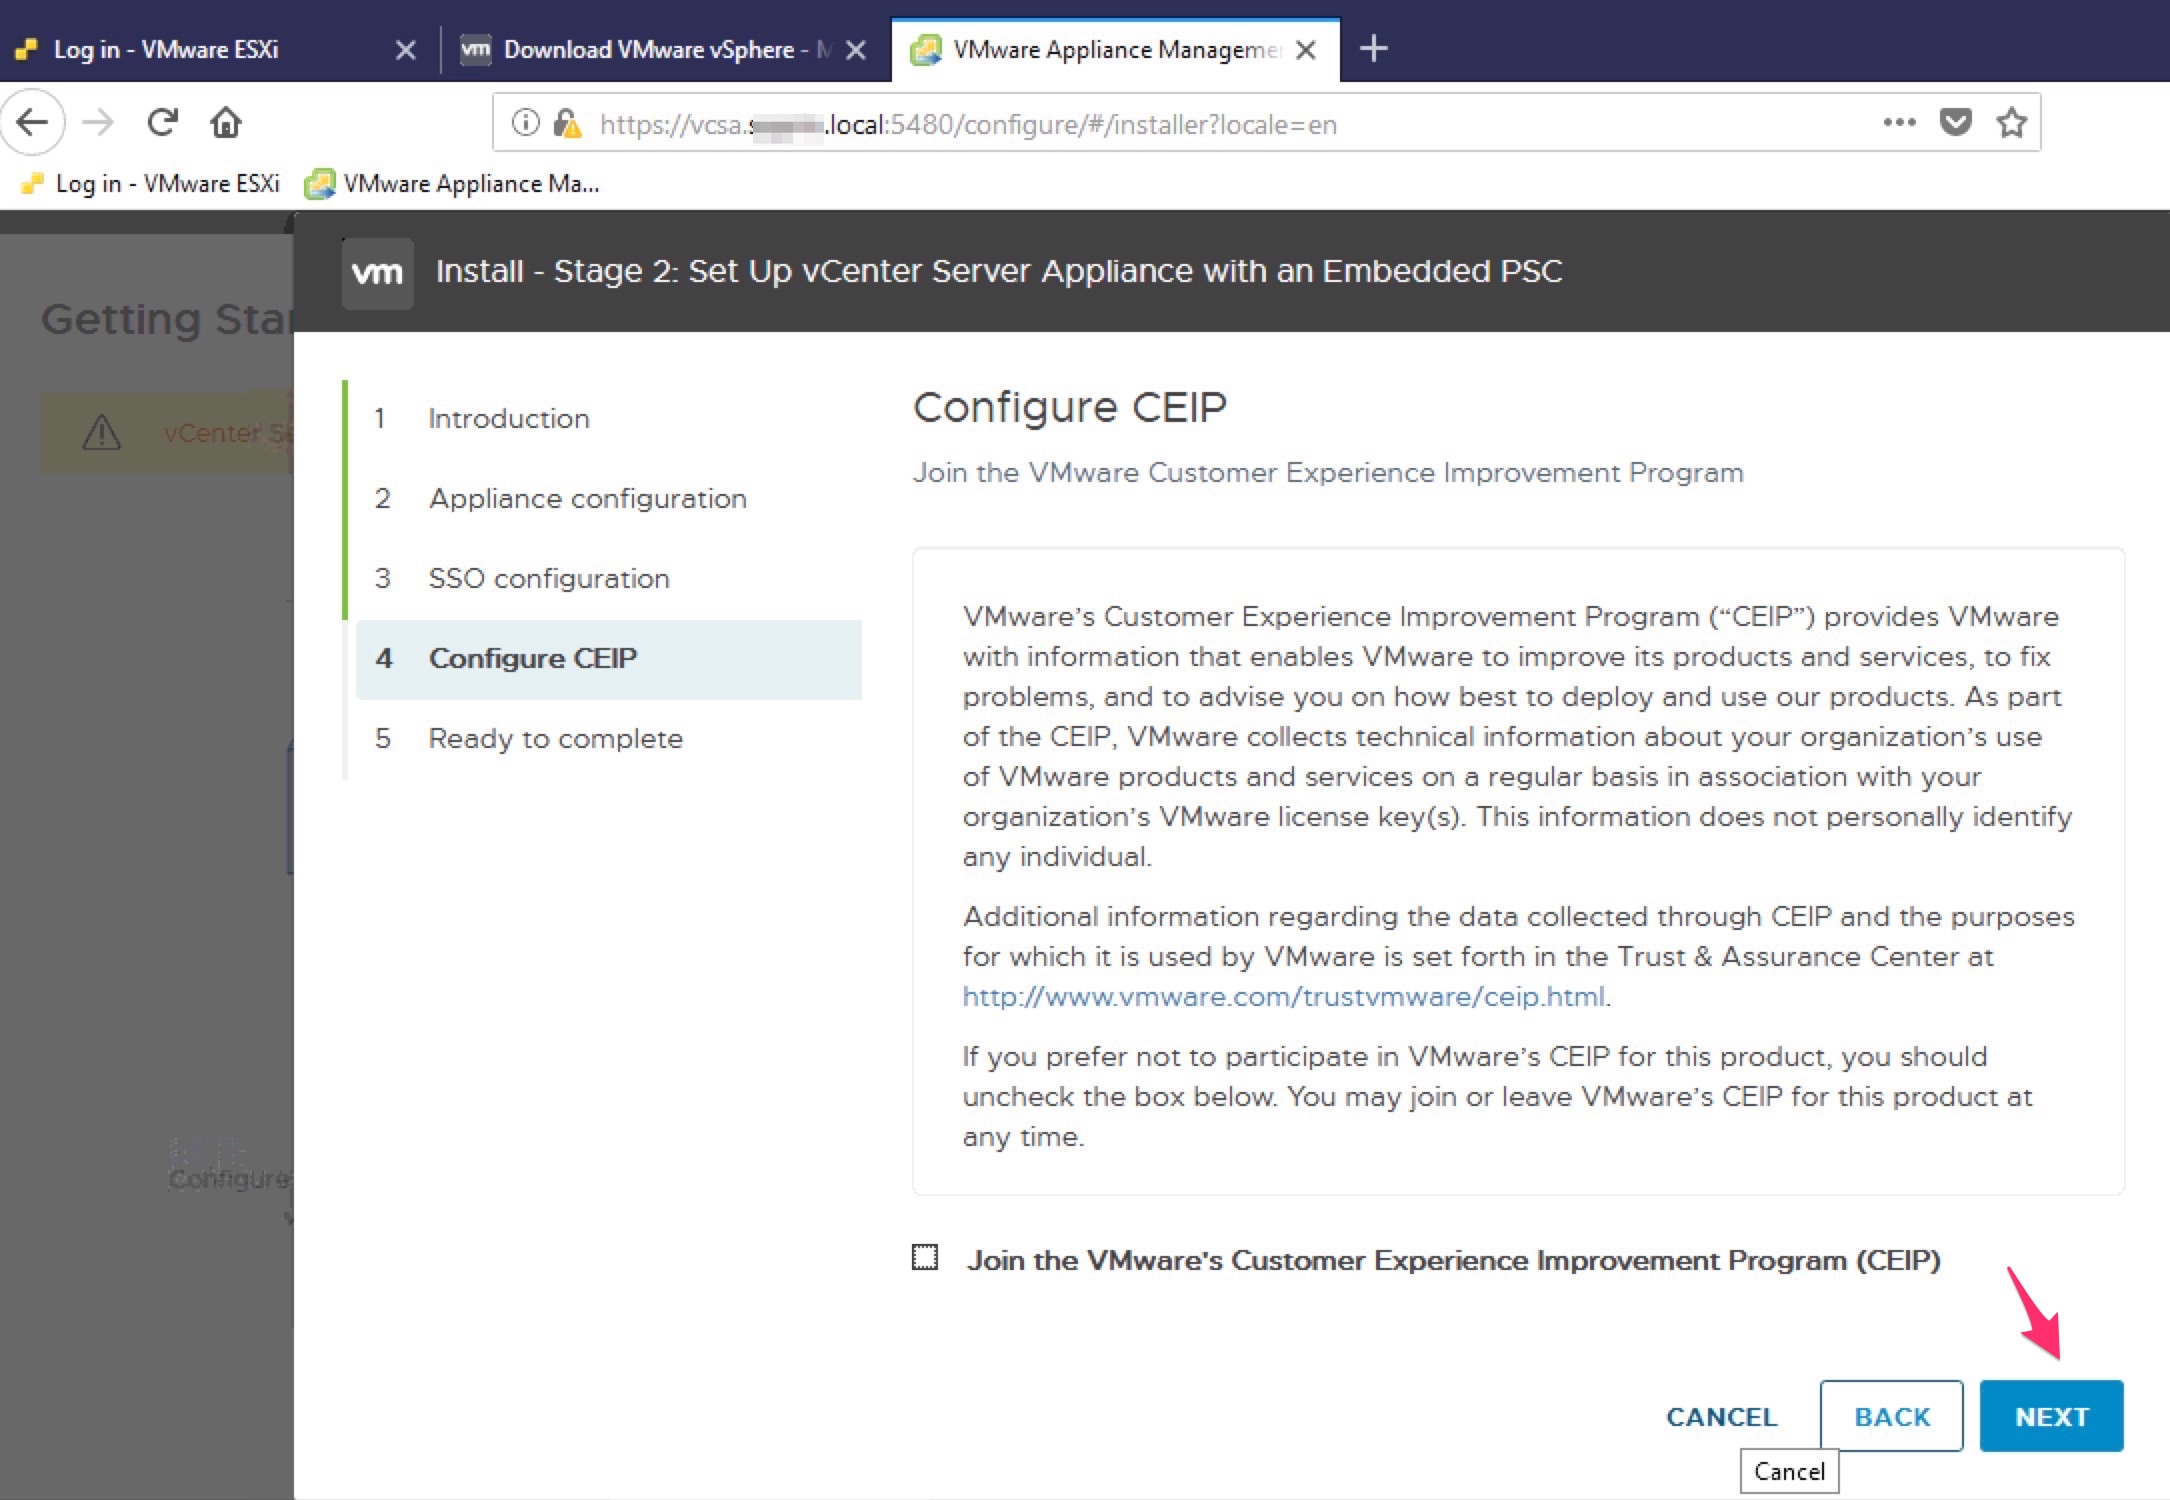
At this point, your VCSA is running on your host, but we need to finish some setup steps..
![](http://marcoschiavon.net/wp-content/uploads/2018/09/Screen-Shot-2018-06-12-at-08.48.01.jpg)
![](http://marcoschiavon.net/wp-content/uploads/2018/09/Screen-Shot-2018-06-12-at-08.48.31.jpg)
![](http://marcoschiavon.net/wp-content/uploads/2018/09/Screen-Shot-2018-06-12-at-08.49.42.jpg)
![](http://marcoschiavon.net/wp-content/uploads/2018/09/Screen-Shot-2018-06-12-at-08.50.09.jpg)
![](http://marcoschiavon.net/wp-content/uploads/2018/09/Screen-Shot-2018-06-12-at-08.50.27.jpg)
![](http://marcoschiavon.net/wp-content/uploads/2018/09/Screen-Shot-2018-06-12-at-08.50.52.jpg)
![](http://marcoschiavon.net/wp-content/uploads/2018/09/Screen-Shot-2018-06-12-at-09.10.52.jpg)
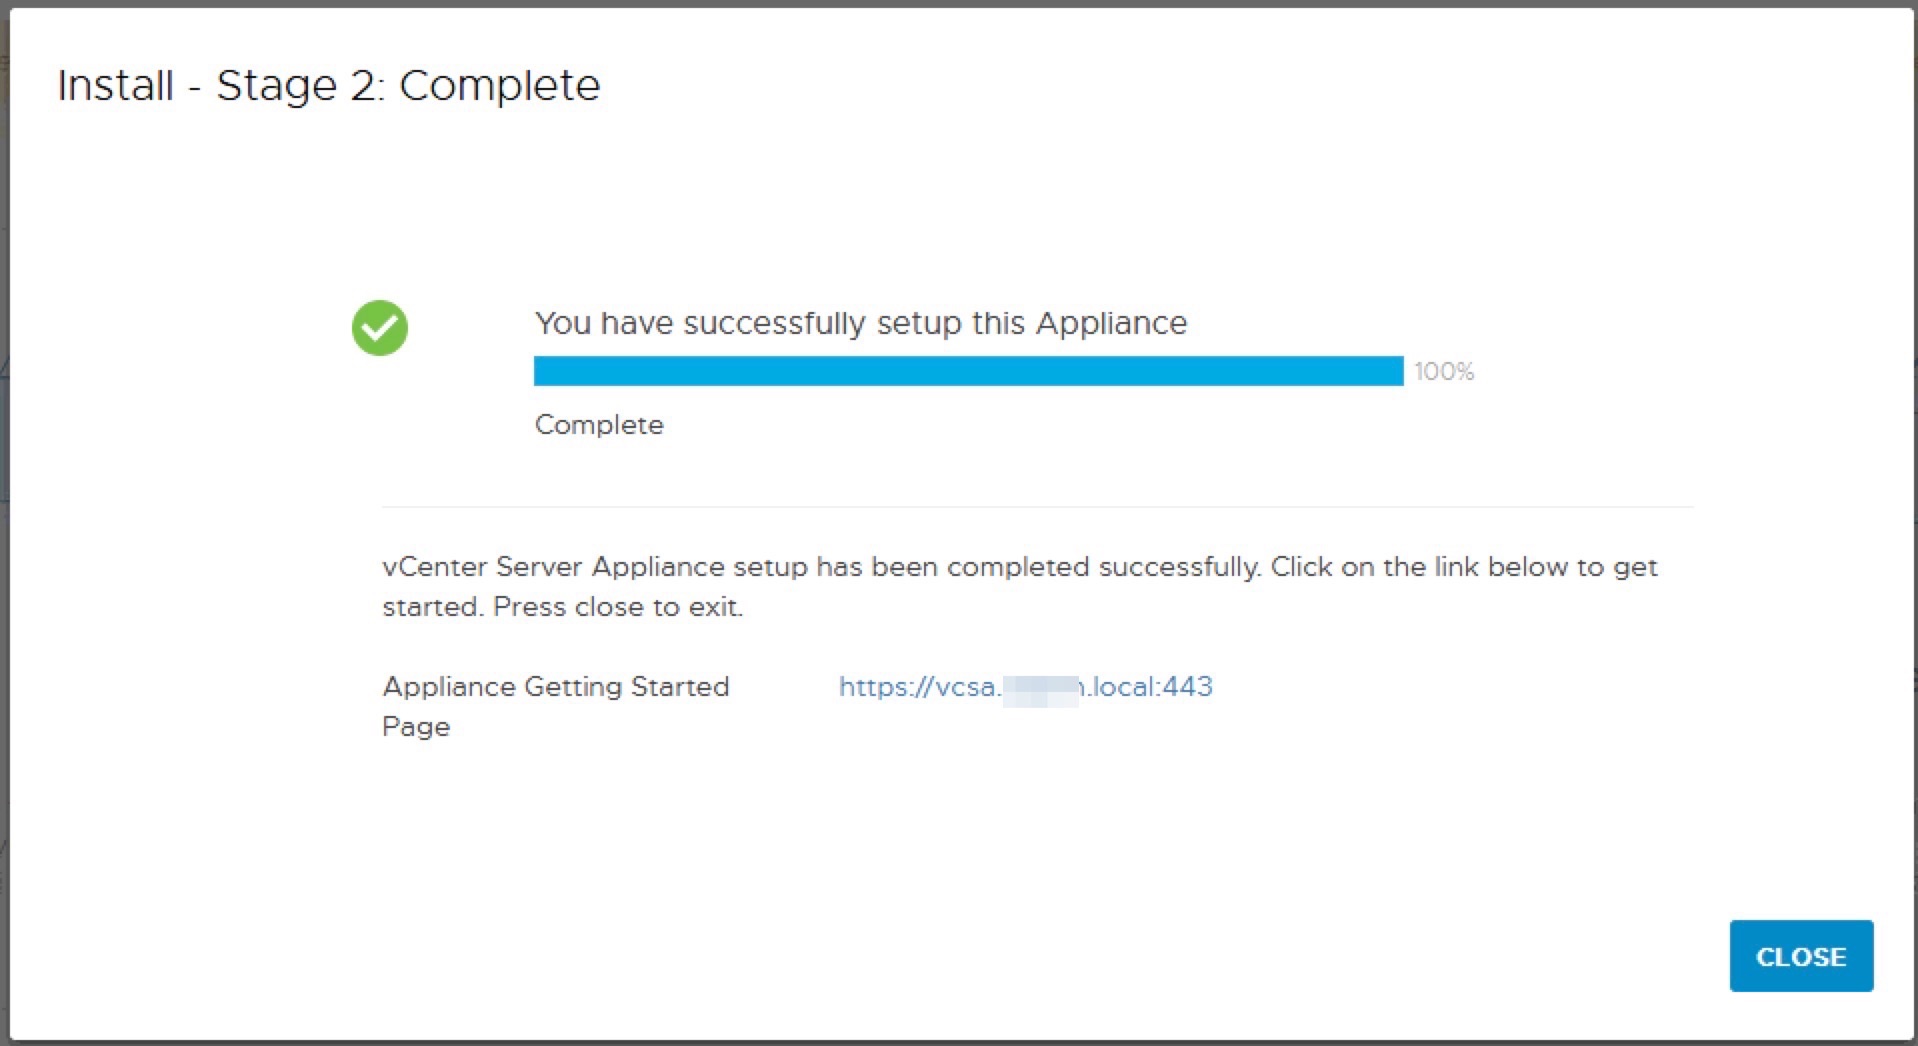
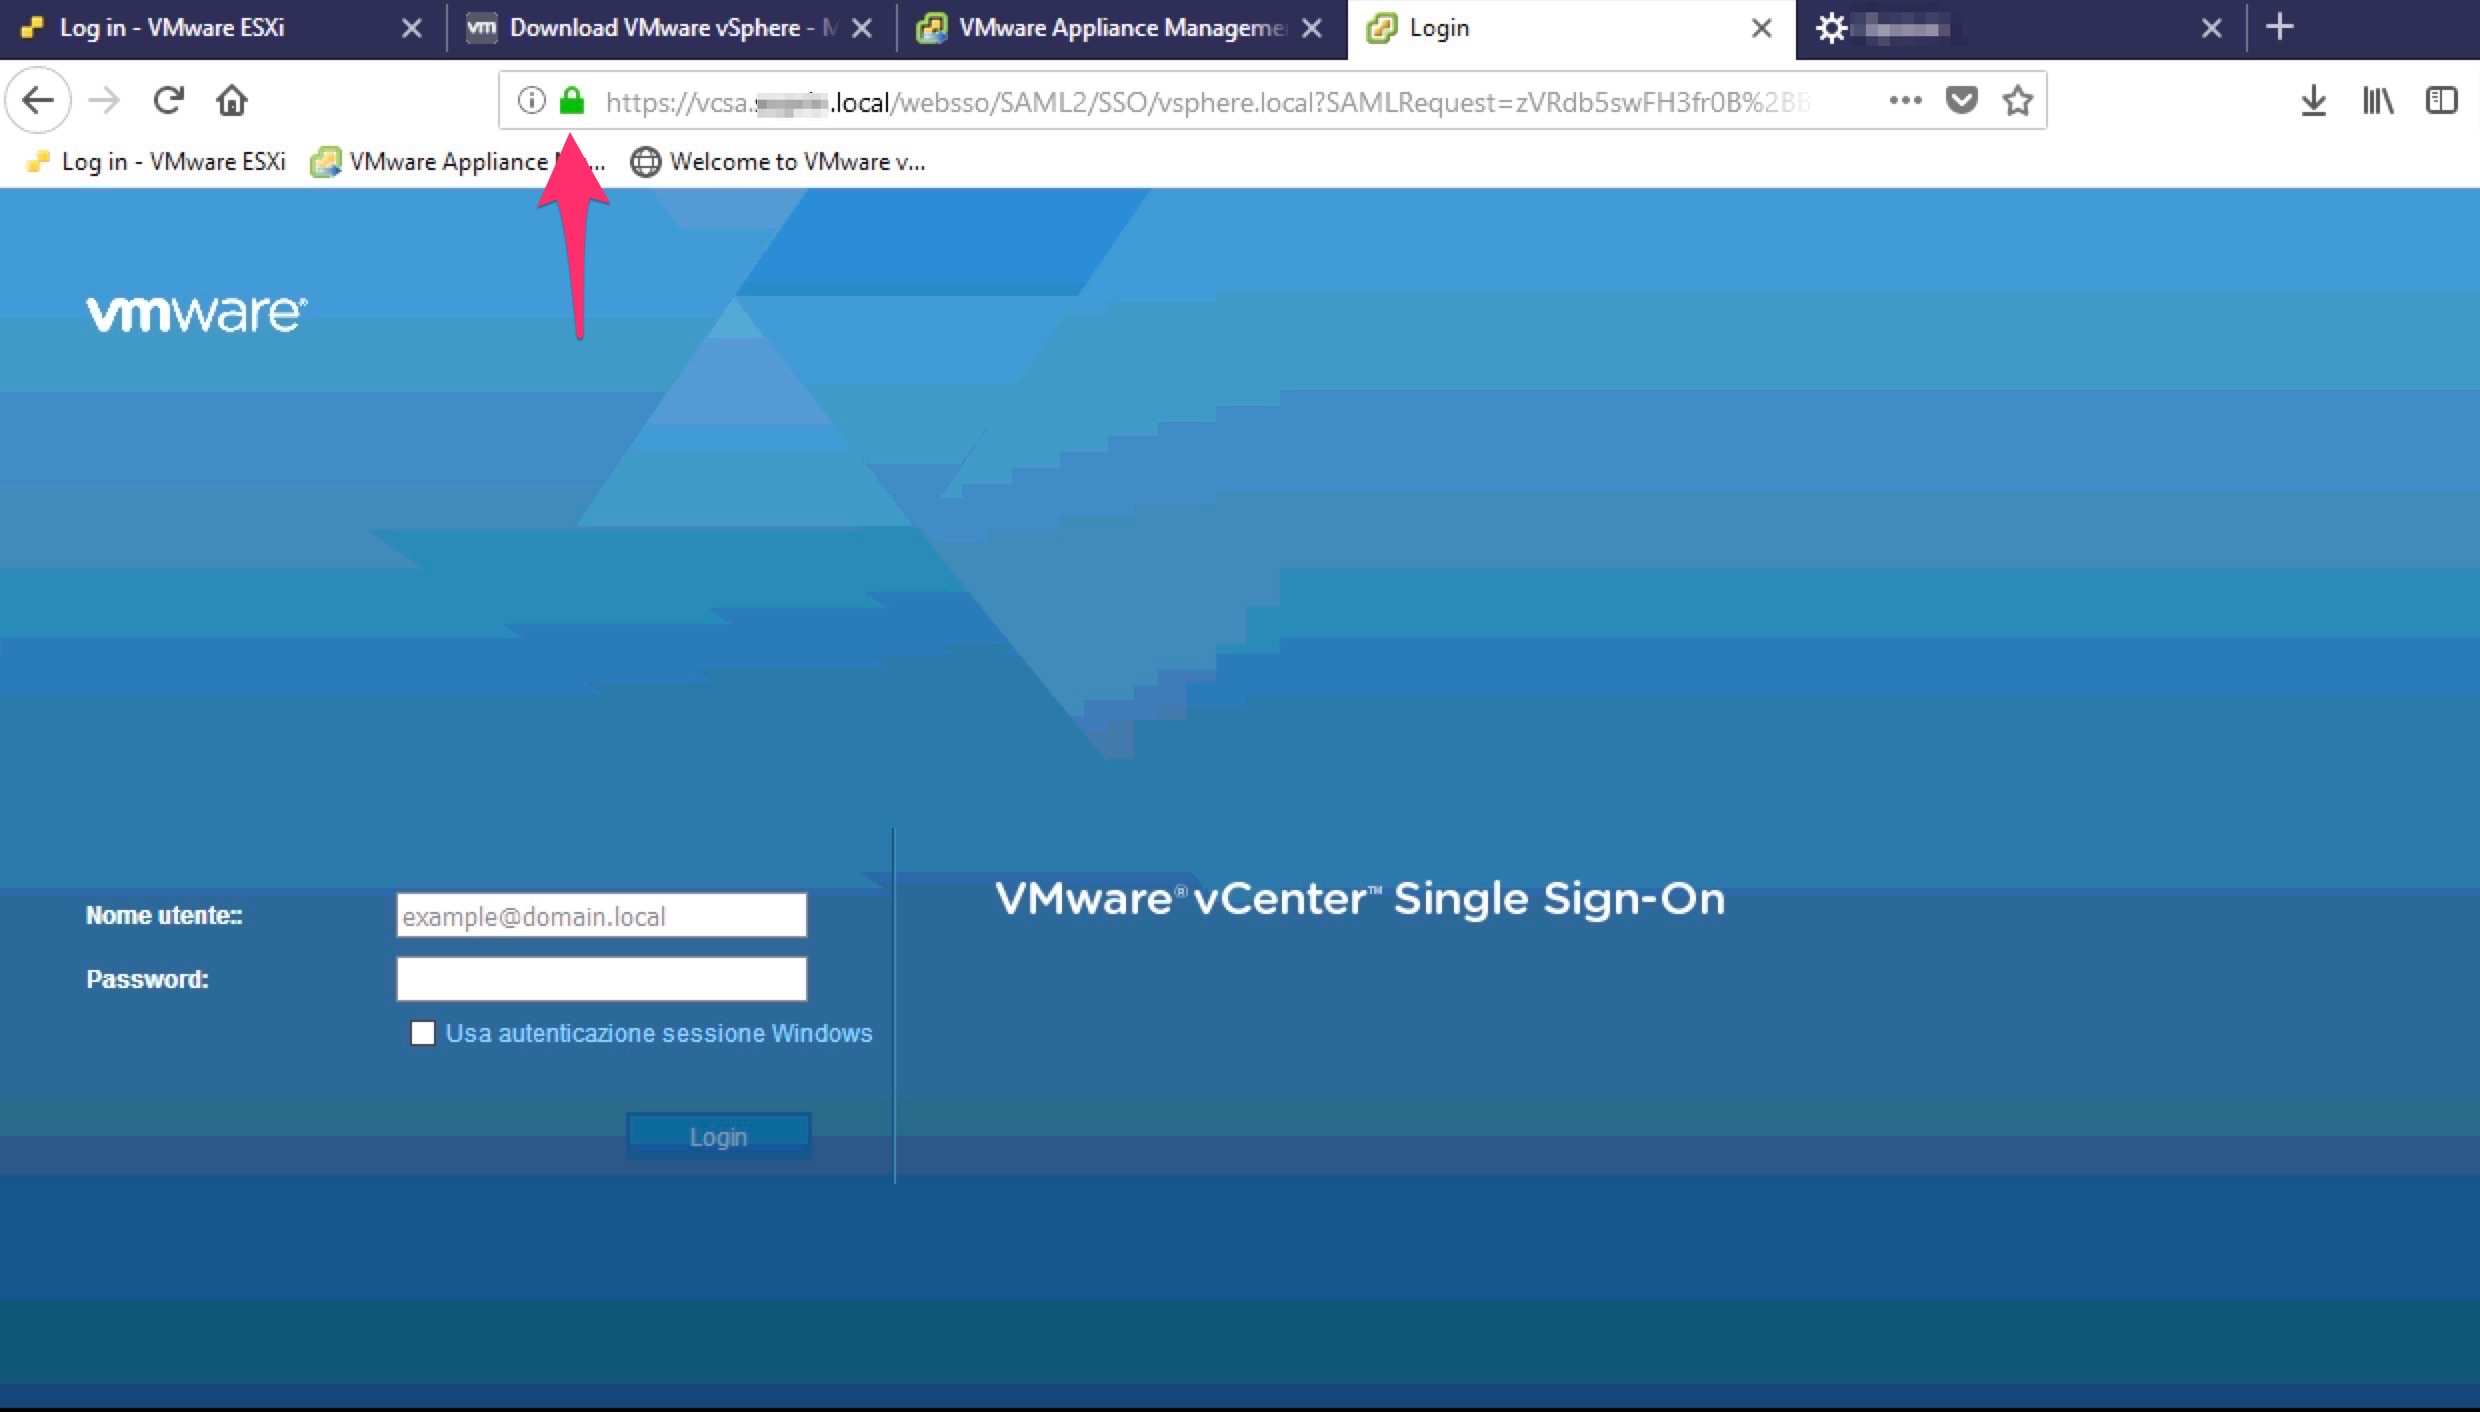
Now connect to https://vcsa.xxxxxxxx.local:443
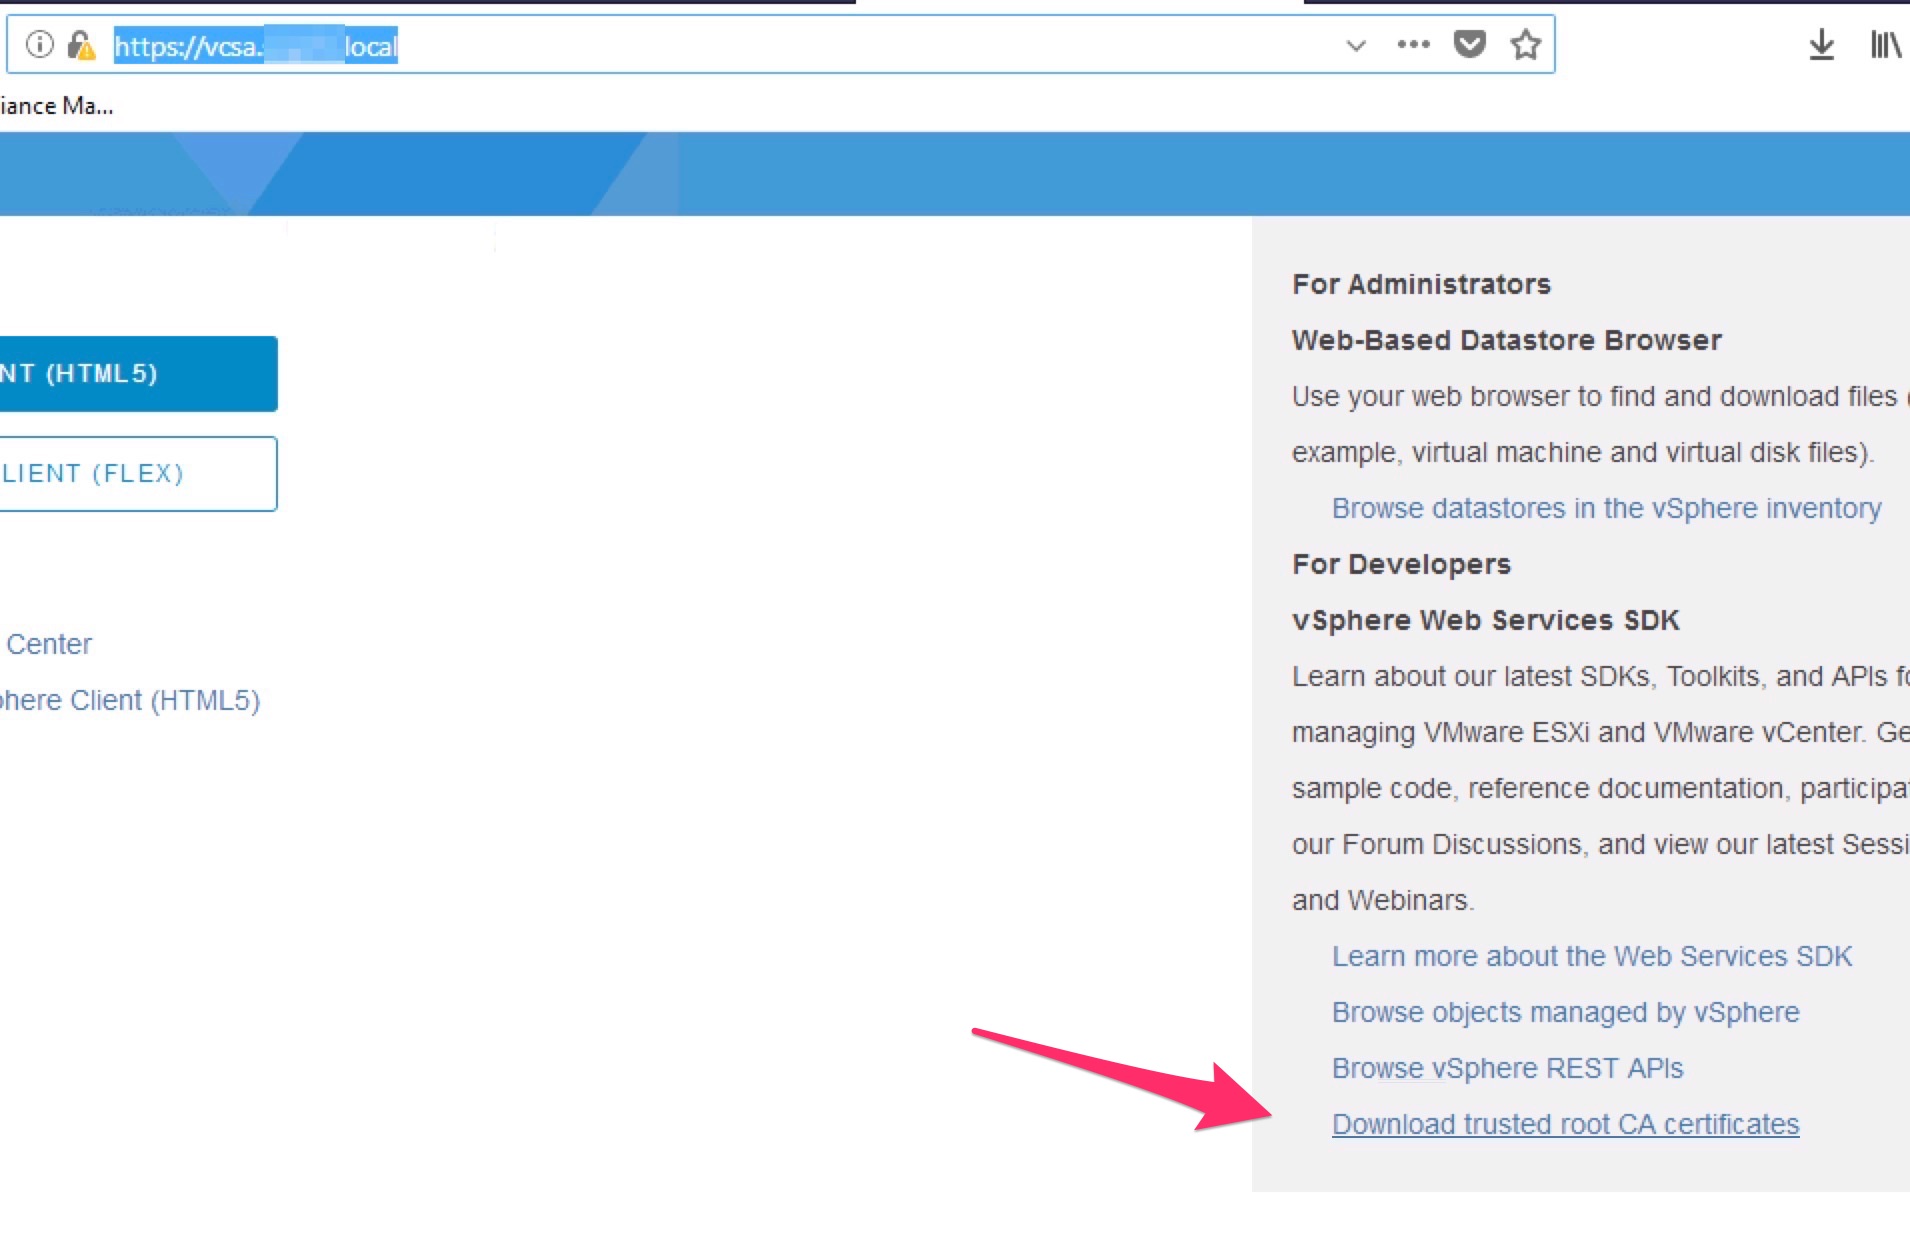
At this point, when we try to connect to the VCSA, the receive a certificate error.
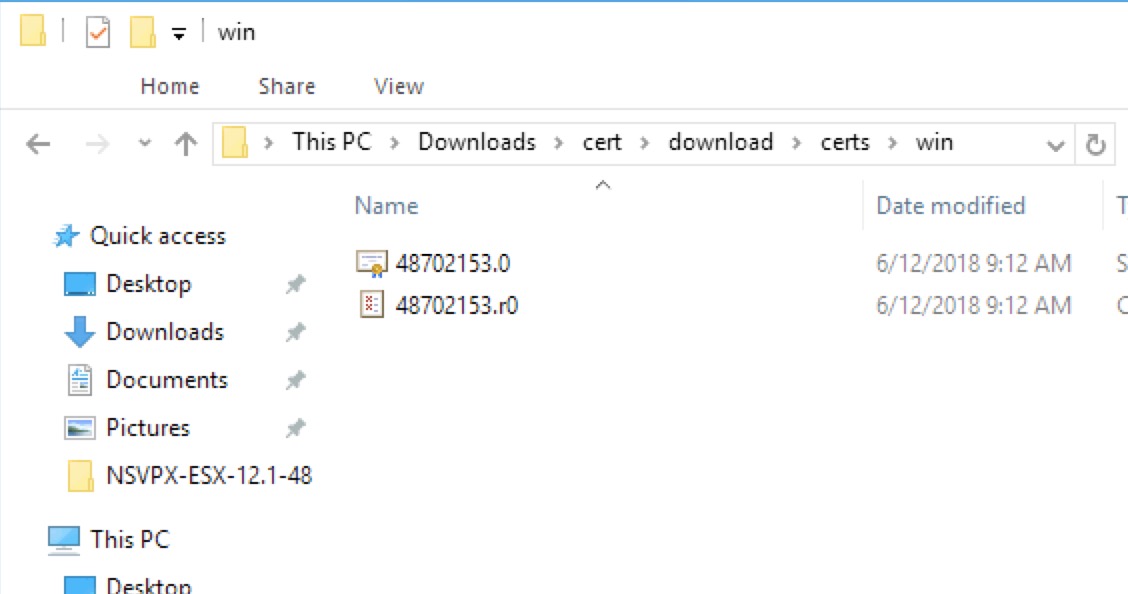
To resolve this issue, we nee to install the certificare chain of our VCSA
![](http://marcoschiavon.net/wp-content/uploads/2018/09/Screen-Shot-2018-06-12-at-09.11.52.jpg)
Install it on your “trusted root cert auth” .
![](http://marcoschiavon.net/wp-content/uploads/2018/09/Screen-Shot-2018-06-12-at-09.12.47.jpg)
Et voilà!
![](http://marcoschiavon.net/wp-content/uploads/2018/09/Screen-Shot-2018-06-12-at-09.25.18.jpg)