The following guide explains how to migrate AD Connect and, at the same time, install the latest version. This was necessary because Microsoft no longer supports AD Connect on systems lower than Windows 2016. In addition to this, with the advent of Entra, Microsoft requires that AD Connect is at least version 2.x
===> ON THE OLD AD-CONNECT SERVER <===
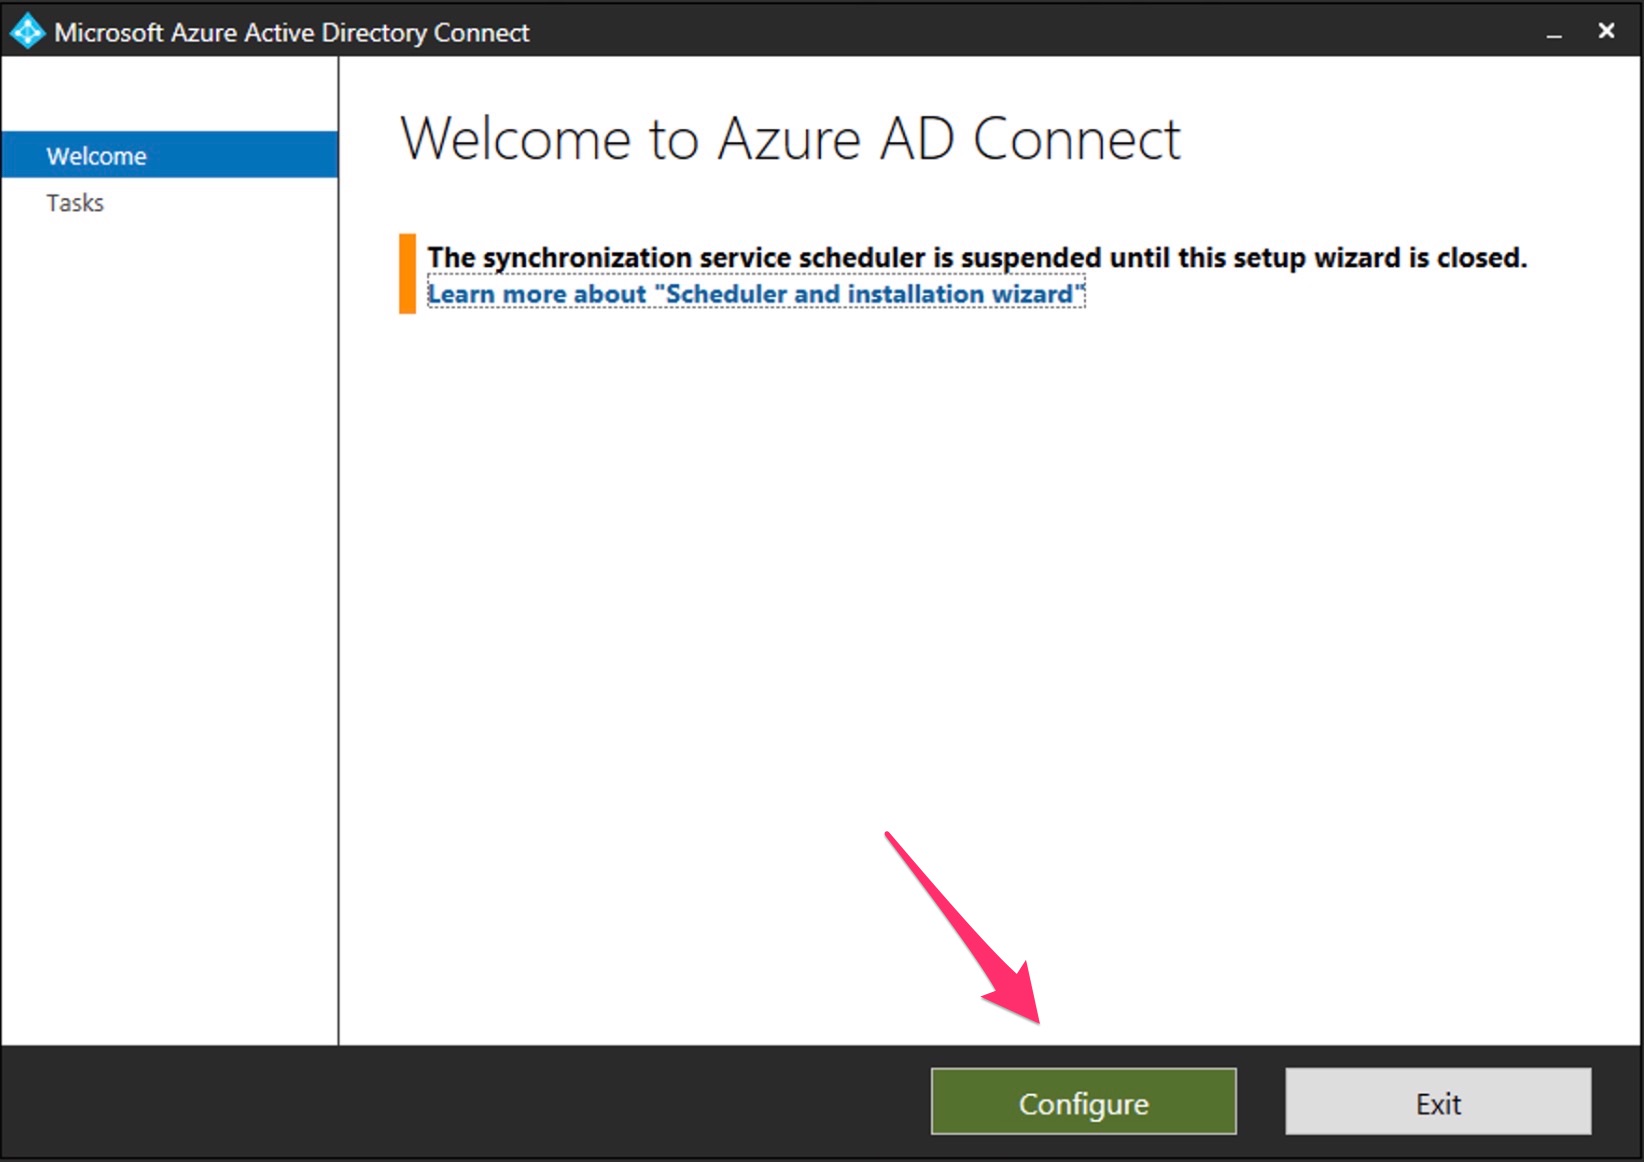
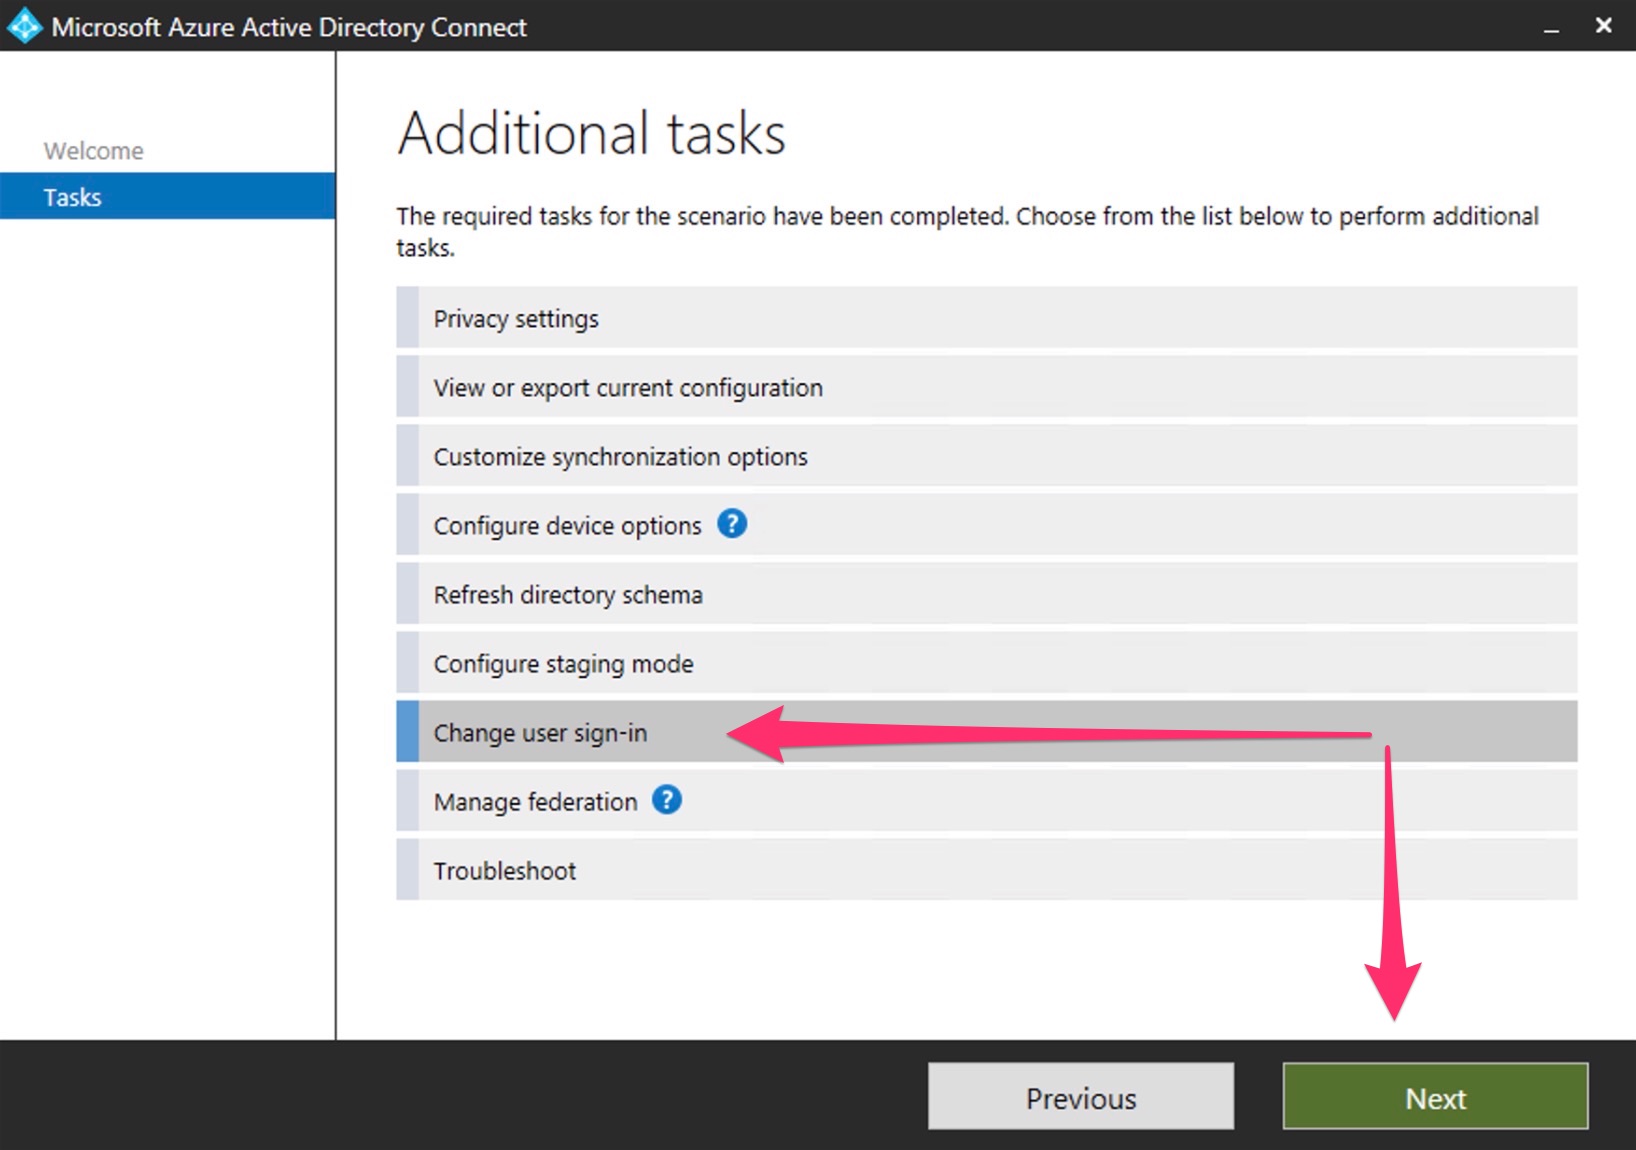
Export the current AD Connect configuration. To do this, open the Azure AD Connect and select “CONFIGURE”
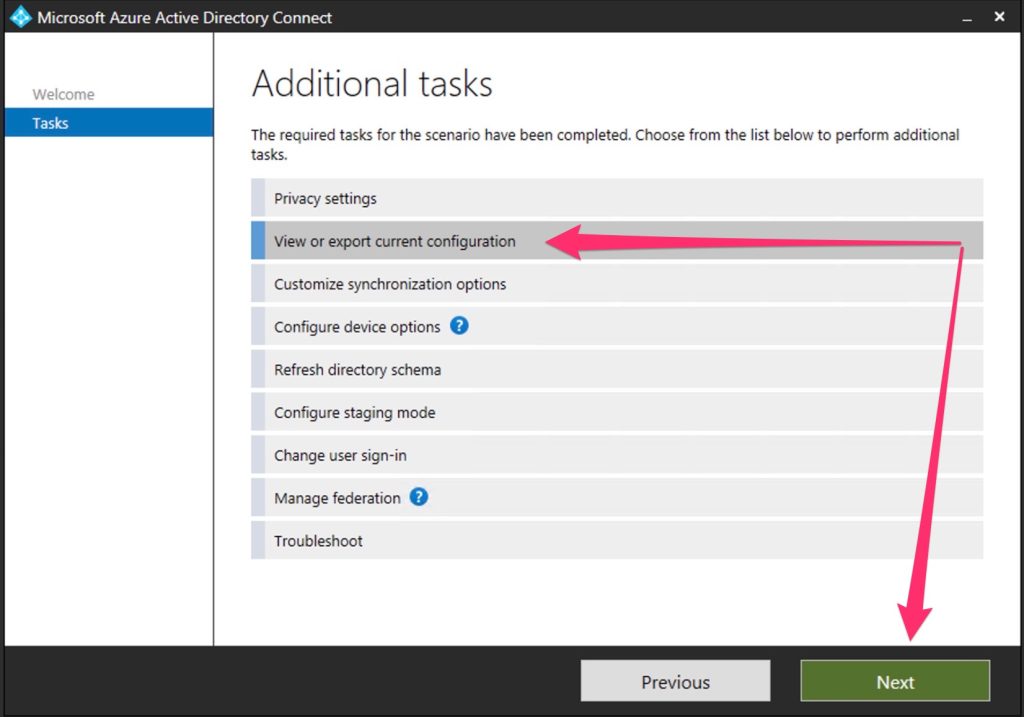
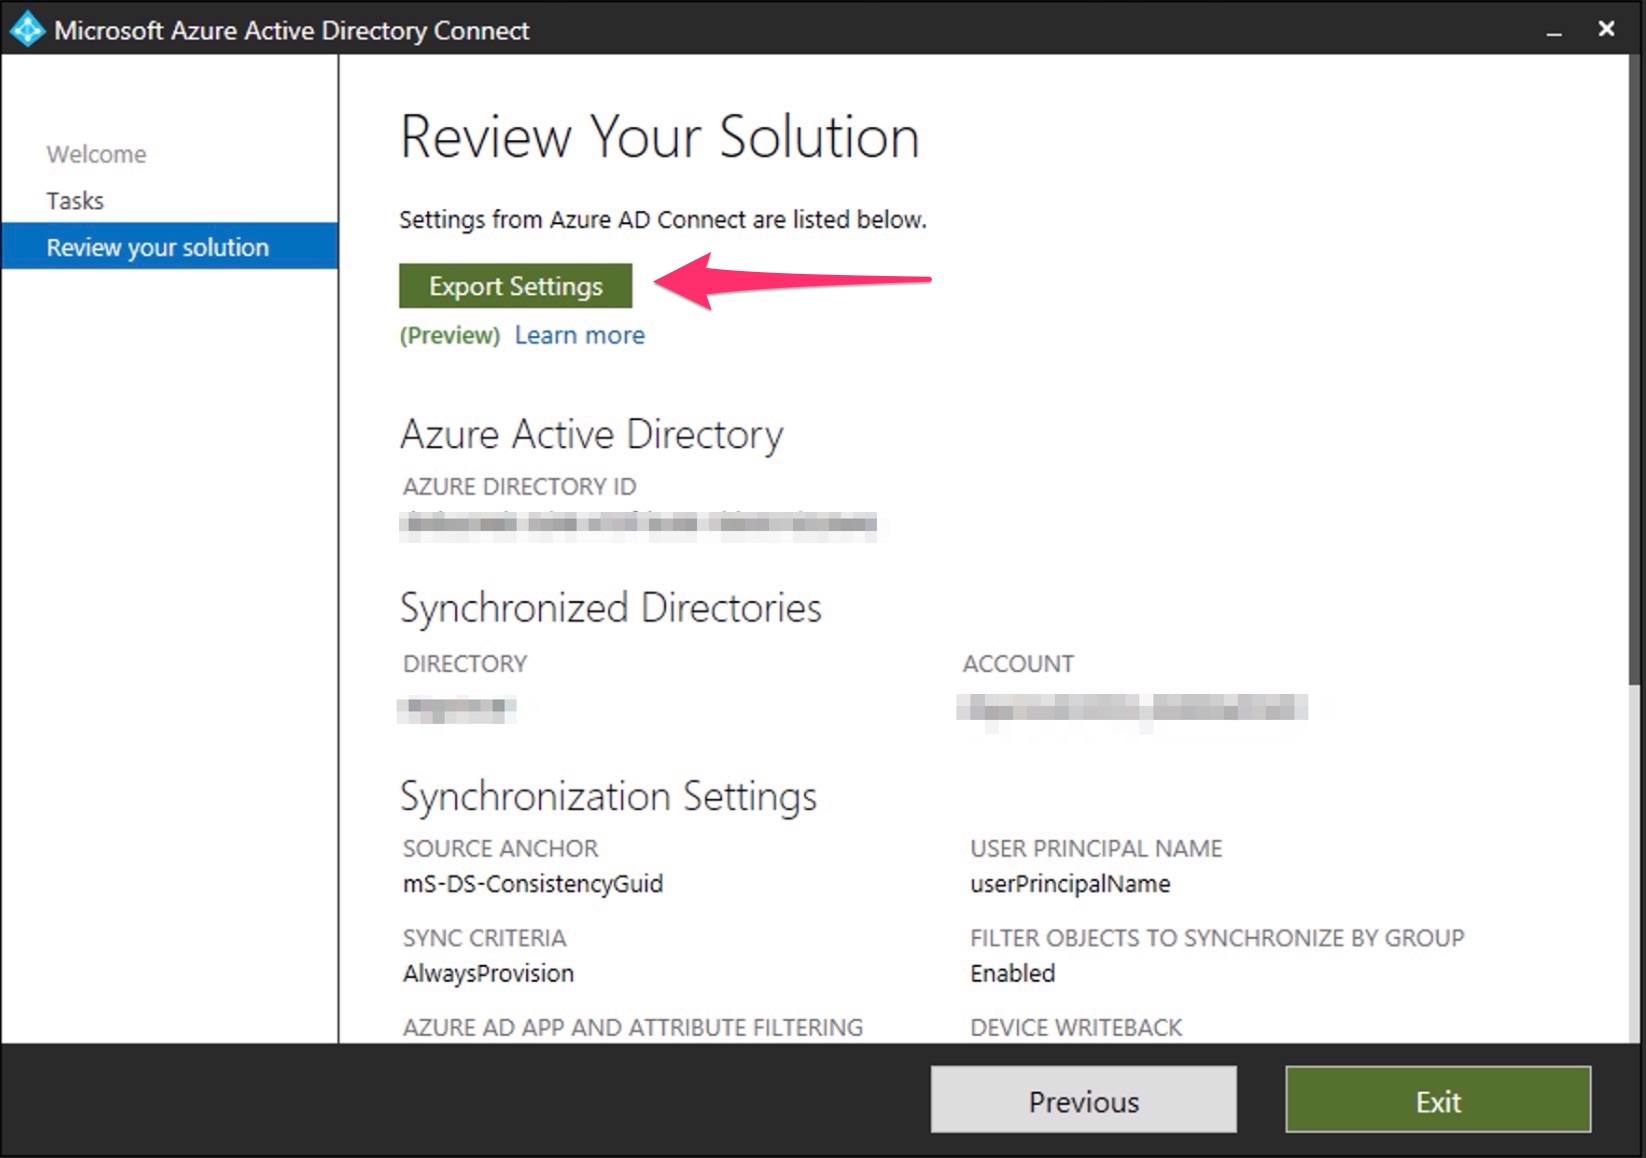
Select View and Export current configuration
Now click “EXPORT” and save the JSON.
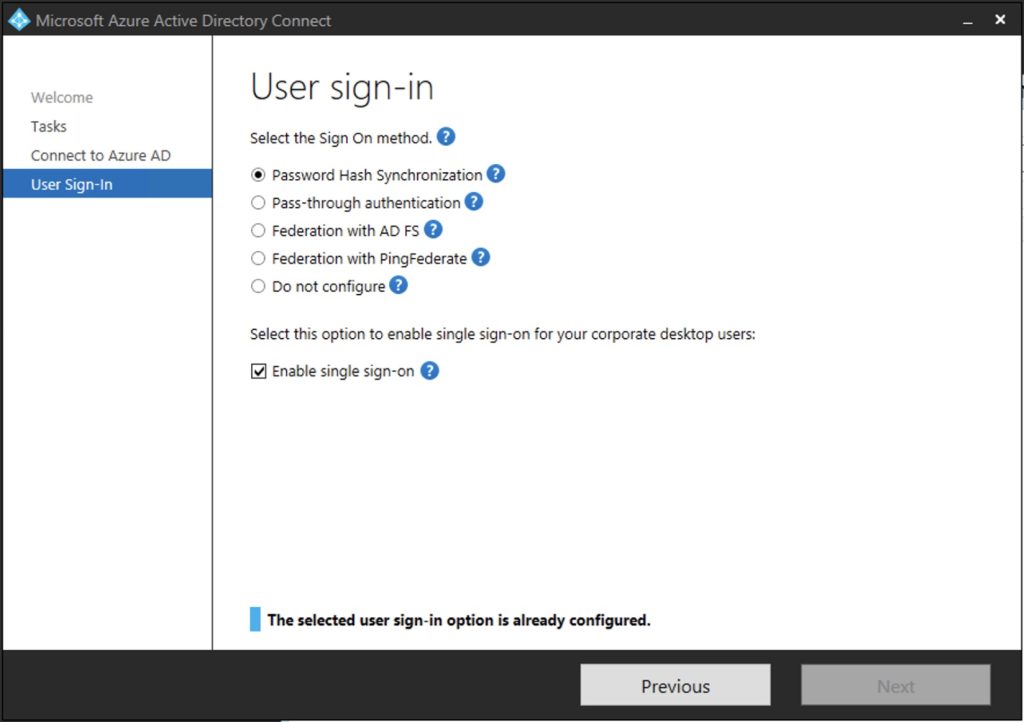
Save the JSON to the new server and check the User Sign-In configuration
In my case I have to note that I’m using the “Password Hash Sync” and the “Enable single sign-on”.
So, take a note about it and close it .
===> ON THE NEW AD-CONNECT SERVER <===
Now we have the JSON config and the notes. In the new server copy the JSON and your notes… Before installing the new AD Connect, verify that the server is updated and the TLS 1.2 is enabled.
THE CHECK STEP — Do do this, we’ll use the PowerShell script to check TLS 1.2 (From Microsoft ).
In my case isn’t enabled (As you can see the “VALUE” is “NOT FOUND” ) :

THE ENABLE STEP — For this reason, I’ll enable it with the PowerShell script to enable TLS 1.2

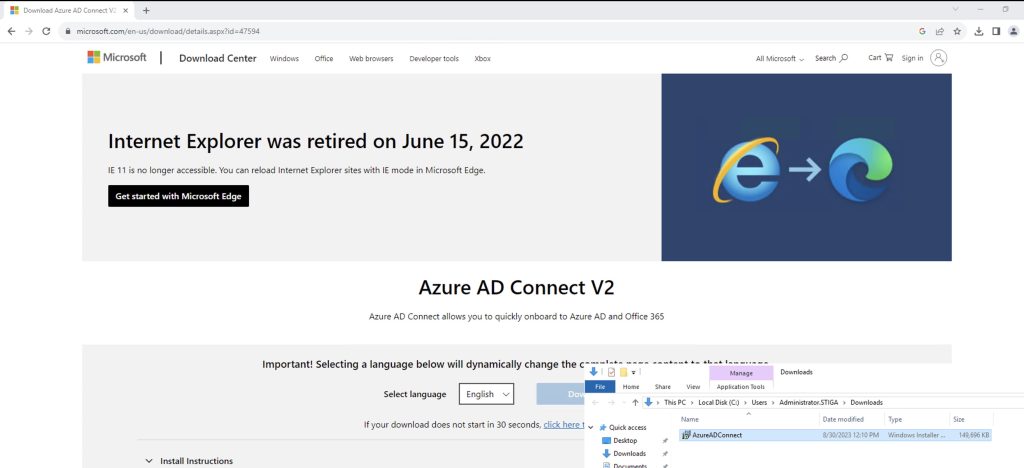
Download the new AD Connect and start
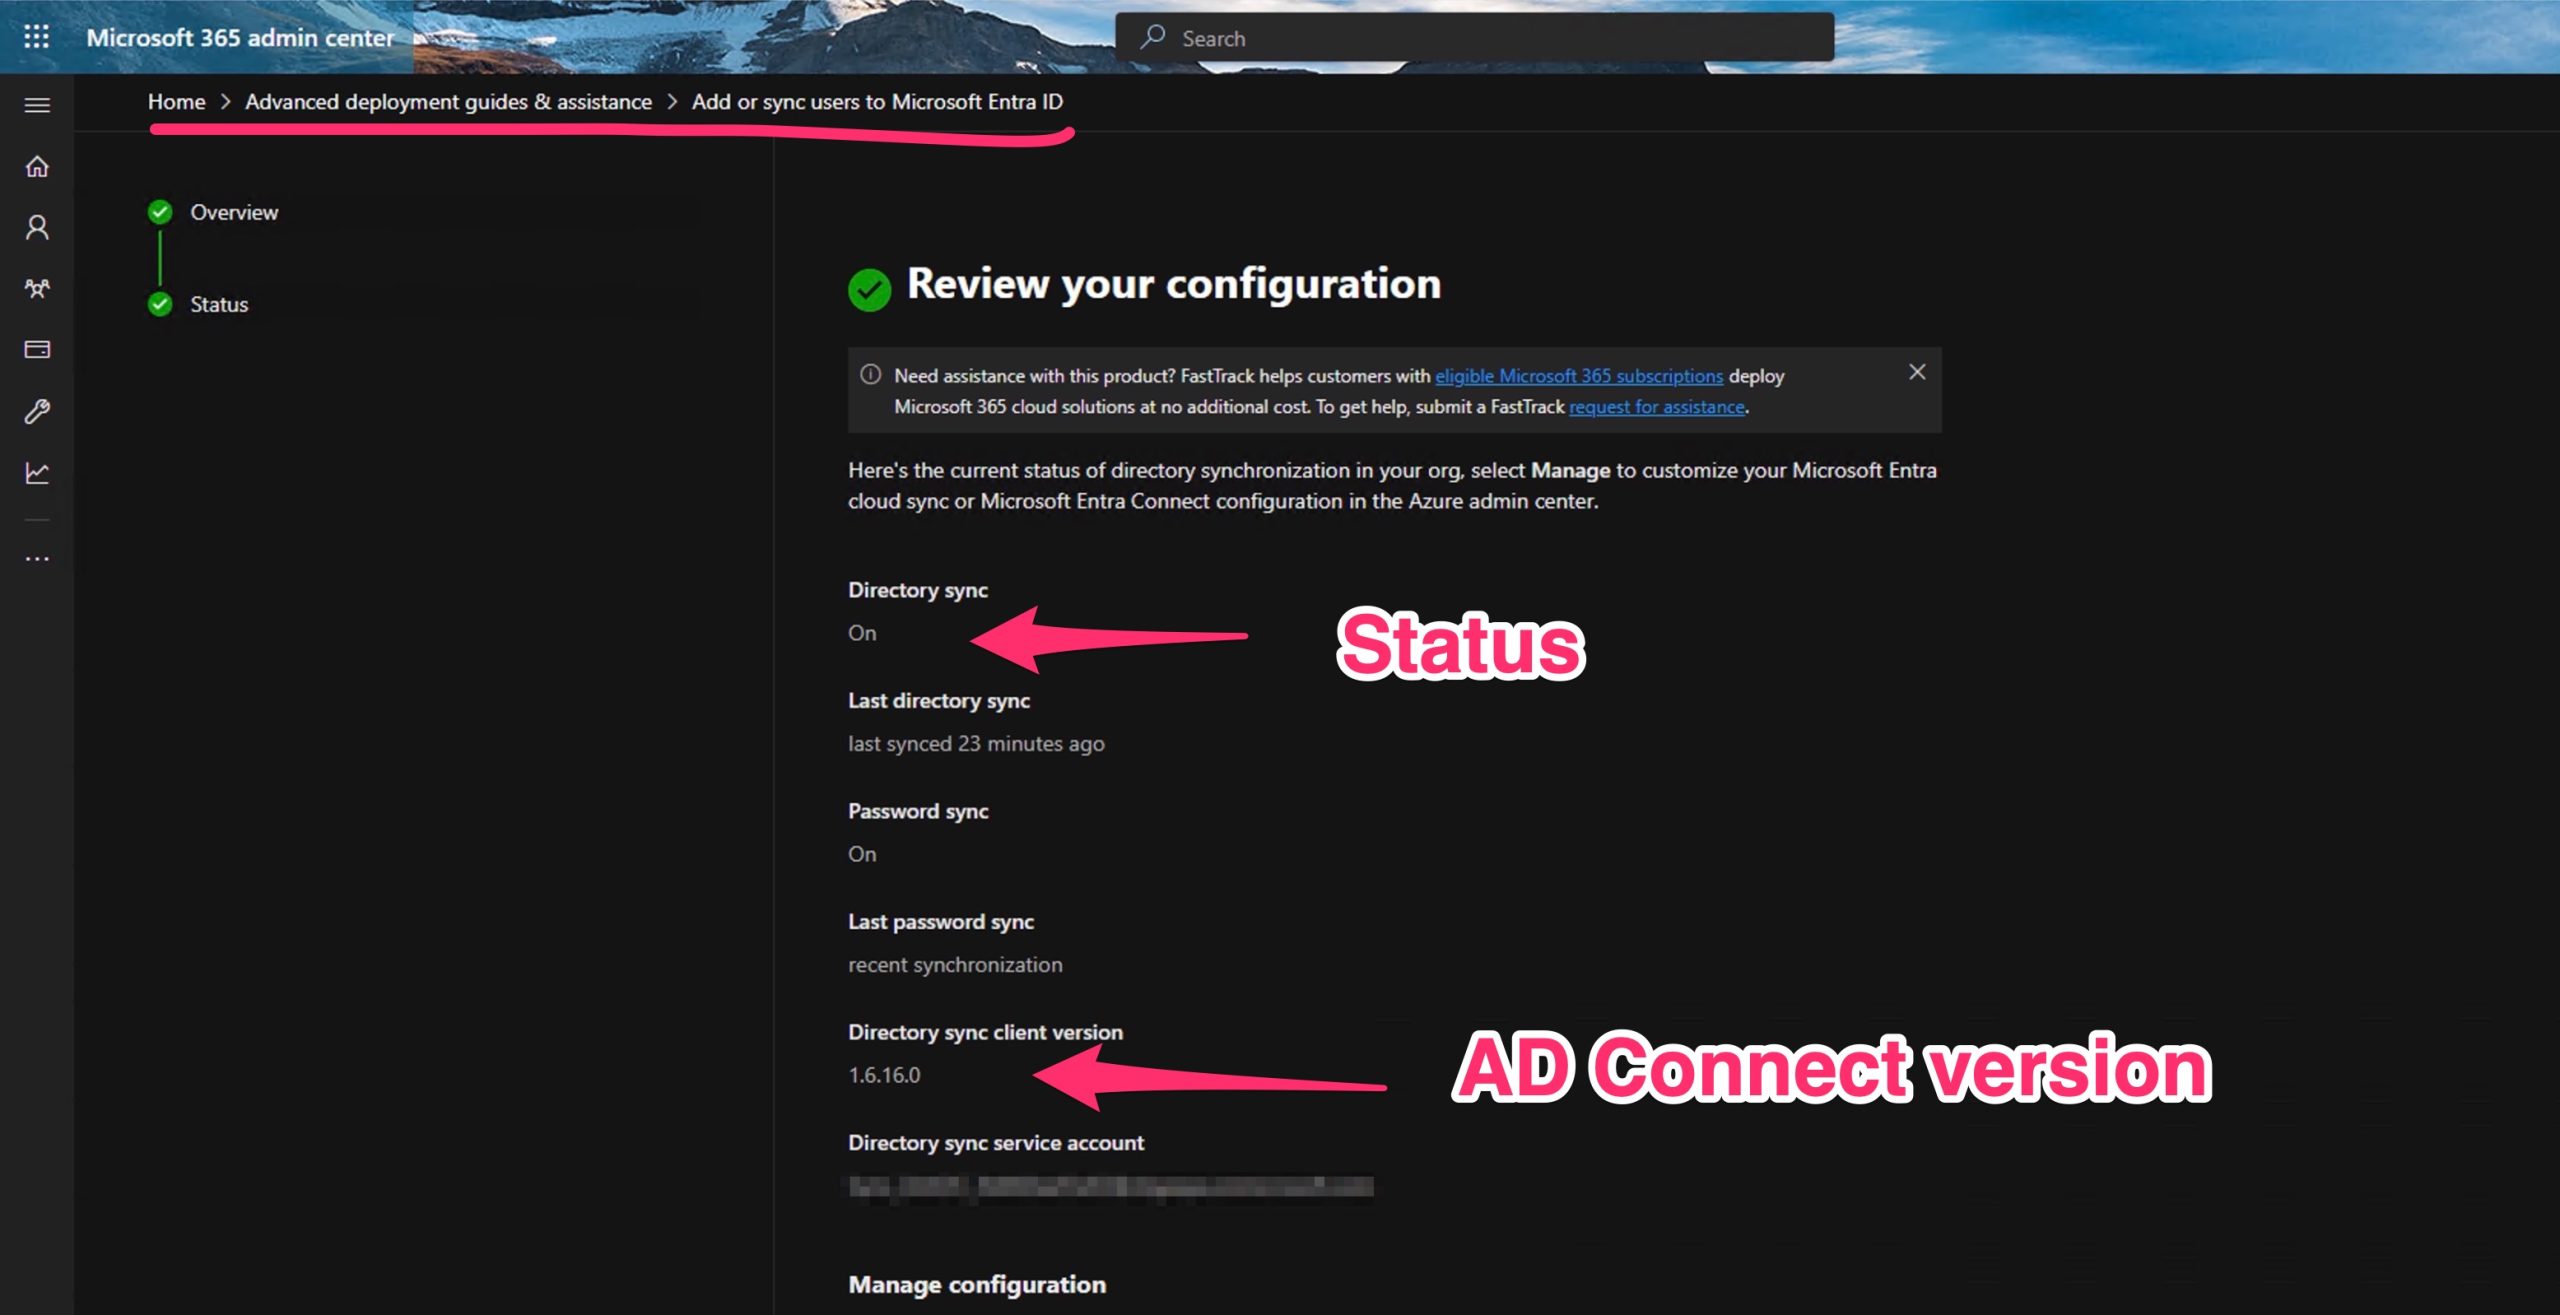
Before start, do a check of the current situation from the perspective of 365 .
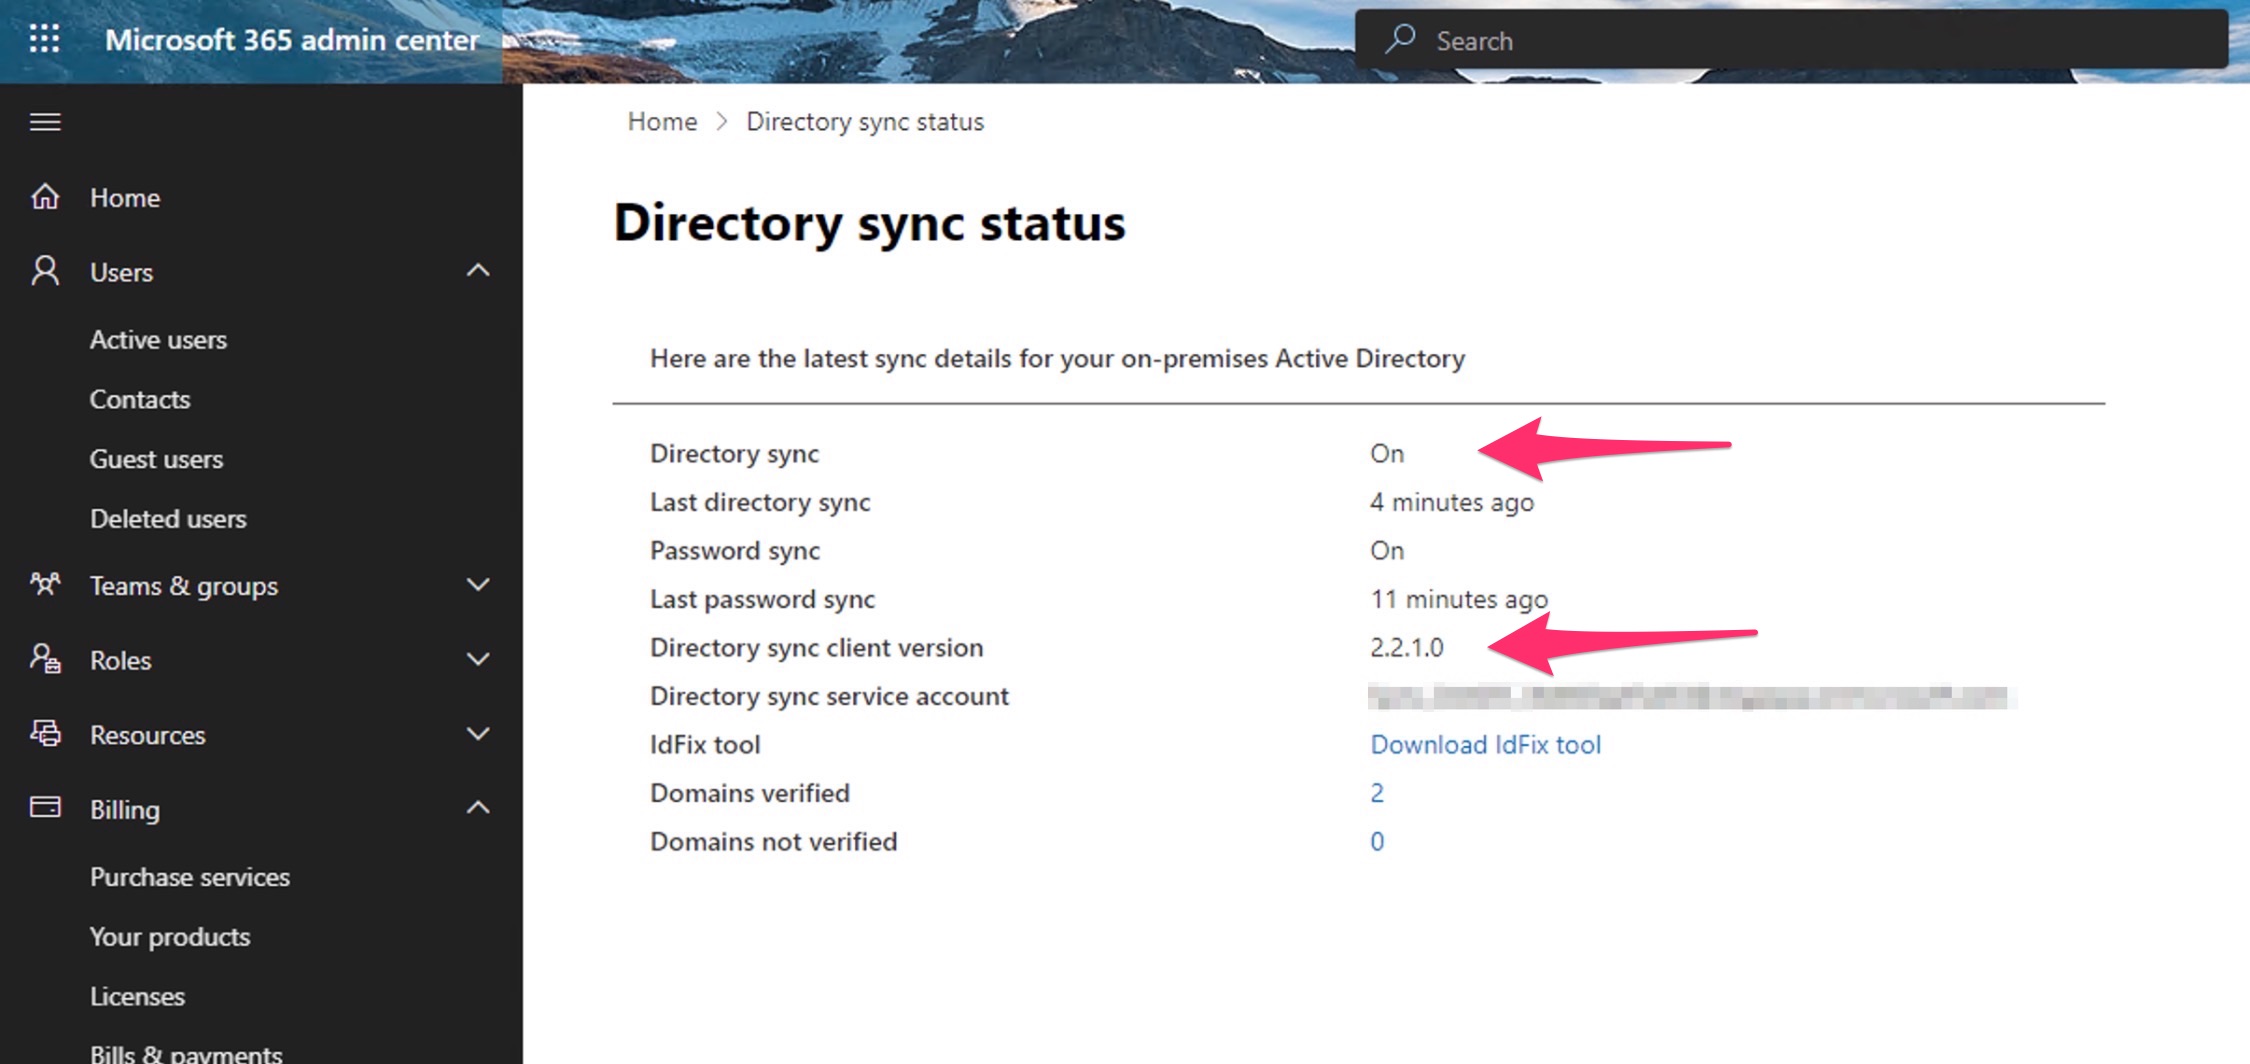
Do do this, go to the Microsoft 365 admin center and choose DirSync Status on the home page.
Otherwise, as Microsoft says : “Alternately, you can go to Users > Active users, and on the Active users page, select the Elipse > Directory synchronization. On the Directory Synchronization pane, choose Go to DirSync management.“
In my case, the sync status is ok and my AD Connect version is 1.6.16.0 . We will see the new version after we have installed and synced the new one.
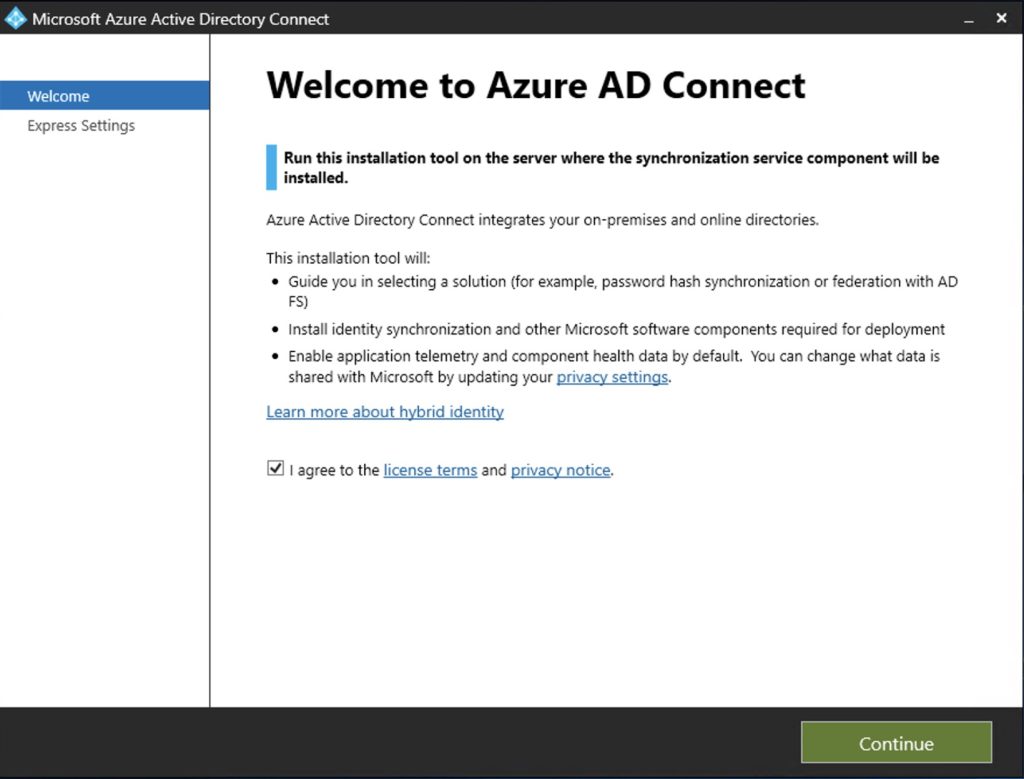
So, go back to the new server and launch the AD Connect Wizard…
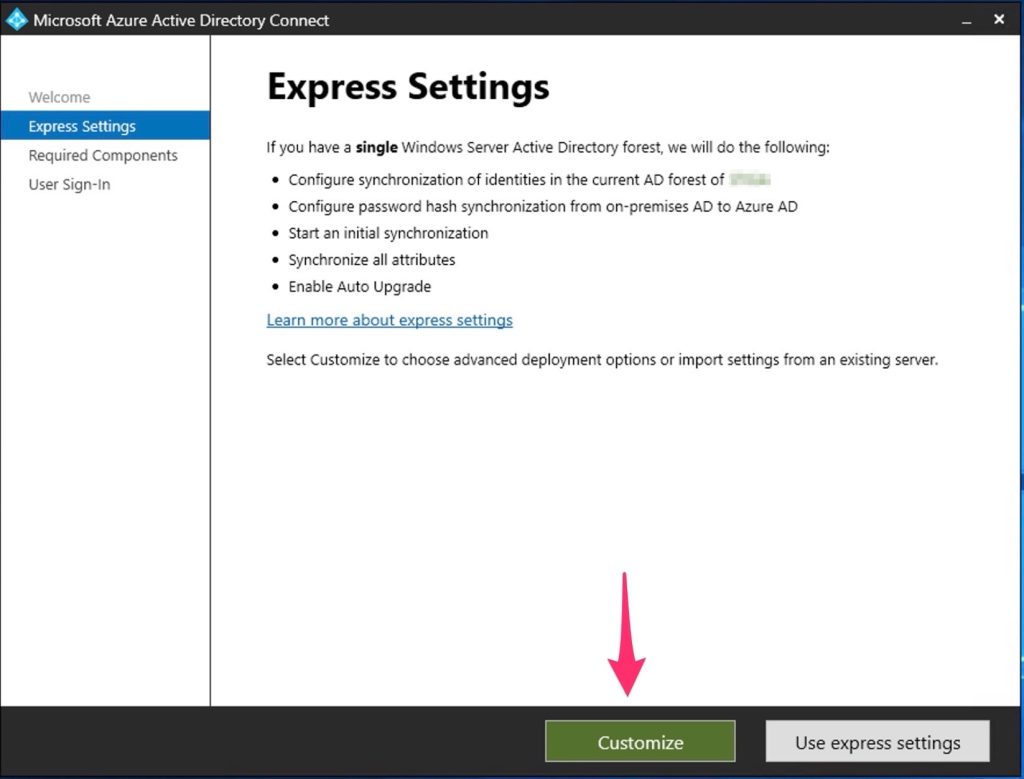
Select “CUSTOMIZE”
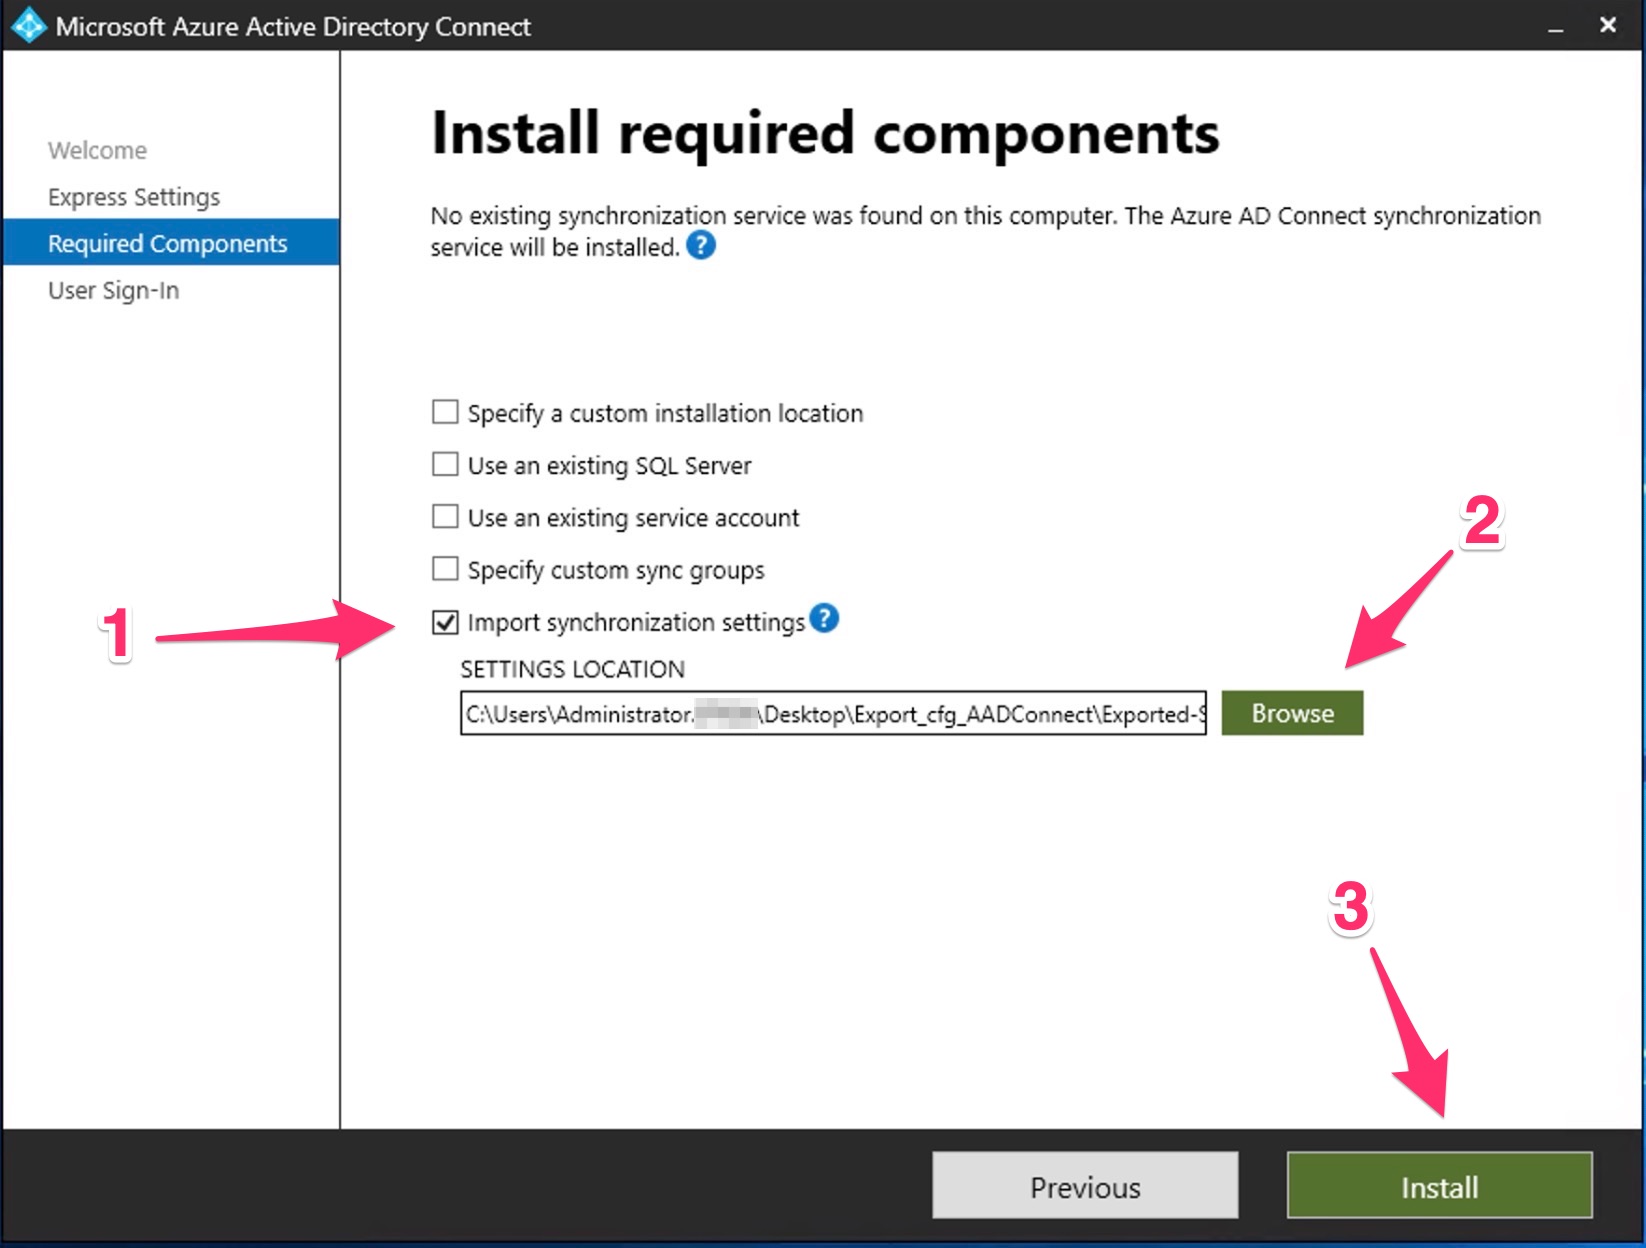
Select “import synchronization settings” and load the JSON.
After it was installed, we have to select the same option of the old AD Connect about “User Sign-In”

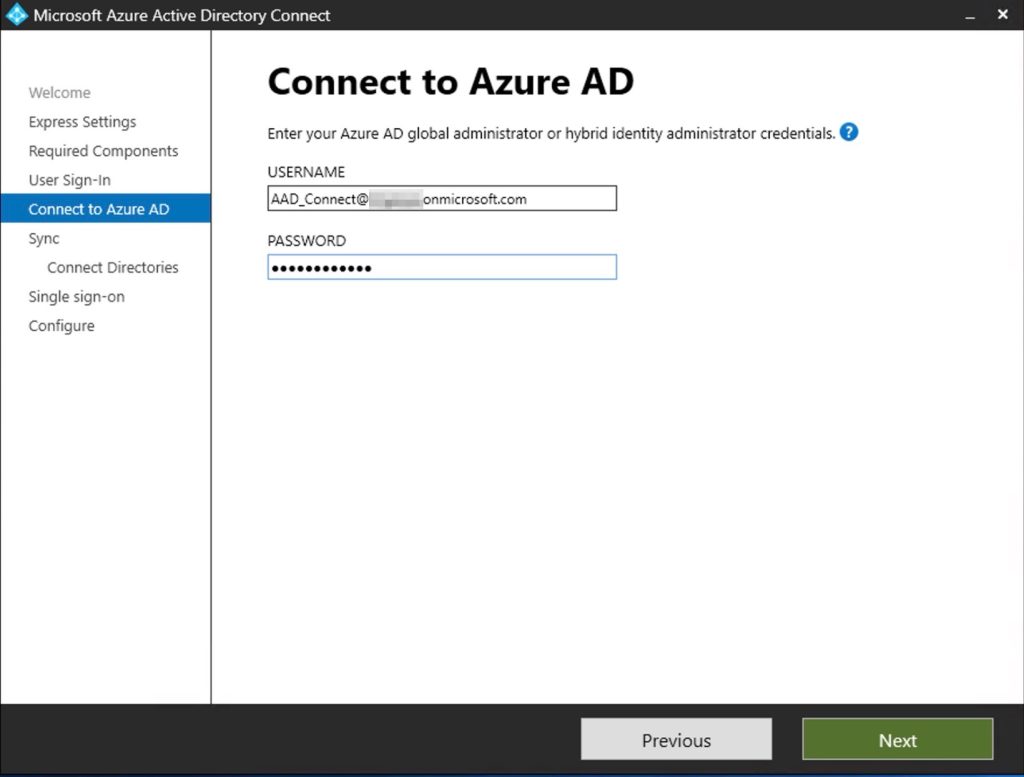
Input the AD Azure Global Admin that you used in the other AD Connect…
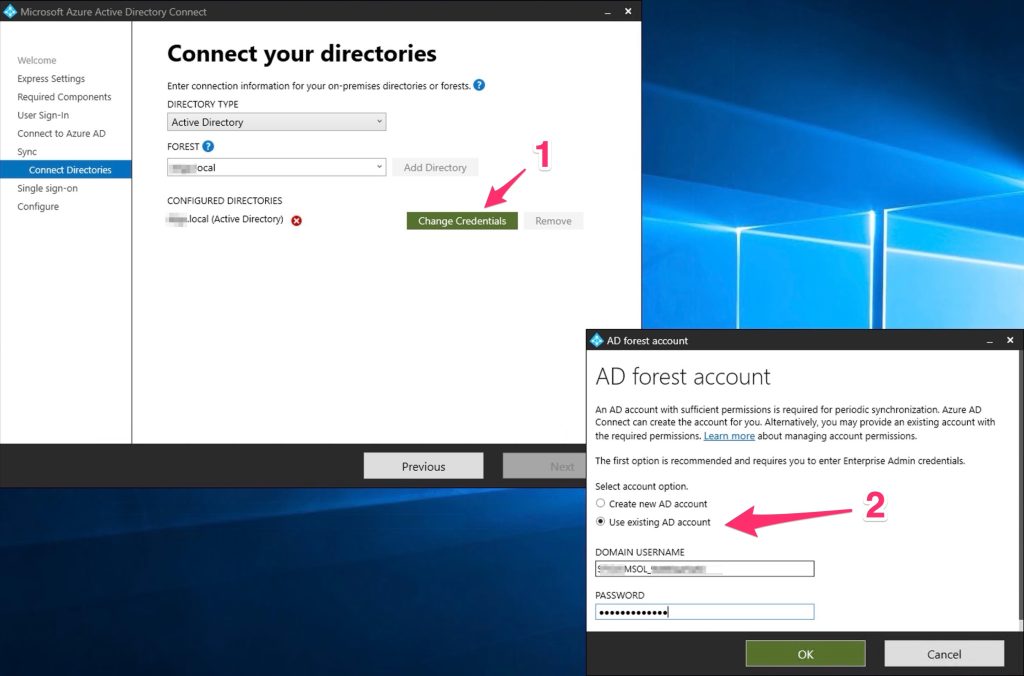
Input the Local AD user that you used in the previous installation. (this guide is very interesting.)
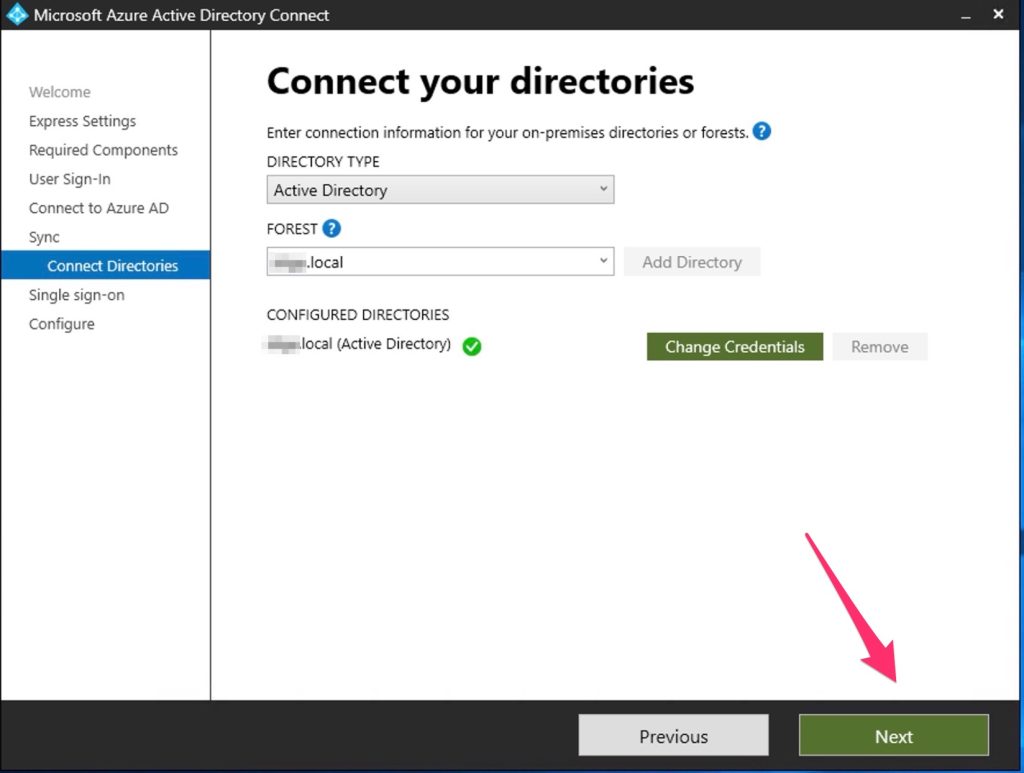
After you have input the right credential, the “green sign” will appear on the “CONFIGURED DIRECTORIES”, so we can press NEXT.
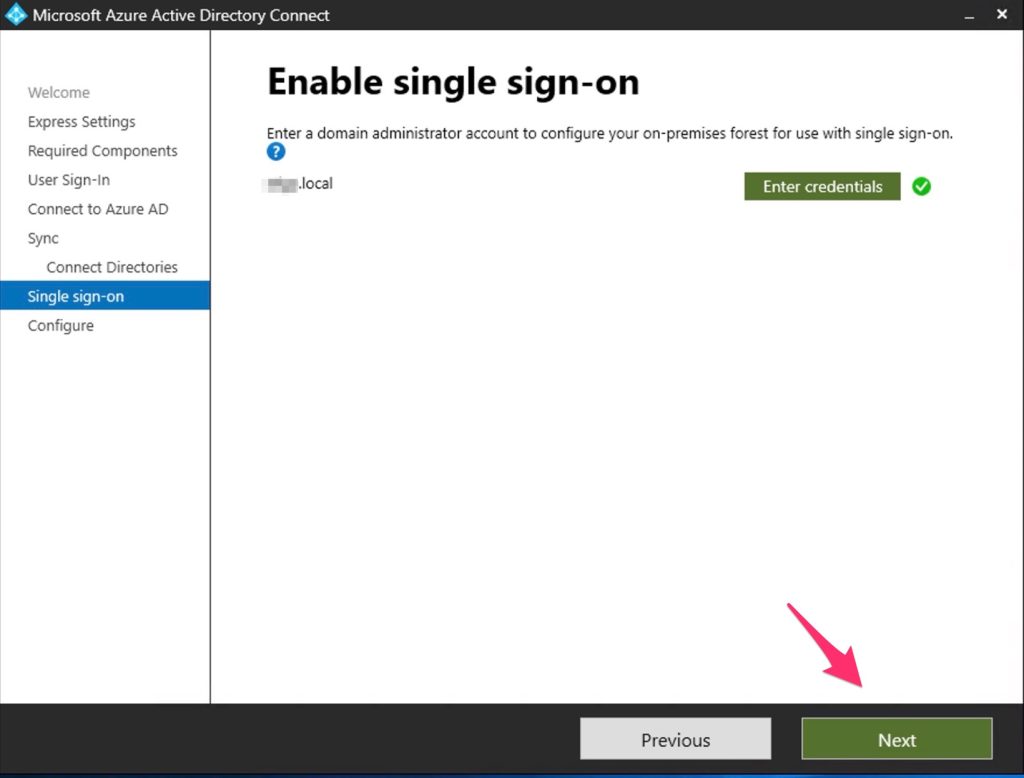
Again, NEXT..
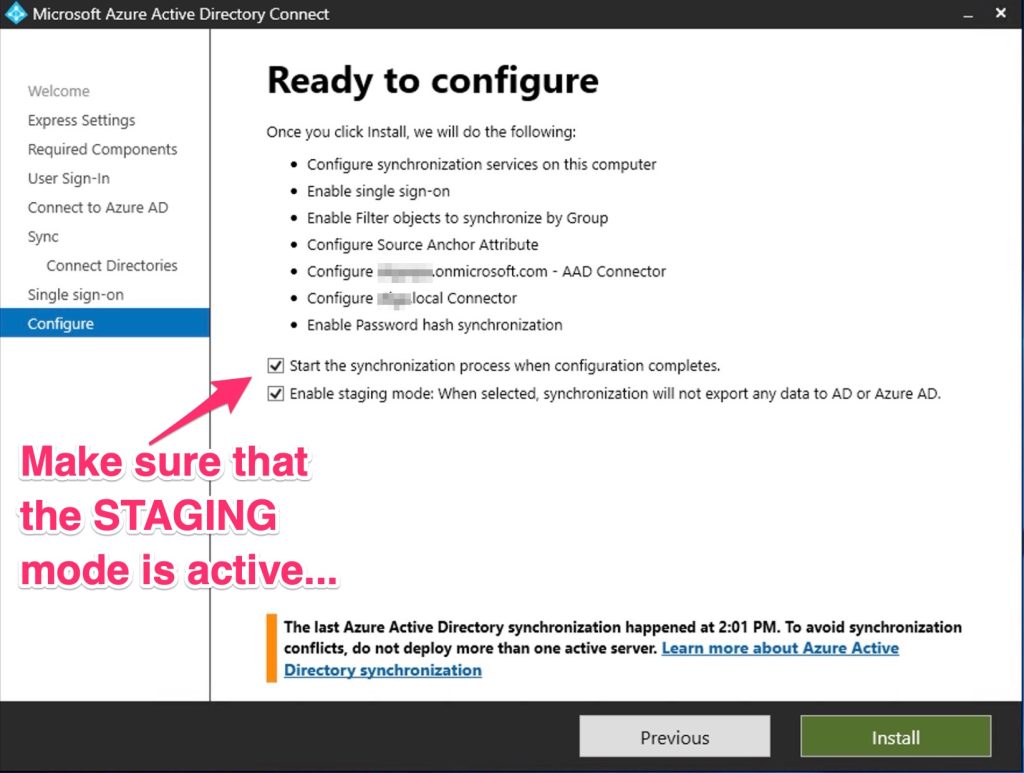
Finally, we are in the last pane, but REMEMBER that you have to flag ENABLE STAGING MODE.
This is very important because, at this stage, the old AD Connect is still syncing…
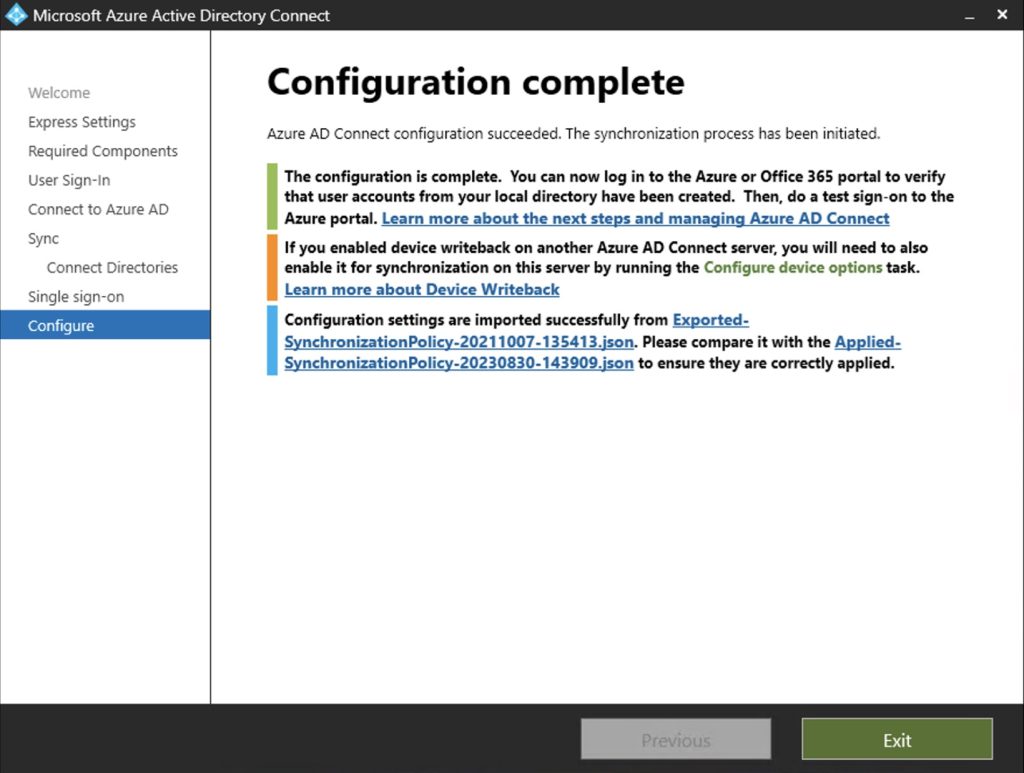
Install it…
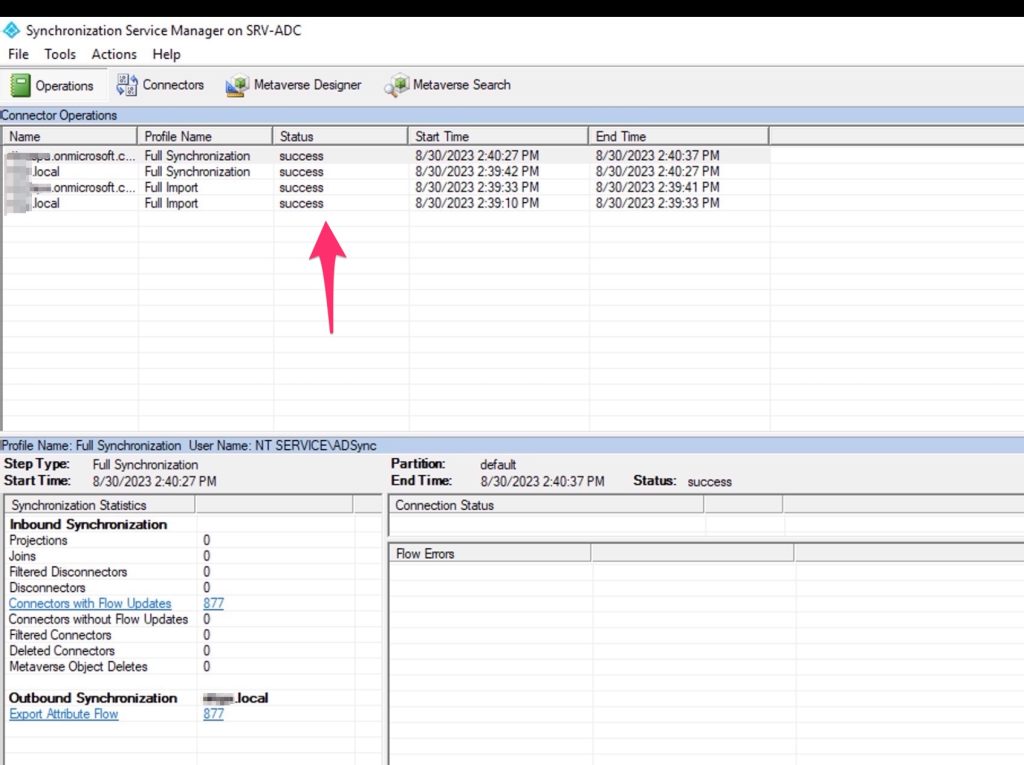
At this point open the AD Connect Syncronization Service Manager and check that the Staging sync process is gone well ..
===> ON THE OLD AD-CONNECT SERVER <===
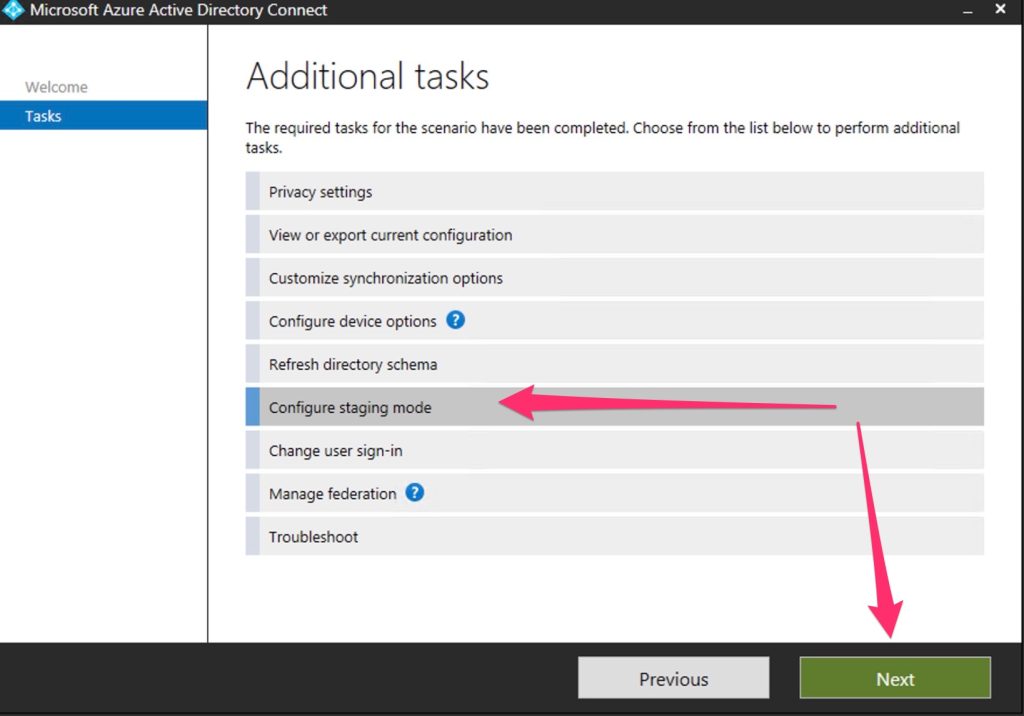
At this point, to proceed with the shift from the the old AD Connect, we have to put the old AD Connect in Staging mode.
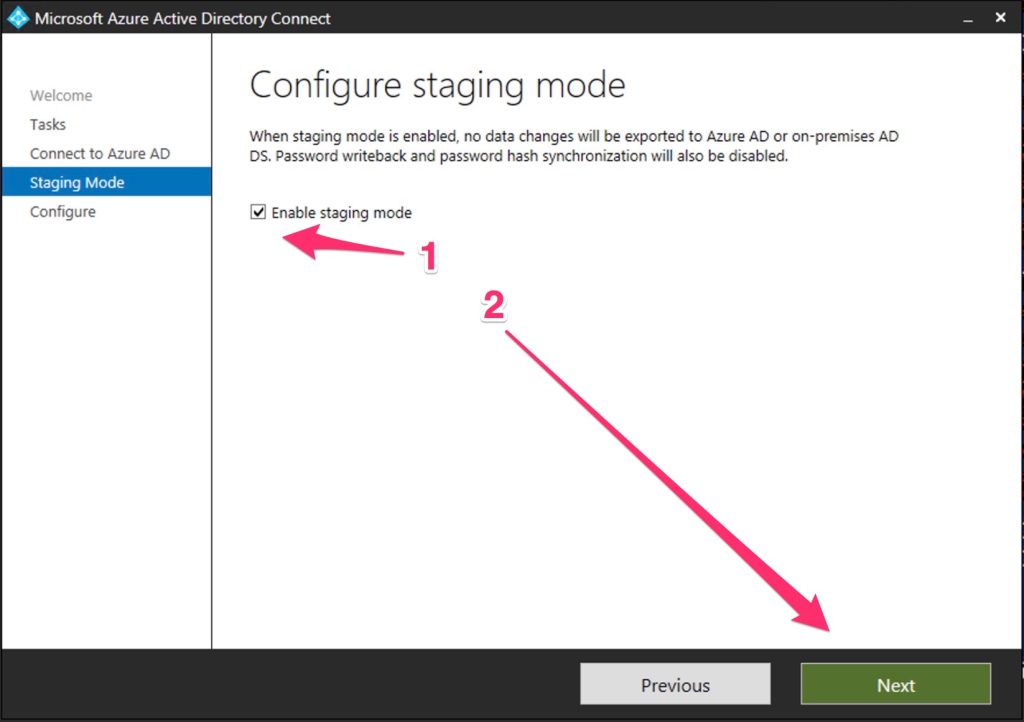
On the old AD Connect , select “configure staging mode” and enable it.
===> ON THE NEW AD-CONNECT SERVER <===
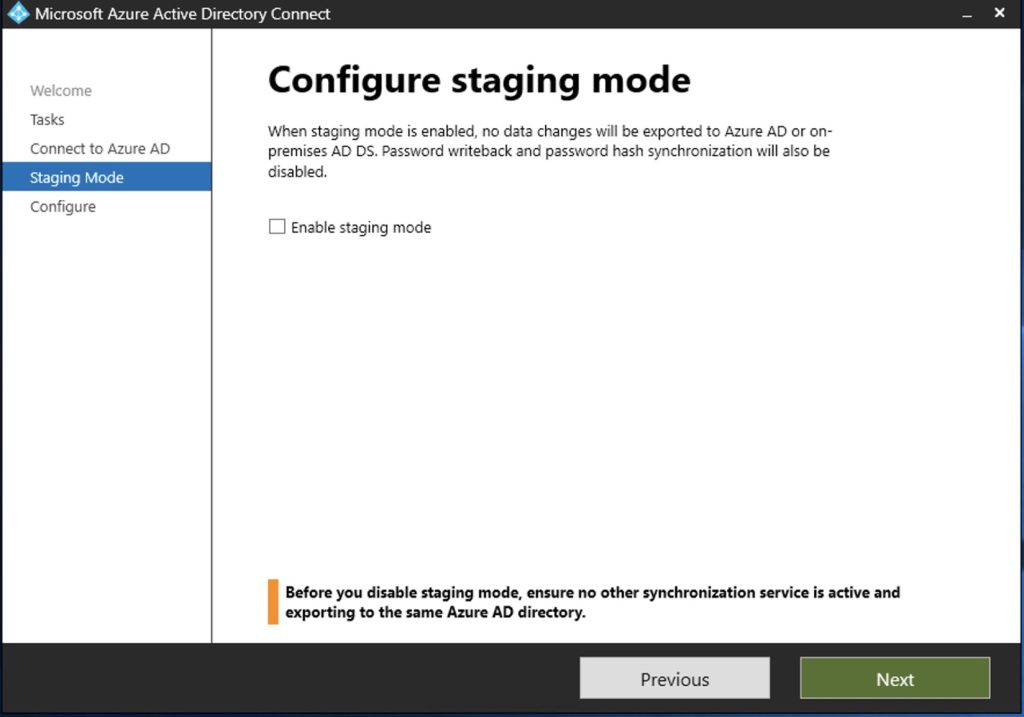
Go back to the new one, and Disable the stating mode!!
At this point, we need to DISABLE the ENABLE STAGING MODE on the NEW AD Connect server…
Now, go back to 365 Admin Portal and check the DirSync Status
Take in mind that it will take some time to be updated.. could be pass more than 15 minutes…. So , don’t worry, be calm!.
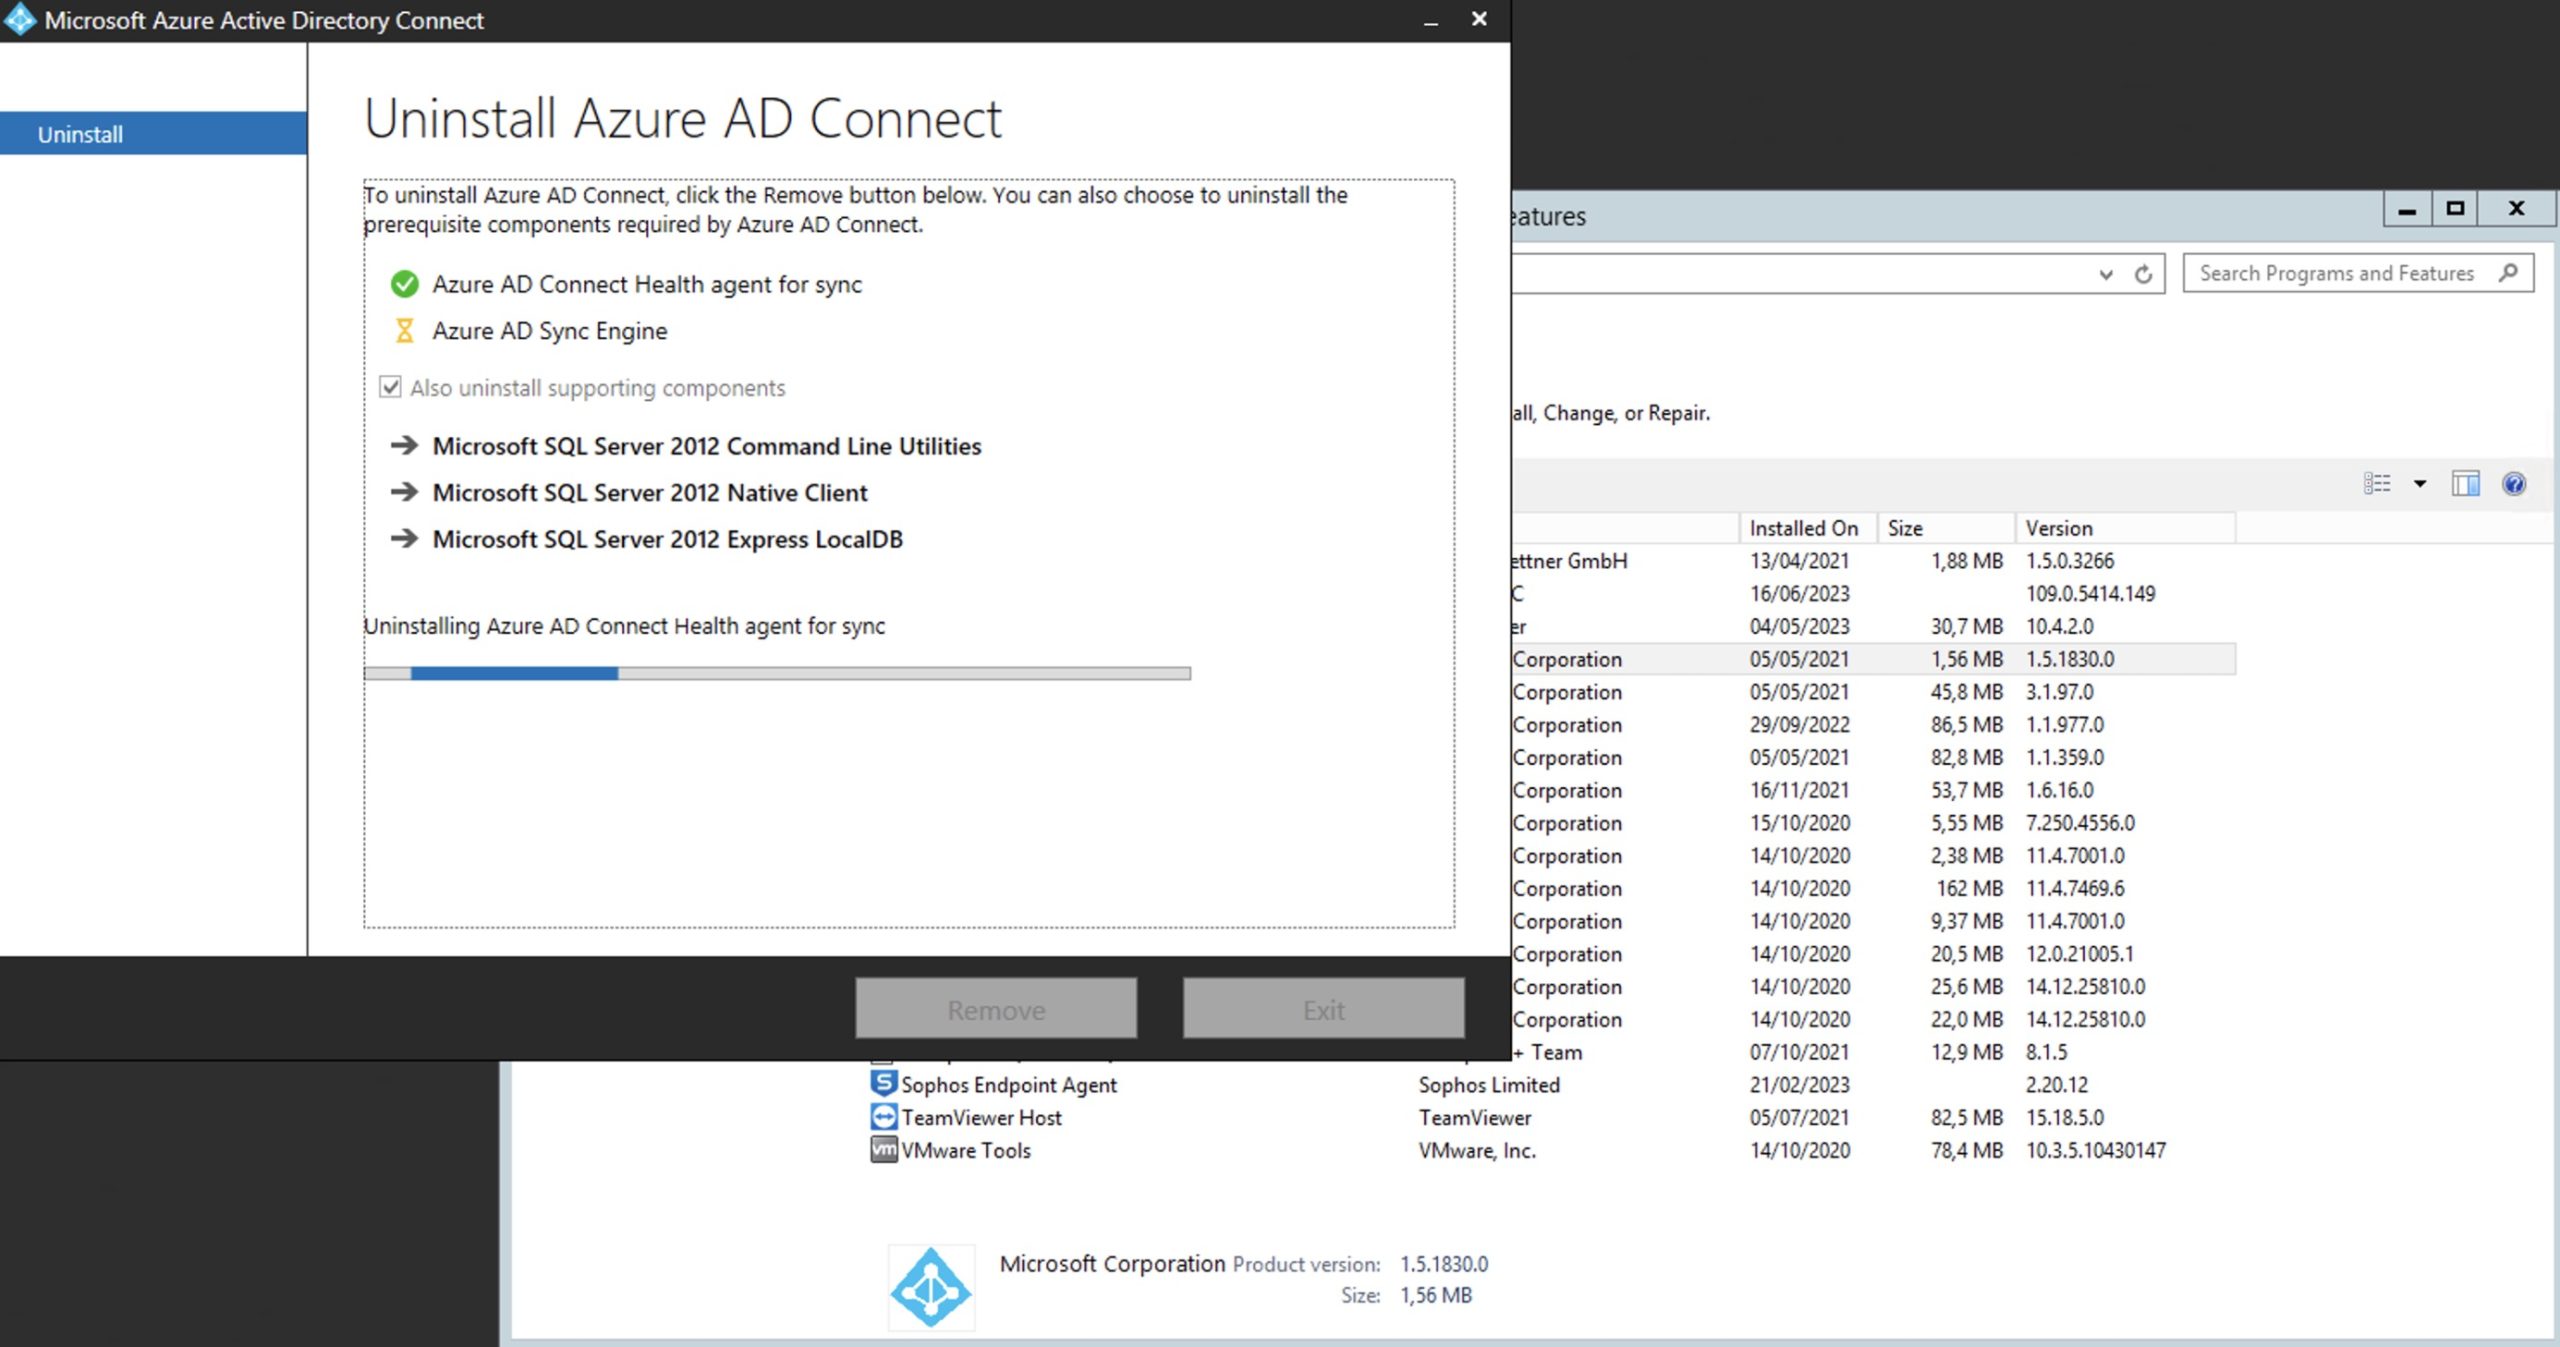
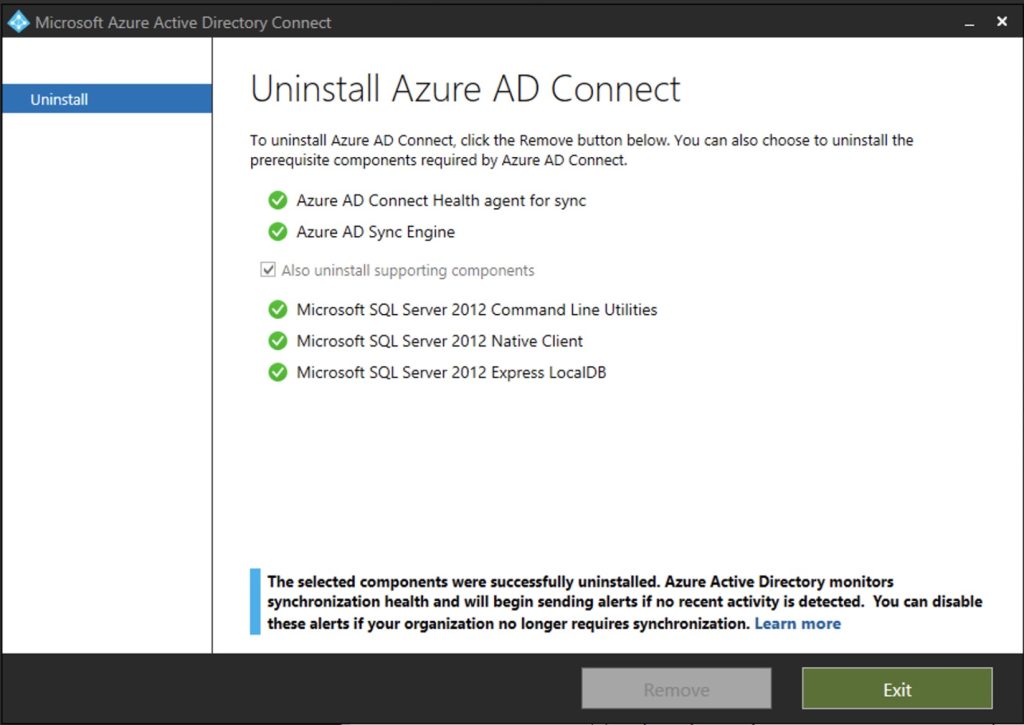
FINALLY…. ON THE OLD AD-CONNECT SERVER….Uninstall the old AD Connect