In this guide we will setup a wireless network base on WPA2-Enterprise .
The hardware that we’ll use are Unifi APs with relative software controller and a Microsoft AD with NPS installed.
- Create a SelfSign certificate
- Add and configure NPS /Radius on our Windows 2019
- Create a Radius profile on your Unifi controller
- Configure the NPS and APs
- Create a WiFi network with WPA2-Ent
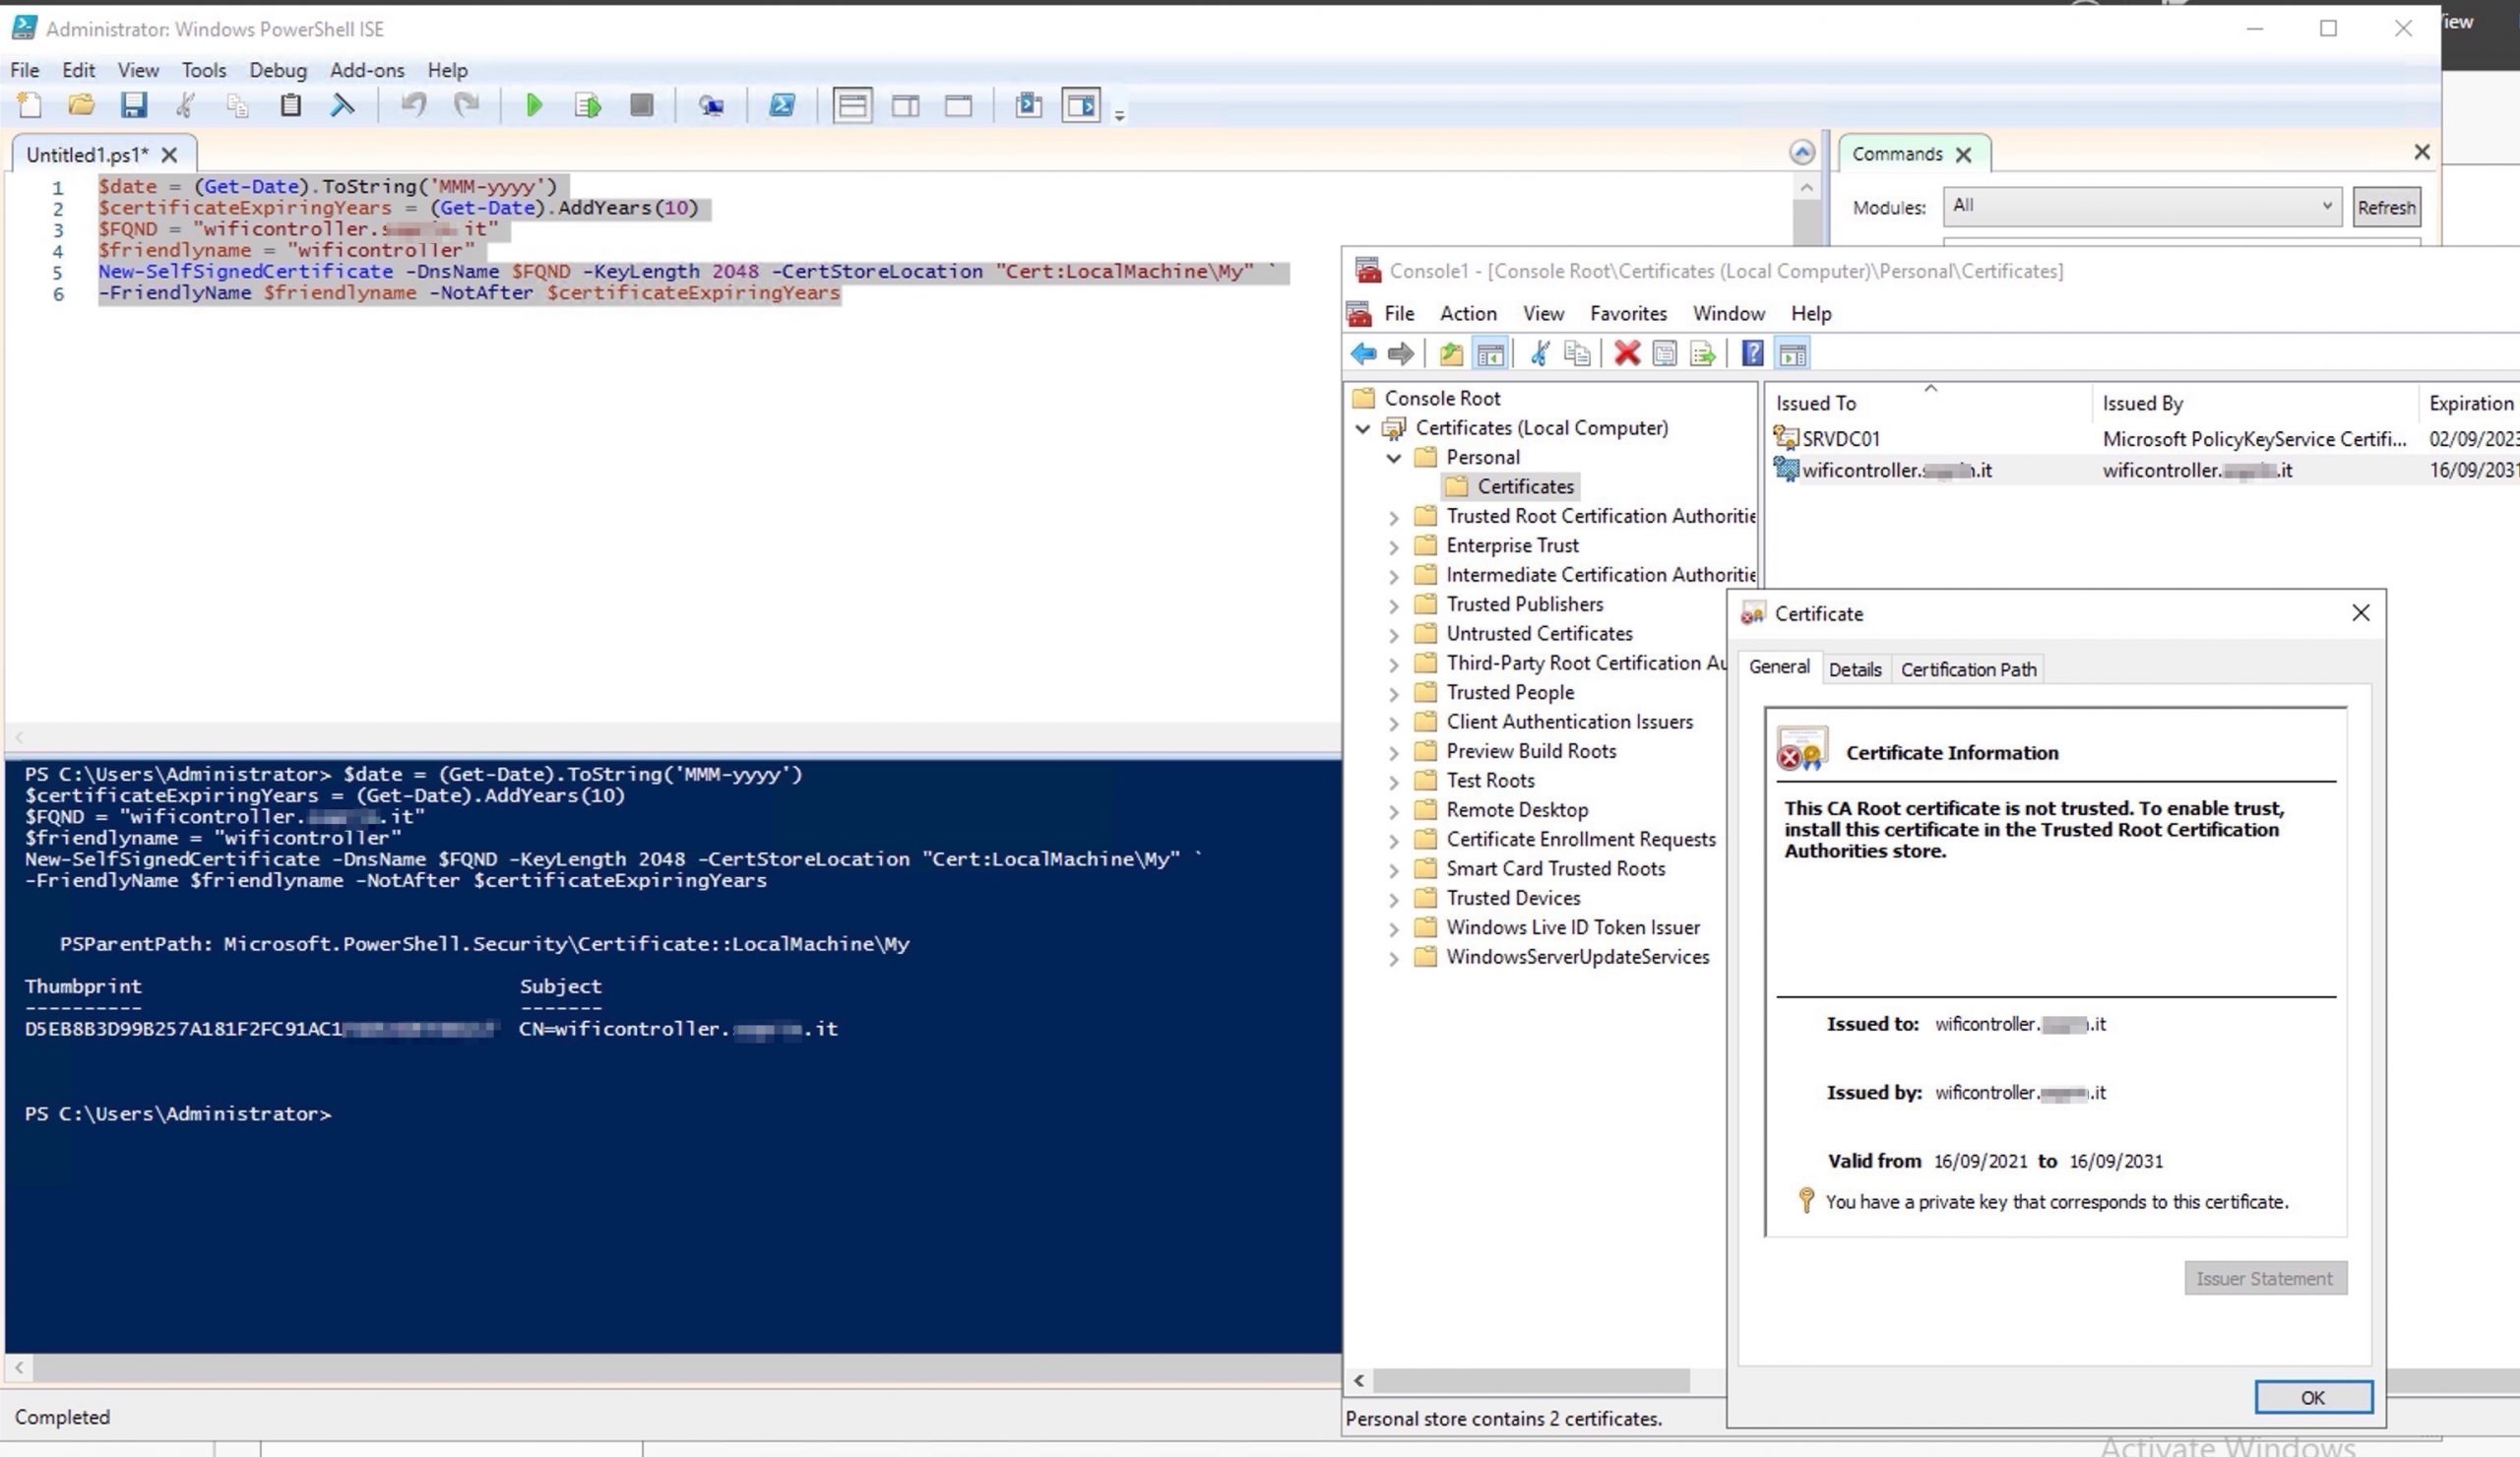
1)Create a Self-sign certificate for your WPA2-Ent
|
1 2 3 4 5 6 7 8 9 |
$date = (Get-Date).ToString('MMM-yyyy') $certificateExpiringYears = (Get-Date).AddYears(10) $FQND = "wificontroller.xxxxxx.it" $friendlyname = "wificontroller" New-SelfSignedCertificate -DnsName $FQND -KeyLength 2048 -CertStoreLocation "Cert:LocalMachine\My" ` -FriendlyName $friendlyname -NotAfter $certificateExpiringYears |
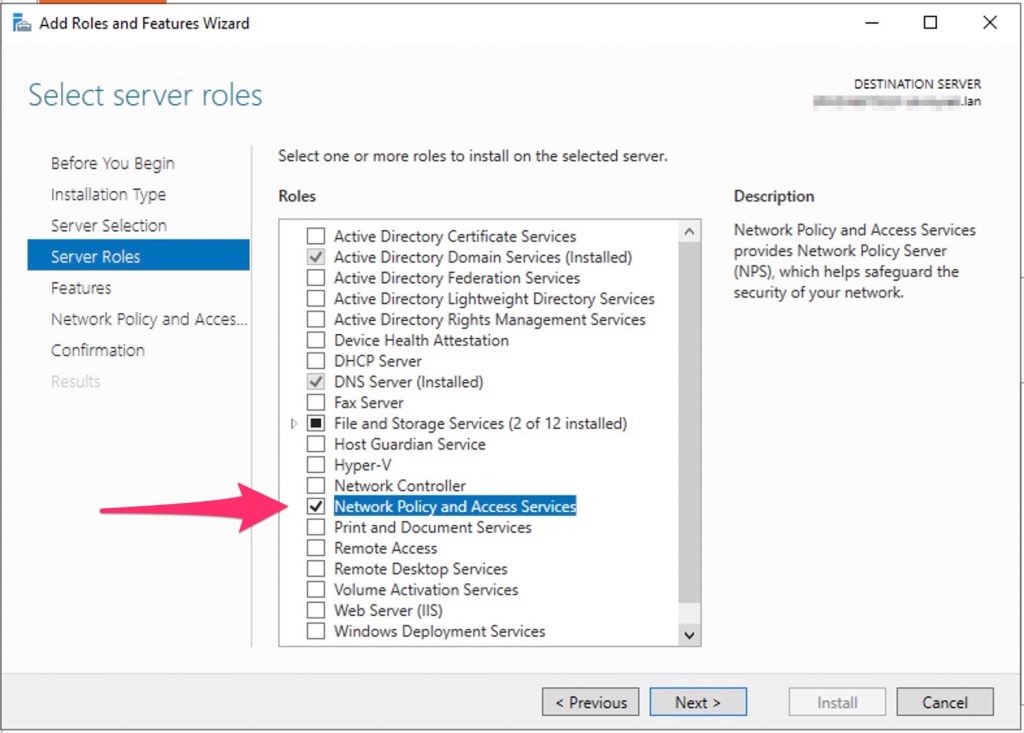
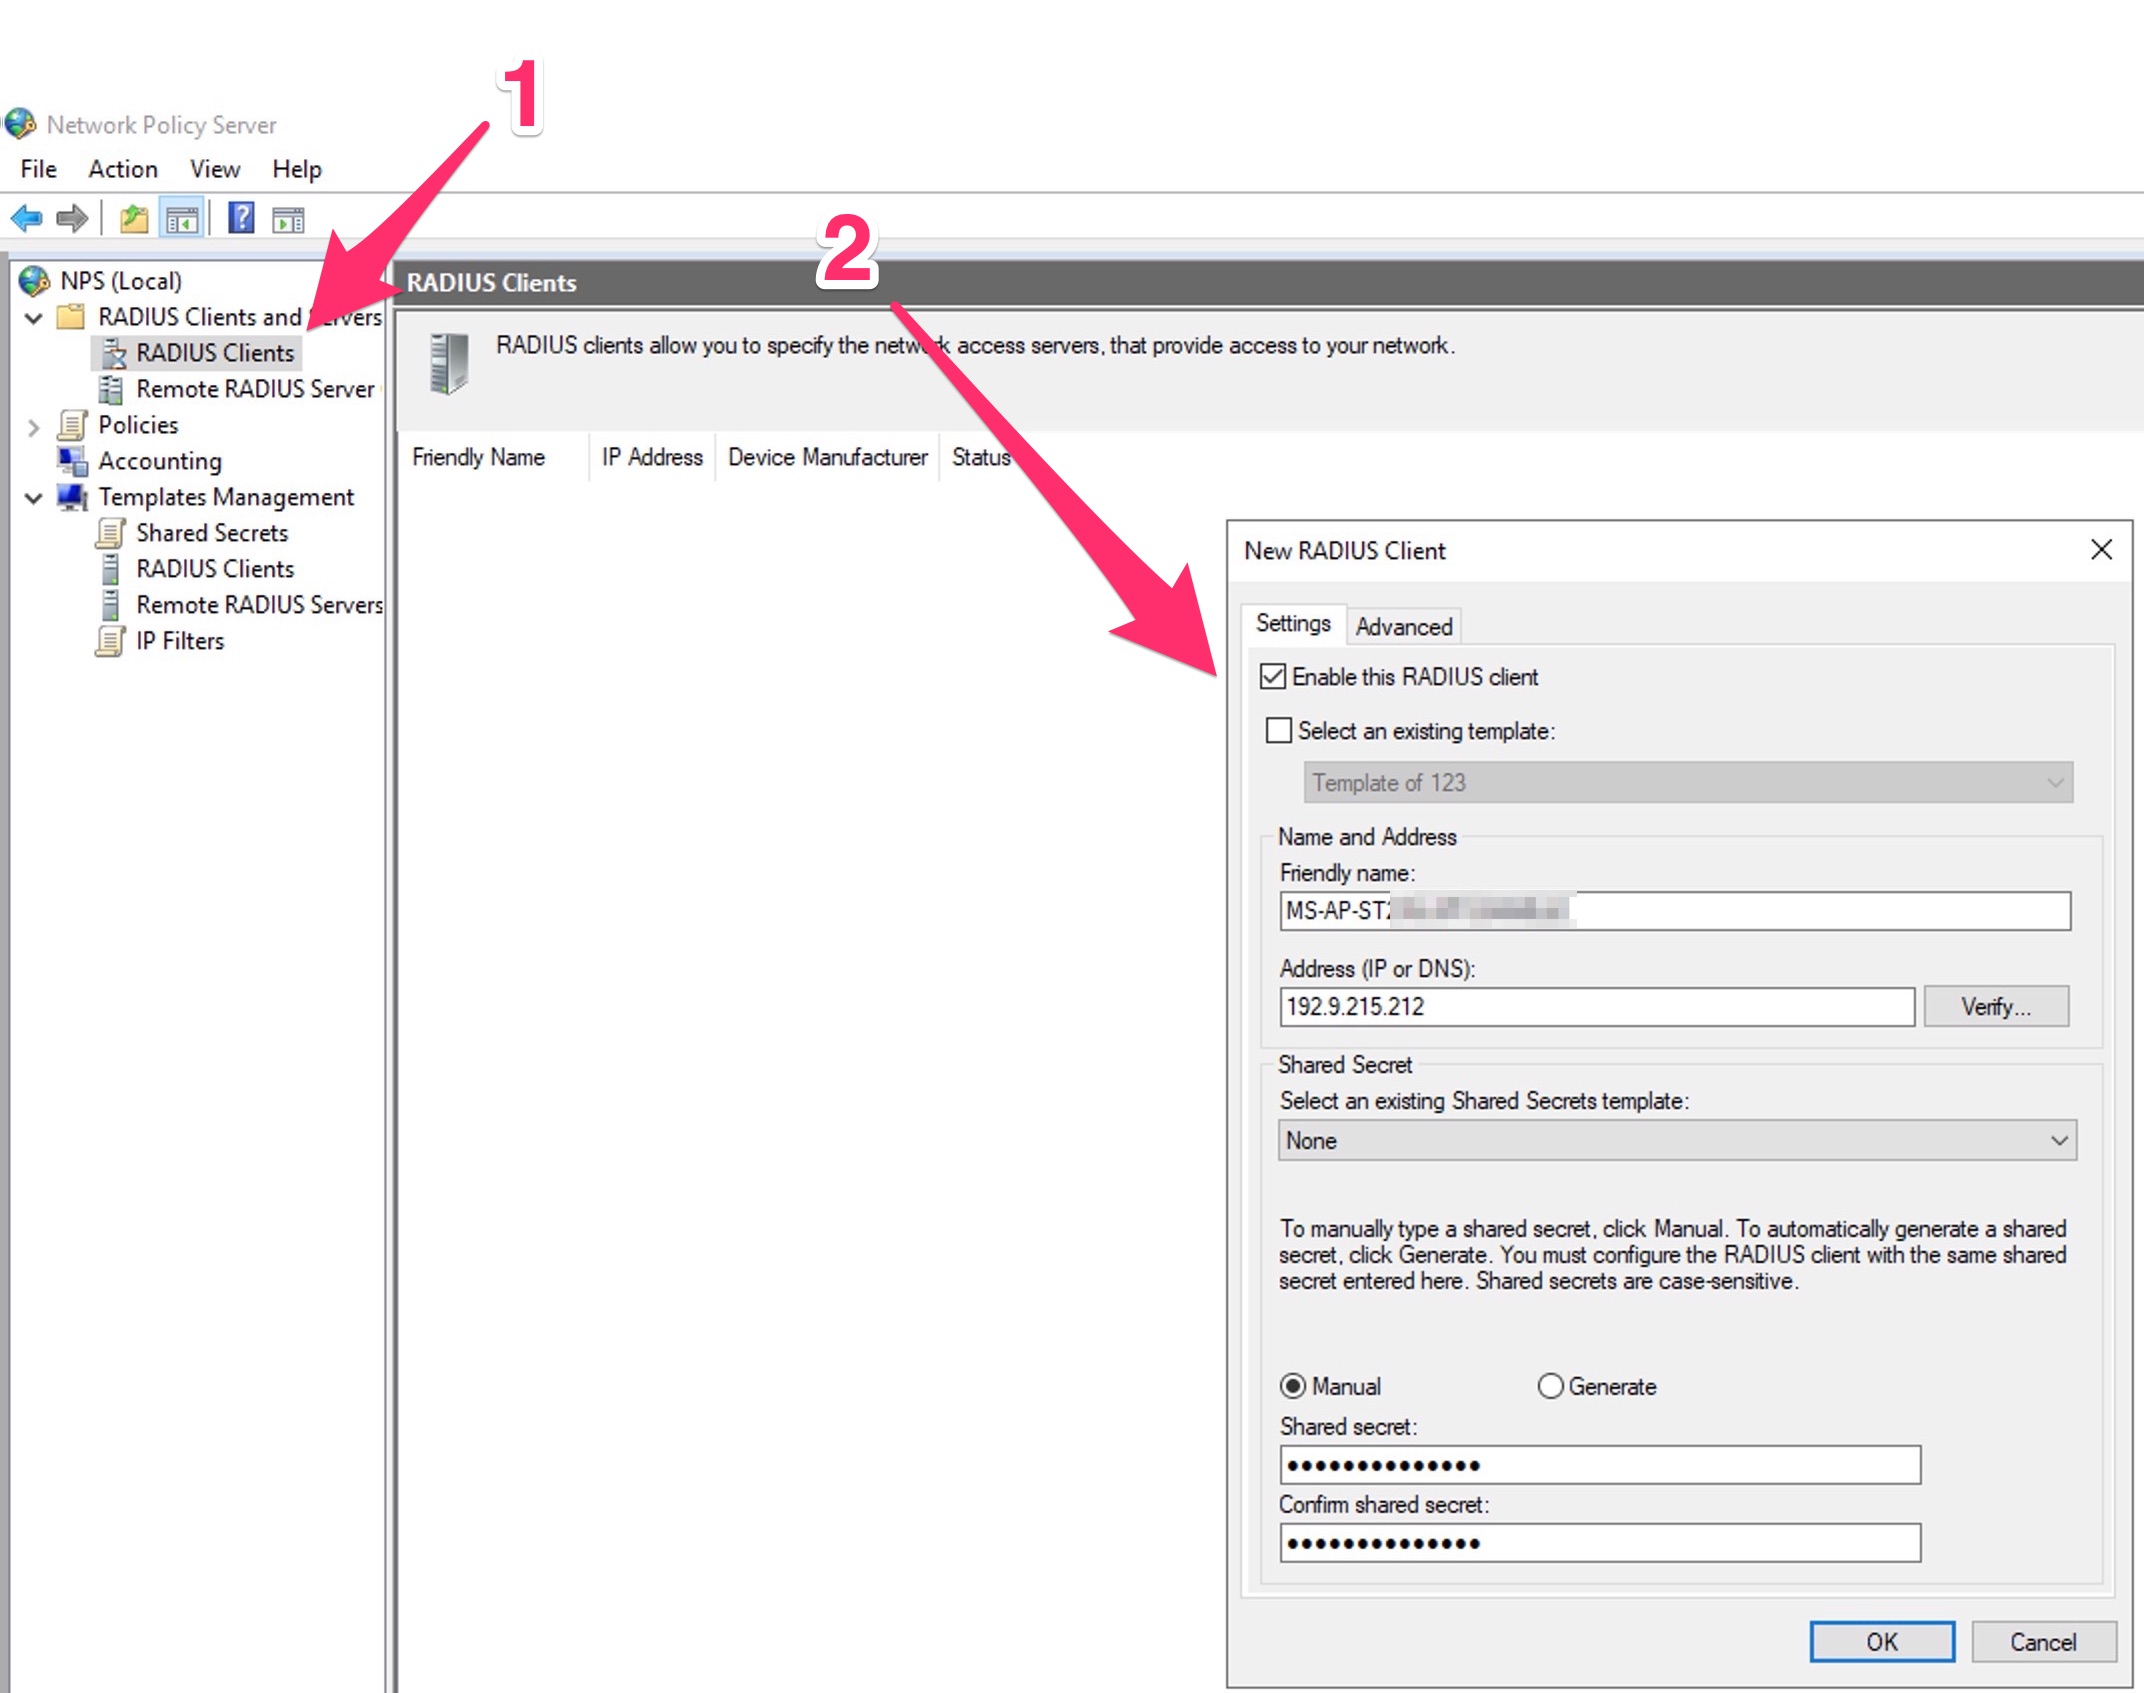
2) Add and configure and NPS /Radius on your Windows 2019
Open server manager and add the NPS role.
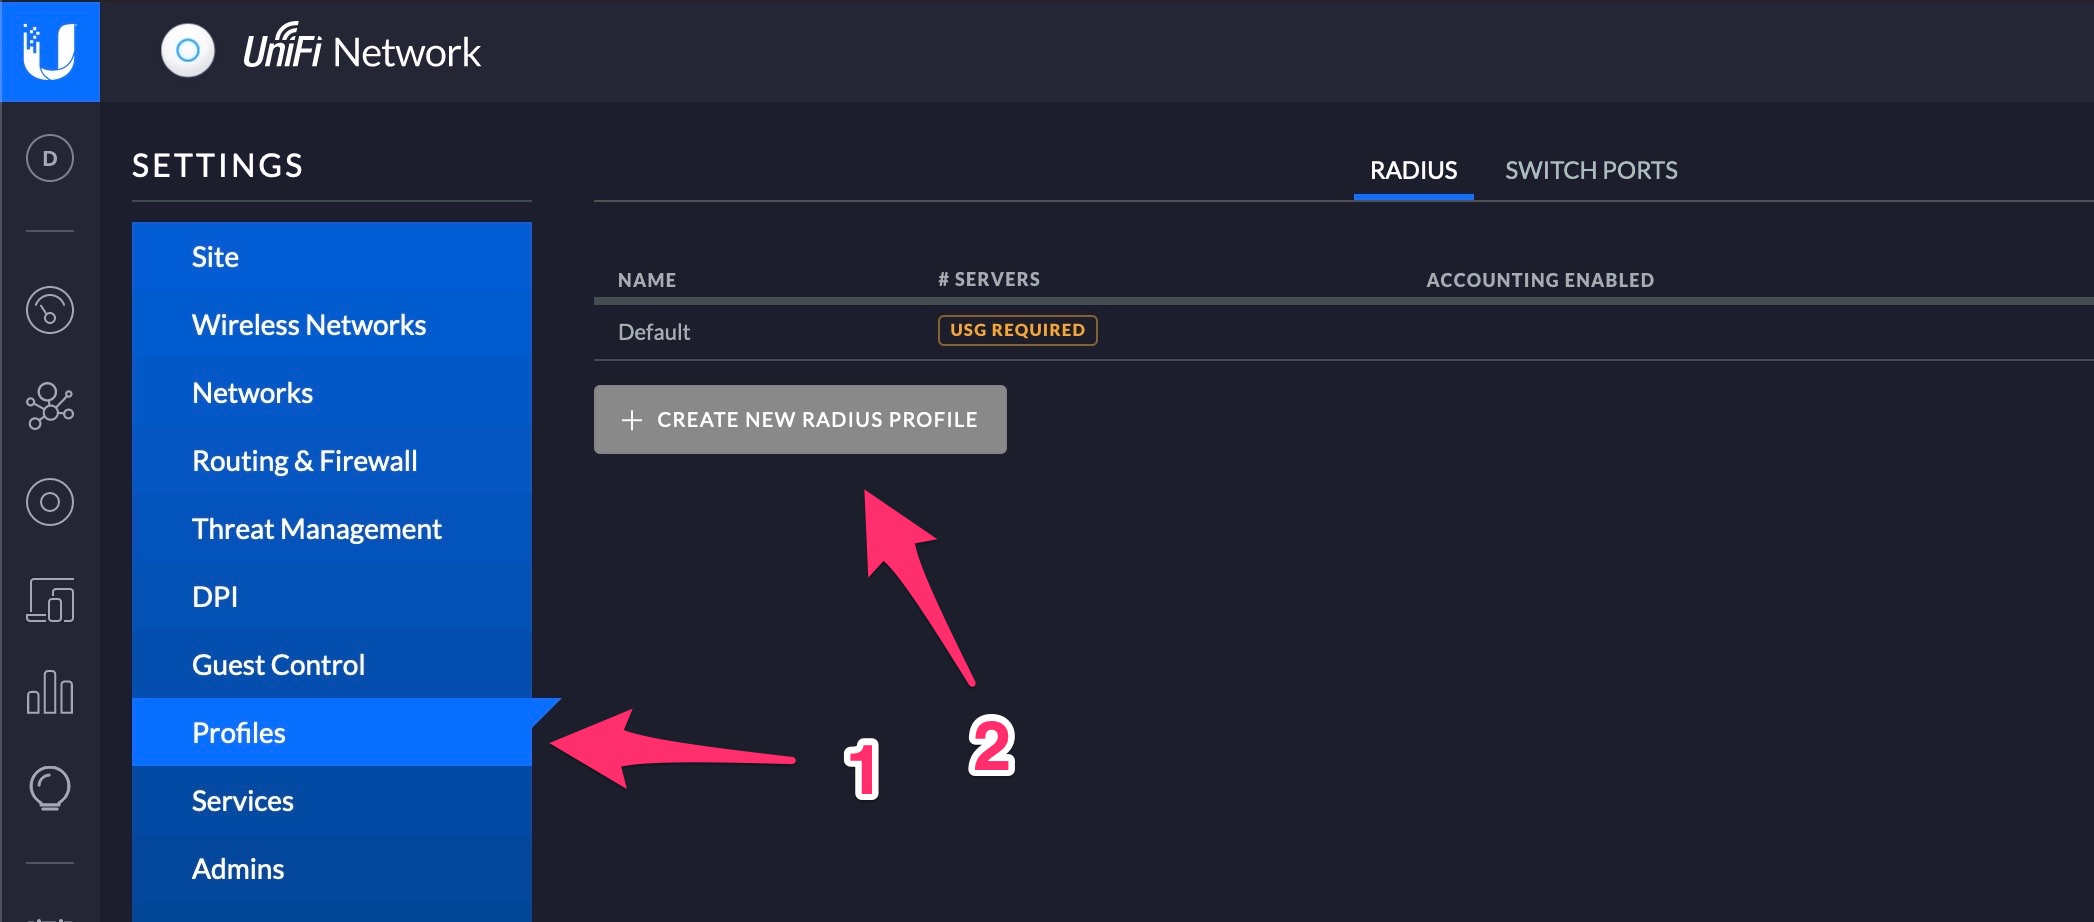
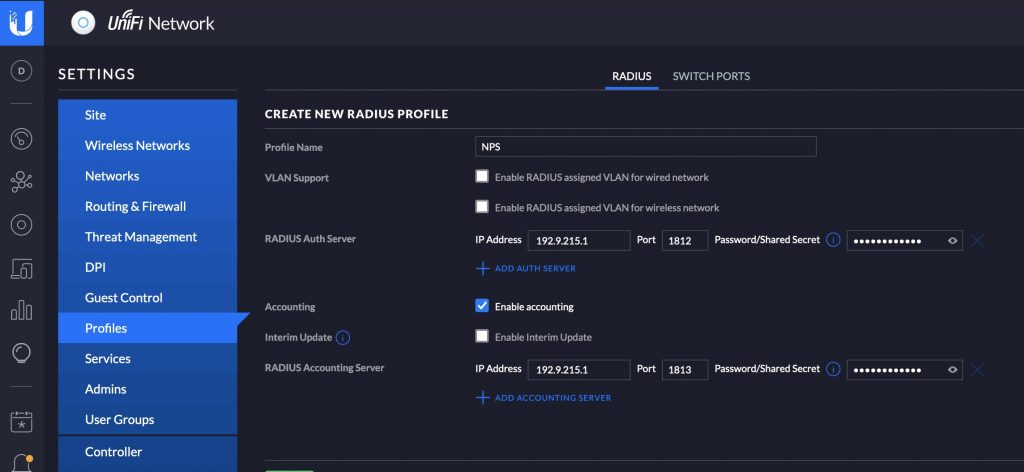
3) Now, go to the controller and create a new “radius profile”
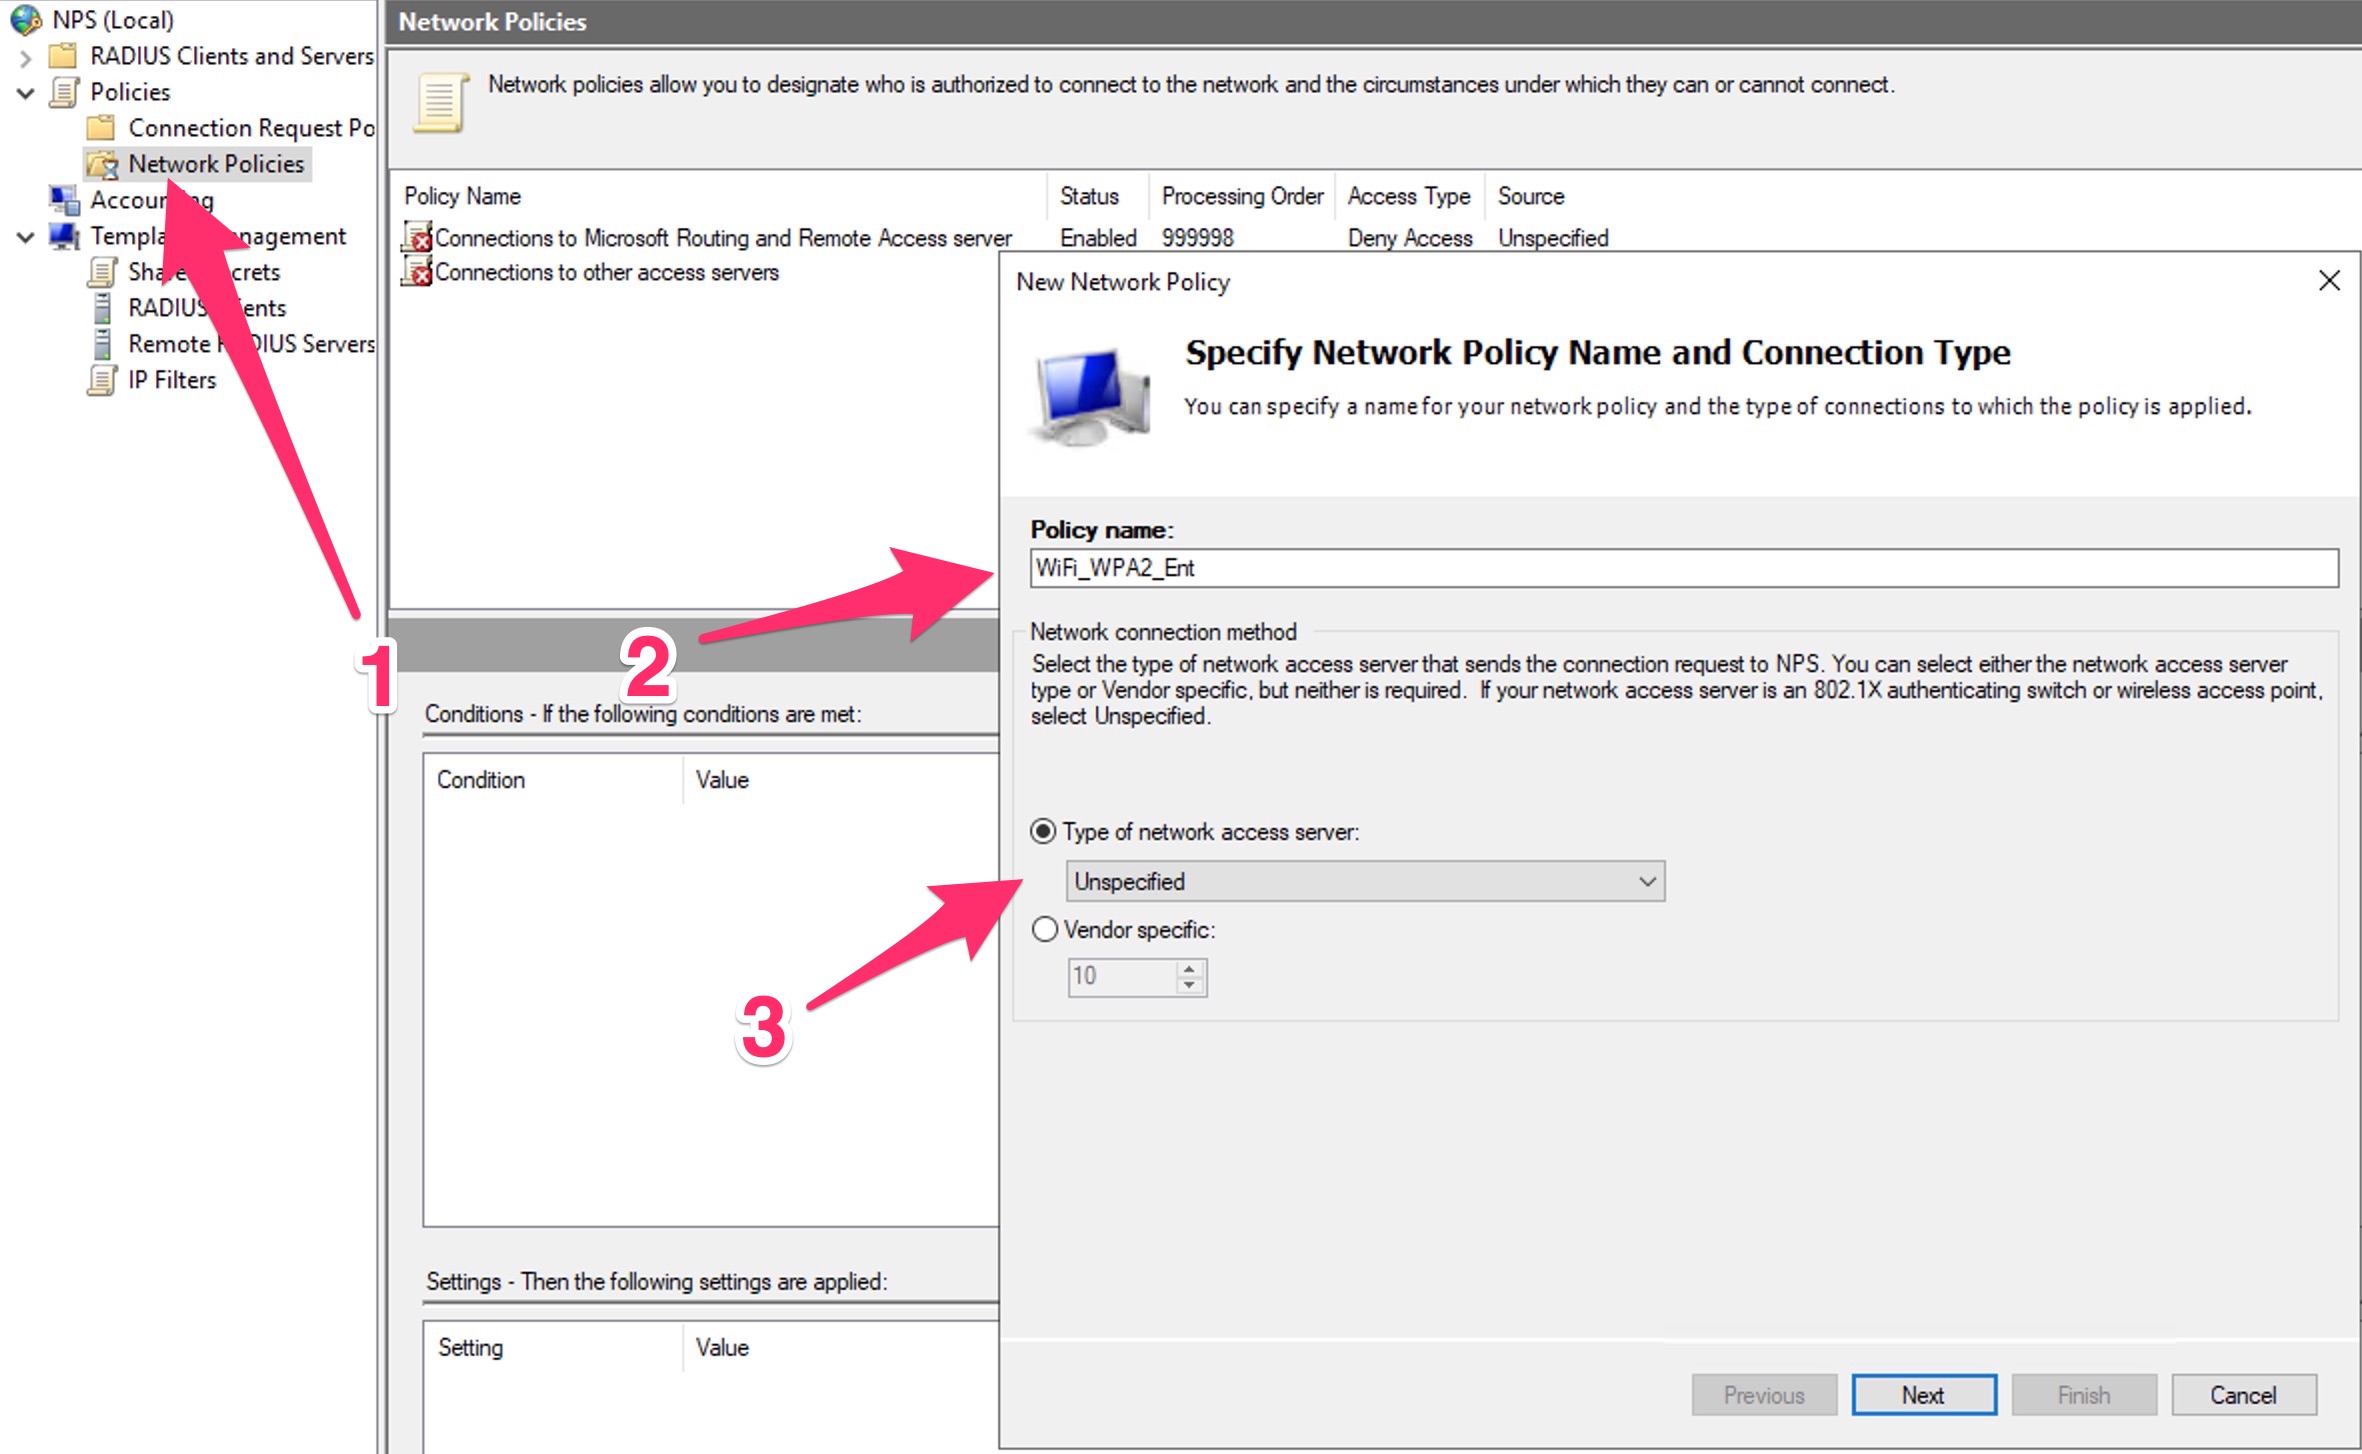
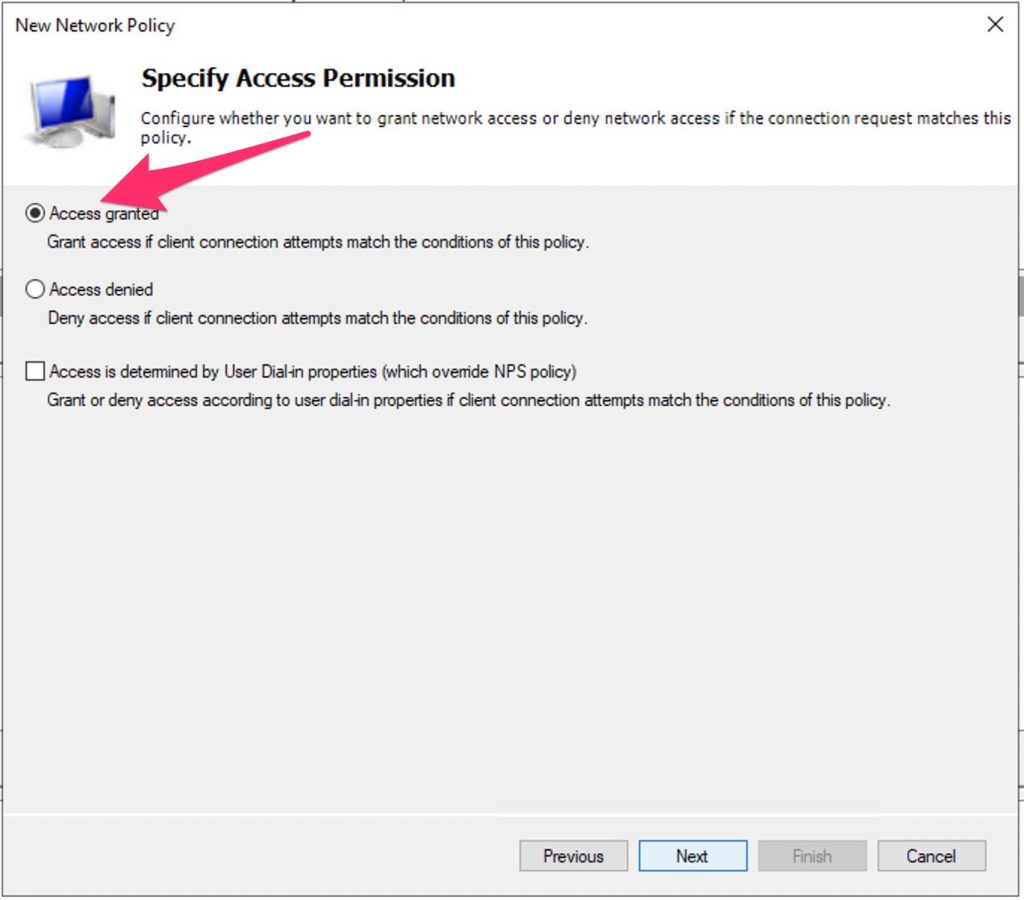
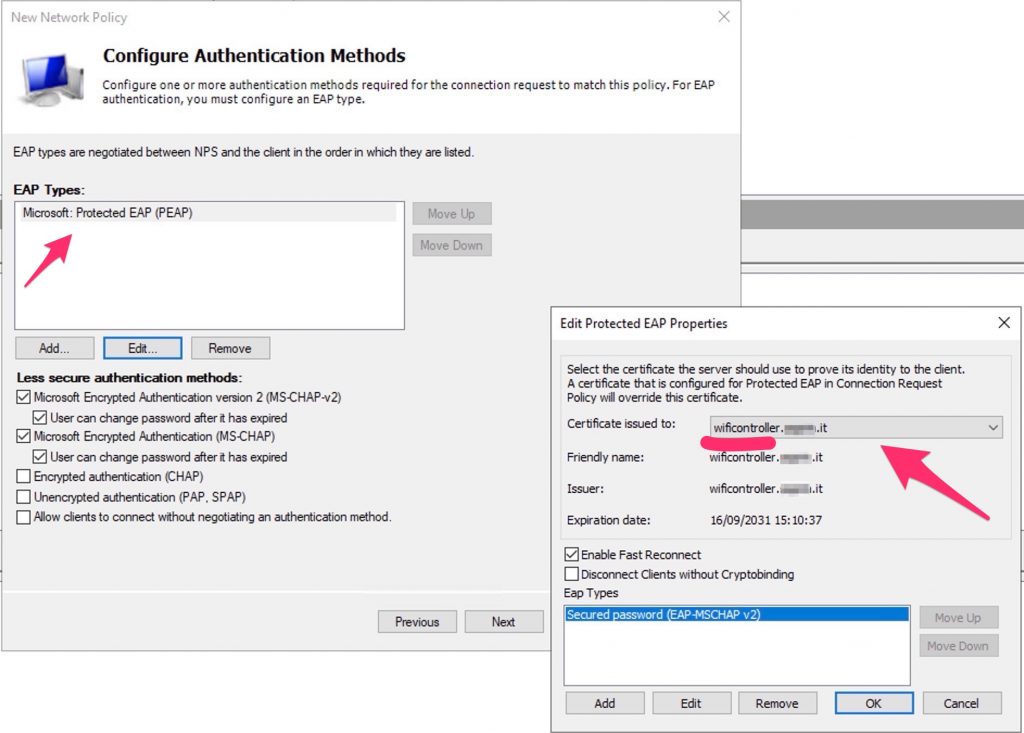
4)Configure the NPS and APs
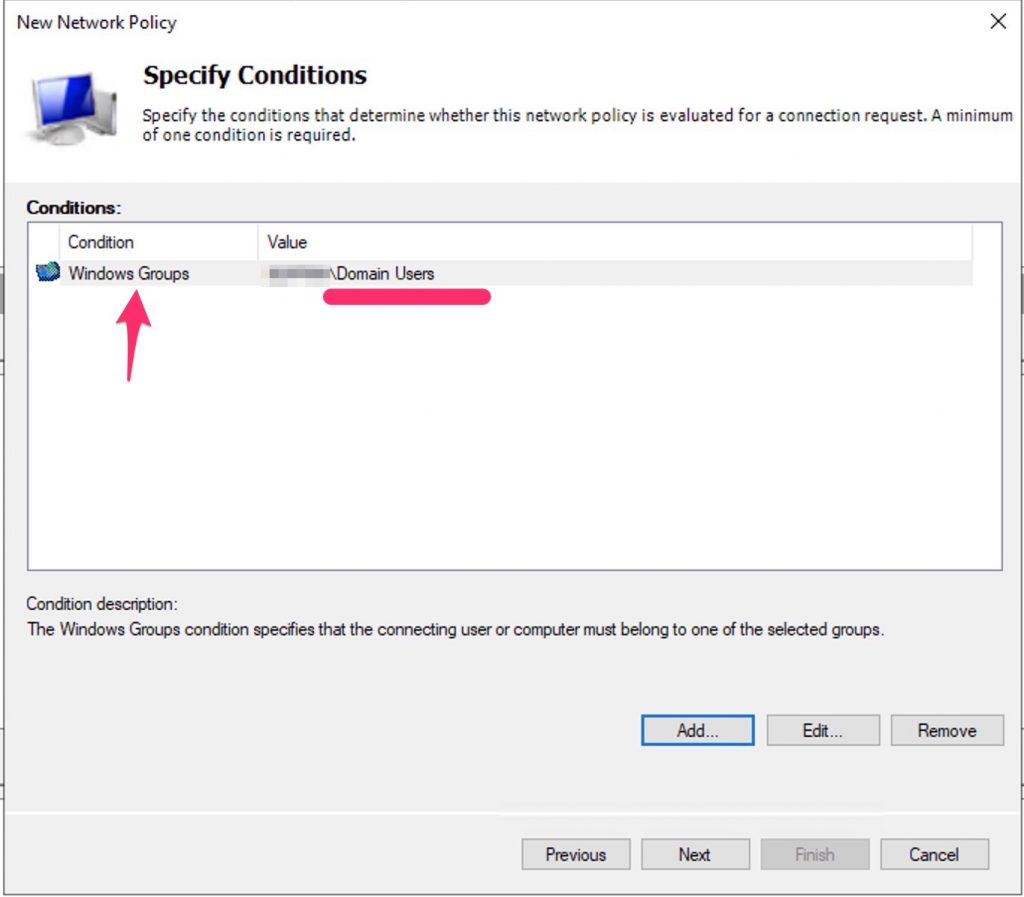
Now create a Policy that contains a dedicated AD group In my case I used all Domain Users.
Select EAP and the Cert previously created
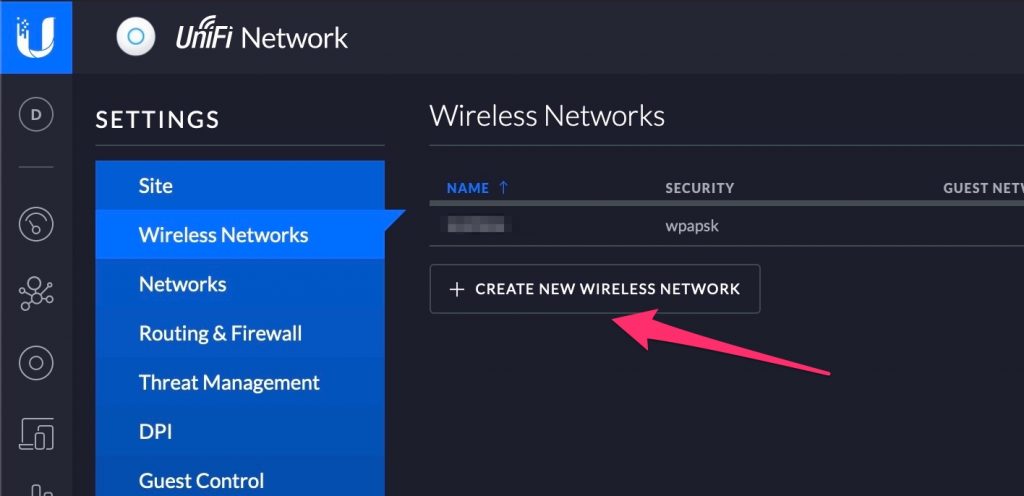
5) Create a WiFi network with WPA2-Ent
Open the Unifi Controller and create a new Wifi Net.
Select WPA Enterprise and the Radius profile previously created.

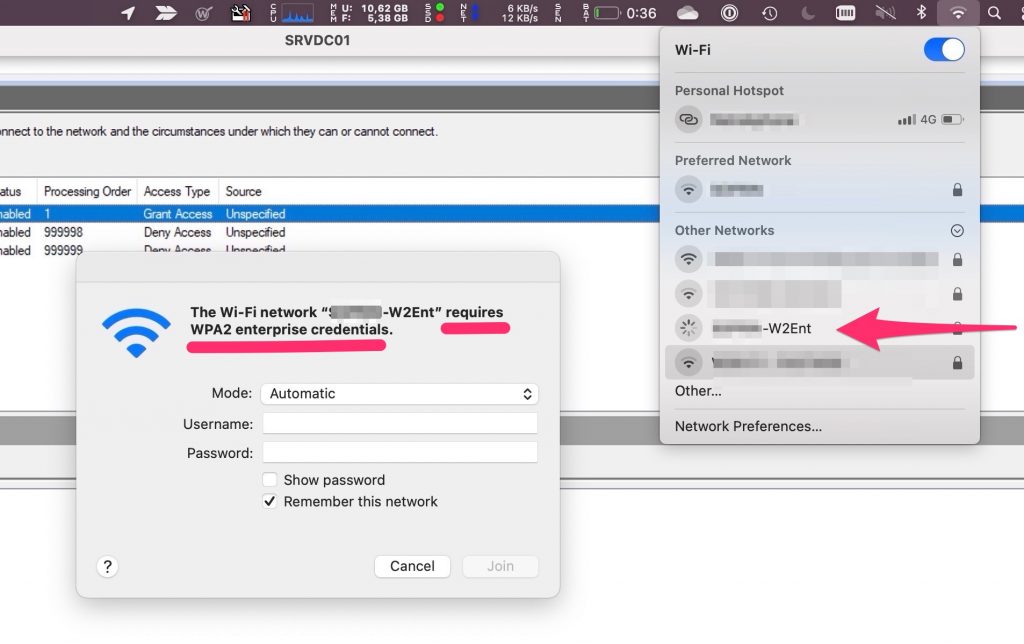
Now try to connect…
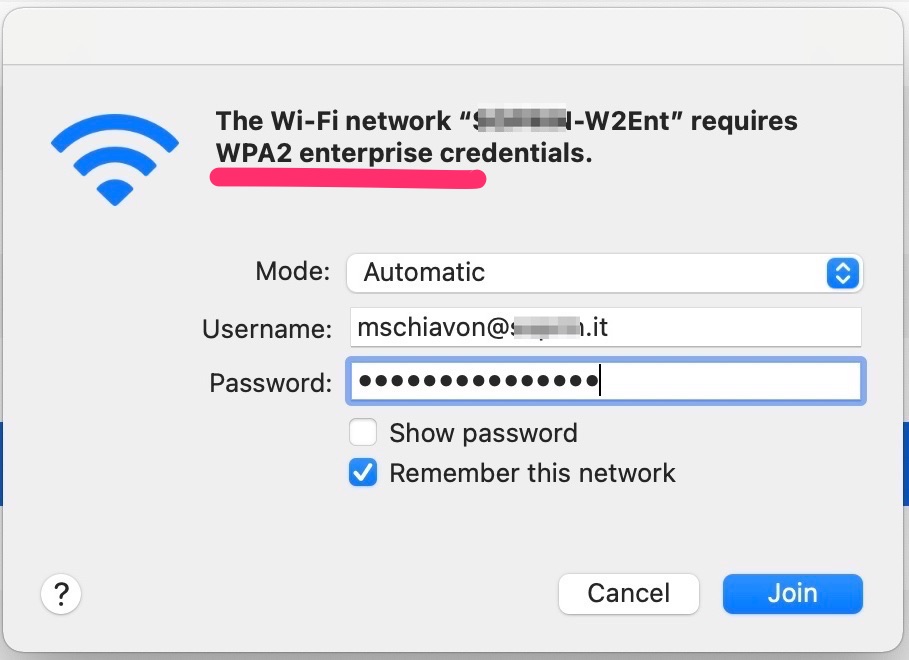
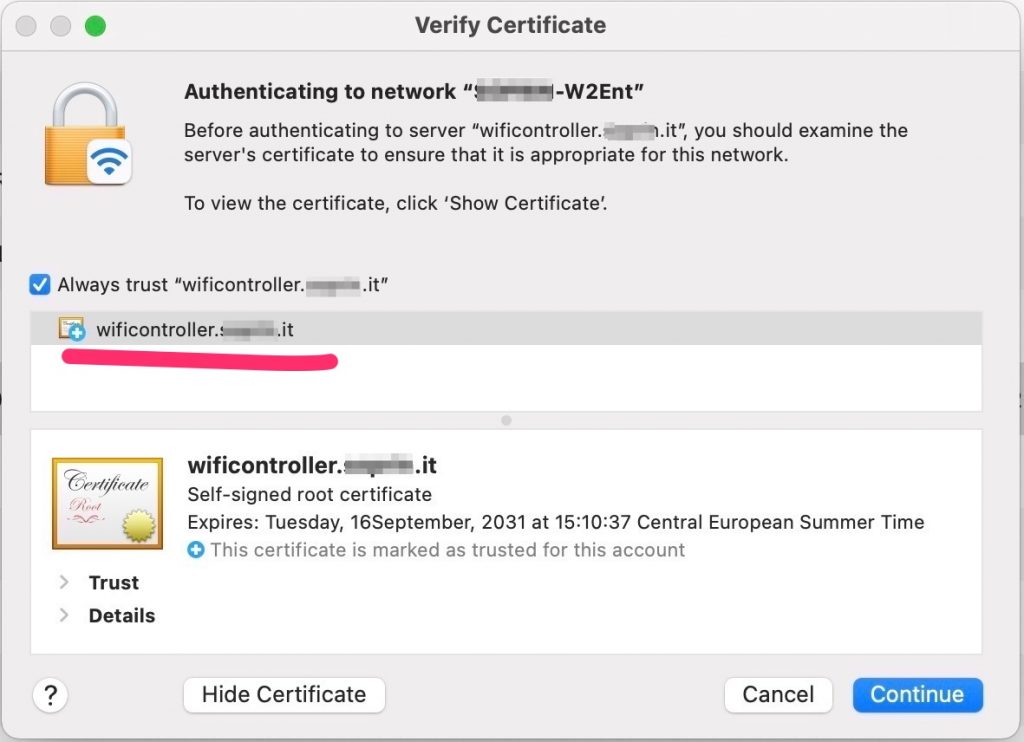
Done!